Home>Production & Technology>MP3>How To Convert Voice Memo To MP3 On Mac

MP3
How To Convert Voice Memo To MP3 On Mac
Modified: January 22, 2024
Learn how to easily convert voice memos to MP3 on your Mac. Follow our step-by-step guide and start enjoying your audio recordings in the popular MP3 format.
(Many of the links in this article redirect to a specific reviewed product. Your purchase of these products through affiliate links helps to generate commission for AudioLover.com, at no extra cost. Learn more)
Table of Contents
Introduction
Have you ever recorded a voice memo on your Mac and wished you could convert it to an MP3 format? Whether you want to share it with friends, upload it to a website, or simply save it in a more widely compatible format, converting your voice memos to MP3 can come in handy.
Fortunately, there are several methods you can use to convert voice memos to MP3 on your Mac. In this article, we will explore different techniques that allow you to easily transform your voice recordings into the popular MP3 format.
Converting voice memos to MP3 format not only ensures compatibility across various devices and platforms, but it also gives you the ability to compress the file size without significant loss of audio quality. This can be especially useful if you want to send the voice memo via email or store it on a device with limited storage capacity.
Now, let’s dive into the step-by-step process of converting voice memos to MP3 on your Mac.
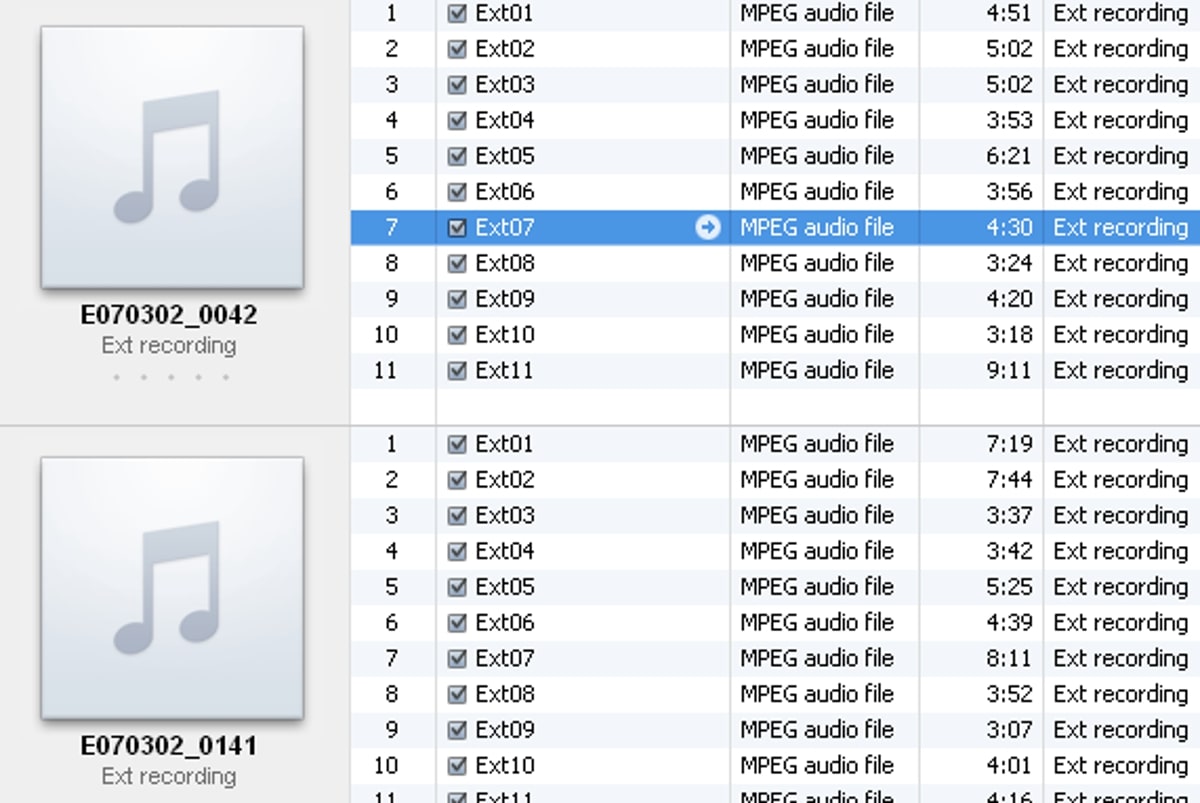
Step 1: Locate Voice Memo files on Mac
Before you can convert your voice memos to MP3 format, you need to locate the files on your Mac. Voice memos are typically stored in the Voice Memos app, which is pre-installed on macOS devices like MacBooks and iMacs.
To find your voice memos, follow these simple steps:
- Launch the Voice Memos app on your Mac. You can find it in the Applications folder or by using the Spotlight search.
- You will see a list of all your recorded voice memos organized by date. Scroll through the list to find the specific voice memo you want to convert to MP3.
- Click on the voice memo to select it. You can also use the search feature at the top of the app to quickly find a specific voice memo by its title or content.
- Take note of the location of the voice memo file. By default, the Voice Memos app saves the recordings in a specific folder on your Mac.
Once you have located the voice memo file, you are ready to convert it to MP3 format using one of the methods we will discuss in the following steps. Remember to keep the file location in mind, as you will need it when performing the conversion.
Now that you know how to locate your voice memo files on your Mac, let’s move on to converting them to MP3 format.
Step 2: Convert Voice Memo to MP3 using iTunes
iTunes, the popular media management software from Apple, can be used to convert your voice memos to MP3 format. Follow these steps to convert your voice memos using iTunes:
- Launch iTunes on your Mac. If you don’t have iTunes installed, you can download it for free from the Apple website.
- Connect your iPhone to your Mac using a USB cable. Make sure your iPhone is unlocked and trust your computer when prompted.
- In iTunes, click on the device icon located at the upper left corner of the iTunes window to access your connected device.
- From the left sidebar, click on “Music” under the “Settings” section. Check the box next to “Sync Music” to enable music syncing.
- Scroll down and check the box next to “Include voice memos” under the “Voice Memos” section. This will ensure that your voice memos are included in the syncing process.
- Click on the “Apply” or “Sync” button at the bottom right corner of the iTunes window to start syncing your voice memos to your Mac.
- Once the syncing process is completed, your voice memos will be transferred to your iTunes library on your Mac.
- To convert a voice memo to MP3, right-click on the voice memo in iTunes and select “Create MP3 Version”.
- iTunes will create a new MP3 version of your voice memo and add it to your iTunes library.
- You can locate the converted MP3 file by right-clicking on it in iTunes and selecting “Show in Finder. Now you can use the MP3 file as you wish, whether it’s for sharing with others or storing on your Mac.
Using iTunes to convert your voice memos to MP3 format is a simple and effective method. However, if you prefer to use a different software, or if you don’t have access to iTunes, there are alternative methods available, which we will explore in the following steps.
Step 3: Convert Voice Memo to MP3 using GarageBand
If you’re looking for a more advanced method to convert your voice memos to MP3 format on your Mac, you can use GarageBand, a powerful audio editing software. Follow these steps to convert your voice memos using GarageBand:
- Launch GarageBand on your Mac. You can find it in the Applications folder or by using the Spotlight search.
- Once GarageBand is open, click on “Create New Project” or select “Open an Existing Project” if you already have a project in progress.
- Choose “Voice” as the project type, then click on “Choose” to create a new voice recording project.
- Click on the microphone icon to enable voice recording. GarageBand will use your Mac’s built-in microphone by default, but you can connect an external microphone for better audio quality.
- Click on the red circular button to start recording your voice memo. Speak clearly into the microphone to capture your voice.
- When you’re done recording, click on the stop button to stop the recording.
- Click on the audio waveform of your recorded voice memo to select it.
- Go to the “File” menu and select “Export to Disk”.
- In the Export window, choose an appropriate location to save the exported file and select “MP3” as the file format.
- Click on the “Export” button to convert your voice memo to MP3 format.
GarageBand will export your voice memo as an MP3 file, which you can now use for various purposes. You can share it, upload it, or store it on your Mac for future use.
Using GarageBand gives you more control over the audio quality and editing options of your voice memo. However, if GarageBand is not available on your Mac or if you prefer a simpler method, there are online converters that can help you convert your voice memos to MP3 format, which we will discuss in the next step.
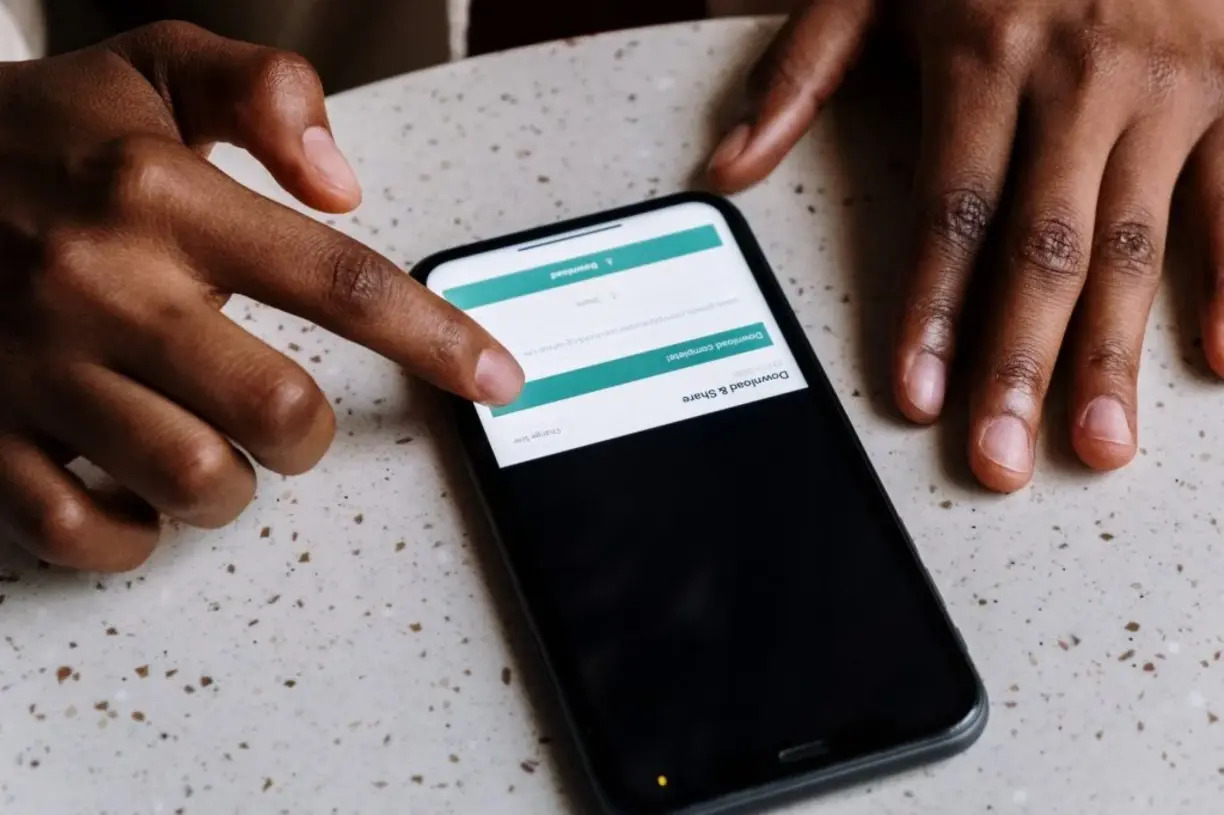
Step 4: Convert Voice Memo to MP3 using Online Converter
If you prefer a convenient and hassle-free method to convert your voice memos to MP3 format on your Mac, you can use an online converter. Online converters allow you to convert your files without the need to install any additional software. Here’s how you can convert your voice memos to MP3 using an online converter:
- Start by locating an online converter that supports voice memo to MP3 conversion. There are numerous options available, such as OnlineConvert, Zamzar, or Apowersoft Free Online Audio Converter.
- Visit the website of your chosen converter and look for the option to upload or select files. Some converters may require you to sign up or provide your email address, while others allow you to convert files immediately without any registration.
- Click on the “Choose File” or “Upload” button and navigate to the location where your voice memo file is stored on your Mac.
- Select the voice memo file you want to convert to MP3 and click on the “Open” or “Upload” button to begin the conversion process.
- Wait for the conversion to complete. The time it takes to convert your file will depend on the size of the voice memo and the speed of your internet connection.
- Once the conversion is finished, the online converter will provide you with a download link or an option to save the converted MP3 file directly to your computer.
- Click on the download link or choose the option to save the file to your desired location on your Mac.
Online converters offer a quick and straightforward method to convert your voice memos to MP3 format. However, keep in mind that the availability and reliability of online converters may vary, so it’s always a good idea to choose a reputable converter with positive user reviews.
Now that you know how to convert your voice memos to MP3 using an online converter, let’s move on to some tips for managing your voice memos on your Mac.
Step 5: Tips for Managing Voice Memos on Mac
Now that you have learned how to convert your voice memos to MP3 format on your Mac, it’s essential to know some tips for managing your voice memos effectively. Here are some useful tips:
- Organize your voice memos: Create folders or use tags to categorize and organize your voice memos based on topics, projects, or any other criteria that makes sense to you. This will help you locate specific voice memos more efficiently and keep your recordings neatly organized.
- Delete unnecessary voice memos: Regularly review your voice memos and delete any recordings that you no longer need. This will free up space on your Mac and make it easier to manage and find important voice memos.
- Back up your voice memos: It’s always a good practice to back up your voice memos regularly. You can use cloud storage services like iCloud, Dropbox, or Google Drive to ensure your recordings are safely backed up and accessible from any device.
- Use voice memo syncing: If you have multiple Apple devices, consider enabling voice memo syncing through iCloud. This will allow you to access your voice memos across all your devices seamlessly.
- Edit your voice memos: Take advantage of the editing capabilities in apps like GarageBand to trim or enhance your voice memos. You can remove any unwanted portions, adjust the volume, or apply effects to improve the overall quality of your recordings.
By following these tips, you can effectively manage your voice memos on your Mac, ensuring easy access, organization, and backup of your important recordings.
With these methods and tips at your disposal, you can now convert, manage, and organize your voice memos on your Mac with ease. Whether you’re converting your voice memos to MP3 format using iTunes, GarageBand, or an online converter, make sure to choose the method that suits your needs and preferences the best.
Now it’s time to convert your voice memos to MP3 and enjoy the versatility and convenience of this widely supported audio format!
Conclusion
Converting your voice memos to MP3 format on your Mac allows you to easily share, store, and enjoy your recordings across multiple devices and platforms. In this article, we explored different methods for converting voice memos to MP3, including using iTunes, GarageBand, and online converters.
Using iTunes, you can sync your voice memos from your iPhone to your Mac and convert them to MP3 with just a few clicks. GarageBand offers advanced audio editing capabilities, allowing you to customize your voice memos before converting them to MP3. Online converters provide a convenient and quick solution for converting voice memos without the need for additional software installation.
Additionally, we provided some valuable tips for managing your voice memos on your Mac, such as organizing them into folders, deleting unnecessary recordings, backing up your files, enabling syncing, and utilizing editing features for enhanced recordings.
By following these methods and tips, you can efficiently convert, manage, and organize your voice memos on your Mac, ensuring easy access and preservation of your important recordings.
Now it’s time to convert your voice memos to MP3 format and enjoy the flexibility and compatibility this popular audio format offers. Whether you want to share your voice memos with others, upload them to a website, or simply store them for future reference, converting them to MP3 will serve you well.
Remember to choose the method that suits your preferences and needs the best. With the right tools at your disposal, you can make the most of your voice memos and enjoy the convenience and versatility of MP3 format on your Mac.
So go ahead, start converting your voice memos to MP3, and make the most of your audio recordings!