Home>Production & Technology>MP3>How To Turn YouTube Videos Into MP3

MP3
How To Turn YouTube Videos Into MP3
Modified: March 8, 2024
Learn how to convert YouTube videos to MP3 format and enjoy your favorite music anytime, anywhere. Simple and efficient method for extracting audio from videos.
(Many of the links in this article redirect to a specific reviewed product. Your purchase of these products through affiliate links helps to generate commission for AudioLover.com, at no extra cost. Learn more)
Table of Contents
- Introduction
- Step 1: Find the YouTube video you want to convert
- Step 2: Choose a YouTube to MP3 converter
- Step 3: Copy the video URL
- Step 4: Paste the URL into the converter
- Step 5: Select the MP3 format
- Step 6: Convert the video to MP3
- Step 7: Download and save the MP3 file
- Step 8: Enjoy your YouTube video as an MP3
- Conclusion
Introduction
Welcome to the world of digital music! With the rise of streaming platforms like YouTube, music lovers have the opportunity to explore a vast library of music at their fingertips. While streaming is convenient, there are times when you may prefer to have your favorite songs in a downloadable MP3 format. Whether you want to listen to them offline, create a personalized playlist, or simply enjoy the audio without the need for video playback, converting YouTube videos to MP3 can be the solution.
In this article, we will guide you through the process of converting YouTube videos to MP3 format. We will provide step-by-step instructions to help you effortlessly transform your favorite music videos into high-quality MP3 files. By following these steps, you will have the freedom to enjoy your favorite tunes wherever and whenever you want.
Before we dive into the conversion process, let’s briefly discuss why you might want to convert YouTube videos to MP3. Firstly, having the audio in MP3 format allows you to listen to your favorite music on various devices such as smartphones, tablets, MP3 players, or even in your car. Secondly, it enables you to create a personalized playlist of your favorite songs without the interruption of video playback. Lastly, converting YouTube videos to MP3 format provides the freedom to listen to music offline without an internet connection.
Now that you understand the benefits of converting YouTube videos to MP3, let’s jump into the step-by-step process of how to do it. Don’t worry; it’s easier than you might think!
Step 1: Find the YouTube video you want to convert
The first step in converting a YouTube video to MP3 format is to find the video that you want to convert. You can use the search bar on YouTube to look for a specific song, artist, or music video. Alternatively, you can browse through your favorite YouTube channels, playlists, or recommendations until you find the desired video.
Once you have located the YouTube video you want to convert, take note of its title or keep the video page open for easy access later in the conversion process.
It’s important to mention that you should only convert and download YouTube videos that you have the right to do so. Ensure that you are not infringing on any copyright laws or violating YouTube’s terms of service. Be respectful of the content creators and their intellectual property.
Now that you have found the YouTube video you want to convert, you are ready to move on to the next step: choosing a YouTube to MP3 converter.
Step 2: Choose a YouTube to MP3 converter
Choosing the right YouTube to MP3 converter is crucial to ensure a smooth and hassle-free conversion process. There are many online converters available, each with its own features and functionalities. Here are a few factors to consider when selecting a converter:
- Accuracy: Look for a converter that can accurately extract the audio from the YouTube video and convert it to high-quality MP3 format. The converter should preserve the original audio quality without any loss or distortion.
- Speed: Consider the conversion speed of the converter. You don’t want to wait forever for the conversion process to complete, especially if you have multiple videos to convert.
- User-friendly interface: Opt for a converter that offers a user-friendly interface, making it easy to navigate and use. A clutter-free and intuitive interface will enhance your overall experience.
- Compatibility: Ensure that the converter you choose is compatible with your device and operating system. It should support the platforms you intend to use for downloading and playing the MP3 files.
- Additional features: Some converters offer additional features like batch conversion, ID3 tag editing, or the ability to choose different audio formats. Consider these features if they align with your specific needs and preferences.
It’s important to note that there may be legal and ethical implications associated with using certain YouTube to MP3 converters. Some converters may violate copyright laws or YouTube’s terms of service. Ensure that you choose a converter that operates within the legal boundaries and respects the rights of content creators.
Once you have considered these factors, do some research and read user reviews to find a reputable and trusted YouTube to MP3 converter that meets your requirements. In the next step, we will explain how to use the chosen converter to convert your YouTube video to MP3 format.
Step 3: Copy the video URL
Now that you have chosen a YouTube to MP3 converter, it’s time to copy the URL of the YouTube video you want to convert. The URL is the unique web address that directs you to the specific video.
To copy the video URL, follow these steps:
- Open the YouTube video in a web browser.
- Look at the address bar at the top of the browser window. It should display the URL of the YouTube video.
- Click on the address bar to select the entire URL.
- Right-click on the selected URL and choose “Copy” from the context menu, or you can simply press Ctrl+C (Command+C on Mac) on your keyboard to copy the URL.
Make sure you have copied the complete URL of the YouTube video, starting with “https://” or “http://” and ending with the video’s unique identifier, which is a combination of numbers and letters. It is important to copy the correct URL to ensure a successful conversion process.
Once you have copied the video URL, you are ready to move on to the next step: pasting the URL into the converter of your choice.
Step 4: Paste the URL into the converter
With the YouTube video URL copied to your clipboard, it’s time to head over to the YouTube to MP3 converter of your choice and start the conversion process. Here’s how to paste the URL into the converter:
- Open a new tab or window in your web browser.
- Search for or navigate to the website of the YouTube to MP3 converter you have selected.
- Once on the converter’s website, you should see a designated area or input box where you can paste the YouTube video URL. This box may be labeled “URL,” “Paste URL,” or something similar.
- Place your cursor in the input box, right-click, and select “Paste” from the context menu, or you can simply press Ctrl+V (Command+V on Mac) on your keyboard to paste the URL.
Ensure that you have pasted the entire YouTube video URL into the converter correctly. Check for any extra spaces or missing characters that may prevent the converter from recognizing the URL. Making sure the URL is accurate and complete is essential for a successful conversion.
Once you have pasted the URL into the converter, you are ready to move on to the next step: selecting the MP3 format and any other desired settings for the conversion process.
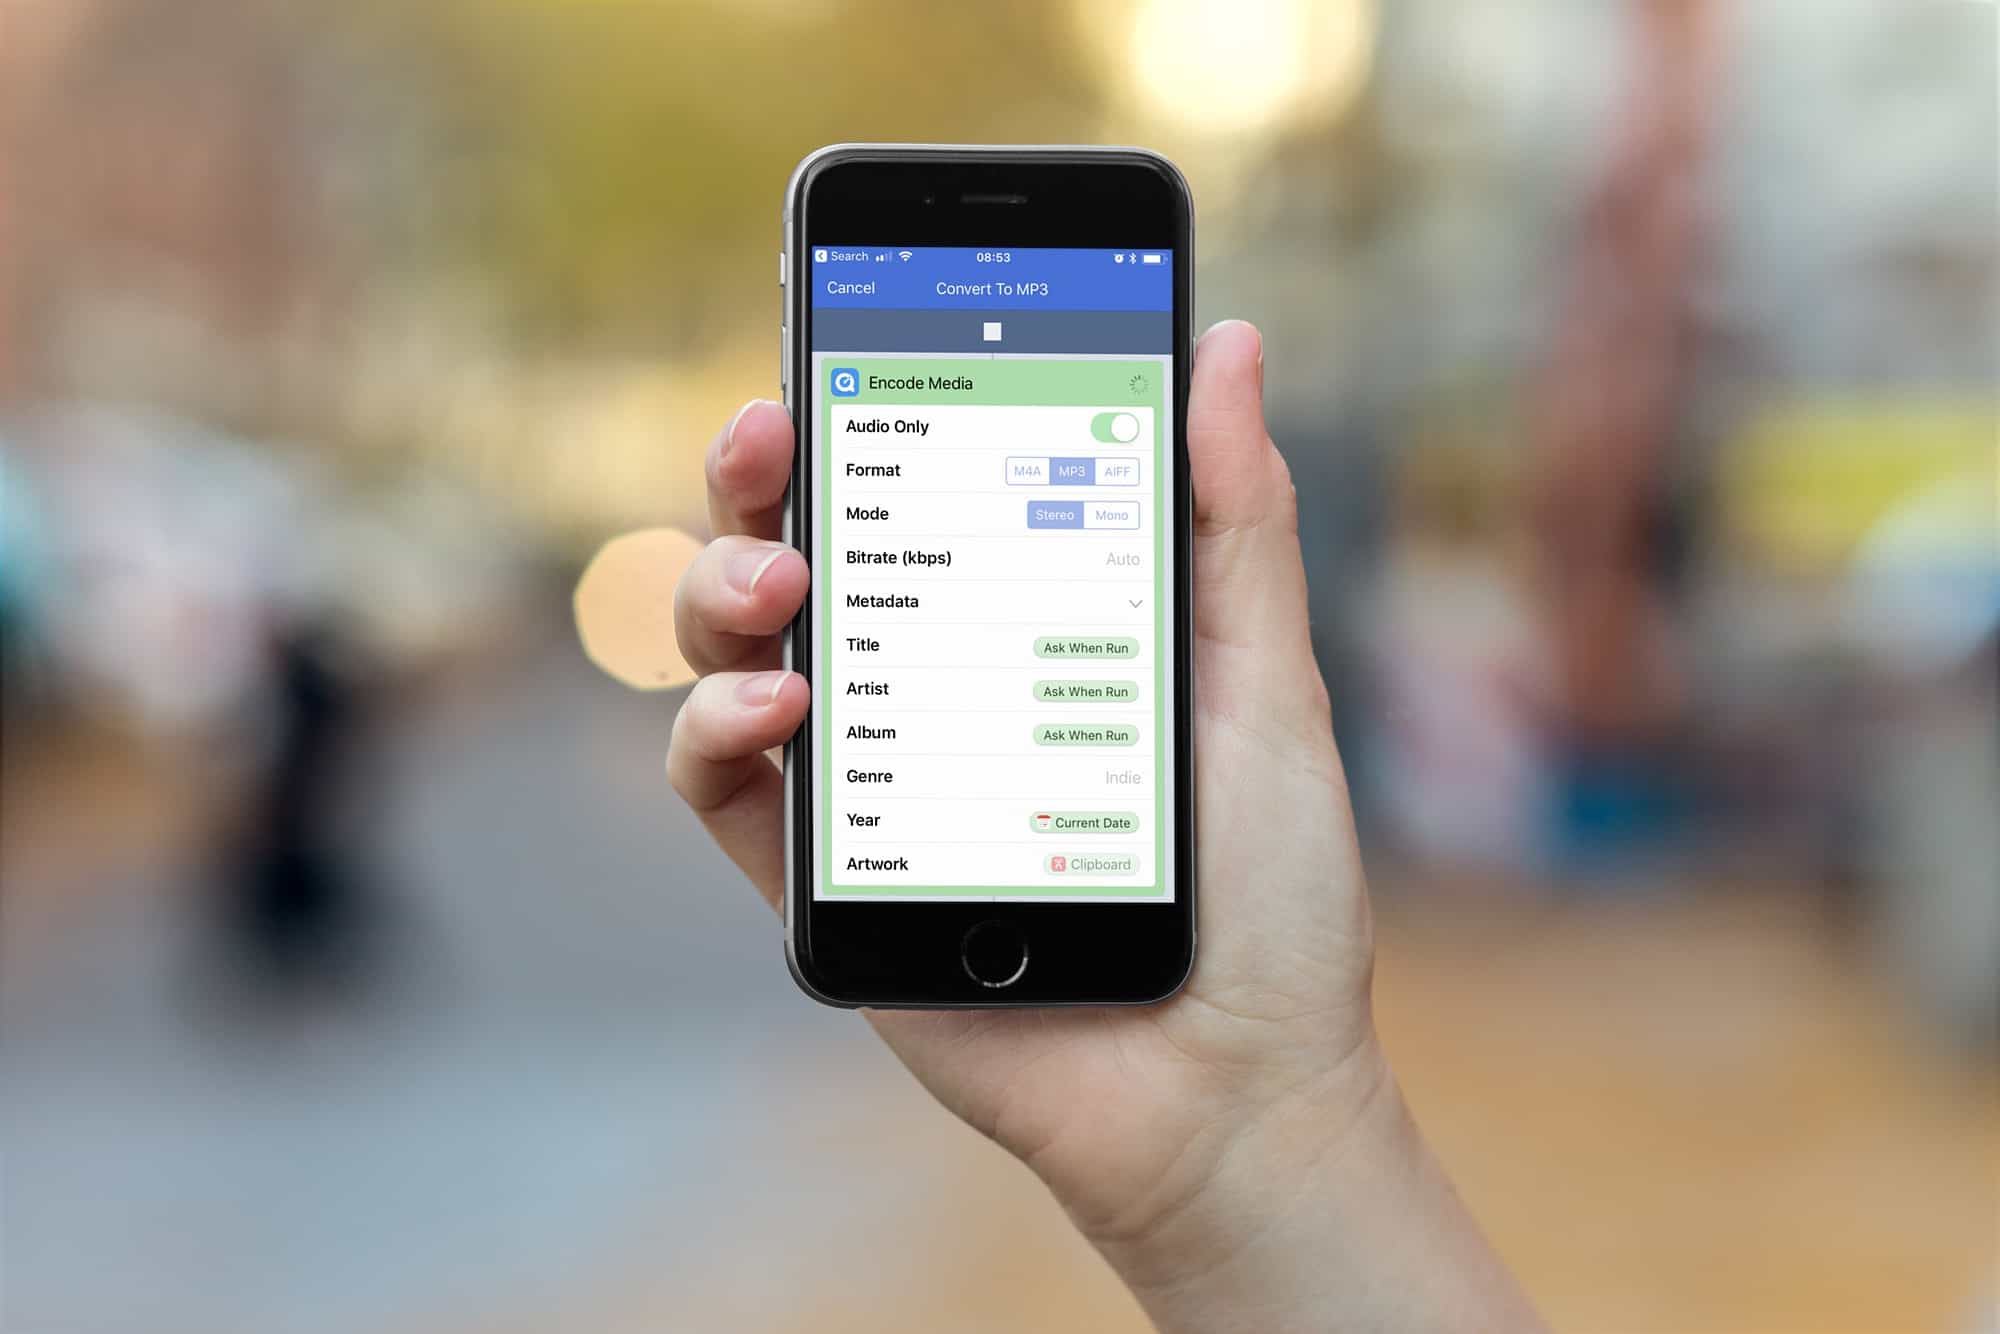
Step 5: Select the MP3 format
After pasting the YouTube video URL into the converter, it’s time to specify the desired output format, which in this case is MP3. Here’s how you can select the MP3 format:
- On the converter’s website, look for a drop-down menu or a section where you can choose the output format.
- In most cases, the default format will be MP3, but it’s important to double-check and ensure that it is selected.
- If there are multiple format options available, locate and select “MP3” from the list. This ensures that the video will be converted into an MP3 audio file.
While MP3 is the standard and widely supported format, you might come across other audio formats such as AAC or FLAC. However, for compatibility and ease of use, MP3 is the recommended choice. It offers a good balance between file size and audio quality.
Remember to pay attention to any additional settings or options that the converter provides. Some converters allow you to customize the audio quality, bitrate, or other advanced settings. If you’re unfamiliar with these settings, it’s generally safe to stick with the default options.
Once you have selected the MP3 format and any other desired settings, you are ready to proceed to the next step: converting the YouTube video to MP3.
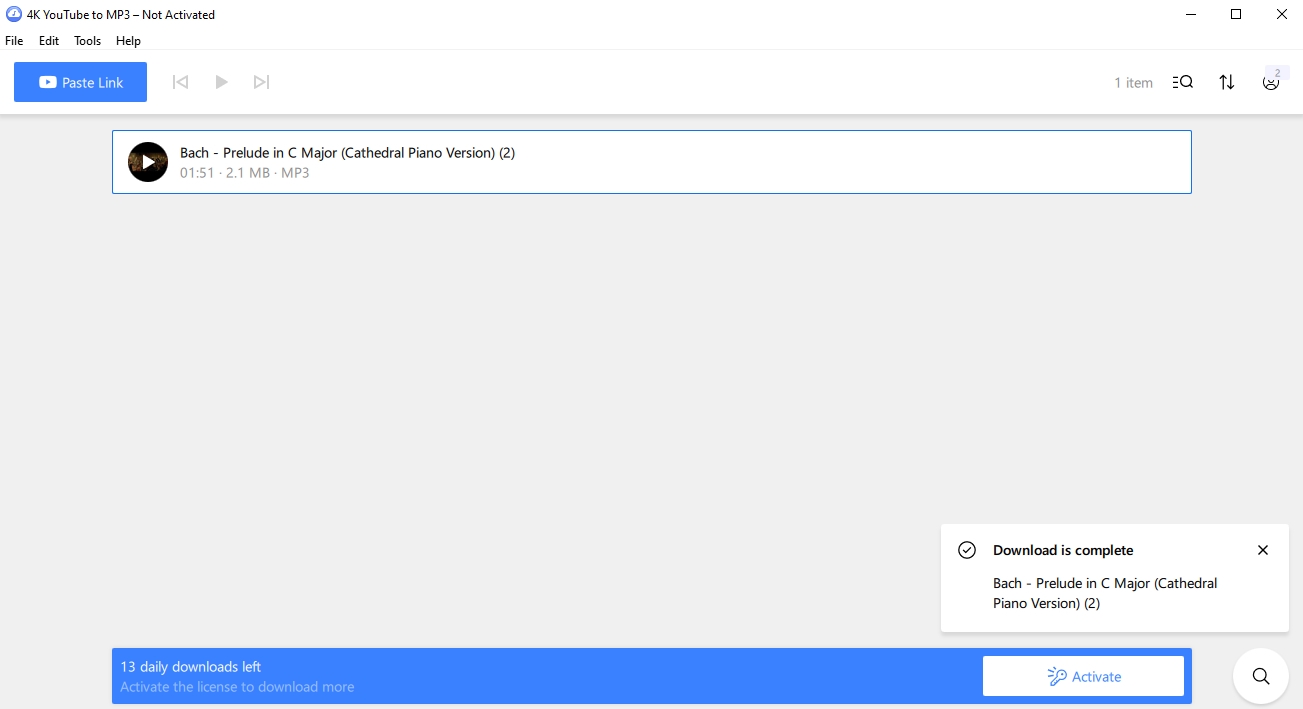
Step 6: Convert the video to MP3
Now that you have specified the MP3 format and any other desired settings, it’s time to convert the YouTube video into an MP3 audio file. The converter will take care of the conversion process for you. Follow these steps to convert the video to MP3:
- Look for a button or option on the converter’s website that starts the conversion process. It may be labeled “Convert,” “Start,” or something similar.
- Click on the conversion button to initiate the process.
- Wait for the converter to process the YouTube video and convert it to MP3 format. The duration of this process will depend on the length of the video and the speed of the converter.
- During the conversion process, you may see a progress indicator or a status message indicating the status of the conversion.
- Once the conversion is complete, the MP3 file will be generated and ready for download.
It’s important to note that the conversion process may vary slightly depending on the YouTube to MP3 converter you are using. Some converters may require additional steps or may have different user interfaces. Nonetheless, the general concept remains the same: paste the URL, select the format, and initiate the conversion process.
Keep in mind that the resulting MP3 file will contain only the audio from the YouTube video, without any accompanying video footage. This is exactly what we aim to achieve when converting YouTube videos to MP3 format.
Once the conversion is complete, you can proceed to the final step: downloading and saving the MP3 file to your device.
Step 7: Download and save the MP3 file
After the conversion process is complete, it’s time to download and save the MP3 file to your device. Follow these steps to download and save the converted file:
- Look for a button or link on the converter’s website that allows you to download the converted MP3 file. It may be labeled “Download,” “Save,” or something similar.
- Click on the download button or link to initiate the download process.
- A pop-up window may appear asking you to choose a location on your device where you want to save the MP3 file. Select the desired folder or directory.
- Click “Save” or “OK” to start the download process.
The time it takes to download the MP3 file will depend on the file size and the speed of your internet connection. Larger files may take longer to download.
Once the download is complete, navigate to the folder or directory where you saved the MP3 file. You can now access the converted audio file and listen to it using any MP3 player software or device of your choice.
It’s important to remember that due to copyright laws, you should only download and use MP3 files for personal use, and not for redistribution or commercial purposes.
Congratulations! You have successfully converted a YouTube video to an MP3 file and downloaded it to your device. You can now enjoy your favorite music offline, create playlists, or share the MP3 files with friends and family.
Step 8: Enjoy your YouTube video as an MP3
Now that you have successfully downloaded and saved the YouTube video as an MP3 file, it’s time to enjoy your music in the MP3 format. Here are some ways you can make the most out of your newly converted files:
- Transfer to your portable device: Copy the downloaded MP3 files to your smartphone, tablet, MP3 player, or any other portable device. This allows you to enjoy your favorite music on the go without relying on an internet connection.
- Create personalized playlists: Organize your MP3 files into customized playlists based on your music preferences. This makes it easier to access and listen to specific genres or moods.
- Listen offline: Since the MP3 files are stored on your device, you can listen to your favorite music even without an internet connection. This is particularly useful when traveling, exercising, or in areas with limited connectivity.
- Share with others: Spread the joy of music by sharing your converted MP3 files with friends, family, or fellow music enthusiasts. You can use file-sharing platforms, messaging apps, or even burn them onto CDs to share.
- Experiment with remixing or editing: If you’re musically inclined, you can use software or apps to remix or edit your MP3 files. Explore your creativity and create unique versions of your favorite songs.
- Discover new artists and genres: With your newly converted MP3 files, you have the opportunity to explore and discover new artists and music genres. Use music streaming platforms or online radio stations to expand your musical horizons.
Remember to respect the rights of artists and content creators. Only use your MP3 files for personal use and avoid sharing them in a way that infringes on copyright laws.
By following these steps, you have successfully converted a YouTube video to MP3 format, allowing you to enjoy your favorite music in a more versatile and convenient way. Embrace the freedom and flexibility that comes with having your music in MP3 format and have fun exploring the endless possibilities!
Thank you for reading this guide, and happy listening!
Conclusion
Converting YouTube videos to MP3 format opens up a world of possibilities for enjoying your favorite music. It allows you to listen to your preferred songs offline, create personalized playlists, and share your music with others. In this article, we’ve guided you through the step-by-step process of converting YouTube videos to MP3 files.
We started with finding the YouTube video you want to convert, choosing a reliable YouTube to MP3 converter, and copying the video URL. We then moved on to pasting the URL into the chosen converter, selecting the MP3 format, and initiating the conversion process. After the conversion, we explained how to download and save the converted MP3 file to your device.
Finally, we highlighted the various ways you can enjoy your converted MP3 files, from transferring them to portable devices to creating personalized playlists and sharing them with others. We also emphasized the importance of respecting copyright laws and using the MP3 files for personal use only.
By following these steps, you can now make the most out of your YouTube videos as MP3 files. Enjoy the convenience of listening to your favorite music offline and exploring new artists and genres. Remember, the joy of music knows no boundaries, and with the power of MP3, you can immerse yourself in a world of melodies and rhythms wherever you go.
We hope this guide has been helpful in enabling you to convert YouTube videos to MP3 format. Now, it’s time to start enjoying your music in a whole new way!