Home>Production & Technology>Sound Bar>How To Connect Sound Bar To Subwoofer
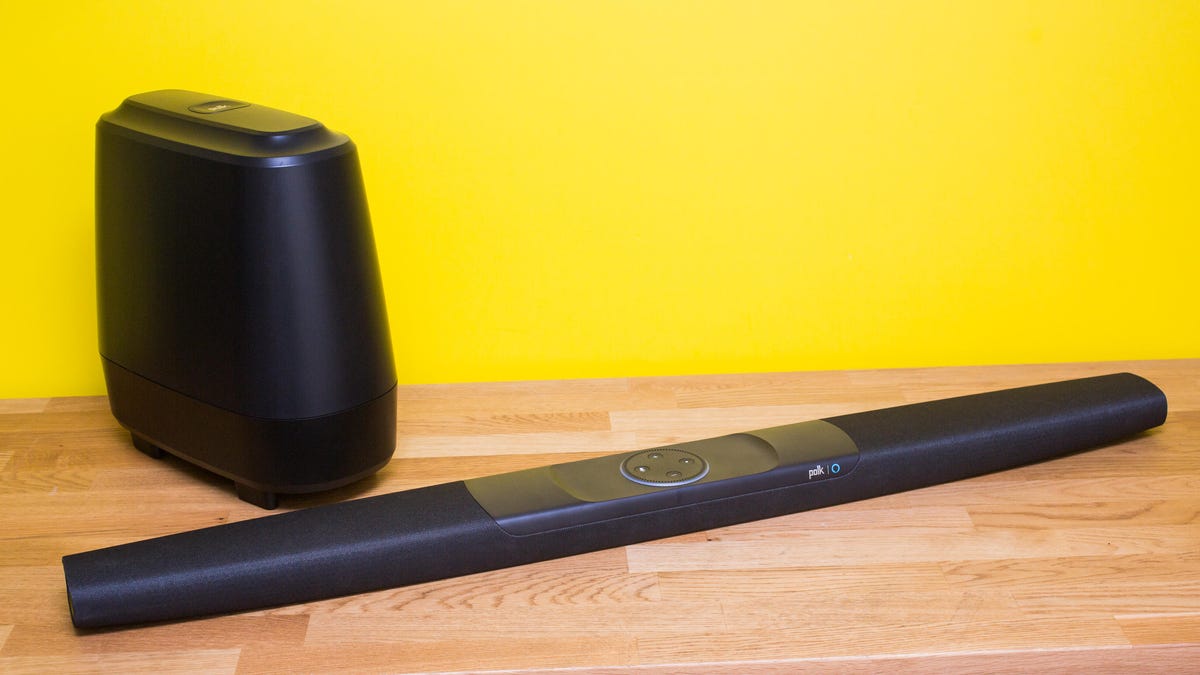
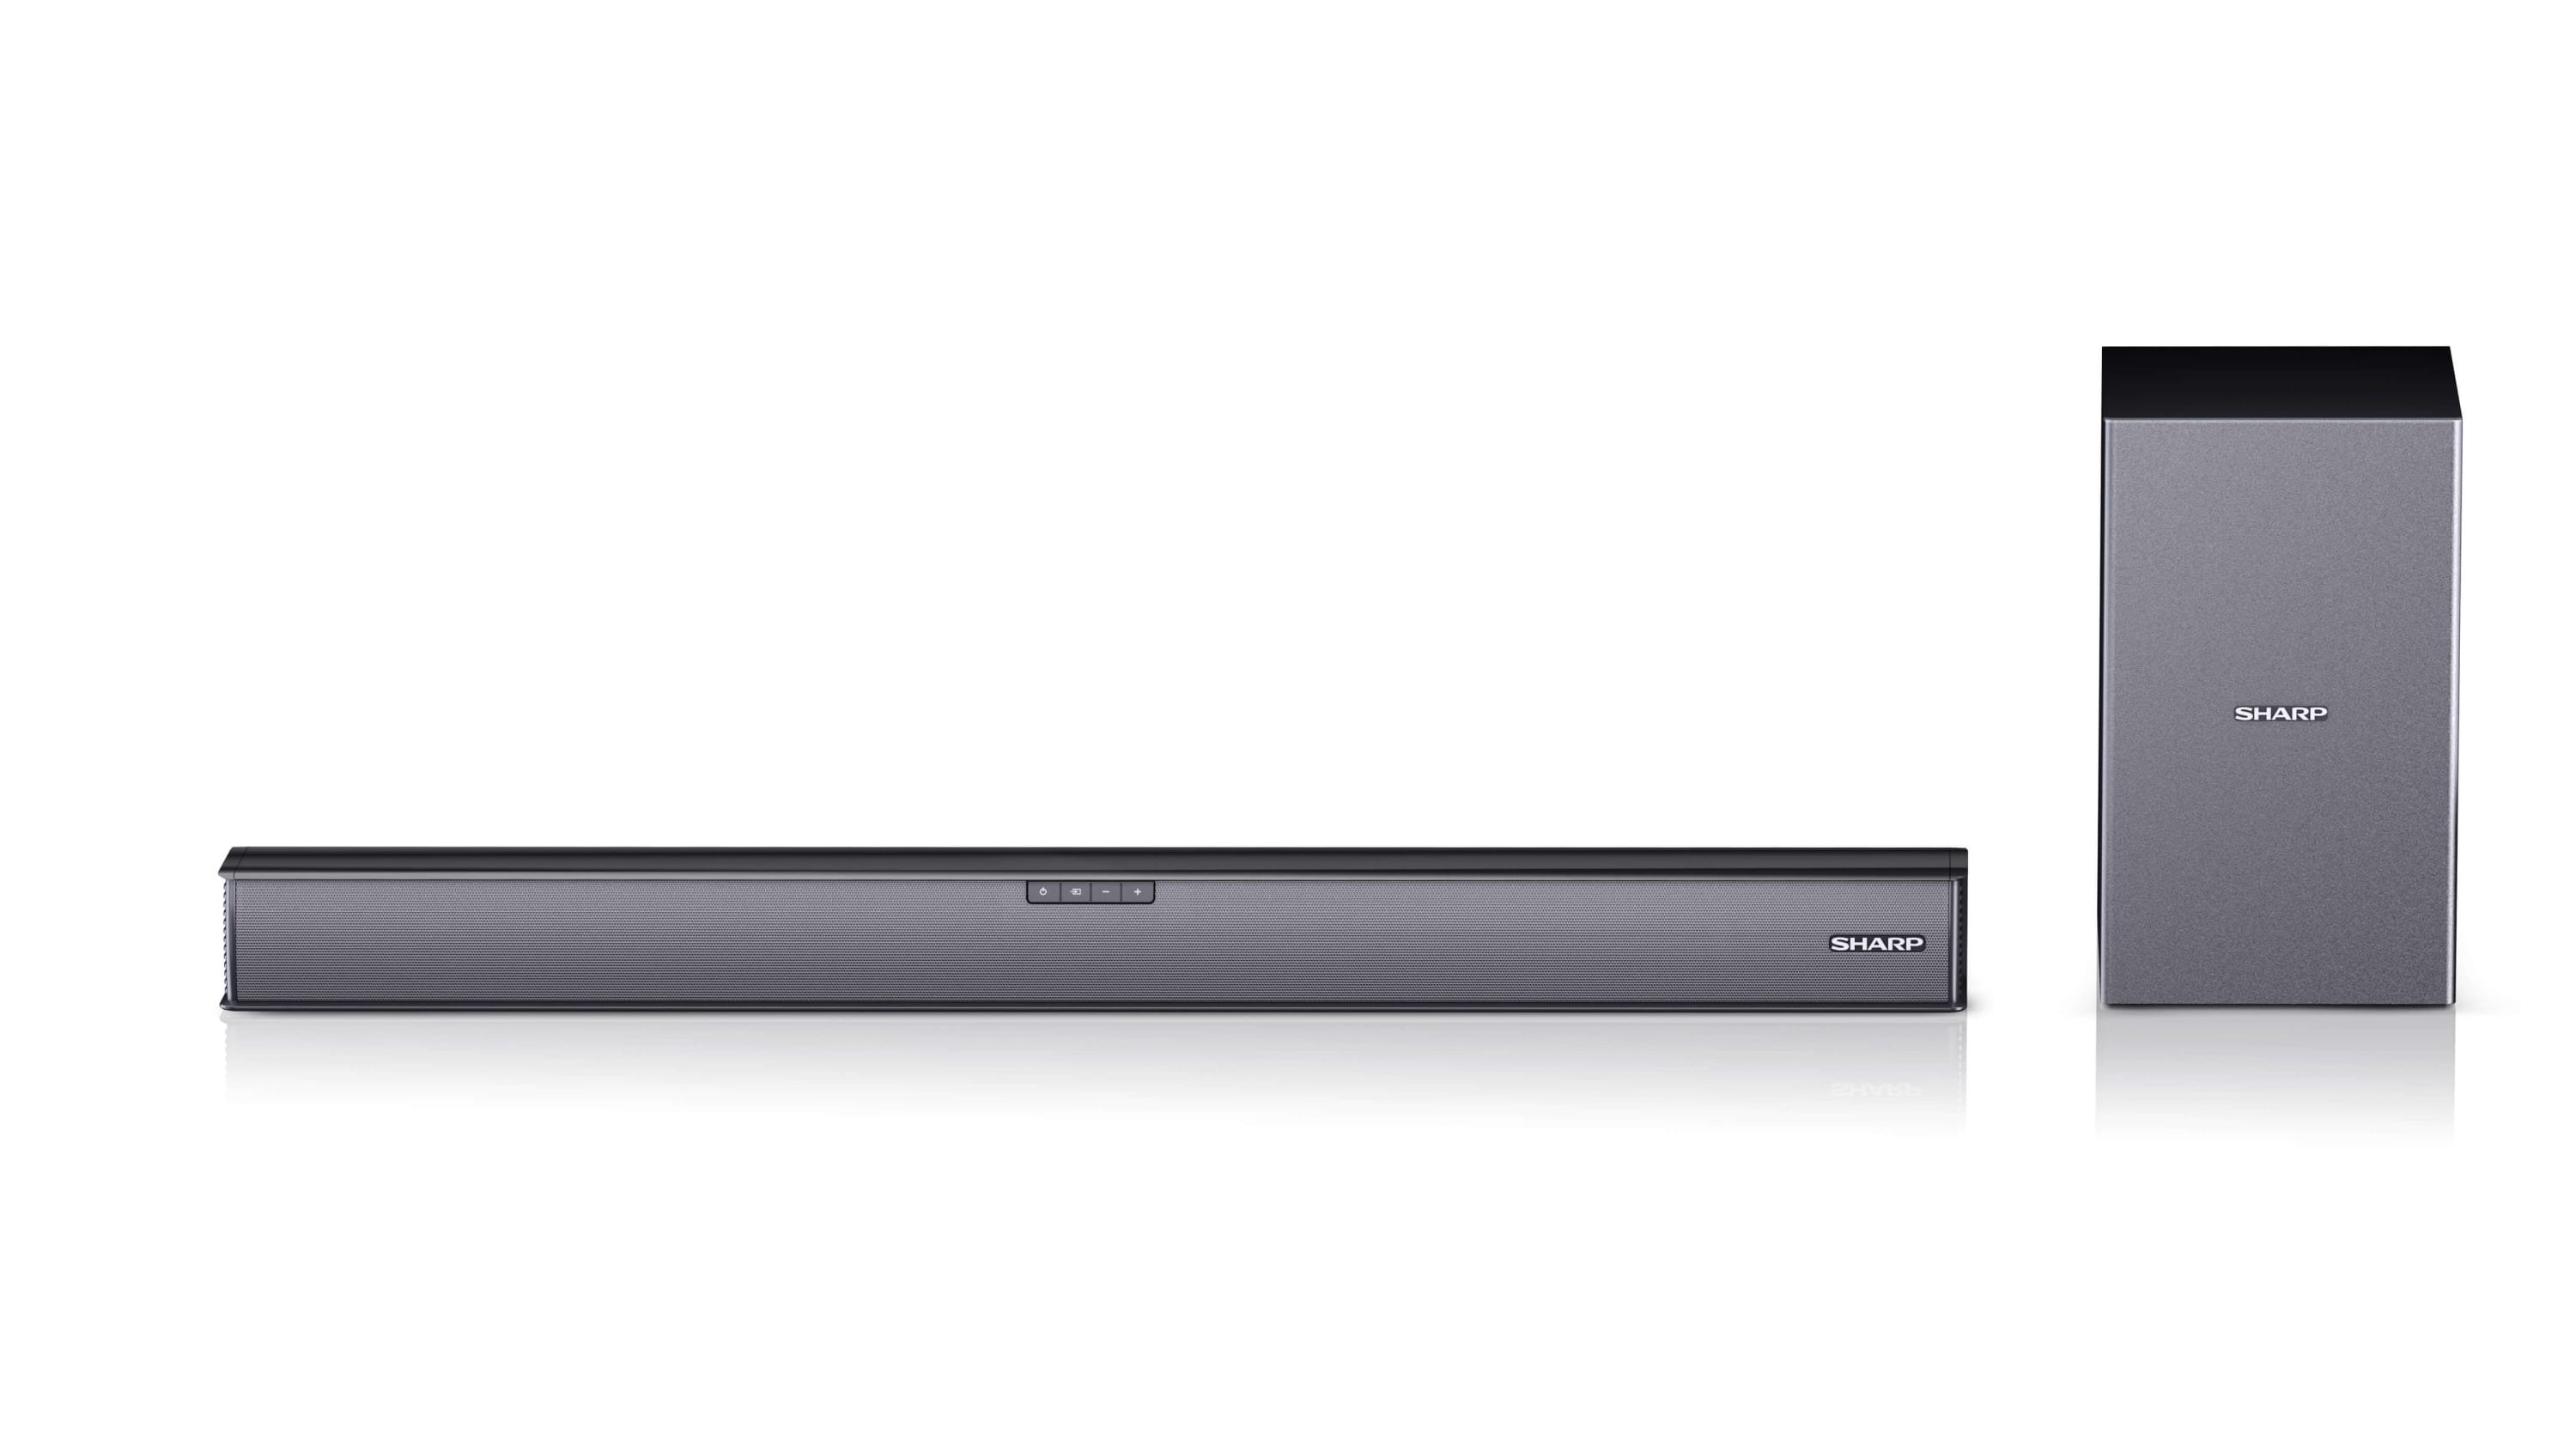
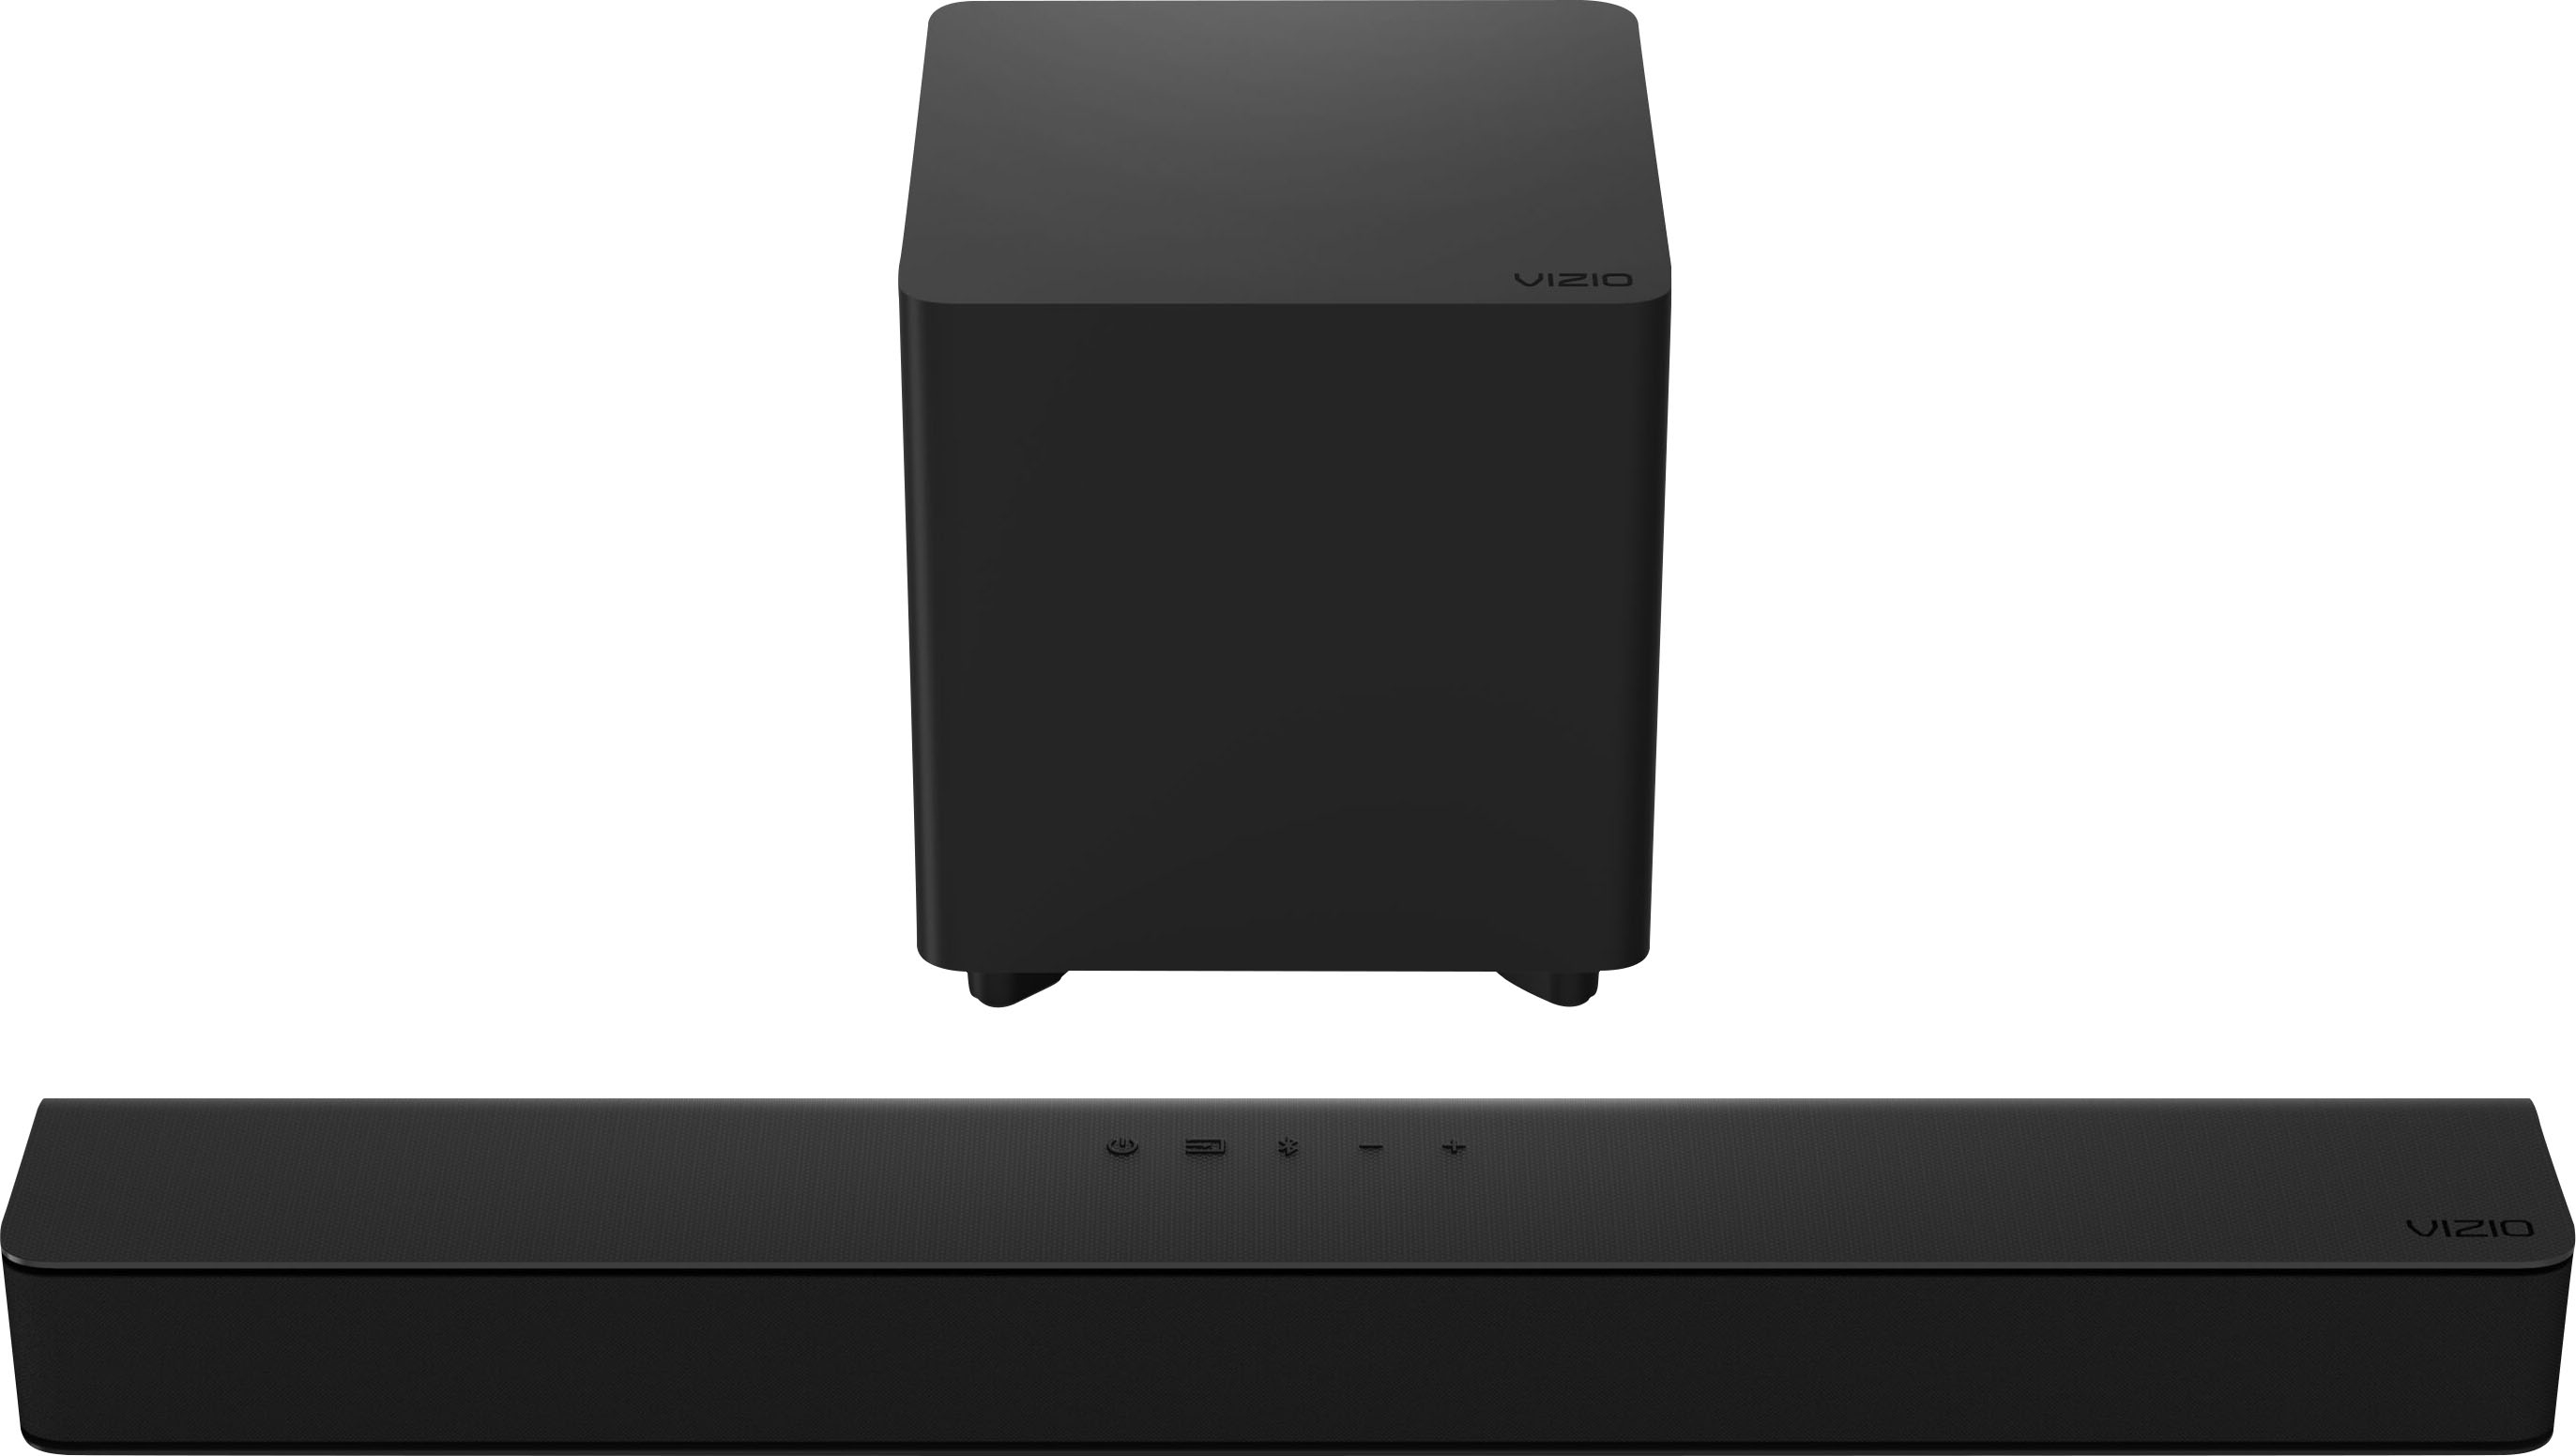
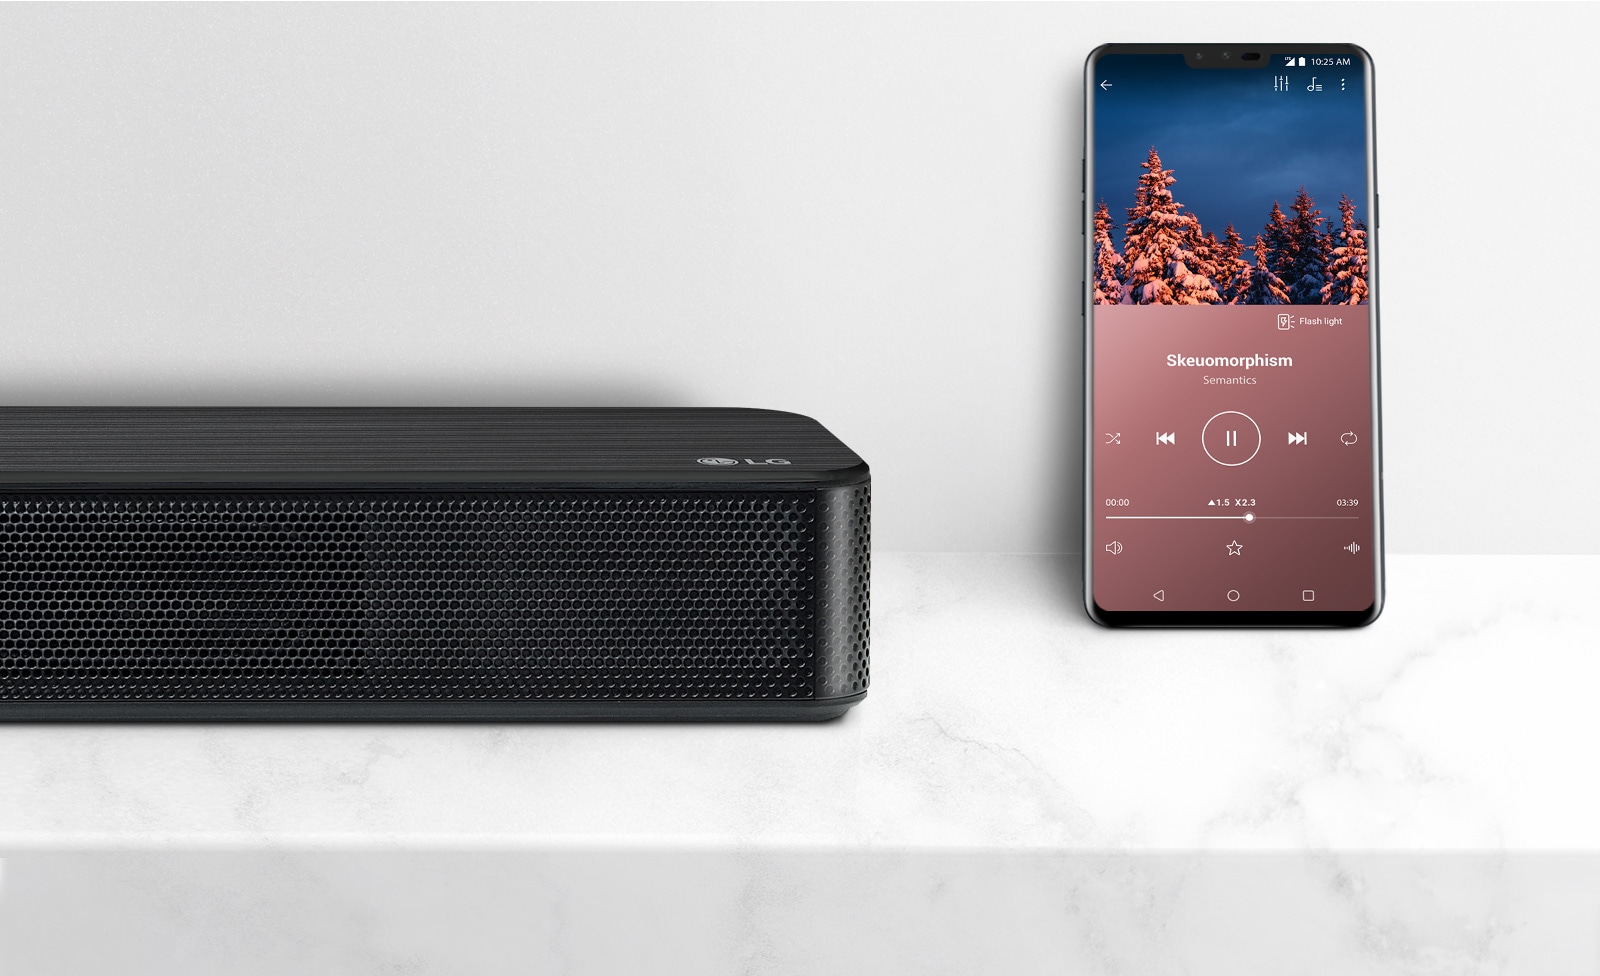
Sound Bar
How To Connect Sound Bar To Subwoofer
Modified: February 18, 2024
Learn how to connect a sound bar to a subwoofer easily. Enhance your audio experience with simple steps and enjoy immersive sound with your sound bar.
(Many of the links in this article redirect to a specific reviewed product. Your purchase of these products through affiliate links helps to generate commission for AudioLover.com, at no extra cost. Learn more)
Table of Contents
Introduction
Welcome to the world of high-quality audio with sound bars and subwoofers! If you’re looking to enhance your home audio experience, connecting a sound bar to a subwoofer can take your sound system to the next level. By combining the clarity of a sound bar with the deep bass of a subwoofer, you can create a cinematic audio experience right in your living room.
Whether you’re a movie buff, a music lover, or a casual TV viewer, a sound bar and subwoofer combo can greatly enhance your audio immersion. The sound bar provides clear and detailed sound reproduction, while the subwoofer adds depth and rumble to those low-end frequencies that you can feel.
In this article, we will guide you through the process of connecting a sound bar to a subwoofer. We’ll cover everything from ensuring compatibility between the devices to adjusting the settings for optimal performance. So, let’s dive in and get started!
Step 1: Check Compatibility
Before you begin connecting your sound bar to a subwoofer, it’s important to ensure that the devices are compatible with each other. Compatibility will ensure a smooth and seamless integration of the two components, allowing you to enjoy the best audio performance.
Firstly, check if your sound bar has a dedicated subwoofer output or a subwoofer pre-out. This is usually indicated by an RCA jack or a dedicated subwoofer port. If your sound bar has this feature, it means that it is designed to work with a subwoofer.
Next, examine your subwoofer to see if it has a corresponding input for connecting to a sound bar. Typically, subwoofers have inputs labeled as “line in,” “sub in,” or similar markings. This is where you will be connecting the sound bar.
Additionally, check if your sound bar and subwoofer use the same type of audio connection. The most common types of connections include RCA, 3.5mm, coaxial, and optical. Make sure both the sound bar and subwoofer have the same type of audio input and output options, or at least have compatible adapters or converters available.
If you’re unsure about the compatibility between your sound bar and subwoofer, consult the user manuals or reach out to the manufacturers for clarification. They can provide specific information about the compatibility requirements and any potential limitations.
By carefully checking the compatibility between your sound bar and subwoofer, you can avoid any frustrations or compatibility issues during the setup process. Once you have verified the compatibility, you can move on to the next step, connecting the subwoofer to the sound bar.
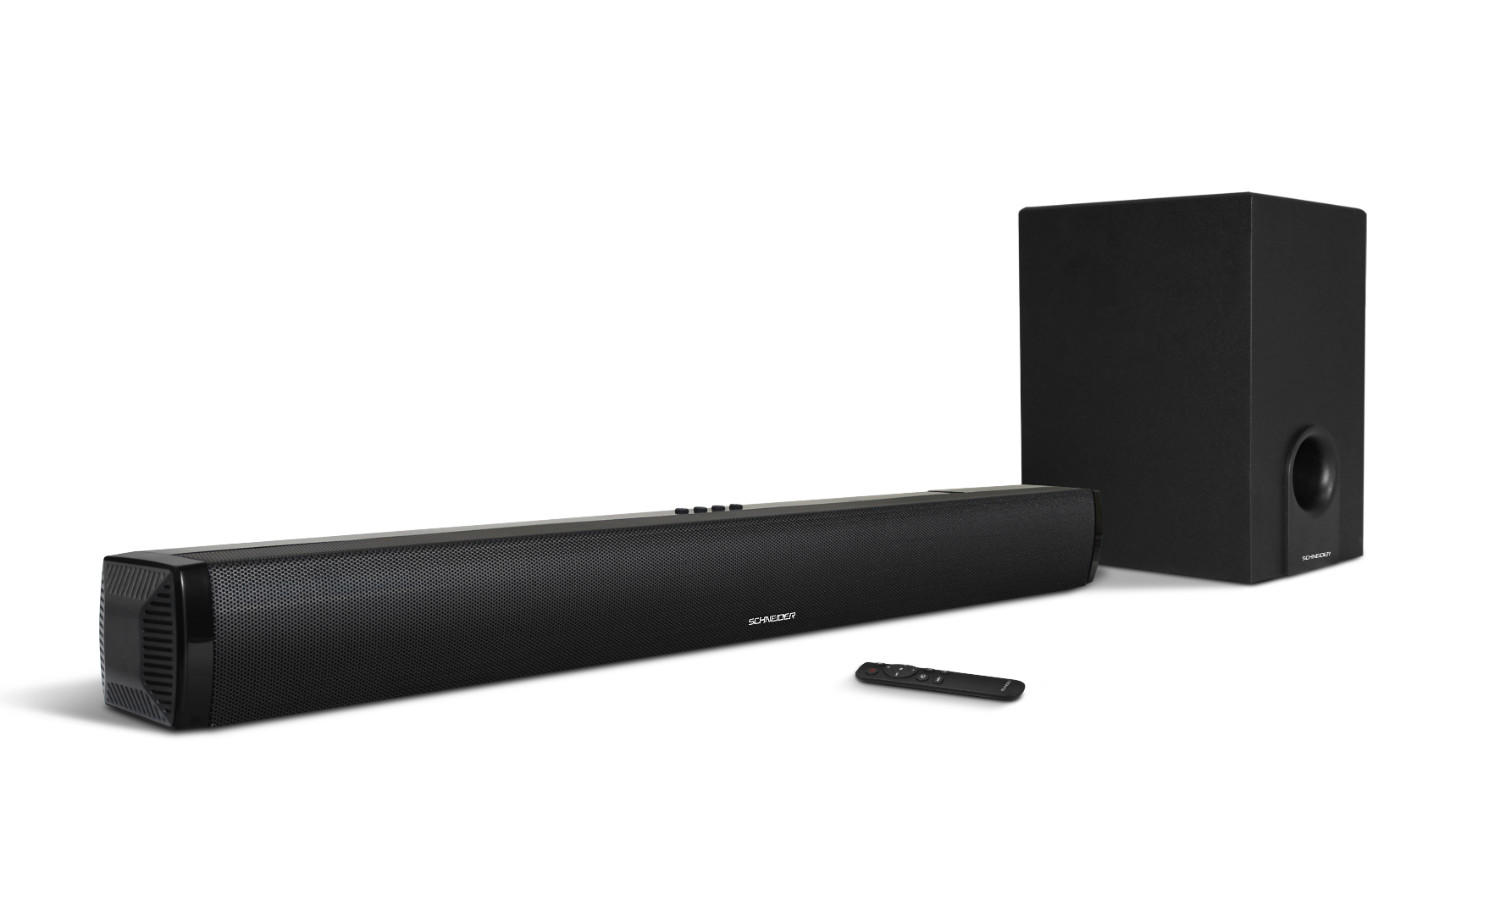
Step 2: Connect the Subwoofer to the Sound Bar
Now that you have confirmed the compatibility between your sound bar and subwoofer, it’s time to connect the two devices together. Follow these steps to establish a solid connection:
- Locate the subwoofer output or pre-out on your sound bar. It is usually labeled as “sub out” or “subwoofer output.” The most common type of connection for this is an RCA jack.
- Take one end of an RCA cable and securely plug it into the subwoofer output on your sound bar.
- Locate the corresponding input on your subwoofer. It is usually labeled as “line in” or “sub in.” Using the other end of the RCA cable, connect it to the subwoofer input.
- Ensure that the connections are tight and secure. Loose connections can result in sound distortion or loss of audio signal.
- Power on your sound bar and subwoofer if they have separate power buttons. Some subwoofers may require their own power source.
Once the connections are made and the devices are powered on, your sound bar and subwoofer should start working together. However, it’s important to note that some sound bars and subwoofers may require additional pairing or syncing steps. Refer to the user manuals of your specific models for any additional instructions.
If your sound bar and subwoofer are wirelessly compatible, you may need to perform a pairing process to establish a wireless connection. This usually involves pressing specific buttons on both devices to initiate the pairing mode. Again, consult the user manuals for detailed instructions on the pairing process.
With the subwoofer successfully connected to your sound bar, you’re one step closer to unlocking a new level of audio experience. The next step is to fine-tune the settings for optimal performance, which we will discuss in the next section.
Step 3: Adjust the Settings
After you have successfully connected the subwoofer to your sound bar, it’s time to adjust the settings to ensure the best possible audio performance. Here are some key settings you should consider:
- Volume and Balance: Start by setting the volume level of your sound bar and subwoofer to a comfortable level. Ideally, the subwoofer should enhance the bass without overpowering the other audio frequencies. Find the right balance by adjusting the individual volume controls on both devices.
- Crossover Frequency: The crossover frequency determines which frequencies are sent to the sound bar and which are sent to the subwoofer. Adjusting this setting can help achieve a seamless blending of the sound. Start with a default setting and gradually fine-tune it to your liking, ensuring that the bass from the subwoofer complements the sound bar’s output.
- Equalizer Settings: Many sound bars come with built-in equalizer settings or sound modes that allow you to customize the audio output. Experiment with different settings to find what sounds best to you. Some common sound modes include Movie, Music, Gaming, and Voice. Additionally, you can manually adjust the bass and treble levels to suit your preferences.
- Bass Boost: Some sound bars have a bass boost feature that amplifies the low-end frequencies. If present, enable this feature to enhance the deep bass output from the subwoofer. However, be cautious not to overdo it, as it can result in muffled or distorted sound.
- Positioning: Proper placement of the subwoofer can significantly impact its performance. Experiment with different locations in the room to find the best spot where the bass response is optimized. Avoid placing the subwoofer in corners or against walls, as this can cause excessive bass resonance.
It’s important to note that every sound bar and subwoofer combination is unique, and the optimal settings may vary based on your specific setup and personal preferences. Take the time to explore and adjust these settings to achieve the desired audio quality.
Once you have fine-tuned the settings, it’s time to put the connection to the test.
Step 4: Test the Connection
Now that you have connected and adjusted the settings for your sound bar and subwoofer, it’s time to test the connection and ensure everything is working as expected. Follow these steps to perform a quick test:
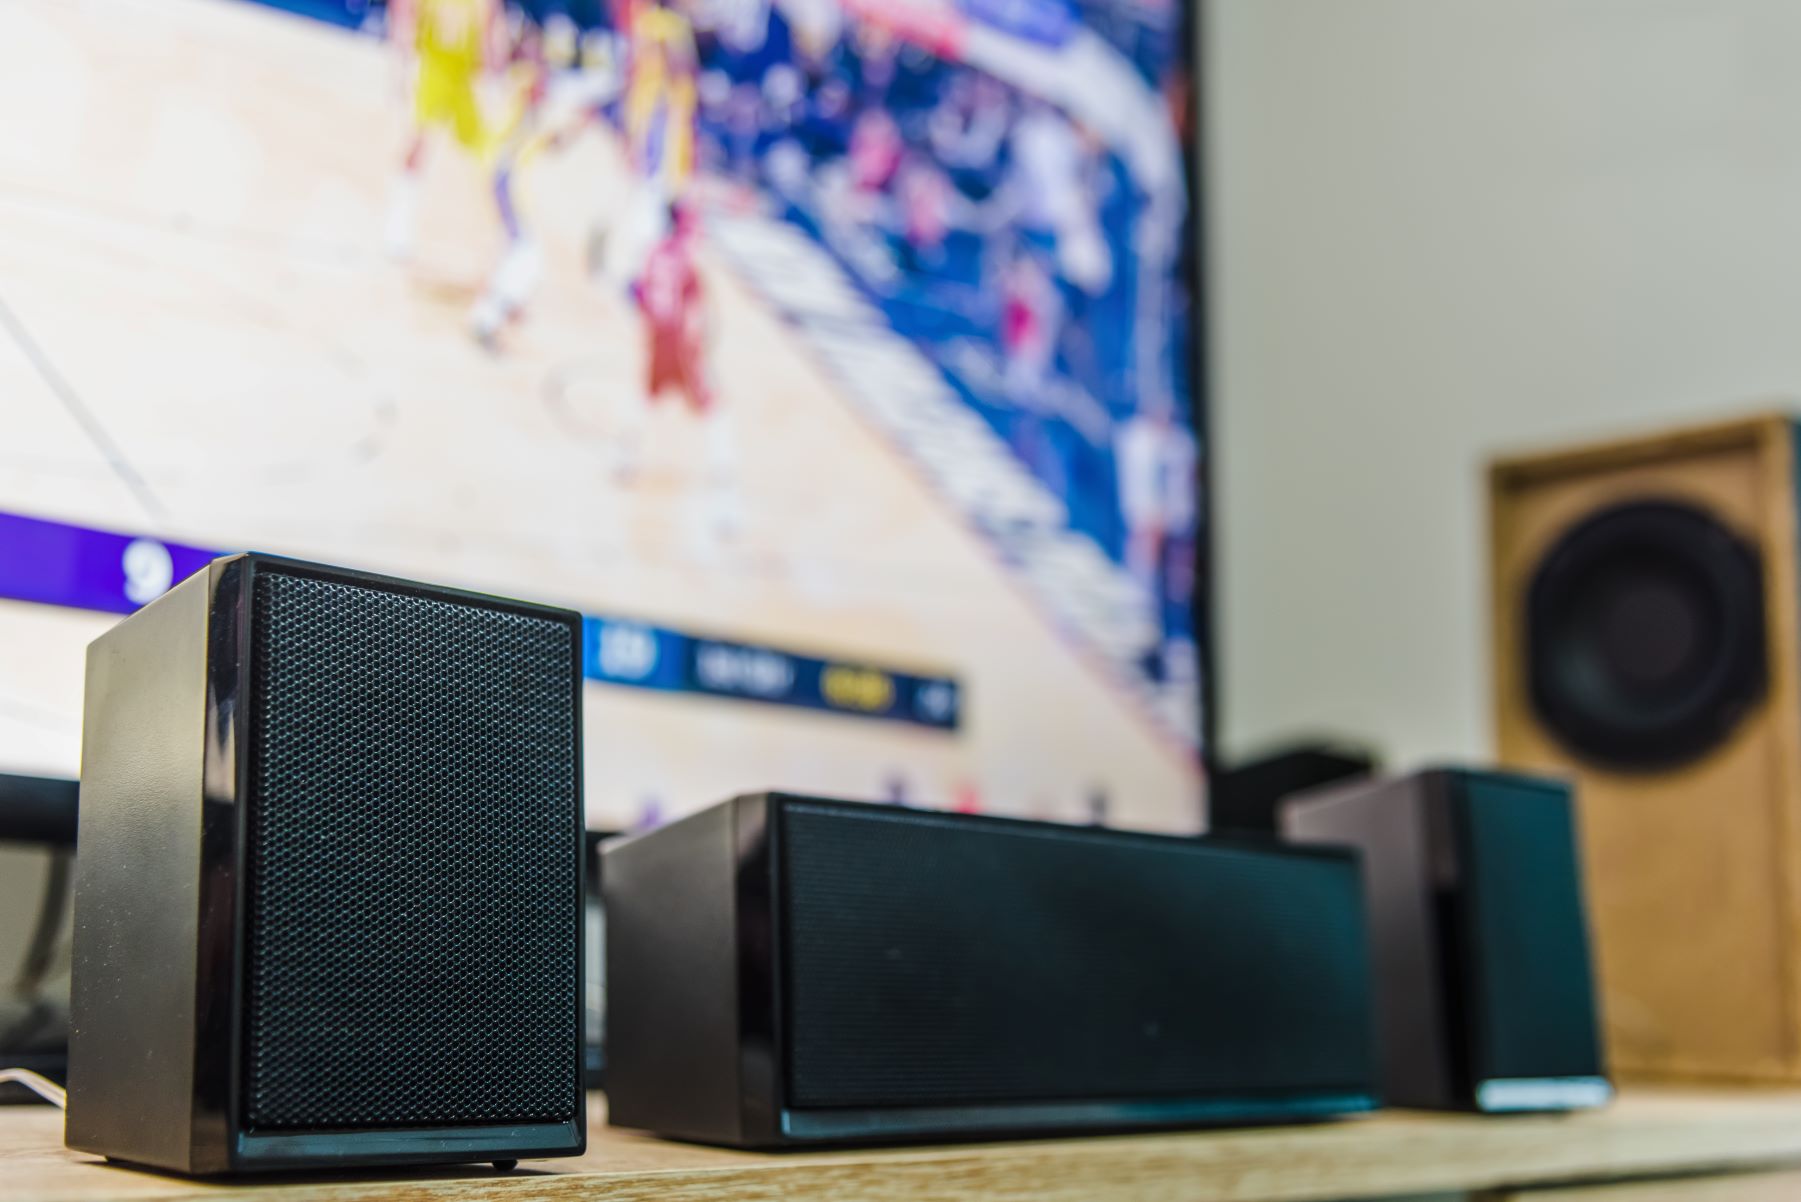
- Play Audio Content: Start by playing your favorite audio content, whether it be a movie, music, or a TV show. This will allow you to assess the overall audio performance and identify any issues or areas that might need further adjustment.
- Listen for Balance: Pay close attention to the balance between the sound bar and the subwoofer. The sound should be well-balanced, with clear and detailed audio coming from the sound bar, and deep, impactful bass coming from the subwoofer. Make sure the bass doesn’t overpower the other audio frequencies and that it blends seamlessly with the sound bar output.
- Check for Distortion: Keep an ear out for any distortion or buzzing sounds. Distorted audio may indicate a problem with the connection or the settings. If you notice any issues, double-check the connections and adjust the settings accordingly.
- Test Different Content: To further assess the connection, try playing different types of audio content. This can include action-packed movies, bass-heavy music, and dialogue-driven TV shows. The goal is to ensure that the sound bar and subwoofer perform well across a variety of audio scenarios.
- Make Fine-Tuning Adjustments: If you encounter any issues during the testing phase, such as imbalanced sound or distortion, go back to the settings and make further adjustments. Tweak the volume, crossover frequency, equalizer settings, and bass boost to achieve the desired audio performance.
Remember, patience and experimentation are key when testing the connection. It may take some time to find the perfect settings that suit your preferences and specific room environment. Don’t hesitate to make adjustments along the way until you are satisfied with the audio performance.
Once you have tested and confirmed that the connection between your sound bar and subwoofer is working smoothly, congratulations! You can now sit back, relax, and enjoy the immersive audio experience that your new setup provides.
Conclusion
Connecting a sound bar to a subwoofer can transform your home audio system, immersing you in a world of rich and powerful sound. By following the steps outlined in this guide, you can easily connect your sound bar and subwoofer, ensuring compatibility, adjusting settings, and testing the connection for optimal audio performance.
Remember to check the compatibility between your sound bar and subwoofer, ensuring that they have the necessary inputs and outputs for connection. Take the time to make secure and tight connections, and power on both devices. Adjusting the settings, such as volume, crossover frequency, equalizer settings, and bass boost, can help you achieve the perfect audio balance and fine-tune the performance to your liking.
Once you have completed the setup and tested the connection, you can sit back and enjoy the immersive audio experience that your sound bar and subwoofer combo brings to your living space. Whether you’re watching movies, listening to music, or indulging in your favorite TV shows, the deep bass and detailed sound reproduction will take your entertainment to a whole new level.
Remember that every audio setup is unique, and it may take some trial and error to find the settings that suit your preferences and room environment. Don’t be afraid to explore different options and make adjustments as needed.
Now that you are equipped with the knowledge of connecting a sound bar to a subwoofer, it’s time to unleash the full potential of your home audio system and enjoy a cinematic audio experience right in the comfort of your home. Happy listening!