Home>Production & Technology>Stereo>How To Play Music From Flash Drive On Car Stereo
Stereo
How To Play Music From Flash Drive On Car Stereo
Published: November 18, 2023
Learn how to effortlessly play music from your flash drive on your car stereo with our simple step-by-step guide. Upgrade your car audio experience now and enjoy stereo quality sound on the go!
(Many of the links in this article redirect to a specific reviewed product. Your purchase of these products through affiliate links helps to generate commission for AudioLover.com, at no extra cost. Learn more)
Table of Contents
Introduction
Listening to music while driving can be a great way to enhance your overall driving experience. Whether you’re going on a road trip or just running errands, having your favorite tunes playing in the car can make the journey much more enjoyable. While many modern car stereos come equipped with features that allow you to connect your phone or use streaming services, there’s still a significant number of older car stereos that don’t have these capabilities.
However, if your car stereo has a USB port, you can still enjoy your favorite music by using a flash drive. A flash drive, also known as a USB drive or thumb drive, is a portable storage device that can store and transfer digital files. By transferring your music files onto a flash drive, you can easily play them on your car stereo without the need for a smartphone or a streaming service.
In this guide, we will walk you through the process of playing music from a flash drive on your car stereo. We will go over the equipment you will need, the steps to format the flash drive to ensure compatibility, and how to connect the flash drive to your car stereo. By the end of this guide, you’ll be able to enjoy your favorite songs while you’re on the road, no matter how old your car stereo is.
Gathering the Required Equipment
Before you can start playing music from a flash drive on your car stereo, you’ll need to gather a few essential pieces of equipment. Here’s what you’ll need:
- A USB flash drive: Look for a flash drive with sufficient storage capacity to hold all your music files. Make sure it is compatible with your car stereo’s USB port.
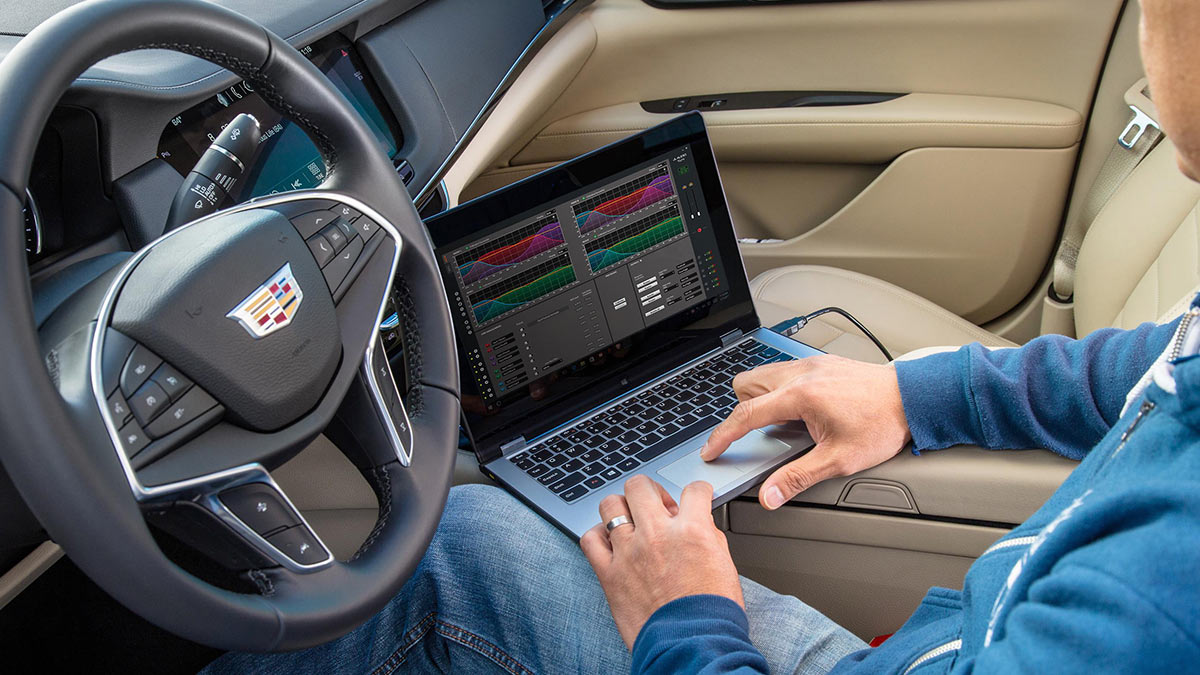
- A computer or laptop: You’ll need a computer or laptop to transfer your music files onto the flash drive and format it properly.
- USB cable: Depending on your computer’s USB ports, you may need a USB cable to connect the flash drive to your computer.
Once you have gathered these items, you’re ready to move on to the next step of preparing your flash drive for use with your car stereo.
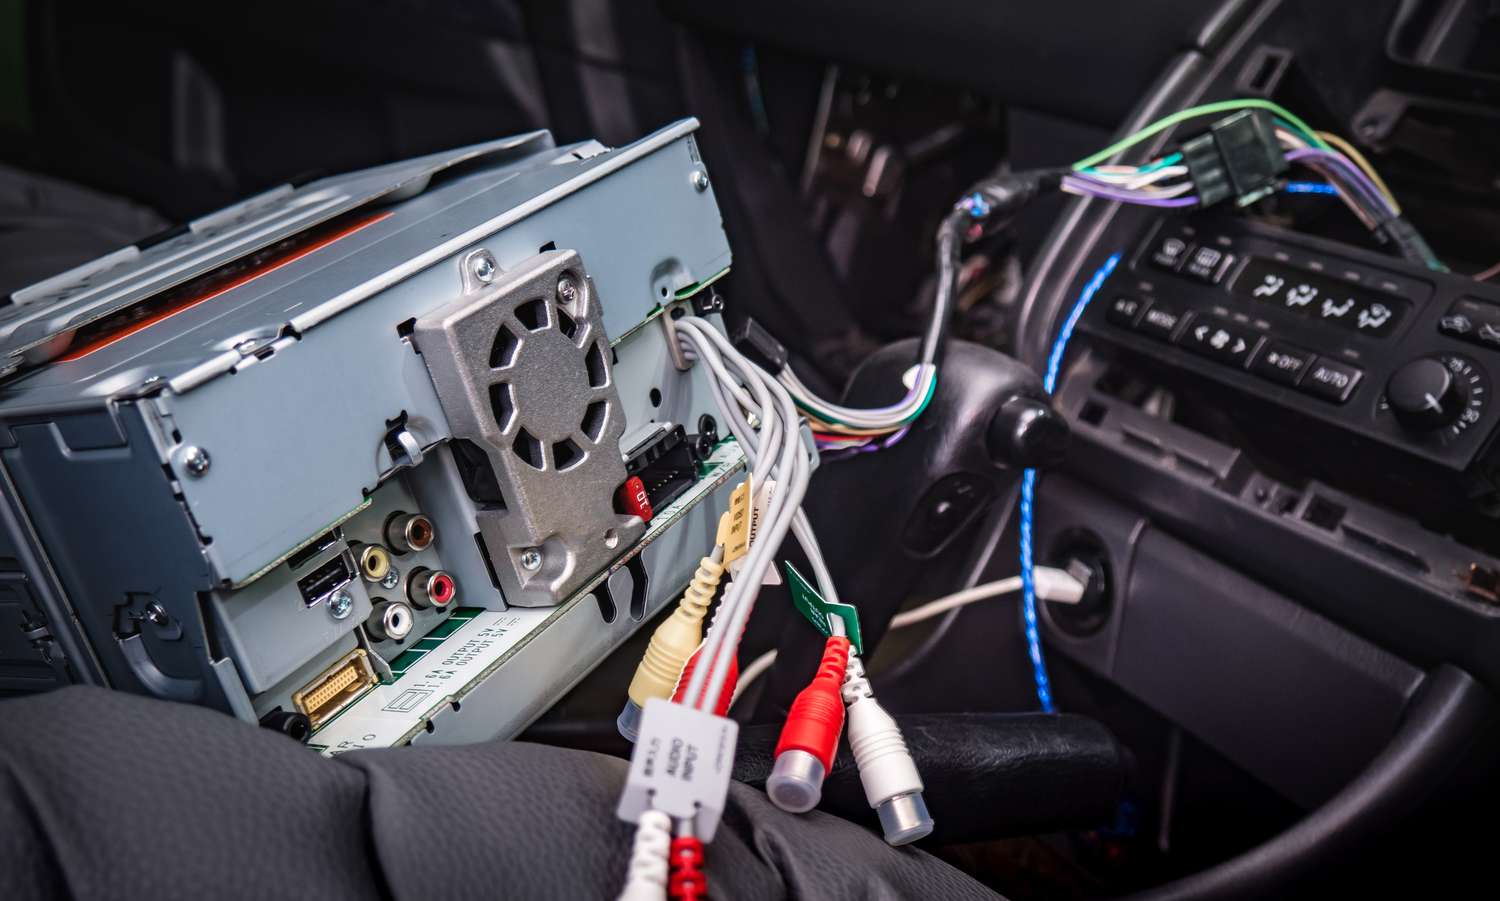
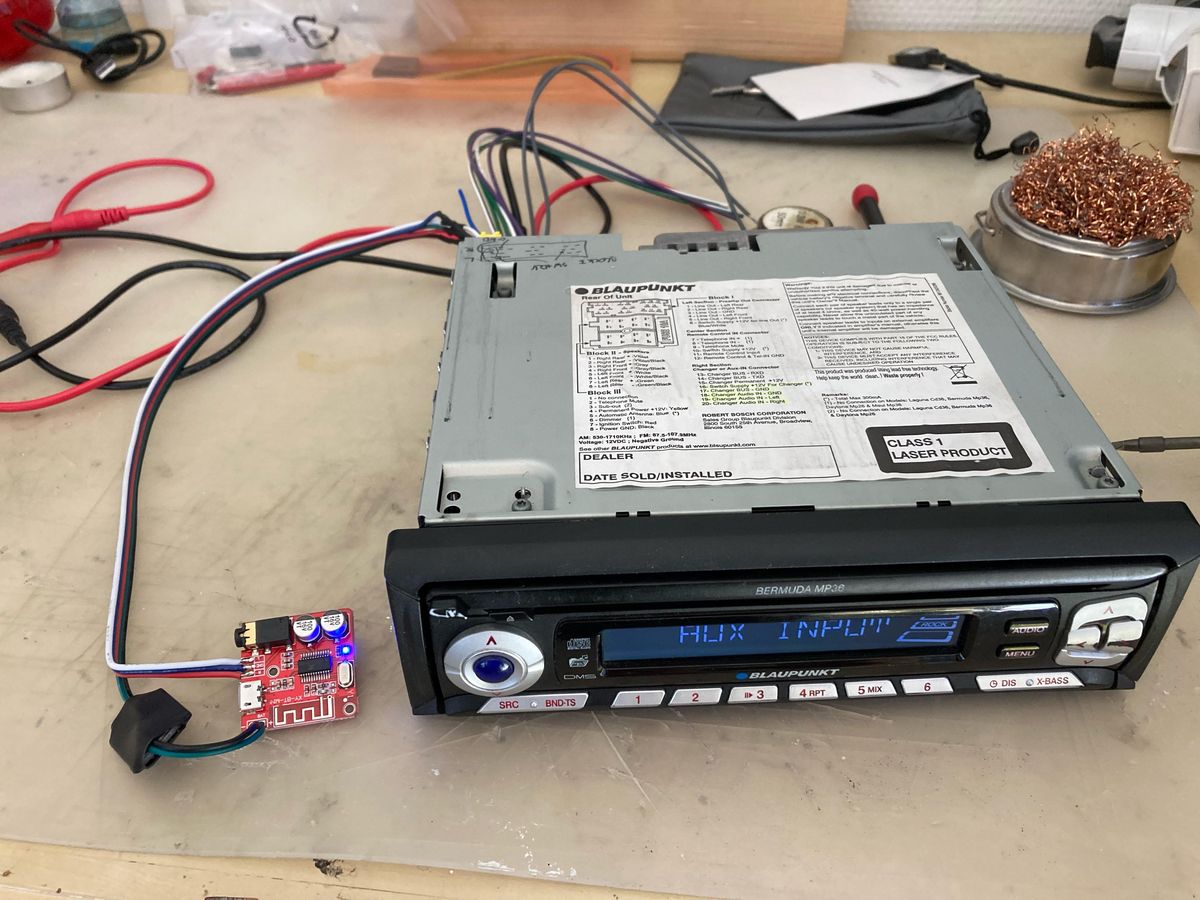
Note: If your car stereo doesn’t have a USB port, you may need additional equipment such as a USB car adapter or FM transmitter, or you may need to explore other options like using an auxiliary cable or Bluetooth adapter to connect your device to the car stereo.
Formatting the Flash Drive
Before you can transfer your music files onto the flash drive, you’ll need to format it to ensure compatibility with your car stereo. Follow these steps to format your flash drive:
- Connect the flash drive to your computer using the USB cable.
- Open the file explorer on your computer and locate the flash drive. It is usually labeled as a removable disk.
- Right-click on the flash drive and select “Format” from the dropdown menu.
- A formatting options window will appear. Choose the desired file system format. The most commonly recommended formats for car stereos are FAT32 or exFAT. If your flash drive is larger than 32GB, you may need to choose exFAT as FAT32 has a maximum size limit.
- Make sure the quick format option is selected, as this will speed up the formatting process.
- Click on “Start” to begin the formatting process. Be aware that formatting will erase all data on the flash drive, so make sure you have backed up any important files before proceeding.
- Once the formatting is complete, you can safely eject the flash drive from your computer.
With the flash drive properly formatted, it is now ready to be connected to your car stereo. In the next section, we will guide you on how to connect the flash drive and play music on your car stereo.
Connecting the Flash Drive to the Car Stereo
Now that you have a formatted flash drive, it’s time to connect it to your car stereo so you can start enjoying your favorite music. Follow these steps to connect the flash drive to your car stereo:
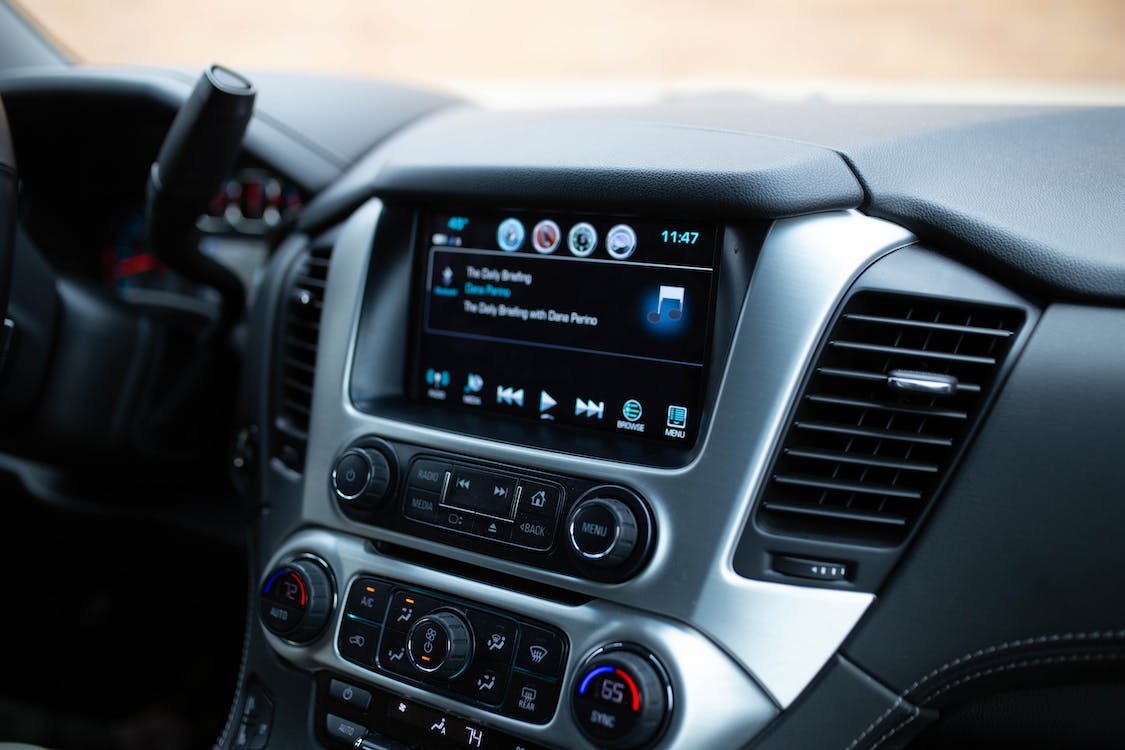
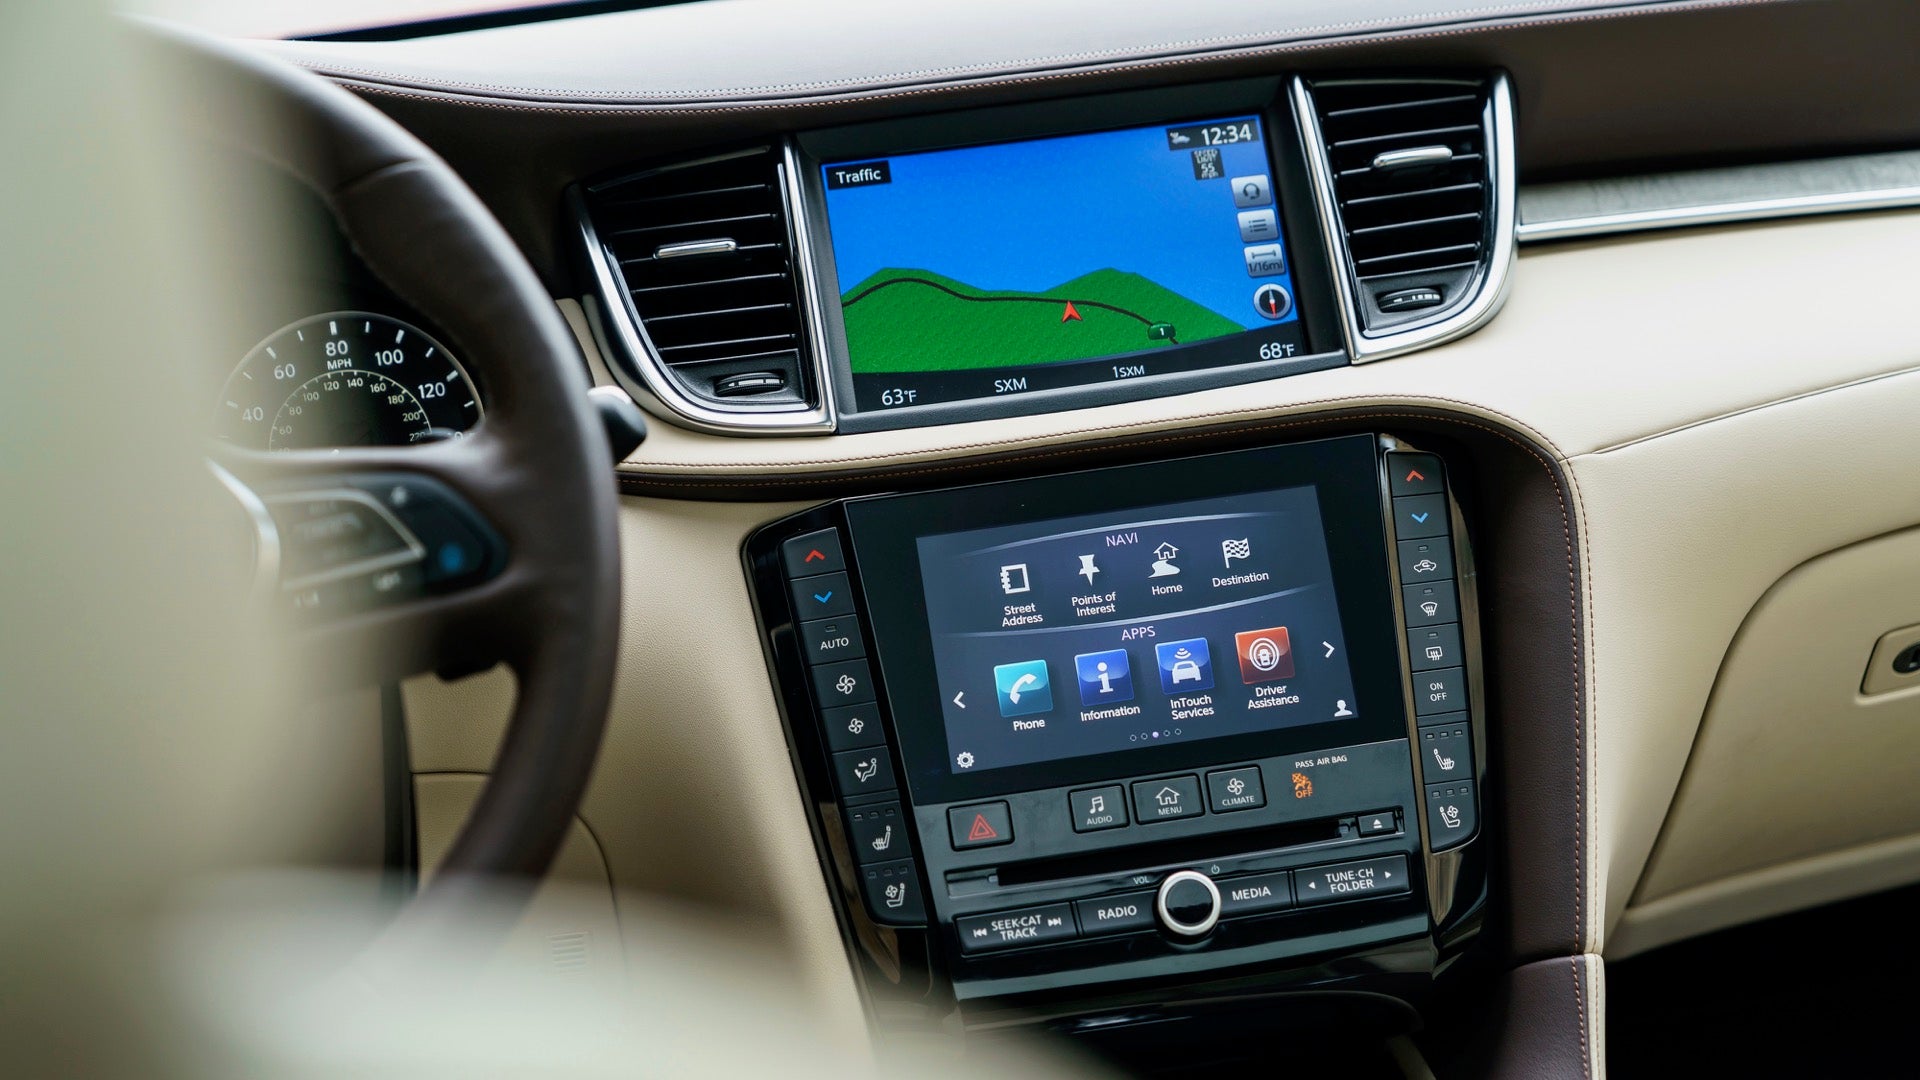
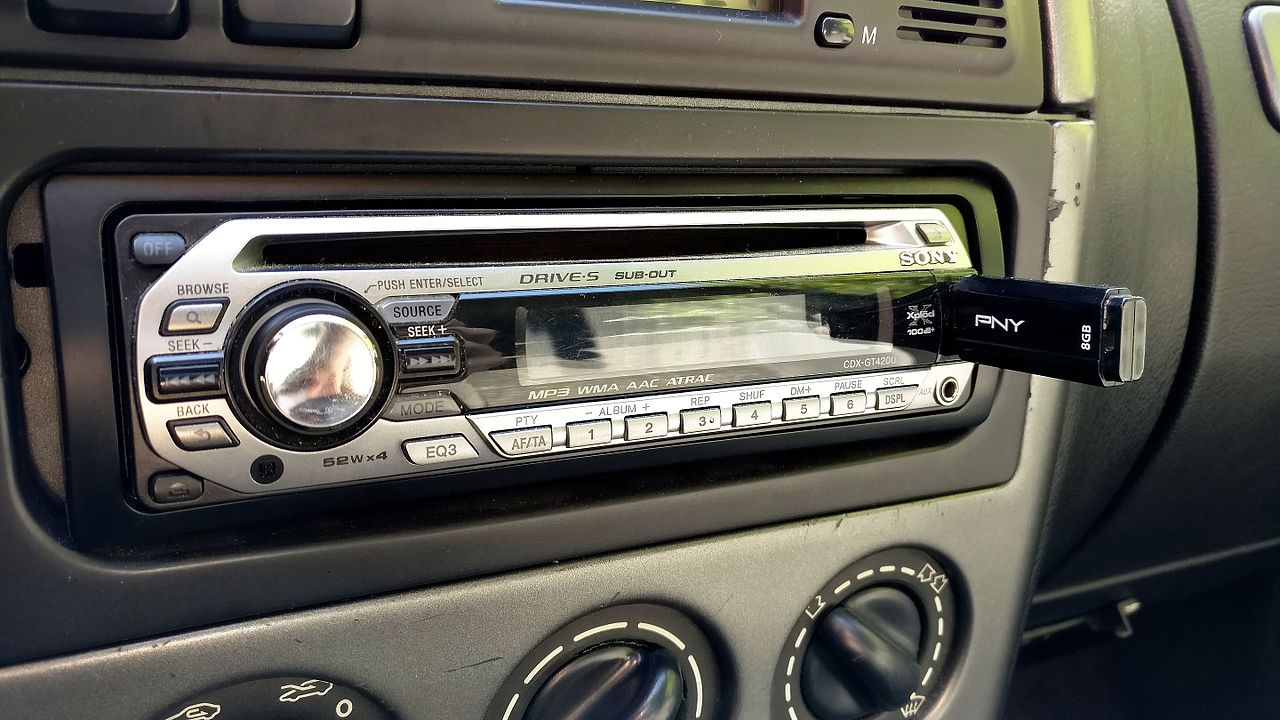
- Locate the USB port on your car stereo. It is usually located on the front panel or in the center console.
- Insert the flash drive into the USB port. Ensure that it fits securely and is fully inserted.
- Turn on your car stereo and select the appropriate input source. This may be labeled as “USB” or “Aux” depending on your car stereo model.
- Your car stereo will automatically detect the flash drive and start scanning for music files. This process may take a few moments, especially if you have a large number of files on the flash drive.
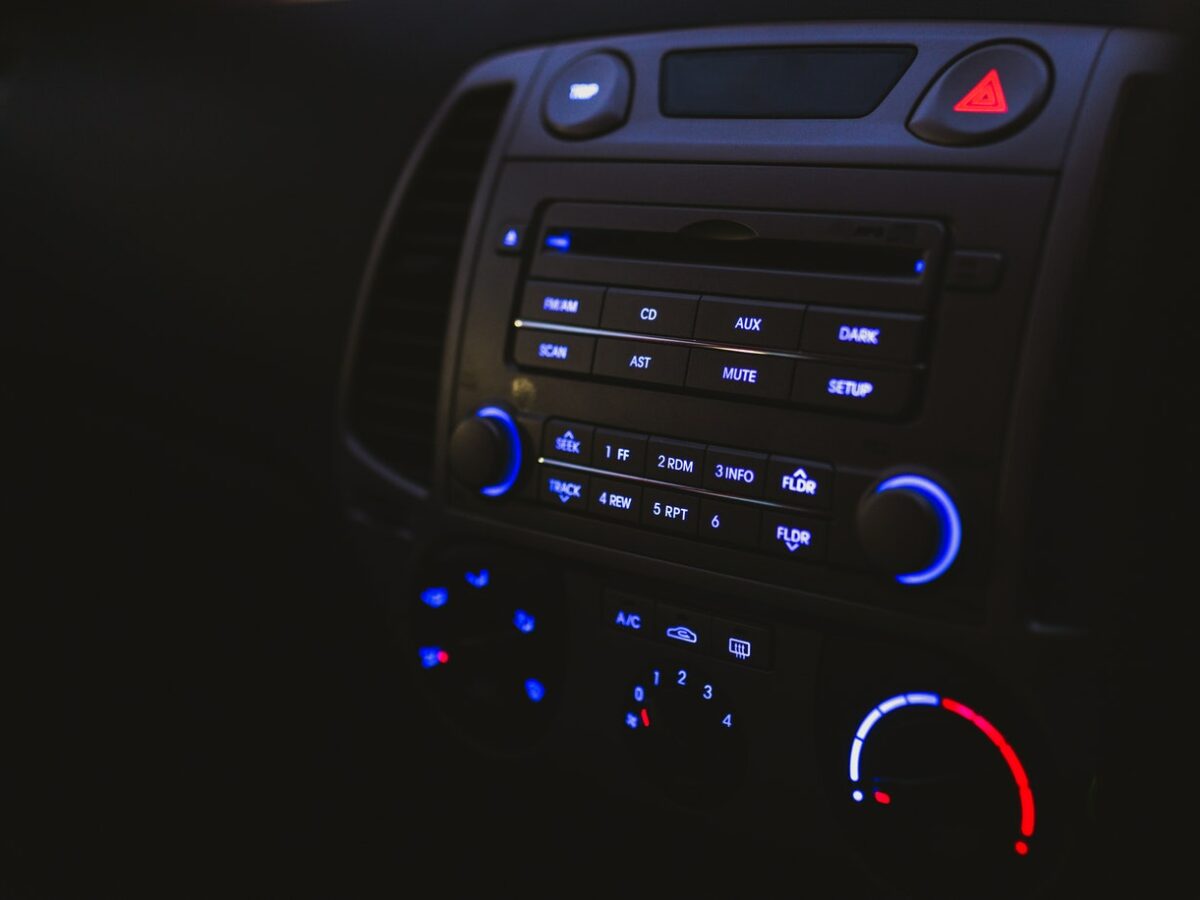
- Once the scanning process is complete, you can use the controls on your car stereo to browse and select the music you want to play. These controls may include buttons or a touchscreen interface.
- Use the menu or folder navigation options on your car stereo to navigate through the music files on the flash drive. You may organize your music into folders on the flash drive to make it easier to find specific songs or albums.
- Once you have selected a song or playlist, the music will start playing through your car stereo’s speakers. You can adjust the volume and other audio settings as desired.
That’s it! You have successfully connected the flash drive to your car stereo and are now ready to enjoy your favorite songs while on the road.
Remember to safely eject the flash drive from your car stereo when you’re done to prevent any data loss or damage. Enjoy your music!
Selecting and Playing Music on the Car Stereo
Once you have connected your flash drive to your car stereo, you can easily select and play your desired music. Here are the steps to select and play music on your car stereo:
- Use the menu or folder navigation options on your car stereo to browse through the music files on the flash drive. Depending on your car stereo’s interface, you may be able to view the file names, artist names, album names, or even album artwork.
- Navigate through the folders and subfolders to find the specific song or album you want to play. You can use the controls on your car stereo, such as buttons or a touchscreen, to make your selections.
- Once you have found the desired song or album, select it using the appropriate button or touchscreen action on your car stereo. The selected music will start playing through your car stereo’s speakers.
- Use the control options on your car stereo to adjust the playback settings. You can adjust the volume, bass, treble, and other audio settings to suit your preferences. Refer to your car stereo’s user manual for specific instructions on how to access and adjust these settings.
- If you want to skip to the next song, use the next track button or touchscreen action on your car stereo. Similarly, you can use the previous track button or action to go back to the previous song.
- Some car stereos may offer additional features such as creating playlists, shuffling the playlist, or repeating a specific song or playlist. Explore your car stereo’s menu options to discover and utilize these additional features.
- Enjoy your music as you drive! With your flash drive connected and the music playing through your car stereo, you can now have a personalized and enjoyable music experience while on the road.
Remember to always focus on the road and operate your car stereo safely while driving. If you need to make any adjustments or selections, it’s advisable to do so when the vehicle is stationary.
That’s it! You now know how to select and play music from a flash drive on your car stereo. Enjoy your favorite tunes as you cruise down the road!