Home>Production & Technology>Stereo>How To Remove An Alpine Car Stereo
Stereo
How To Remove An Alpine Car Stereo
Published: November 26, 2023
Learn how to remove an Alpine car stereo with our step-by-step guide. Upgrade your sound system by safely removing your old stereo and installing a new one.
(Many of the links in this article redirect to a specific reviewed product. Your purchase of these products through affiliate links helps to generate commission for AudioLover.com, at no extra cost. Learn more)
Table of Contents
Introduction
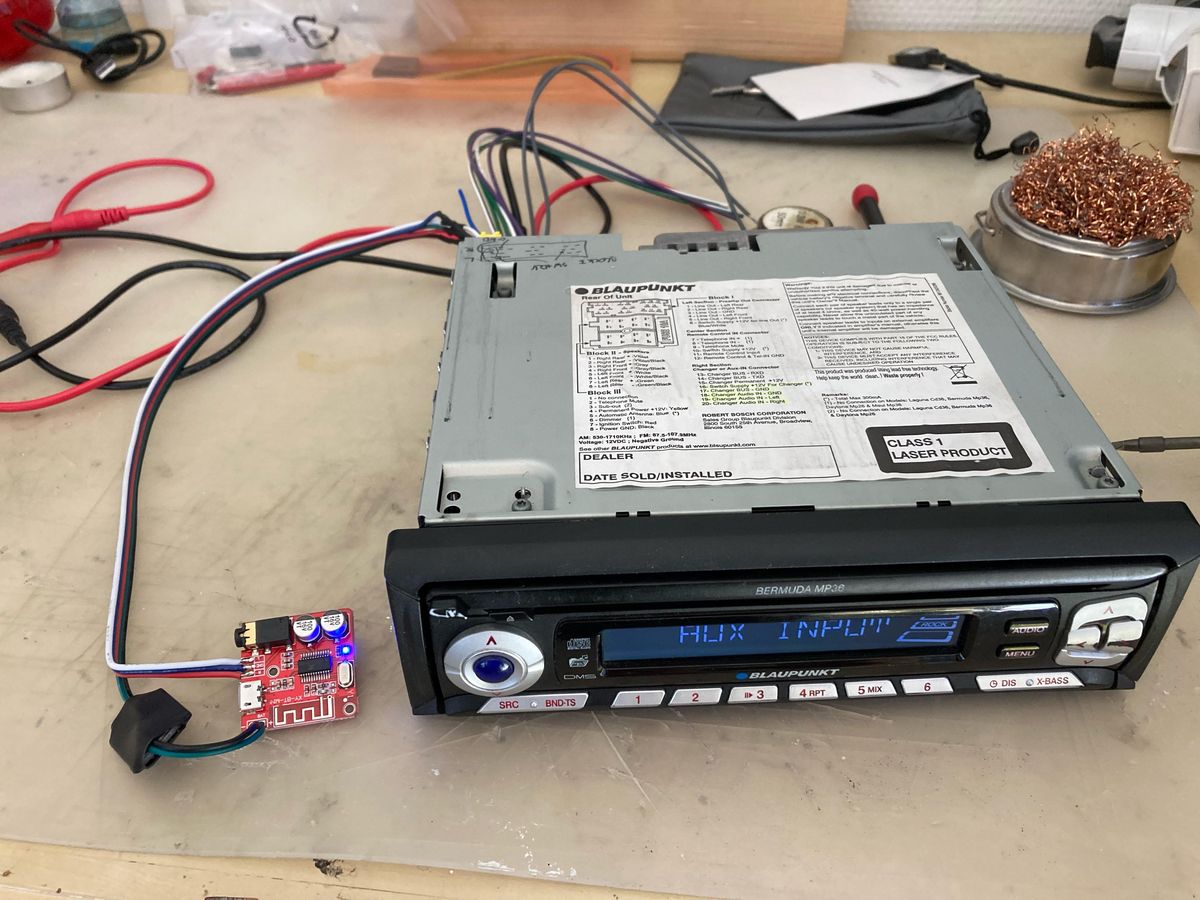
Removing an Alpine car stereo might seem like a daunting task, but with the right knowledge and tools, it can be a straightforward process. Whether you’re looking to upgrade your stereo system or need to repair a malfunctioning unit, taking out your Alpine car stereo is the first step.
Alpine is a respected brand in the car audio industry, known for their high-quality and innovative stereo systems. However, there are times when you may need to remove the car stereo to troubleshoot issues or replace it with a newer model.
In this article, we will guide you through the step-by-step process of how to remove an Alpine car stereo. You’ll learn the necessary preparations, the tools required, and the proper techniques to safely and efficiently remove the stereo unit from your vehicle.
Before proceeding with the removal process, it’s essential to understand that car stereo removal can vary depending on the specific model and make of your vehicle. Therefore, it is recommended to consult the owner’s manual or seek professional advice if you have any doubts or concerns.
Now, let’s get started with preparing for the removal.
Preparing for Removal
Before you begin removing the Alpine car stereo, there are a few essential steps you need to take to ensure a smooth and safe removal process.
1. Gather the necessary tools: To remove the car stereo, you will typically need a set of basic tools, including a set of screwdrivers (both Phillips and flathead), trim panel removal tools, and possibly a socket wrench set. Consult your vehicle’s documentation or online resources to confirm the specific tools needed for your particular model.
2. Power off the stereo: Before touching any electrical components, turn off the car’s ignition and disconnect the negative battery terminal. This step will prevent any potential electrical shocks or short circuits during the removal process.
3. Consult the owner’s manual: The owner’s manual of your Alpine car stereo or your vehicle should provide specific instructions on how to remove the stereo unit. Take the time to carefully read and understand the instructions before proceeding with the removal process.
4. Identify the mounting system: Alpine car stereos can be mounted using various methods, such as clips, screws, or bolts. Take a close look at the stereo unit to determine the type of mounting system used. This will help you identify the appropriate removal technique and tools required.
5. Take note of the wiring connections: Pay attention to the wiring connections behind the stereo unit. Take photos or make notes of the connection points to ensure a smooth reinstallation process later.
By following these preparatory steps, you’ll be ready to move on to the actual removal of the Alpine car stereo. Taking the time to gather the necessary tools and understand the process will save you from potential headaches or damage to your vehicle’s interior.
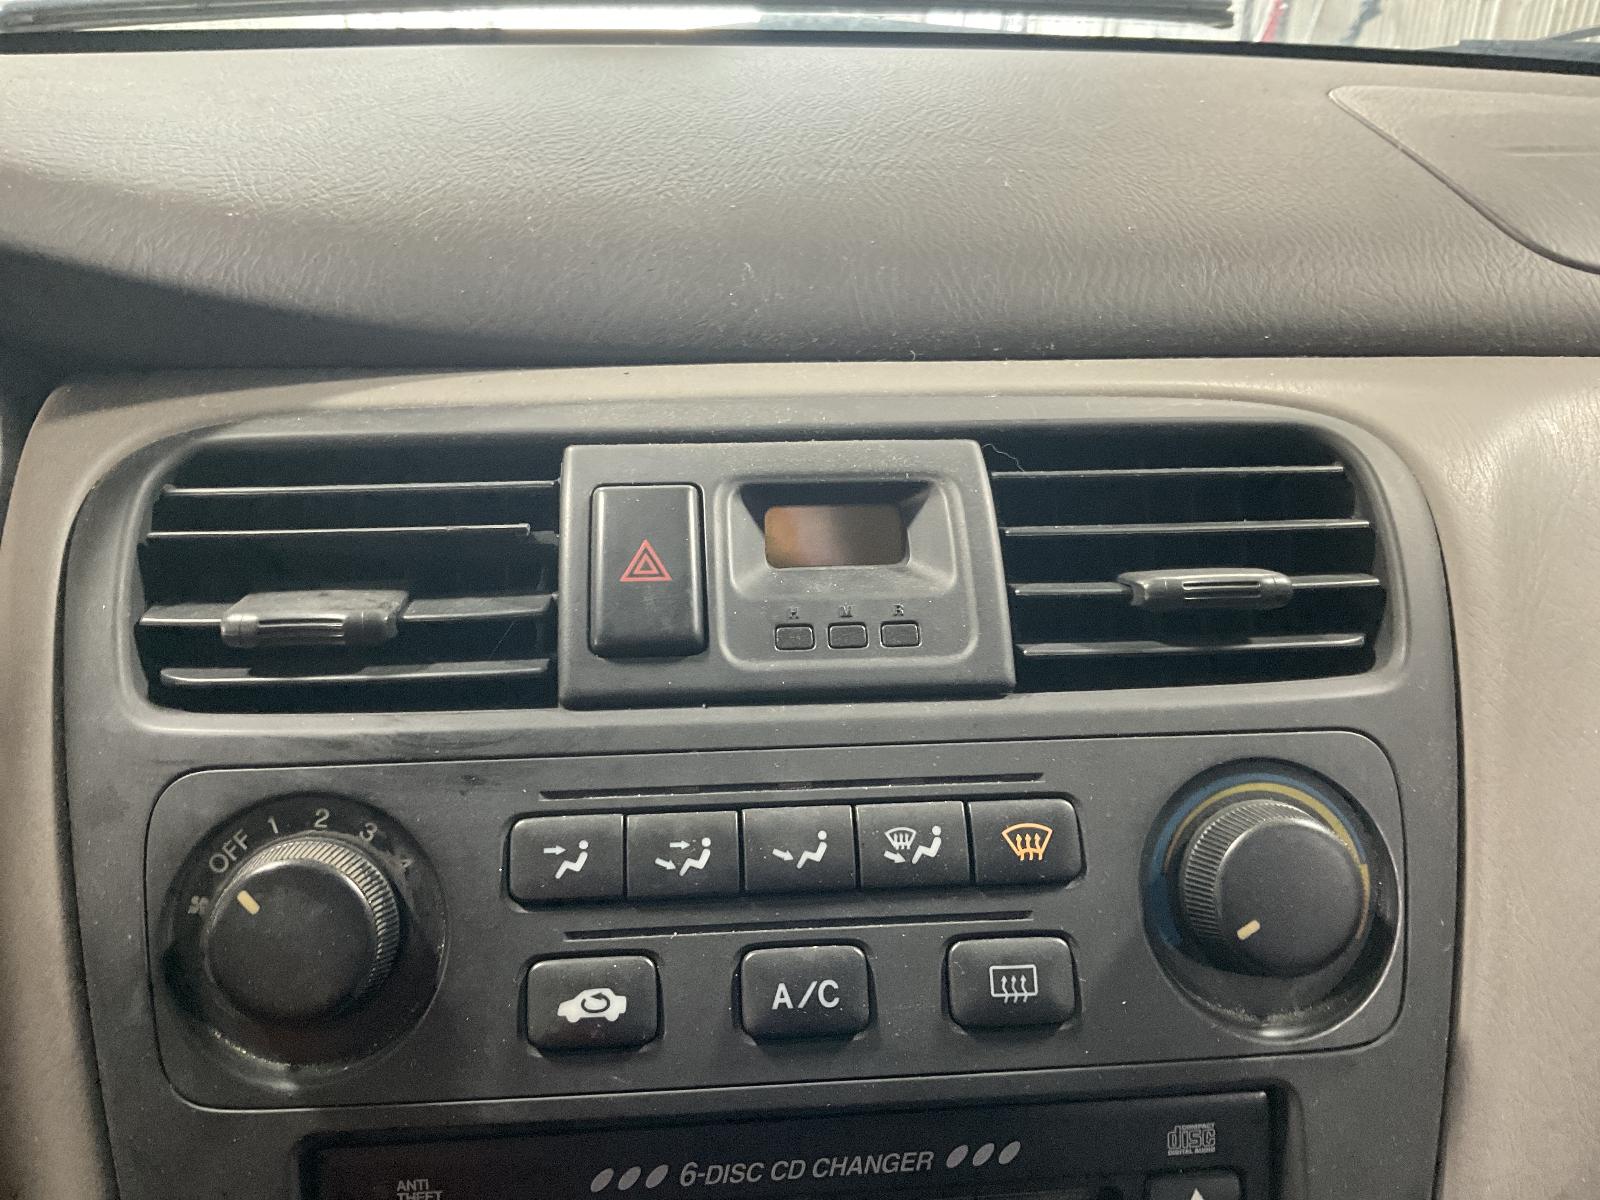
Removing the Trim
The next step in removing the Alpine car stereo is to remove the trim covering the stereo unit. The trim panel is the decorative cover that surrounds the stereo and blends in with the interior of your vehicle.
Here’s how to remove the trim:
- Start by locating any visible screws or bolts securing the trim panel. These may be located at the bottom of the panel, near the climate control knobs, or in other hidden areas. Use your screwdriver or socket wrench to remove these screws.
- If you don’t see any visible screws, the trim panel is likely held in place by clips. In this case, use a trim panel removal tool to gently pry off the panel. Start at one corner and work your way around, releasing the clips gradually. Be careful not to apply too much force, as you can risk damaging the trim or adjacent panels.
- Once the clips or screws are removed, carefully pull the trim panel away from the dashboard. Be mindful of any wiring or connectors that may still be attached. If needed, disconnect any wiring connections by pressing the release tabs and gently pulling them apart.
Removing the trim panel may require some patience and finesse. Take your time and be gentle to avoid any unnecessary damage. Once the trim panel is removed, you will have access to the Alpine car stereo.
Keep in mind that different vehicle models may have slight variations in trim removal procedures. Therefore, it’s always a good idea to consult the owner’s manual or specific vehicle forums for any additional instructions or tips for your particular make and model.
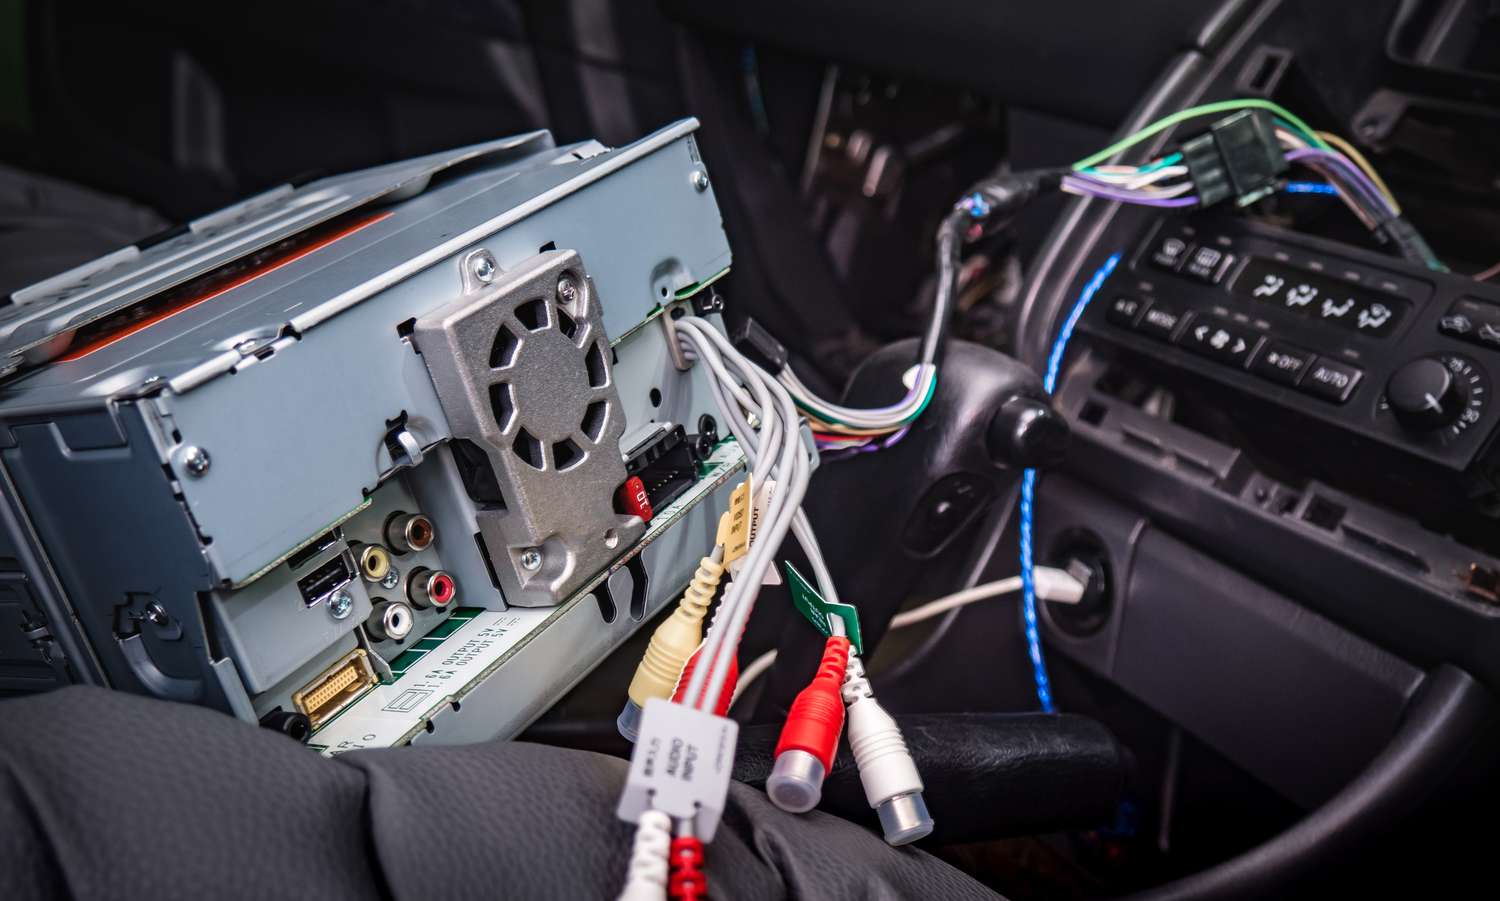
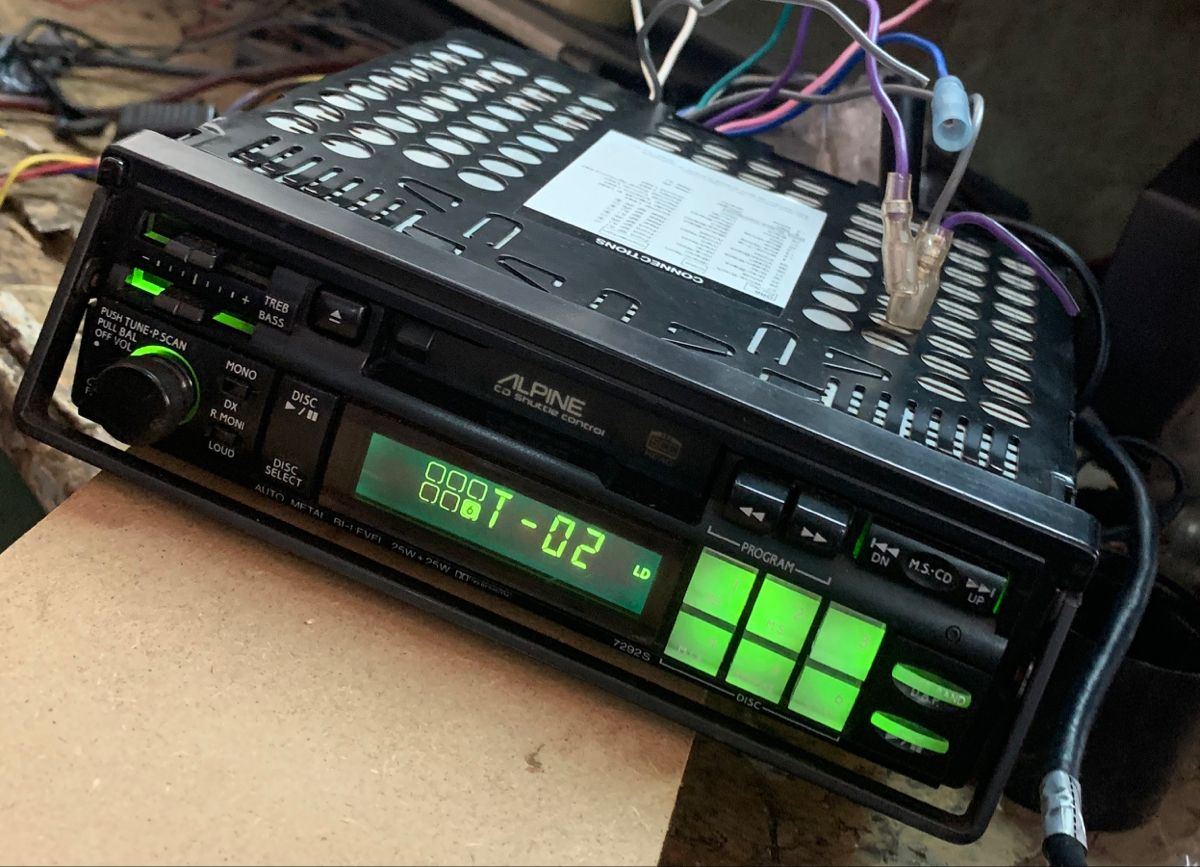
Disconnecting the Wiring
Once the trim panel is removed, the next step is to disconnect the wiring connections from the Alpine car stereo. These connections include power cables, speaker wires, antenna cables, and any other peripherals that may be connected to the unit.
Here’s how to disconnect the wiring:
- Start by locating the wiring harness connected to the back of the Alpine car stereo. The wiring harness is a group of wires with a connector at the end.
- Depending on the specific model and make of your vehicle, the connector may have a locking tab or require you to press and hold a release button. Refer to the owner’s manual or the markings on the connector for further guidance.
- Once you’ve identified the unlock mechanism, gently disconnect the wiring harness by either releasing the locking tab or pressing the release button while firmly pulling the connector away from the stereo.
- If there are any other wiring connections, such as speaker wires or antenna cables, disconnect them by gently pulling them apart. Some connectors may have release buttons or tabs that need to be pressed before removal.
It’s crucial to exercise caution during the disconnection process to avoid damaging the wiring or the stereo unit. If you encounter any resistance, double-check for any locking mechanisms or release buttons that may still be engaged.
Make sure to keep the connectors and wires organized and secured to prevent any confusion or tangling during the reinstallation process. Taking clear photos or labeling the connectors can also be helpful for reference.
With the wiring connections safely disconnected, you’re now ready to move on to the next step of removing the Alpine car stereo.
Removing the Mounting Brackets
Once the wiring connections are disconnected, the next step in removing the Alpine car stereo is to remove the mounting brackets that secure it in place. The mounting brackets are typically metal brackets that hold the stereo unit firmly in the dashboard.
Follow these steps to remove the mounting brackets:
- Locate the mounting brackets on the sides or bottom of the Alpine car stereo. These brackets are often attached to the stereo unit with screws or bolts.
- Using the appropriate screwdriver or socket wrench, carefully remove all the screws or bolts securing the mounting brackets to the stereo.
- Once all the screws are removed, gently slide the mounting brackets off the stereo unit. You may need to wiggle or slightly lift the brackets to disengage them fully.
Be cautious when removing the screws or bolts as they can be small and easily dropped. Keep track of them and consider using a small container or magnetic tray to hold them to avoid losing any of the hardware.
In some cases, the mounting brackets may be integrated with the vehicle’s dashboard or require additional steps to remove. Consult the owner’s manual or search for specific instructions for your vehicle model if you encounter any difficulties during this process.
With the mounting brackets removed, the Alpine car stereo is now ready to be taken out of the dashboard.
Sliding out the Alpine Car Stereo
Now that the trim, wiring connections, and mounting brackets have been addressed, it’s time to slide out the Alpine car stereo from its housing in the dashboard. This step requires careful handling to avoid any damage to the stereo unit or surrounding components.
Follow these steps to slide out the Alpine car stereo:
- Make sure there are no remaining screws or bolts holding the stereo in place. Check for any hidden fasteners or clips that may be securing the unit.
- With a firm grip on the stereo unit, gently pull it towards you. Apply even pressure on both sides of the stereo to ensure it slides smoothly.
- As you pull, be mindful of any wiring or cables that may still be connected to the rear of the stereo. Guide the wires out of their routing channels or remove any clips or ties that may be holding them in place.
- Continue to pull the stereo unit until it is completely free from the dashboard. Take care not to force or twist the unit, as this can cause damage to the connectors or the dashboard.
Once the Alpine car stereo is removed, place it in a safe and secure location to prevent any accidental damage or scratching during the inspection, repair, or replacement process.
It’s important to note that some vehicle models may have additional components or specific removal instructions that need to be followed. Consult the owner’s manual or online resources for any vehicle-specific guidelines if you encounter any challenges during this step.
With the Alpine car stereo successfully slid out, you can now proceed with the necessary repairs, upgrades, or replacements as desired.
Conclusion
Removing an Alpine car stereo may initially seem like a complicated task, but with the right knowledge and preparation, it can be easily accomplished. By following the step-by-step instructions outlined in this article, you can safely and efficiently remove the stereo unit from your vehicle.
Starting with the necessary preparations, gathering the appropriate tools, and consulting the owner’s manual, you can ensure a smooth removal process. Taking the time to disconnect the wiring connections and remove the mounting brackets will allow you to slide out the Alpine car stereo without causing damage to any components.
Remember to exercise caution at each step and be mindful of any vehicle-specific instructions or variations that may apply to your particular model. It is always recommended to consult the owner’s manual or seek professional advice if you have any doubts or concerns.
By successfully removing the Alpine car stereo, you gain the freedom to upgrade to a newer model, repair any issues, or install a different brand altogether. The removal process is an essential first step in transforming your in-car audio experience.
Now that you have learned how to remove an Alpine car stereo, you can confidently embark on your journey to enhance your vehicle’s audio system. Whether it’s for personal enjoyment or to impress passengers on your next road trip, the possibilities are endless.
Remember to handle the stereo unit with care during the removal process and keep track of any screws or bolts to ensure a smooth reinstallation. With the right tools and knowledge, you’ll have the Alpine car stereo removed in no time!