Home>Production & Technology>Surround Sound>How To Connect Yamaha Surround Sound System

Surround Sound
How To Connect Yamaha Surround Sound System
Modified: January 22, 2024
Learn how to connect your Yamaha Surround Sound System with step-by-step instructions. Enhance your audio experience with Surround Sound.
(Many of the links in this article redirect to a specific reviewed product. Your purchase of these products through affiliate links helps to generate commission for AudioLover.com, at no extra cost. Learn more)
Table of Contents
Introduction
Welcome to the world of immersive audio experiences with Yamaha Surround Sound System! Whether you’re a movie buff, a music enthusiast, or a gamer, a surround sound system can take your entertainment to a whole new level. By strategically placing multiple speakers around your room, these systems create a lifelike audio environment that envelops you from all directions.
But setting up a surround sound system can be intimidating, especially if you’re new to the world of audio equipment. Don’t worry though, because in this guide, we will walk you through the step-by-step process of connecting your Yamaha Surround Sound System and help you get the most out of your audio setup.
Before we dive into the technical details, let’s take a moment to understand the benefits of a surround sound system. The immersive nature of surround sound allows you to experience movies, music, and games as the creators intended. You’ll hear subtle details, like footsteps sneaking up behind you, or the rustling of leaves, that adds a new dimension to your viewing or gaming experience.
Now that you understand the advantages of having a surround sound system, let’s move on to the practical aspects. In the next few steps, we will guide you through the process of setting up your Yamaha Surround Sound System, connecting the speakers, linking it to your audio/video source, configuring the system, and testing it to ensure everything is working correctly.
Before we begin, it’s important to note that every Yamaha Surround Sound System may have slight variations in terms of connections and settings. Always refer to the user manual provided with your specific model for detailed instructions. Without further ado, let’s get started with setting up your Yamaha Surround Sound System!
Step 1: Setting up the Yamaha Surround Sound System
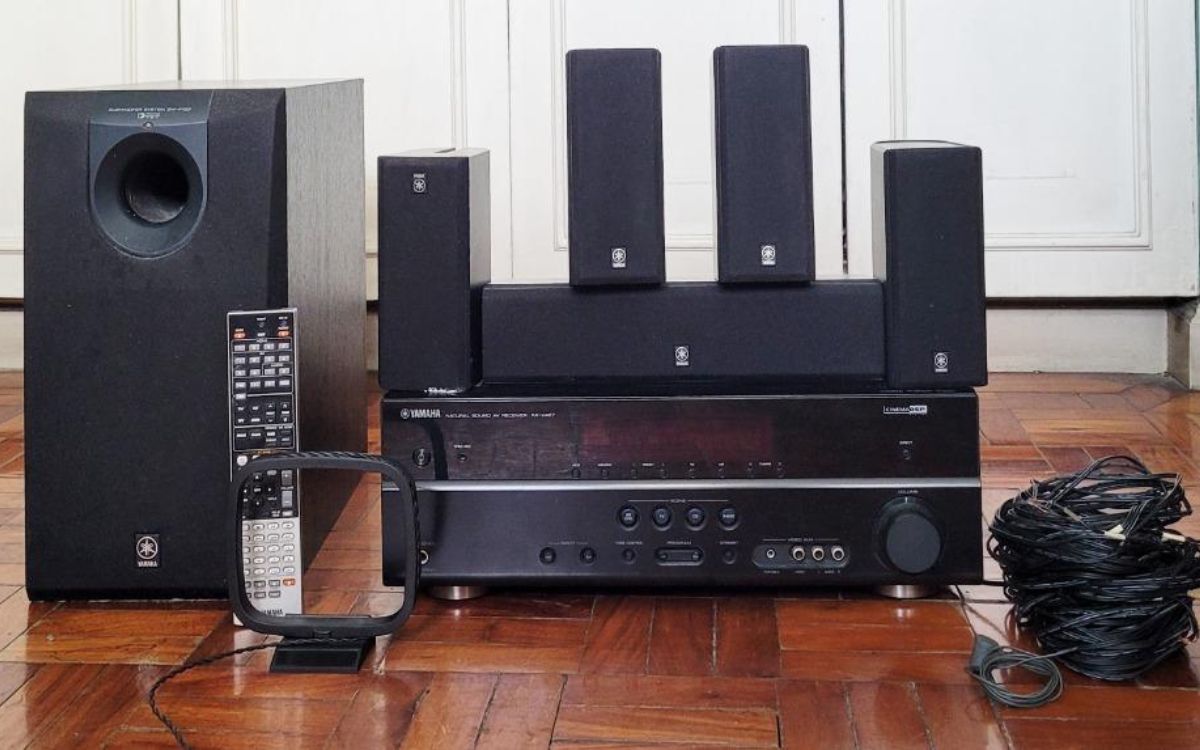
Before you begin, ensure that you have unpacked all the components of your Yamaha Surround Sound System and have a clear space to work in. Here’s a step-by-step guide to setting up your system:
- Find the ideal location for your AV receiver: Locate a sturdy and well-ventilated surface to place your AV receiver. This central hub will connect all your audio/video sources and distribute the signals to your speakers.
- Connect the AV receiver to a power source: Plug in the power cord of your AV receiver into a wall outlet. Make sure to use a surge protector to safeguard your equipment.
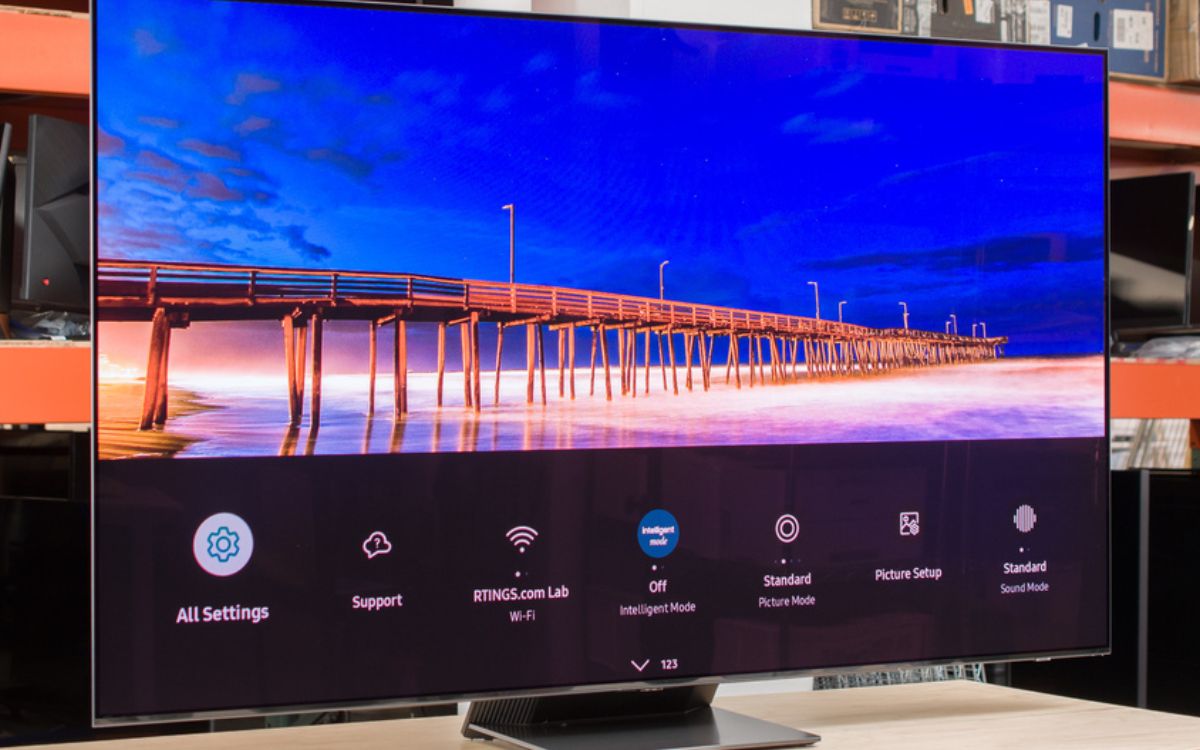
- Connect your TV display: Use an HDMI cable to connect the “HDMI OUT” port of your AV receiver to the HDMI input on your TV. This connection will allow you to pass both audio and video signals to your TV.
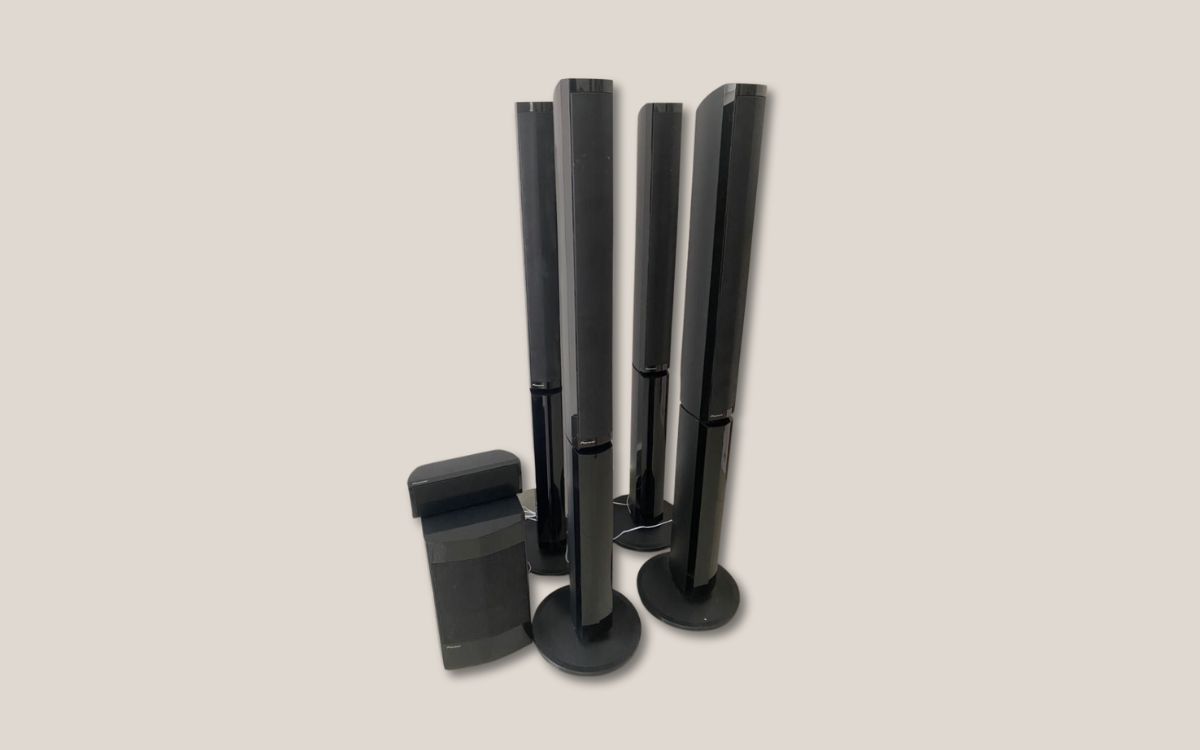
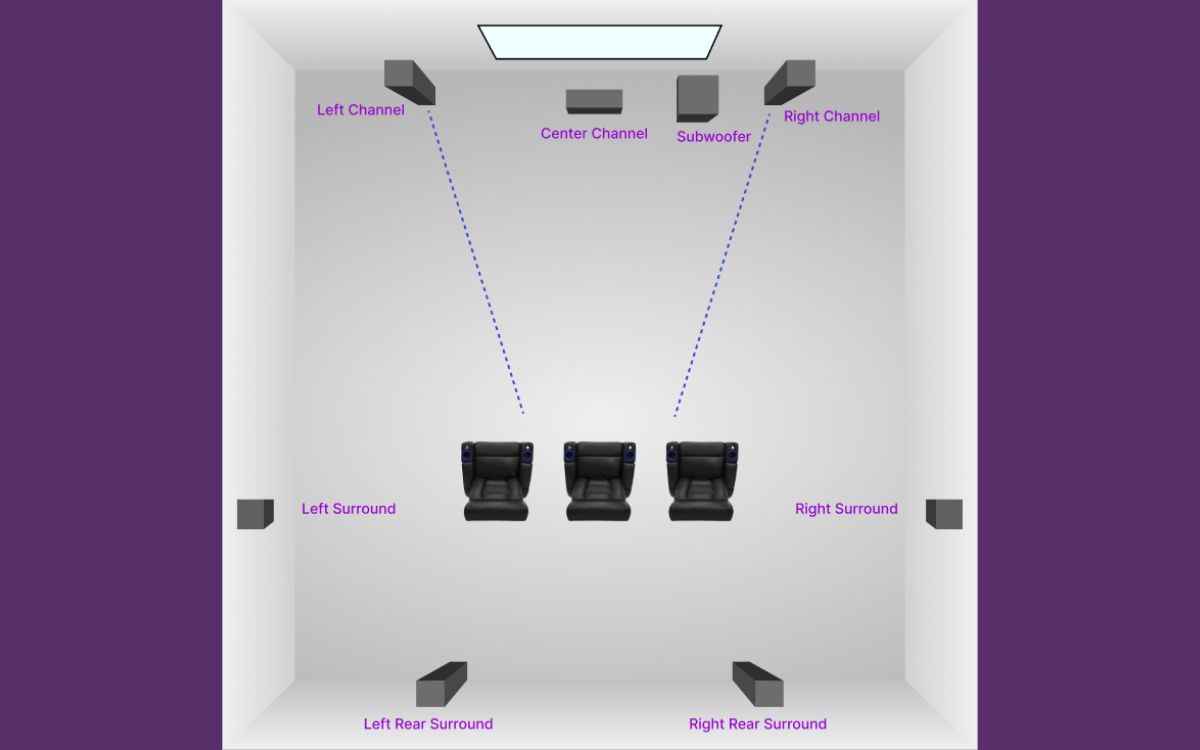
- Connect the speakers to the AV receiver: Depending on the number of speakers you have, connect the corresponding speaker wires to the matching terminals on the AV receiver. Refer to your user manual for the proper speaker placement and wire connections.
- Set up the subwoofer: If your surround sound system includes a subwoofer, place it in the desired location, preferably near the front of the room. Connect the subwoofer cable to the ‘Sub Out’ or ‘LFE Out’ port on the AV receiver and the corresponding input on the subwoofer.
- Ensure proper ventilation: Surround sound systems can generate heat, so it’s essential to provide adequate ventilation to prevent overheating. Avoid placing the components in enclosed spaces or blocking the vents.
- Power on your Yamaha Surround Sound System: After making all the necessary connections, power on your AV receiver and the audio/video source device (such as a Blu-ray player or game console).
With these steps, you have successfully set up your Yamaha Surround Sound System. Now, let’s move on to the next step – connecting the speakers.
Step 2: Connecting the Speakers
Now that you have set up your Yamaha Surround Sound System, it’s time to connect the speakers. Follow these steps to ensure a seamless connection:
- Identify the speaker terminals: Each speaker and AV receiver will have corresponding terminals for connection. The terminals are usually color-coded or labeled for easy identification.
- Match the speaker wires: Take note of the positive (+) and negative (-) markings on the speaker wires. Match the positive terminal on the speaker with the positive terminal on the AV receiver and vice versa.
- Strip the speaker wire: Remove a small portion of insulation at the end of each speaker wire using wire strippers. This will expose the bare metal strands for better connectivity.
- Connect the speaker wires: Insert the exposed speaker wires into the corresponding terminal on each speaker and twist them firmly to ensure a secure connection. Repeat this process for all the speakers.
- Secure the speaker wires: Once the wires are connected, make sure to tighten any screws or clips on the speaker terminals to hold the wires firmly in place. Loose connections can affect sound quality.
- Manage the speaker wires: To keep your setup neat and organized, you can use wire clips, cable ties, or cable management systems to secure and hide the speaker wires along the walls or baseboards.
- Verify the connections: Before moving on, double-check that all the speaker wires are securely connected to their respective terminals. This will ensure optimal audio performance.
By following these steps, you have successfully connected the speakers to your Yamaha Surround Sound System. In the next step, we will guide you through connecting the audio/video source to the system.
Step 3: Connecting the Audio/Video Source
With the speakers connected, it’s time to link your audio/video source to the Yamaha Surround Sound System. Follow these steps to ensure proper connectivity:
- Identify the audio/video source: Determine the device that you want to connect to your surround sound system. This could be a Blu-ray player, gaming console, streaming device, or any other device that outputs audio or video signals.
- Choose the appropriate audio/video connection: Depending on your source and AV receiver capabilities, select the most suitable connection option. The most common choices include HDMI, digital optical (Toslink), or RCA (analog) connections.
- HDMI connection (recommended): If your audio/video source and AV receiver both have HDMI ports, use an HDMI cable to connect the HDMI output of your source device to an available HDMI input on the AV receiver. This will transmit both audio and video signals simultaneously.
- Digital optical (Toslink) connection: If your source device has a digital optical output, use a digital optical cable to connect it to the corresponding input on the AV receiver. This connection will transmit digital audio signals.
- RCA (analog) connection: If your source device only has analog audio outputs (red and white RCA connectors), you can use RCA cables to connect the audio outputs to the corresponding analog audio inputs on the AV receiver.
- Configure the audio input settings: Once the physical connections are made, access the settings menu on your AV receiver and select the appropriate input source that corresponds to the connected device. This allows the receiver to recognize and process the audio signals correctly.
- Test the audio playback: Play a test audio or video file on your source device and ensure that the sound is coming through the speakers. You may need to adjust the volume levels and speaker configuration in the AV receiver settings to achieve the desired audio balance.
By following these steps, you have successfully connected the audio/video source to your Yamaha Surround Sound System. In the next step, we will guide you through configuring the surround sound system to optimize your audio experience.
Step 4: Configuring the Surround Sound System
Now that your Yamaha Surround Sound System is set up and the audio/video source is connected, it’s time to configure the system to optimize your audio experience. Follow these steps to ensure your surround sound system is properly configured:
- Access the AV receiver settings menu: Use the remote control or front panel buttons on your AV receiver to access the settings menu. Refer to the user manual for specific instructions.
- Speaker configuration: Navigate to the speaker setup or configuration section in the settings menu. Here, you can specify the number and type of speakers you have connected. Select the appropriate settings for your setup, such as 5.1, 7.1, or Dolby Atmos.
- Audio calibration: Many Yamaha Surround Sound Systems offer an automatic speaker calibration feature. This feature uses a microphone to analyze the acoustic characteristics of your room and adjust the audio settings accordingly. Follow the on-screen instructions to perform the calibration.
- Audio settings: Customize the audio settings based on your personal preferences. You may have options to adjust the bass, treble, surround sound levels, and other audio parameters. Experiment with these settings to achieve the desired audio balance.
- Room correction: If your AV receiver supports room correction technology, such as Yamaha’s YPAO (Yamaha Parametric Acoustic Optimizer), enable this feature to further enhance the audio performance. Room correction compensates for the acoustic characteristics of your room, resulting in more accurate sound reproduction.
- Test the audio: Play different audio sources, such as movies or music, to ensure that the surround sound effect is working correctly. Test each speaker individually to ensure they are producing sound without distortion or imbalance.
- Fine-tuning: Based on your personal preferences and the characteristics of your room, make additional adjustments to the audio settings as needed. This could include tweaking the equalizer, adjusting the speaker distance and level, or enabling advanced audio processing features.
By following these steps, you have successfully configured your Yamaha Surround Sound System. In the final step, we will guide you through testing and troubleshooting to ensure everything is functioning properly.
Step 5: Testing and Troubleshooting
After setting up and configuring your Yamaha Surround Sound System, it’s important to test the system and address any potential issues. Follow these steps to test and troubleshoot your surround sound system:
- Test the audio: Play different audio sources, such as movies, music, or games, to ensure that the surround sound effect is working properly. Pay attention to the sound coming from each speaker to ensure they are all producing sound without distortion or imbalance.
- Check speaker connections: Inspect all the speaker connections to ensure they are secure and properly inserted into the correct terminals. Loose or incorrect connections can affect sound quality.
- Ensure correct source input: Double-check that the AV receiver is set to the correct input source that matches the audio/video device you are using. Sometimes, the receiver may default to a different input source.
- Adjust speaker levels: If you notice that certain speakers are too loud or too quiet compared to others, use the AV receiver settings to adjust the individual speaker levels. This will help achieve a balanced audio experience.
- Update firmware: Check if there are any firmware updates available for your Yamaha Surround Sound System. Updating the firmware can often resolve compatibility issues, enhance performance, and introduce new features.
- Consult user manual and online resources: If you encounter any specific issues or need additional guidance, refer to the user manual provided with your surround sound system. You can also explore online forums, support websites, or contact Yamaha customer support for further assistance.
- Consider professional assistance: If you have exhausted all troubleshooting options and are still experiencing issues, consider seeking professional assistance from a technician or an audio specialist. They can diagnose and resolve complex problems effectively.
By following these steps and performing the necessary troubleshooting, you can ensure that your Yamaha Surround Sound System is functioning optimally. Now, sit back, relax, and enjoy the immersive audio experience of your surround sound system!
Conclusion
Congratulations on successfully setting up and configuring your Yamaha Surround Sound System! You have taken a significant step towards elevating your audio experience and immersing yourself in a world of sound. By following the steps outlined in this guide, you have connected the speakers, linked the audio/video source, and optimized the settings to create a captivating surround sound setup.
With your Yamaha Surround Sound System in place, you can now enjoy movies, music, and games like never before. The lifelike audio delivered from all directions will transport you into the heart of the action, adding depth, detail, and excitement to your entertainment.
Remember, each Yamaha Surround Sound System may have slight variations, so always refer to the user manual provided with your specific model for detailed instructions. Additionally, don’t hesitate to reach out to Yamaha customer support or consult online resources if you need further assistance or encounter any issues.
Now that you have unleashed the power of surround sound, sit back, relax, and immerse yourself in a world of rich audio experiences. Whether you’re watching a blockbuster movie, listening to your favorite album, or gaming with friends, every moment will be enhanced by the enveloping sound that surrounds you.
Enjoy your Yamaha Surround Sound System and let the magic of immersive audio transport you to new realms of entertainment!

