Home>Production & Technology>Surround Sound>How To Connect Surround Sound To Hisense TV
Surround Sound
How To Connect Surround Sound To Hisense TV
Published: December 23, 2023
Learn how to easily connect surround sound to your Hisense TV and enhance your viewing experience. Expert tips and step-by-step instructions for a seamless setup.
(Many of the links in this article redirect to a specific reviewed product. Your purchase of these products through affiliate links helps to generate commission for AudioLover.com, at no extra cost. Learn more)
Table of Contents
Introduction
Welcome to the immersive world of surround sound! If you’re a proud owner of a Hisense TV and you want to take your viewing experience to the next level, connecting surround sound is the way to go. Surround sound systems provide an incredible audio experience that enhances the depth and richness of sound in movies, TV shows, and music.
Whether you’re a movie buff who enjoys the full cinematic experience or a music lover who wants to feel every beat, surround sound can deliver a truly immersive audio experience. It creates a multidimensional soundscape by distributing audio from different directions, making you feel like you’re in the middle of the action.
However, the thought of connecting a surround sound system to your Hisense TV may sound complex and intimidating. But fear not! In this article, we will guide you through the process of connecting surround sound to your Hisense TV, step by step.
Before we dive into the details, it’s important to understand the different types of surround sound systems and the compatibility factors to consider.
Understanding Surround Sound
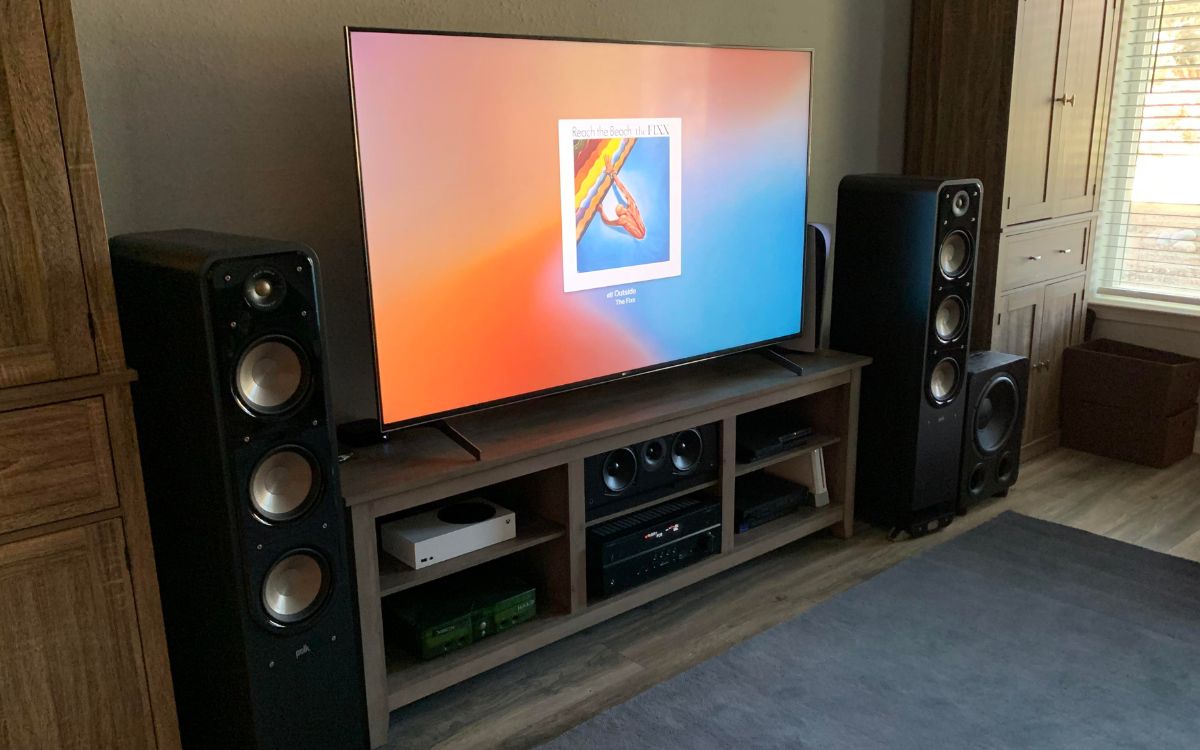
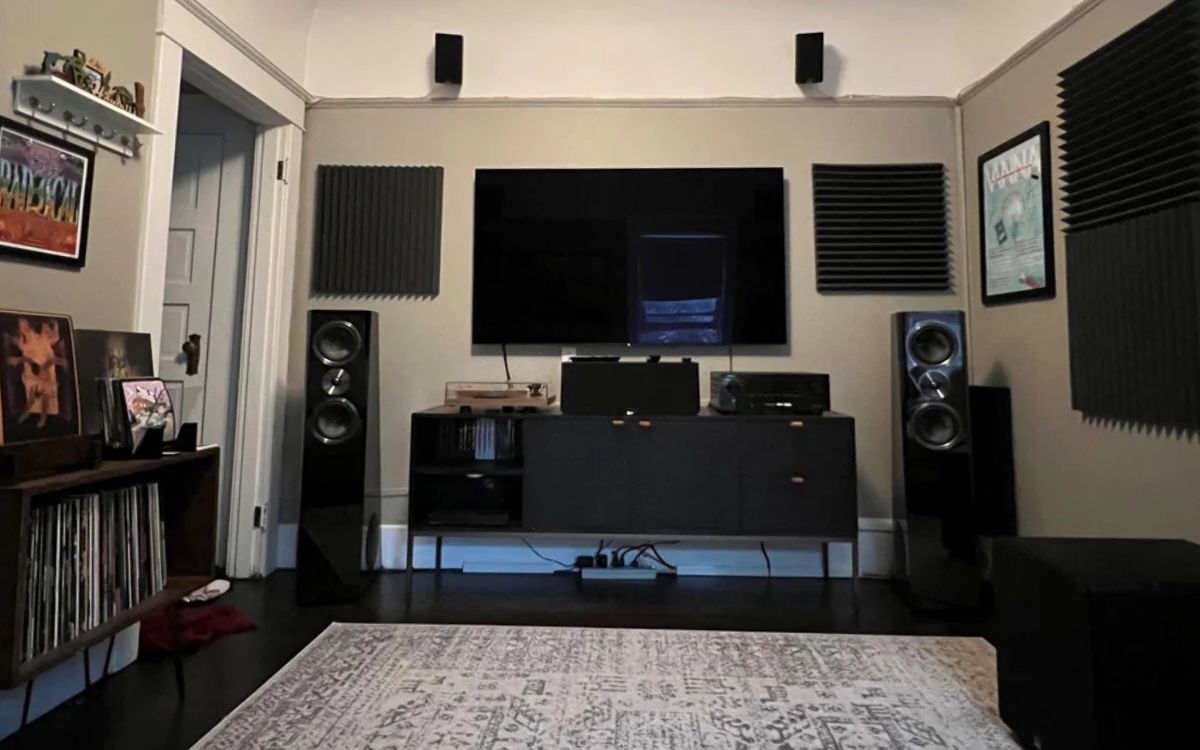
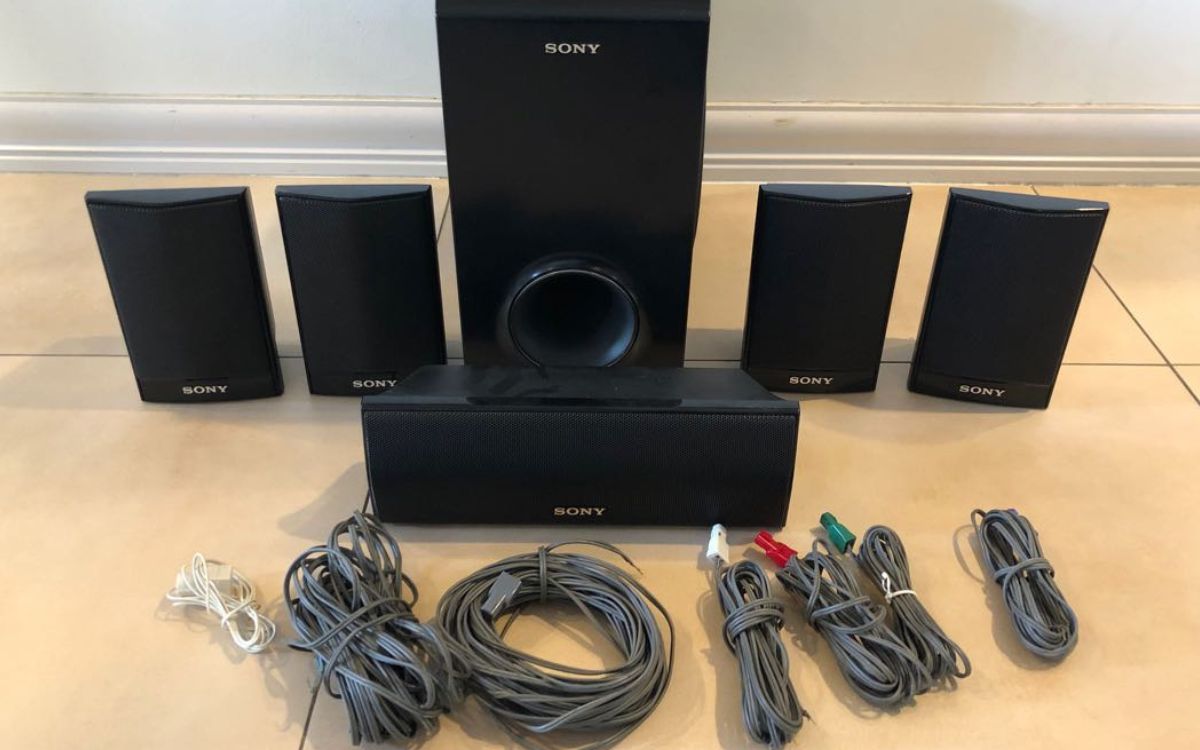
Before you connect surround sound to your Hisense TV, it’s crucial to have a basic understanding of how surround sound works. Surround sound systems use multiple speakers strategically placed around the room to create an immersive audio experience. The most common configuration is the 5.1 setup, which consists of five speakers and one subwoofer.
The “5” in 5.1 refers to the five main speakers: front left, front right, center, surround left, and surround right. These speakers are responsible for delivering the directional sound in movies and TV shows. The “1” refers to the subwoofer, which produces deep, low-frequency sounds like explosions or bass-heavy music.
Surround sound systems also come in different configurations such as 7.1, 9.1, or even 11.1, with additional speakers for a more immersive experience. However, the process of connecting surround sound to your Hisense TV remains similar regardless of the configuration.
It’s important to note that not all content supports surround sound. Many movies and TV shows are mixed in surround sound, providing an immersive audio experience. However, some content, especially older movies or certain streaming services, may not offer surround sound support.
Now that you have a basic understanding of surround sound, let’s move on to the next section, where we will check the compatibility between your Hisense TV and the surround sound system you intend to connect.
Compatibility Check
Before you start connecting your surround sound system to your Hisense TV, it’s crucial to ensure compatibility between the two devices. This will ensure a smooth and seamless integration of audio between your TV and the surround sound system.
Here are a few compatibility factors to consider:
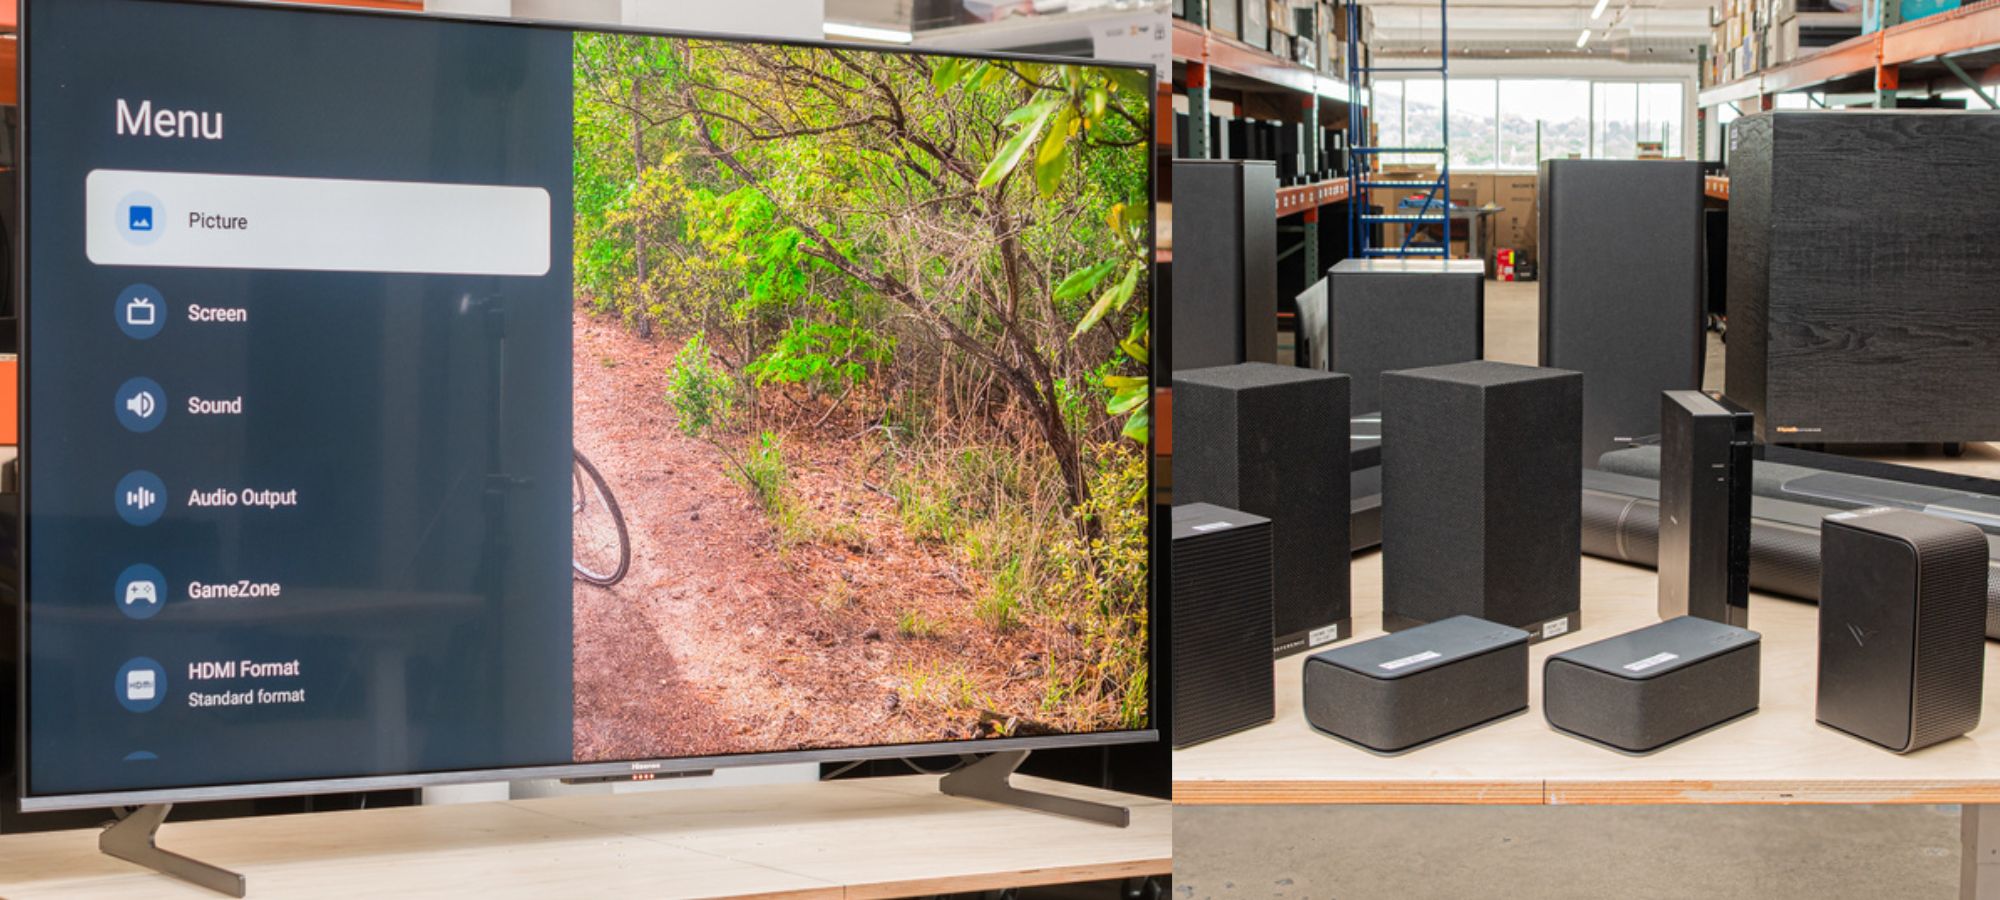
- Audio Output Options: Check if your Hisense TV has compatible audio output options, such as HDMI ARC (Audio Return Channel), optical audio output, or RCA output. Your surround sound system should have corresponding input options for seamless connectivity.
- Audio Formats: Make sure your surround sound system supports the audio formats used by your Hisense TV. The most common formats include Dolby Digital and DTS (Digital Theater Systems).
- Power Compatibility: Ensure that the power requirements of your surround sound system can be met by available power outlets near your TV setup. You don’t want to run into any power supply issues during the setup process.
- Space and Placement: Consider the layout and space of your room when deciding on the placement of your surround sound speakers. Ensure that you have enough room for proper speaker positioning to optimize the surround sound experience.
If you have any doubts about compatibility or need to gather more information about your Hisense TV’s audio output options, consult the user manual of your Hisense TV or visit the manufacturer’s website for detailed specifications. Similarly, for your surround sound system, refer to the user manual or contact the manufacturer for any compatibility queries.
Once you have confirmed the compatibility between your Hisense TV and the surround sound system, you can proceed to the next section, where we will explore the various options for connecting surround sound to your Hisense TV.
Connecting Surround Sound to Hisense TV
Now that you have checked the compatibility between your Hisense TV and the surround sound system, it’s time to connect them. There are several options available, depending on the audio output options of your Hisense TV and the input options of your surround sound system.
Here are the four most common options for connecting surround sound to your Hisense TV:
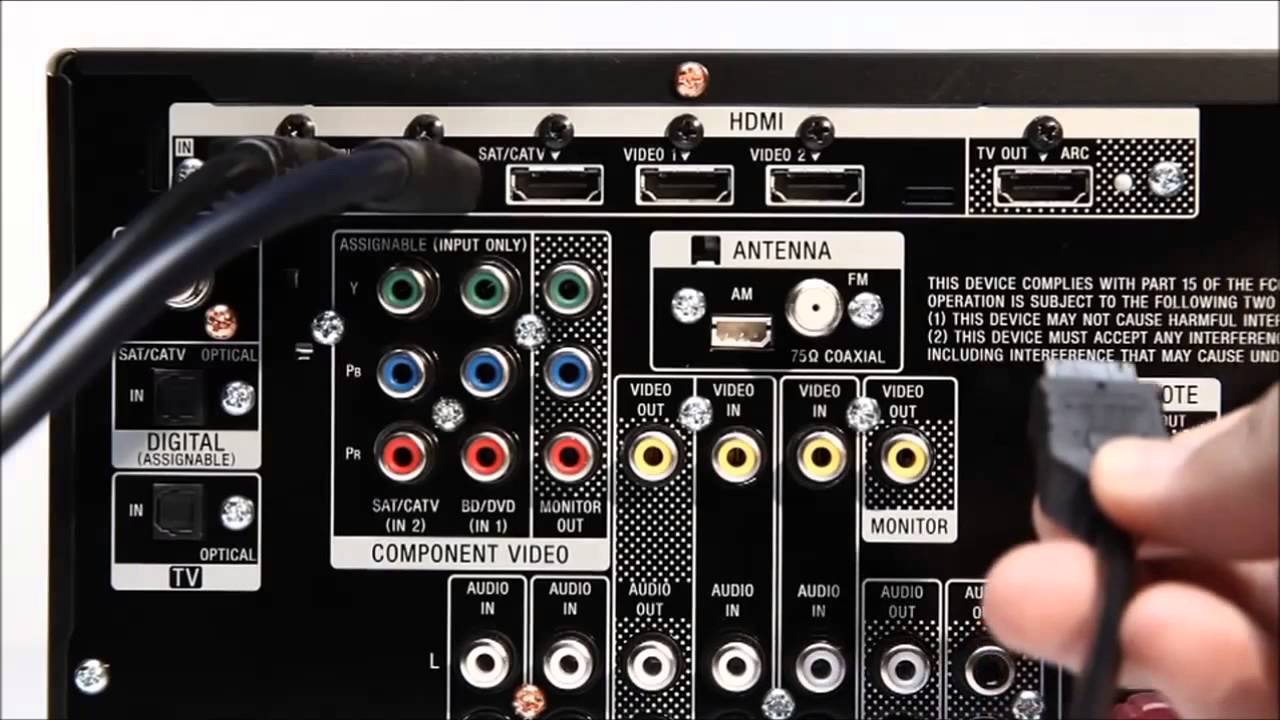
- Option 1: HDMI Connection: If both your TV and surround sound system support HDMI ARC (Audio Return Channel), this is the easiest and most convenient method. Simply connect an HDMI cable from the HDMI ARC port on your Hisense TV to the HDMI ARC input on your surround sound receiver. This will allow both audio and video to be transmitted through a single cable.
- Option 2: Optical Audio Connection: If your Hisense TV has an optical audio output and your surround sound system has an optical audio input, you can use an optical audio cable to connect the two devices. Simply plug one end of the cable into the optical audio output of your TV and the other end into the optical audio input of your surround sound system.
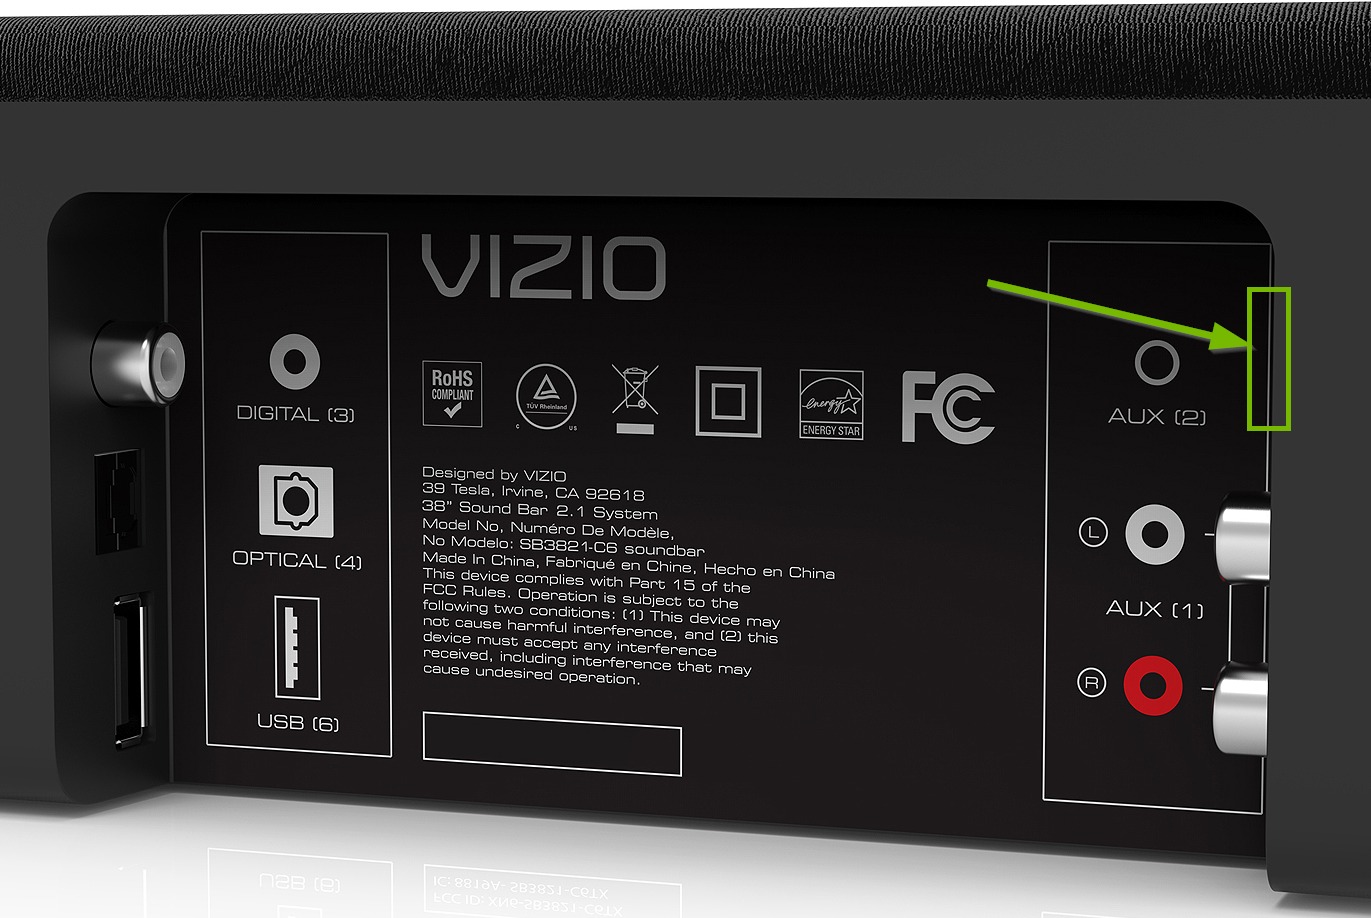
- Option 3: RCA Connection: If your Hisense TV and surround sound system have RCA audio ports, you can use RCA cables to establish the connection. Connect the red and white RCA cables from the audio output ports of your TV to the corresponding audio input ports of your surround sound system. Make sure to match the colors correctly to ensure proper audio transmission.
- Option 4: Bluetooth Connection: If your Hisense TV and surround sound system support Bluetooth connectivity, you can pair them wirelessly. Enable Bluetooth on both devices and follow the pairing instructions in their respective user manuals. Once paired, the audio from your TV will be wirelessly transmitted to the surround sound system.
Depending on your specific setup, choose the option that best suits your needs and available connections. Remember to consult the user manuals of your devices for specific instructions on connecting and configuring the audio settings.
Now that you have connected your surround sound system to your Hisense TV, it’s time to test the audio and make any necessary adjustments. Ensure that the speakers are placed correctly and that the audio settings on both the TV and the surround sound system are properly configured.
If you encounter any issues or need further assistance, refer to the troubleshooting tips in the next section.
Option 1: HDMI Connection
If both your Hisense TV and surround sound system support HDMI ARC (Audio Return Channel), this is the simplest and most convenient method to connect them. HDMI ARC allows for both audio and video signals to be transmitted through a single HDMI cable.
Follow these steps to establish an HDMI connection:
- Locate the HDMI ARC port on your Hisense TV and the HDMI ARC input on your surround sound receiver. These ports are usually labeled as “ARC” or “Audio Return Channel”.
- Connect one end of the HDMI cable to the HDMI ARC port on your TV and the other end to the HDMI ARC input on your surround sound receiver.
- Make sure to use a high-quality HDMI cable that supports ARC functionality for optimal performance.
- Turn on your TV and surround sound system, and switch the input on your surround sound receiver to the HDMI ARC input. This may be indicated as “ARC” or “HDMI” on the receiver’s display.
- Access the audio settings on your Hisense TV and ensure that the audio output is set to HDMI ARC. This can usually be found in the TV’s settings menu.
- Test the audio by playing a movie or TV show with surround sound. You should now hear the audio through your surround sound speakers.
If everything is working correctly, you have successfully established an HDMI connection between your Hisense TV and surround sound system. Enjoy the immersive audio experience!
If you encounter any issues, make sure that both devices are compatible with HDMI ARC and that the HDMI cable is properly connected. Additionally, consult the user manuals of your TV and surround sound system for specific instructions on HDMI ARC setup and troubleshooting.
Option 2: Optical Audio Connection
If your Hisense TV has an optical audio output and your surround sound system has an optical audio input, you can use an optical audio cable to establish a connection between the two devices. This method allows for high-quality audio transmission.
Follow these steps to set up an optical audio connection:
- Locate the optical audio output on your Hisense TV and the optical audio input on your surround sound system. These ports are usually labeled as “Optical” or “Toslink”.
- Connect one end of the optical audio cable to the optical audio output on your TV and the other end to the optical audio input on your surround sound system.
- Ensure that the cable is securely inserted into both ports to establish a proper connection.
- Power on your TV and surround sound system, and switch the input on your surround sound system to the optical audio input. This may be labeled as “Optical” or “Toslink” on the device’s display.
- Access the audio settings on your Hisense TV and select the optical audio output as the audio source. This can typically be found in the TV’s settings menu.
- Test the audio by playing a movie or TV show with surround sound. You should now hear the audio through your surround sound speakers.
If you’re unable to hear any sound, double-check the optical cable connection and ensure that both the TV and surround sound system are set to use the optical audio input and output, respectively. Additionally, consult the user manuals of your TV and surround sound system for any specific instructions or troubleshooting steps related to the optical audio connection.
By following these steps, you can easily establish an optical audio connection between your Hisense TV and surround sound system, allowing you to enjoy immersive audio.
Option 3: RCA Connection
If your Hisense TV and surround sound system both have RCA audio ports, you can use RCA cables to establish a connection between the two devices. While this method does not offer the same level of audio quality as HDMI or optical connections, it can still provide satisfactory results.
Follow these steps to set up an RCA connection:
- Locate the RCA audio output ports on your Hisense TV and the corresponding RCA audio input ports on your surround sound system.
- Identify the red and white RCA jacks on both devices. The red jack represents the right audio channel, while the white jack represents the left audio channel.
- Connect the red RCA cable from the audio output port of your TV to the corresponding red audio input port of your surround sound system.
- Connect the white RCA cable from the audio output port of your TV to the corresponding white audio input port of your surround sound system.
- Ensure that the cables are securely inserted into the ports to achieve a stable connection.
- Power on your TV and surround sound system, and select the corresponding audio input on your surround sound system, which matches the RCA input you connected the cables to.
- Access the audio settings on your Hisense TV and configure the audio output to use the RCA connection.
- Test the audio by playing a movie or TV show with surround sound. You should now hear the audio through your surround sound speakers.
If you encounter any issues, ensure that the RCA cables are connected properly and that the colors match the corresponding input/output ports. Additionally, consult the user manuals of your TV and surround sound system for any specific instructions or troubleshooting steps related to RCA connections.
Although an RCA connection may not provide the highest audio quality, it can still deliver an immersive audio experience when connecting your Hisense TV to a surround sound system that supports RCA inputs.
Option 4: Bluetooth Connection
If both your Hisense TV and surround sound system support Bluetooth connectivity, you can establish a wireless connection between the two devices. This option provides convenience and eliminates the need for physical cables.
Follow these steps to set up a Bluetooth connection:
- Ensure that both your TV and surround sound system have Bluetooth capability. Check the user manuals or the manufacturer’s website for specific information.
- Enable Bluetooth on your Hisense TV by navigating to the settings menu. Look for the Bluetooth option and turn it on.
- Enable Bluetooth on your surround sound system. Refer to the user manual for instructions on how to activate Bluetooth mode.
- On your TV, activate the pairing mode by selecting the option to pair a Bluetooth device. Follow the on-screen instructions to initiate the pairing process.
- On your surround sound system, initiate the pairing mode as well. Consult the user manual for instructions specific to your device.
- Once the devices are in pairing mode, they will search for each other. When your TV detects the surround sound system in the available devices list, select it to establish the Bluetooth connection.
- Once the connection is established, you should see a confirmation message on your TV screen or hear a notification sound on your surround sound system.
- Test the audio by playing a movie or TV show with surround sound. The audio will now be wirelessly transmitted from your Hisense TV to your surround sound system.
If you encounter any issues during the Bluetooth pairing process, ensure that both devices are within range of each other and that Bluetooth is enabled on both. Additionally, consult the user manuals for additional troubleshooting steps or Bluetooth-specific settings.
With a successful Bluetooth connection, you can enjoy the convenience of wirelessly transmitting audio from your Hisense TV to your surround sound system, enhancing your viewing experience without the need for physical cables.
Troubleshooting Tips
While connecting your surround sound system to your Hisense TV, you may encounter certain issues or face challenges. Here are some troubleshooting tips to help you overcome common problems:
- No Sound: If you’re not hearing any sound from your surround sound system, ensure that all the cables are securely connected. Double-check the input settings on your surround sound receiver to ensure it is set to the correct input source.
- Low Volume: If the volume is too low even when turned up to the maximum on your surround sound system, check the volume settings on both your TV and the surround sound system. Make sure they are both set to an appropriate level.
- Audio Lag: If you notice a delay between the video and audio while watching movies or TV shows, it may be due to signal processing. Refer to your surround sound system’s user manual for settings related to audio delay or lip sync adjustment.
- Poor Audio Quality: If the audio quality is not up to par, ensure that you are using high-quality cables and that they are properly connected. Adjust the audio settings on your TV and surround sound system to optimize the sound output.
- Compatibility Issues: If you encounter compatibility issues, such as one device not recognizing the other, ensure that both your Hisense TV and surround sound system are running the latest firmware or software updates. Check their respective websites for updates and installation instructions.
- Interference: If you experience distortion or interference in the audio, check for any potential sources of interference in your surroundings. Move any wireless devices or electronic equipment away from your TV and surround sound system to minimize interference.
- Lack of Surround Sound Effect: If you’re not experiencing the desired surround sound effect, ensure that the speakers are positioned correctly. Consult the user manual for the recommended speaker placement to optimize the surround sound experience.
If you are still experiencing issues after attempting these troubleshooting tips, consult the user manuals for both your Hisense TV and your surround sound system. Alternatively, reach out to the manufacturer’s customer support for further assistance.
Remember, troubleshooting can vary depending on the specific model and brand of your devices. So, it’s always recommended to refer to the relevant user manuals and online resources for device-specific troubleshooting guidance.
Conclusion
Connecting surround sound to your Hisense TV can significantly enhance your audio experience while watching movies, TV shows, or listening to music. By following the methods outlined in this guide, you can easily establish a seamless connection between your TV and surround sound system, immersing yourself in rich, multidimensional audio.
Whether you choose the HDMI ARC, optical audio, RCA, or Bluetooth connection method, make sure to consider the compatibility between your Hisense TV and surround sound system. Check the available audio output options on your TV and the corresponding audio input options on your surround sound system.
Throughout the setup process, it’s important to refer to the user manuals of your devices for specific instructions and troubleshoot any issues that may arise. Remember to optimize the audio settings on both your TV and the surround sound system for the best sound quality.
With the proper setup and troubleshooting, you can enjoy a captivating and immersive audio experience that brings your favorite movies, shows, and music to life.
So go ahead, connect your surround sound system to your Hisense TV and transform your entertainment experience by immersing yourself in the world of exceptional audio quality.