Home>Devices & Equipment>How Turntables Work: Setup and Troubleshooting
Devices & Equipment
How Turntables Work: Setup and Troubleshooting
Modified: 3 October 2026
Table of Contents
What a turntable is and how turntables work
Before you touch a single cable, it helps to understand exactly how turntables work, making a turntable work its magic. At its core, this device is the rotating platter, motor, tonearm, and cartridge assembly that plays records by tracing groove modulations. The platter spins the vinyl at a constant speed while a tiny stylus, mounted in a cartridge at the end of the tonearm, physically rides the record groove, converting that mechanical movement into a faint electrical signal. The raw output is nowhere near ready for your speakers and must first pass through a phono preamp that applies the RIAA equalization curve; without that stage, you get thin, noisy sound if you plug directly into a standard Aux input. This is also why the difference between a record player and a turntable matters right away: a record player is an all-in-one unit with the amplifier and usually speakers built in, while a turntable is typically just the playback component and relies on external amplification and speakers. If you have encountered a compact, portable unit with a handle and built-in speakers, you have likely seen a turntable in a suitcase called a portable record player, and setup for those closed-loop systems is generally simpler. For more specialized hardware, what is different about a transcription turntable is its design as a high-fidelity turntable intended for records and transcriptions, often featuring a heavier build and direct-drive motor for broadcast use. Meanwhile, a new turntable vertical how works follows the same basic principles as any turntable, orienting the platter upright while the tonearm tracks the groove against gravity. In every case, the core lesson holds: a turntable spins a vinyl record at a constant speed, and a stylus in a cartridge rides the record groove, turning the groove movement into an electrical signal that must be amplified before you can hear it.
Key parts and what they do
Start with the tonearm assembly. Nearly everything do on a turntable begins here, where a few small parts work together to extract music from the groove. Lock a turntable headshell into the end of the arm. This removable mount holds the cartridge and lets you swap or align it without replacing the whole arm. Slot a turntable cartidge into that headshell. This body houses the tiny generator that converts physical movement into an electrical signal. Now examine the stylus on a turntable. This is the actual diamond-tipped needle assembly that traces the record groove. Remove its protective cover before you begin balancing. Audio-Technica specifically instructs this, since leaving it on throws off every measurement that follows. Move to the opposite end of the arm. The function of turntable counterweights is to balance the assembly so it hovers horizontally. Dial in the correct tracking force for your cartridge using the gauge ring. Get this relationship right. It determines whether your stylus sits too heavy in the groove or skims too light. This setup is a far more common source of distortion than the deck itself.
Setup and physical adjustments
Before you do anything else with the tonearm, make sure the deck itself is sitting on a stable foundation. A level turntable is non-negotiable. Even a slight tilt fights the anti-skate mechanism and causes uneven groove wear. Place a spirit level directly on the platter. Adjust the feet until the bubble is centered both front-to-back and side-to-side. Once the plinth is true, you can turn your attention to the phono pickup body. While the stylus is resting in a groove, you need to check azimuth turntable alignment by using a small mirror on the platter and looking at the assembly head-on. Use a small mirror on the platter to make this easier. The setting is correct when the cartridge and its reflection are aligned and the stylus is vertical. The stylus must sit perfectly vertical. A cue lever on a turntable is the hinged paddle next to the arm base. Use this device whenever you need to lift and lower the needle with a damped, steady hand instead of your fingers. Relying on the lever is essential for avoiding accidental skids across the record. When you are ready to set the downforce, the ideal turntable weight is the specific tracking-force range your phono cartridge demands, typically between 1 and 3 grams. For example, an Ortofon 2M Red runs at 1.8 g. Balance the arm to float first. Then rotate the counterweight ring to that exact value. If your plinth is cosmetically tired but mechanically sound, a careful repaint turntable project can give it new life.
Speed and pitch control
Before you drop the needle, confirm that your deck is spinning at the correct rate for the record you are playing, because even a small deviation can alter the pitch of a familiar song. Most consumer decks support two of the speeds of a record turntable: 33-1/3 rpm for LPs and 45 rpm for singles, though some models also accommodate 78 rpm for shellac records. If you notice that an old lp turntable was revolving at 33 and one-third rpm but the music still sounds slightly off, inspect the belt first, as it may have stretched, or the motor may need servicing. For a quick visual check, you can use strobe on turntable platters by watching the markings on the rim under a neon or LED strobe light; when the dots appear to stand still, the speed is locked in. Many DJ-style decks also include a slider that adjusts the rotation rate, and turntable pitch control what does it do in practice is let you nudge a track faster or slower to match beats during a mix. The tempo range on turntable models varies widely, so check your manual to see what your slider governs.
Connecting to your stereo system
When you go to plug your record player into the rest of your hi-fi, the entire signal path hinges on one often-overlooked setting, and the root of most problems starts with understanding what does phono mean on a stereo. That dedicated input on your receiver isn’t just a label; it’s an active circuit that applies the necessary RIAA equalization curve while boosting the tiny voltage from the cartridge up to a standard line level. If you own an mm turntable, that raw output is much weaker than line-level devices and is intended to be used with a phono stage, so do not skip it by plugging directly into an “Aux” or “CD” jack. That is a common cause of low turntable volume, because without a phono preamp the signal stays too weak for normal amplification. This is also where knowing how the switch on a turntable work becomes critical, because it selects whether the turntable sends PHONO output, which bypasses the internal preamp, or LINE output, which uses the built-in preamp to raise the signal to line level. Check the switch position before you play a single record: when the switch is set to PHONO but you are connected to a standard input, the output remains low and you get silence and noise, while setting it to LINE while plugged into a receiver’s PHONO input will give you a distorted, overdriven blast.
Diagnosing sound quality problems
When you have already confirmed that your deck is level and the phono pickup is aligned, persistent turntable sound quality problems often point to a mismatch further down the chain. Understanding why your turntable sounds bad is the first step to fixing it, and a common symptom is a persistent background hum that gets louder as you raise the volume. Many of the noise issues with a turntable originate from a missing or poorly grounded connection between the record player and the amplifier. Before chasing internal motor rumble, attach the thin ground wire from your unit to the designated post on your receiver. If it is left dangling, the pickup will act like an antenna for mains hum.
You might encounter a turntable with high treble that strips all the warmth from the bass, making vocals sound brittle. This harshness is the audible fingerprint of an absent RIAA playback curve. It means you are likely plugged into a standard line-level input instead of a dedicated phono stage. Flipping the built-in preamp switch to the correct position restores the proper tonal balance. If your receiver lacks a phono input, you will need an external preamp to stop the music from sounding like a tinny, distant echo. In some setups, you may also hear a sudden, loud noise when amand turntable turns, specifically a mechanical thump transmitted through the stylus as the motor engages. To learn more about diagnosing that specific mechanical thump, you can read the article about loud noise when a turntable turns. Isolate the deck from footfalls and place it on a solid, heavy surface away from the speakers. This usually tames the low-frequency feedback before it overwhelms the groove.
- loud noise when amand turntable turns — Loud Noise When Amand Turntable Turns
- turntable sound quality problems — Why Does My Turntable Sound Bad
Stylus and cartridge maintenance
While the electrical chain is often the culprit behind thin or noisy playback, the physical interface where the music begins deserves equal attention. A worn stylus can mimic the harsh treble of a missing phono stage. It shreds the high-frequency grooves, turning crisp cymbals into a distorted, muddy sizzle. The lifespan of a turntable stylus typically falls between 300 and 1,000 hours of playback, depending on the diamond stylus type and shape. This means a heavily used deck might need a refresh before the calendar year ends. Listen for persistent fuzziness creeping into vocals or the soundstage collapsing into a flat blur. When you hear those warning signs, it is time to replace a needle on a turntable. Follow this rule of thumb: swap entry-level and mid-range styli roughly once a year for general home listening, even if the tip looks fine to the naked eye. Take a jeweler’s loupe to the tip and inspect the flat wear facets that cause permanent record damage. If you have just bought a second-hand deck, install a fresh stylus immediately before it touches your vinyl. The component holding that replaceable needle is a turntable cartidge, an electromechanical transducer that converts the physical wiggle of the stylus into a tiny electrical signal. On most moving magnet designs, the stylus assembly simply pulls free for a quick user swap. If you own a moving coil model, do not attempt to pull on the needle. A worn needle on that type of pickup means sending the entire sealed unit off for retipping or replacement.
Using specific turntable models
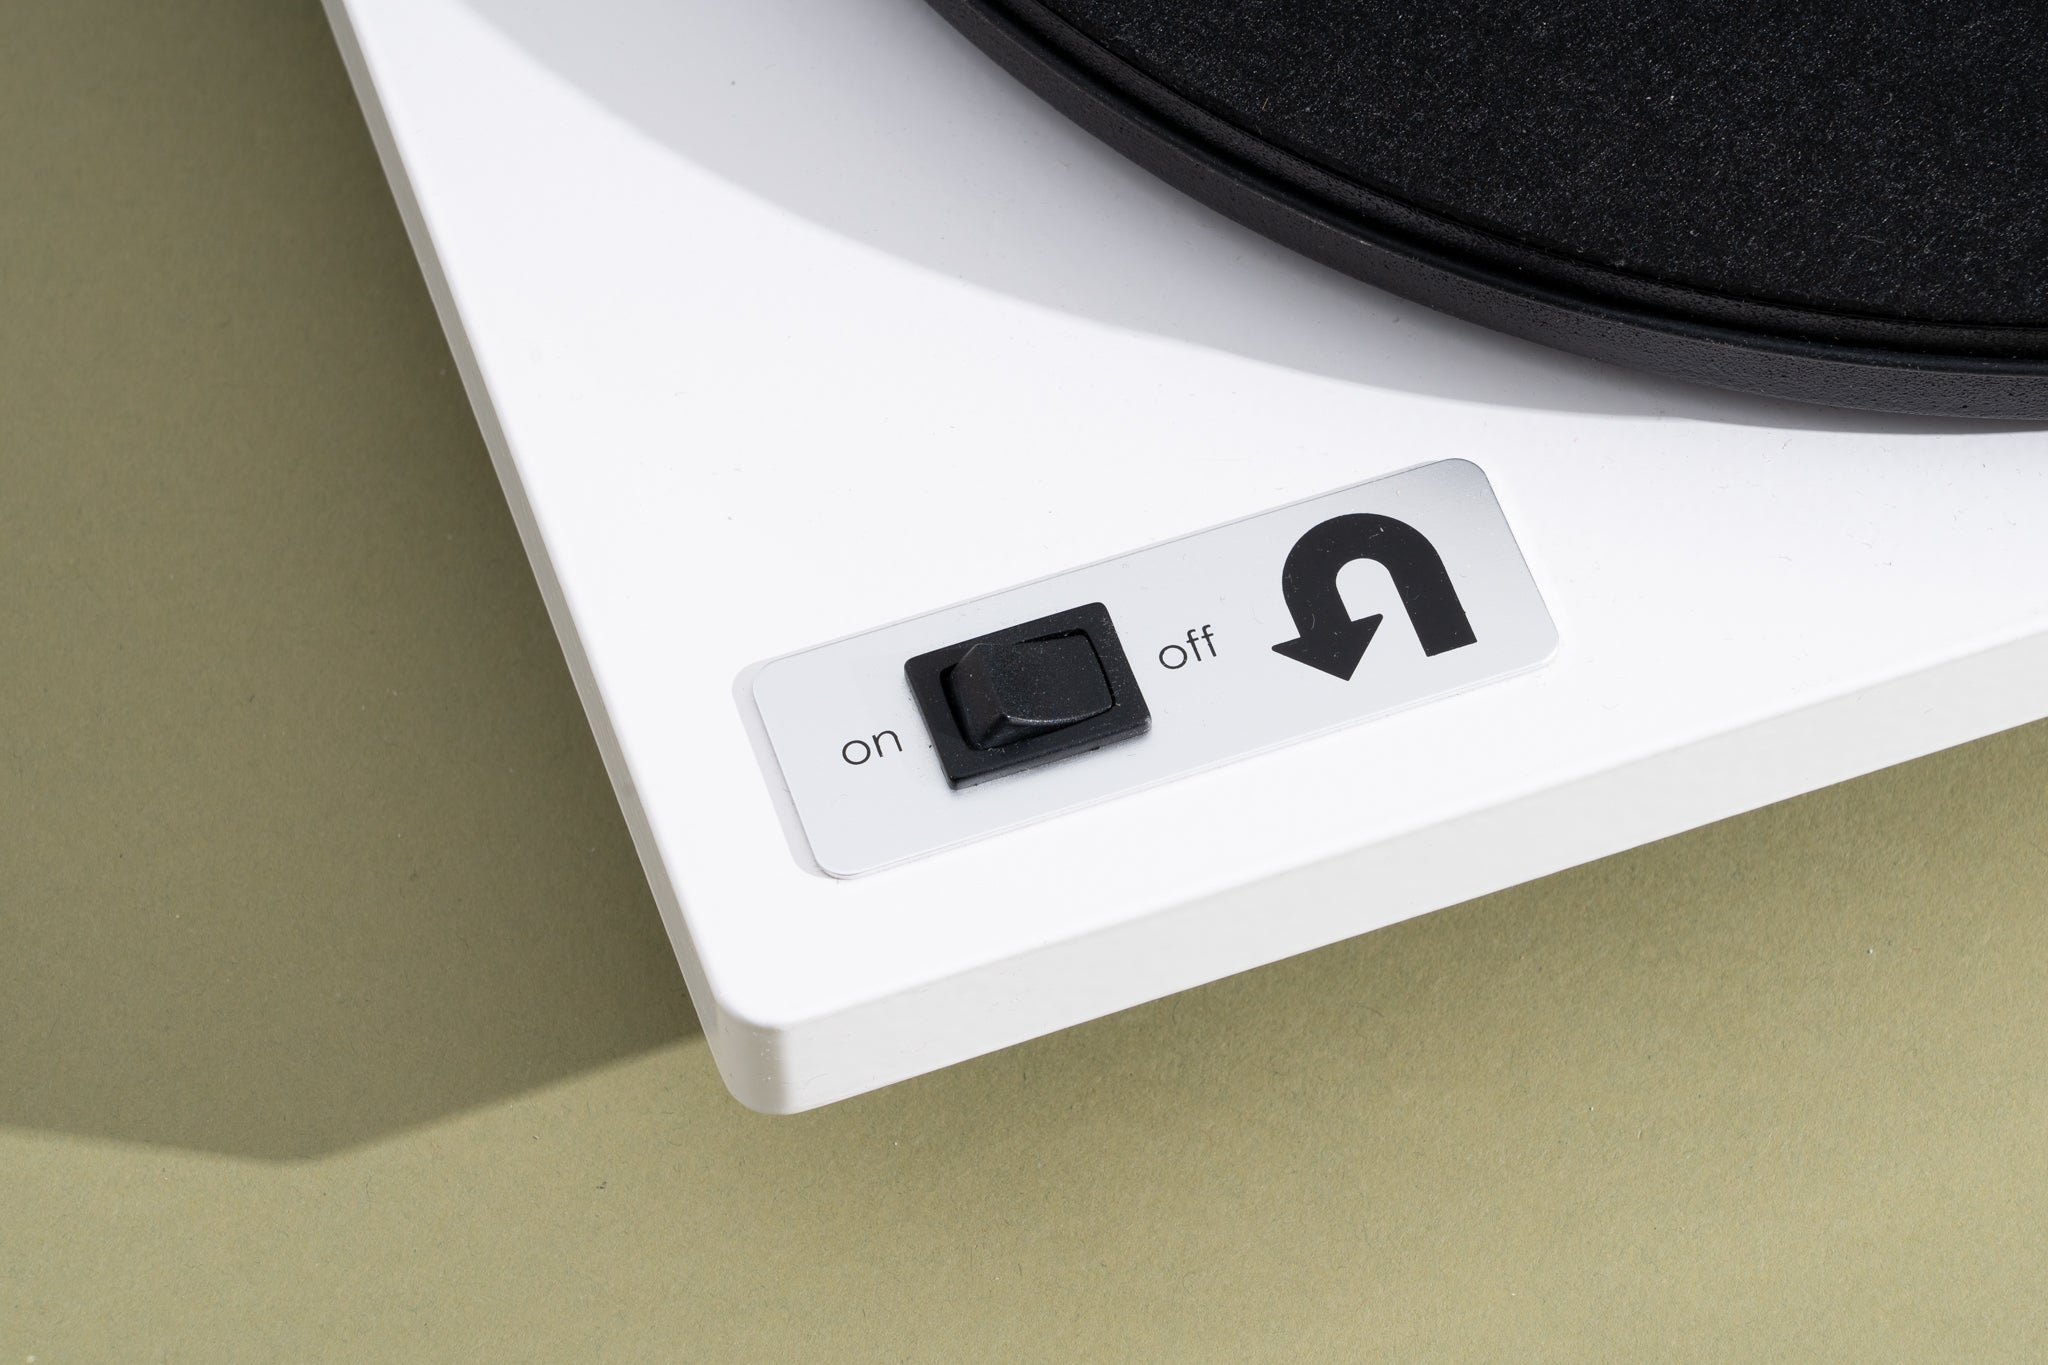
Set it to match your record, 33 ⅓, 45, or 78. Snap on the 45 RPM adapter for those large-hole singles. On models equipped with automatic start and stop, place the record on the platter and press the START button to begin playback. Use the dedicated STOP button to end a side early without lifting the tonearm by hand. For units with a cueing lever, manually raise the arm. Position it over the groove you want. Lower it gently to avoid bouncing the stylus across the lead-in. Many of these systems combine power and volume into a single knob. If the sound is barely there, turn that control up before you start chasing electrical faults in the chain. Because the exact controls vary by model, you might encounter a tone arm lift button that pauses the music with one press and resumes it with a second. Use this feature for skipping tracks without scraping the needle. Bluetooth-equipped versions still function as standalone audio devices rather than phone-controlled gadgets. Do not look for a companion app to manage playback. The connection is purely for sending the record player’s output to a wireless speaker after the internal preamp has already applied the correct RIAA curve.
- crosley turntable how to use — Crosley Turntable How To Use