Home>Devices & Equipment>Turntable Cleaning, Belt Replacement and Part Removal
Devices & Equipment
Turntable Cleaning, Belt Replacement and Part Removal
Modified: 3 October 2026
Table of Contents
Basic turntable cleaning and cosmetic care
Proper turntable cleaning starts with safety: power off and unplug the unit completely before you start wiping down any surface. For the main body and control knobs, a soft, dry cloth is the safest choice. Avoid alcohol, benzene, or thinners since they can damage the finish. When you need to clean turntable on a garrard stereo, following the correct procedure prevents damage to vintage components and keeps the audio path clear. For the metal face of an amplifier, stick with that same gentle, dry approach. Add only a slightly damp cloth with mild detergent for stubborn grime.
The dust cover demands extra caution because it scratches so easily. Remove it from the hinges and blow off loose dust with compressed air. Use warm water with a soft acrylic-safe sponge for spots. Blot the surface dry with a microfiber towel rather than wiping. That technique helps you buff out a turntable dust cover without leaving swirl marks.
Treating the plinth with the dry-cloth method is the core logic when you clean up technics turntable plinth, as it preserves the wood grain and prevents moisture from seeping into the electronics. Never let liquid seep near the tonearm bearings. The same principles apply when you clean a stereo receiver's exterior. A lint-free cloth keeps the dial glass clear and the knobs free of debris without pushing dust inside the chassis.
Stylus and needle replacement
Before you attempt any cleaning or disassembly, the single most vulnerable part of your turntable is the cantilever and its diamond tip. Removing the stylus assembly first eliminates the risk of a costly slip. If you are preparing to replace turntable needle components because the sound has grown dull or the cantilever looks bent, start by detaching the headshell from the tonearm. Working in your hands rather than hovering over the delicate bearings gives you far more control. Hold the headshell vertically with the cartridge facing you. Grip the stylus body firmly by the ridges on either side and pull it straight away from the cartridge body in one smooth motion. Never pull up or down, because the internal locking tab will not release at an angle. When the time comes to replace a turntable stylus sld2 or any other compatible model, the process reverses cleanly. Align the new stylus so the tab on its inner face slips into the corresponding cavity on the cartridge, and press until you feel it click home. Once the fresh assembly is secure, you can set the headshell safely aside in a protective case. Moving on to the rotating deck and chassis work no longer carries the worry that a stray bump will snap the needle.
Belt and motor access
With the stylus safely out of the way, you can turn your attention to reaching the belt and motor underneath the platter. Many direct-drive models have a straightforward top-access design. Belt-drive decks almost always require lifting the platter off the spindle to expose the drive mechanism. If you need to change a Crosley turntable belt, you will typically need to lift the platter off the spindle to expose the drive mechanism. This opening lets you hook the new belt around the motor pulley without removing the entire sub-platter.
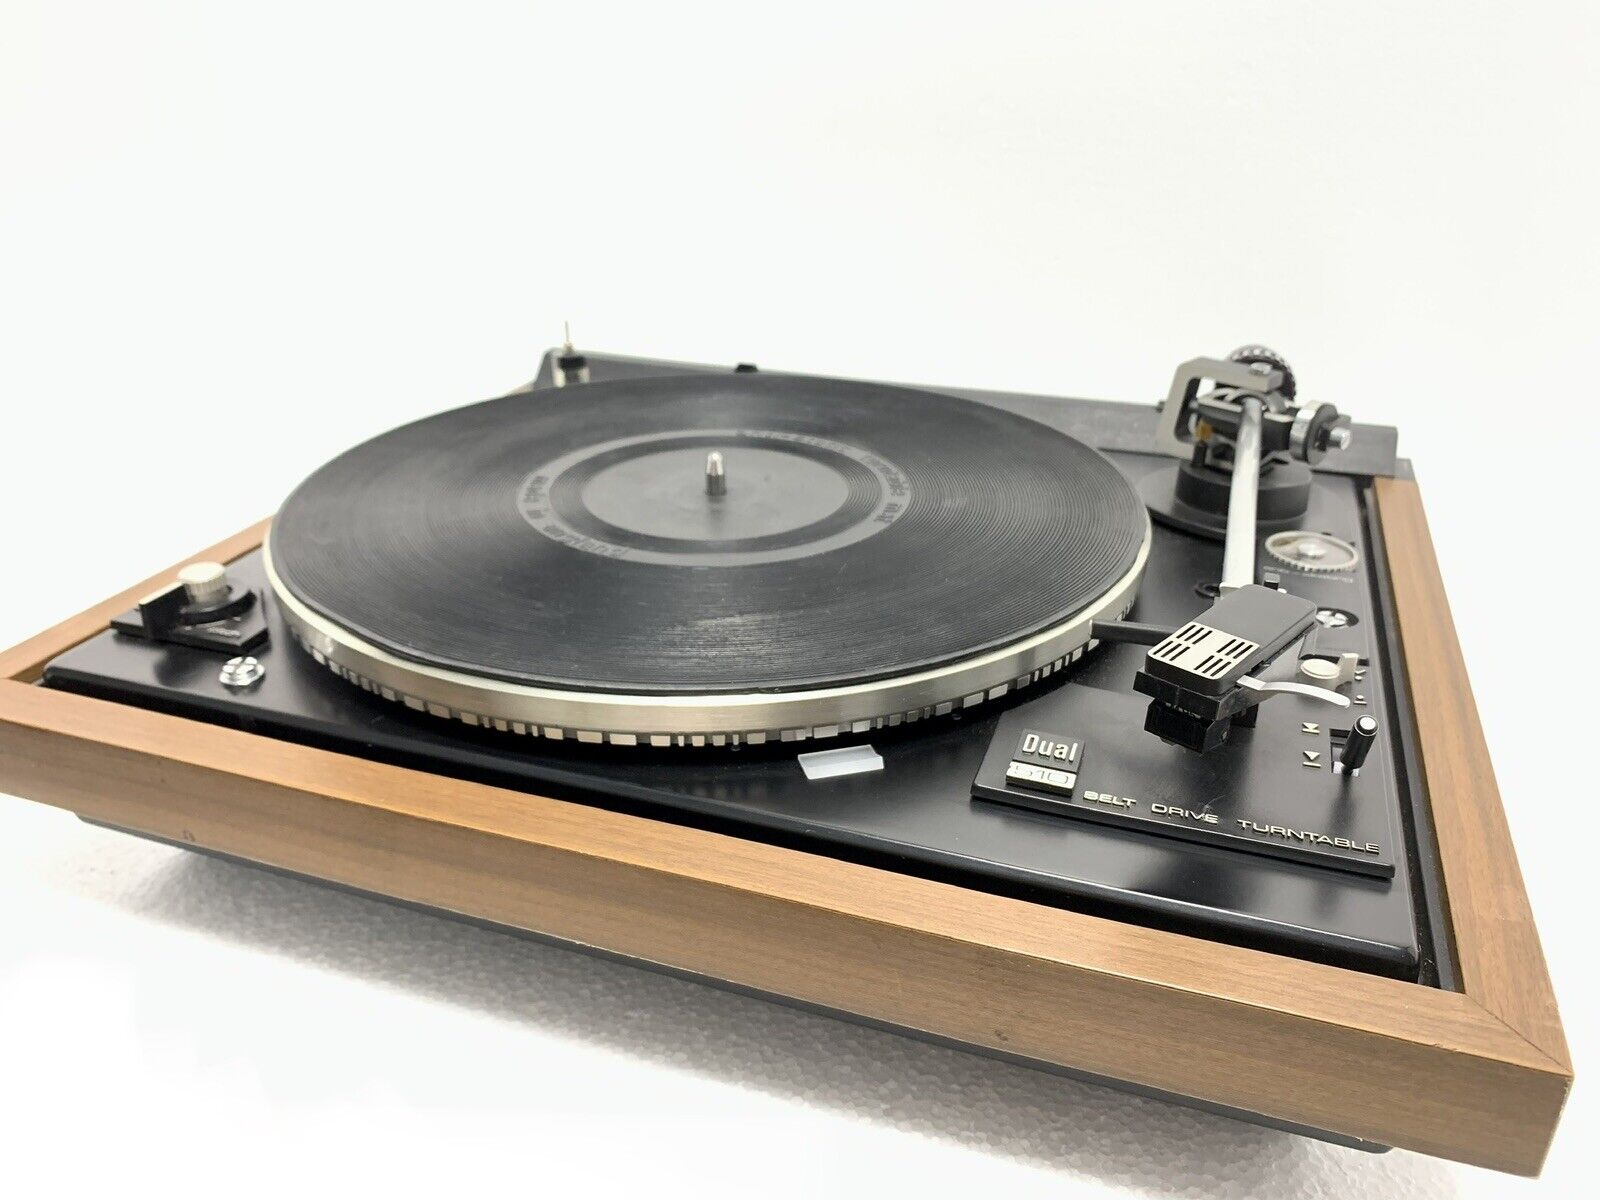
Owners of older Japanese decks often face a different challenge when they replace the belt on my JVC turntable. Those models may require that you remove the platter completely. You then unscrew the bottom chassis cover to guide the fresh belt onto the pulley from underneath. European designs have their own quirks. The Dual 510 belt drive turntable how to open question may involve removing a circular center trim cap. This reveals a hidden C-clip on the spindle. Once you lift the platter and the inner sub-platter away, the motor and speed-change mechanism sit fully exposed.
Getting to the motor on my Marantz 6150 turntable may follow a similar logic, which is useful if you need to service the speed control or replace a worn drive belt. You must first take out the three screws recessed in the top plate that secure the suspension. The platter will release only after these fasteners are removed. For all-in-one console units, the process to loosen turntable on FP7 mechanisms may start with removing the platter mat. Look for transport screws that lock the chassis down for shipping. These screws are often brightly colored or have a clear plastic washer to make them easy to spot.
Stubborn metal discs that refuse to budge often respond to a gentle temperature change. A hair dryer set to low heat can expand the center collar just enough to break the friction bond. Never force a frozen record deck upward with a screwdriver, because the soft alloy spindle will gouge instantly. Instead, apply a few drops of penetrating oil directly to the spindle base and let it wick down for fifteen minutes. The oil creeps into the microscopic gap and lubricates the bond without harming the bearing. After waiting, rock the disc gently from side to side using the finger holes. A firm, straight lift usually pops it free. If the deck still holds fast, thread a long bolt into any available accessory mounting hole on the top surface to use as a temporary handle. This extra leverage makes a straight vertical pull much easier.
Glass and acrylic record decks demand special care during removal. These heavy, brittle materials can crack if they tilt and catch the spindle at an angle. Always lift them with both hands placed at opposite edges. Set the delicate disc face-down on a clean microfiber cloth immediately to protect the playing surface. The underside often reveals a secondary magnet ring or a strobe pattern printed directly on the material. Avoid touching this printed ring, because skin oils can degrade the markings over time. When the record deck is finally free, inspect the spindle bearing well for any signs of dried grease. Old lubricant turns to a sticky paste that mimics a mechanical lock. Cleaning this residue with isopropyl alcohol restores the smooth, silent rotation the table was designed to deliver.
The sub-platter sits beneath the main record deck and acts as the true driven pulley in most suspended chassis designs. A hidden belt rides on a machined inner rim that is often invisible until you lift the top layer away. Removing this inner component requires a careful straight pull, because it sits directly on the main bearing shaft. Any wobble during removal can scar the bearing sleeve. Once the sub-platter is out, the motor pulley and the speed change mechanism become fully accessible. Cleaning the inner rim with a dedicated rubber rejuvenator removes the glazed skin that causes slippage. A fresh belt seated on a clean, matte surface restores the correct pitch stability.
Transport screws are a critical safety feature that many owners overlook when unpacking a new or serviced unit. These long bolts pass through the floating chassis and thread directly into the solid plinth. Their sole purpose is to immobilize the suspension during shipping. Failing to loosen turntable on FP7 mechanisms before use results in zero isolation from footfalls and severe feedback. The screws are usually located under the outer platter or accessed through holes in the top plate. Turn them counterclockwise until they spin freely and drop down into their storage wells. Some designs use transit bolts with a captured spring that pushes them completely out of the way. Always store these fasteners in a labeled bag taped to the back of the cabinet. You will need them again if the unit ever moves to a new home.
Belt routing differs significantly between suspended and fixed chassis designs. A fixed chassis simply requires stretching the new belt around the inner rim and the motor pulley from above. Suspended decks often trap the belt between the chassis and the plinth. The correct path threads the belt through a specific gap in the suspension frame before it reaches the pulley. Missing this step pinches the belt and prevents the platter from spinning freely. If you need to change a Crosley turntable belt, the routing is usually direct and visible from above. More complex suspended designs require a hook tool to fish the belt through the chassis opening. A bent paperclip with a small loop on the end works perfectly for this task. Guide the belt onto the motor pulley first, then stretch it over the inner rim as you lower the platter back into place.
Motor access on vintage direct-drive units often requires removing a bottom cover and disconnecting multiple wiring harnesses. The motor sits in a sealed well beneath the platter and drives the spindle directly through a precision bearing. Getting to the motor on my Marantz 6150 turntable involves removing the bottom panel and carefully labeling each connector before separation, which is essential for accessing the speed control board mounted directly to the motor housing. Cleaning the speed adjustment trimmers with contact cleaner solves most wandering pitch problems. Belt-drive motors are simpler to reach. Once the platter and sub-platter are out, the motor sits in plain view on the top plate. A few drops of light machine oil on the motor shaft bearing quiet a dry bearing instantly. Rotate the shaft by hand to work the oil into the sintered bronze bushing.
Reassembly follows the exact reverse order, with a few critical checks along the way. Spin the platter by hand before applying power to confirm the belt tracks straight and true. A belt that walks off the pulley indicates a misaligned motor mount or a twisted belt. The Dual 510 belt drive turntable how to open procedure ends with securing the center trim cap back into place.
- get to the motor on my marantz 6150 turntable — How Do I Get To The Motor On My Marantz 6150 Turntable
Platter and part removal
Clearing the deck for cleaning or packing begins once the stylus assembly is safely stored. Lift the slip mat straight off the spinning surface. On belt-drive models like the Audio-Technica AT-LP60X, you must unplug the power supply and audio cable before reaching underneath. Disconnect the belt from the motor pulley and lift the metal disc away. Leave the belt attached to its underside so nothing gets mislaid.
The holders on the back of the body are used on models including the AT-LP120X line and AT-LP5X. The procedure to remove dust cover hinges on Technics turntable decks involves a similar straight-pull motion.
Larger furniture units shift the challenge to freeing the entire mechanism. Removing a turntable from a BSR record player may involve checking for transport screws or spring clips inside the console. The same approach applies across many vintage all-in-one systems. Lift the spinning disc first. Look for locking hardware underneath. Disconnect the internal audio and power leads before lifting the deck out.
Rubber mat removal follows its own logic on different decks. The steps to remove rubber mat turntable surfaces on direct-drive models require nothing more than peeling the mat away from the metal. On some idler-wheel changers the mat sits inside a shallow lip. Lift it with a fingernail at the edge and work around the circumference slowly.
Platter extraction varies by drive type and brand. The process to remove a platter turntable mechanism on belt-drive units means slipping the belt off the motor pulley first. Direct-drive models lift straight off the spindle once any retaining clip is released. Idler-drive decks add an extra step because the idler wheel must be swung clear of the inner rim. To remove a turntable from a BSR record player inside a console, the heavy metal disc may stay on the chassis until the whole unit comes out. Transport screws may hide under the disc on some changers. Spring clips hold the chassis to the cabinet shelf. Freeing both lets you lift the mechanism as one assembly.
Console and cabinet extractions demand patience with hidden fasteners. To remove victrola turntable mechanisms from vintage floor-standing cabinets, start by opening the lid fully. Look inside the cabinet for thumbscrews or locking levers on the motor board. Unscrew them and tilt the board upward. Disconnect the power and audio cables from the amplifier chassis. The entire motor board then lifts out with the spinning disc still mounted.
Dual turntable bases hide their secrets underneath. To remove the plastic bottom of a Dual 704 turntable, begin by flipping the deck onto a padded surface. The plastic cover may snap into the wooden plinth. Release any tabs around the perimeter with a flat spudger. Work slowly to avoid cracking the aged plastic. Once the bottom is off, the internal components are exposed for service or packing.
Transport preparation ties all these steps together. The method you use to remove a platter turntable assembly for shipping always includes securing the sub-chassis with the original transit bolts. Direct-drive models without transit bolts need the spinning disc removed and wrapped separately. The tonearm gets its own tie-down. The dust cover travels best when separated from the hinges entirely.
Repair, packing, and unusual fixes
Diagnosing a turntable that won’t spin or sounds warbly usually starts with the power supply and drive mechanism, and the deeper process to fix a turntable can lead you to the motor pulley or belt path hidden under the platter, so you can restore clear playback without distortion. If you hear scraping or the platter visibly wobbles, you may need to fix a yamaha yp-800 turntable spindle out of axis to prevent permanent damage to your records and stylus. On decks with automated return systems, the mechanism can jam when old grease hardens, and someone asking to show me videos on how to repair the hub assembly on a cast of that wire turntable payout may be dealing with a sticky trip pawl or a dislodged return spring deep inside the cam gear, which is why a visual guide helps you avoid misaligning delicate parts. Before you attempt any repair, always secure the tonearm to its rest and fit the stylus guard to protect the needle.
When the work is done and you need to pack a turntable for shipping, remove the platter and slip mat, disconnect the belt from the motor pulley, and pack those parts in a separate protective bag with any loose accessories, because a properly packed deck is far less likely to arrive damaged. Leave about 10 cm of cushioning between the deck and the outer carton, and never ship the unit with the dust cover attached unless it is locked down, since a cracked lid is a common casualty of a poorly packed table.
- show me videos on how to repair the hub assembly on a cast of that wire turntable payout — Show Me Videos On How To Repair The Hub Assembly On A Cast Of That Wire Turntable Payout
- fix a yamaha yp-800 turntable spindle out of axis — How To Fix A Yamaha Yp-800 Turntable Spindle Out Of Axis
- pack a turntable for shipping — How To Pack A Turntable For Shipping
- fix a turntable — How To Fix A Turntable