Home>Devices & Equipment>Music Box>What Is Needed To Make A Music Box

Music Box
What Is Needed To Make A Music Box
Published: January 11, 2024
Discover what is needed to create your own music box. From mechanisms to decorations, explore the world of music box making.
(Many of the links in this article redirect to a specific reviewed product. Your purchase of these products through affiliate links helps to generate commission for AudioLover.com, at no extra cost. Learn more)
Table of Contents
Introduction
Music has always been a powerful form of expression and entertainment. Throughout history, people have found joy and solace in the beautiful melodies and harmonies that music brings. And one of the most enchanting ways to experience music is through a music box.
Music boxes, also known as musical boxes or musical jewelry boxes, have been captivating people for centuries with their intricate melodies and charming designs. They are mechanical marvels that combine music and craftsmanship, creating a delightful experience for both the ears and the eyes.
In this article, we will take a closer look at the fascinating world of music boxes. We will explore their history, learn about the various components that make up a music box, and discover the steps involved in making one. Whether you’re a music enthusiast, a DIY enthusiast, or simply curious about the inner workings of these magical devices, this article has something for you.
So, let’s dive into the captivating world of music boxes and unravel the secrets behind their beauty and enchantment.
History of Music Boxes
The history of music boxes dates back several centuries to the early 19th century. The invention of the music box is credited to Swiss watchmaker Antoine Favre, who crafted the first known music box in the late 18th century. These early music boxes were small, hand-cranked devices that played simple tunes using a pinned cylinder mechanism.
Initially, music boxes were considered a luxury item and were owned by the wealthy elite. They were often adorned with intricate designs, inlaid woodwork, and even precious metals and gemstones. Music boxes became a symbol of opulence and sophistication.
Over time, the popularity of music boxes grew, and their production spread across Europe and eventually to the United States. As technology advanced, so did the complexity of the music boxes. The pinned cylinder mechanism was replaced by interchangeable cylinders and later by flat metal discs with engraved tunes.
During the 19th and 20th centuries, music boxes became more affordable and accessible to the general public. They were produced in various sizes and designs, ranging from small handheld versions to larger table-top models. The tunes played by music boxes evolved to include popular songs, classical compositions, and even patriotic melodies.
Music boxes became treasured heirlooms, passed down from one generation to the next. They were not only objects of beauty and entertainment but also cherished keepsakes that held sentimental value. However, with the advent of modern technology and electronic devices, the popularity of traditional music boxes declined.
Today, music boxes continue to captivate collectors, enthusiasts, and those who appreciate the nostalgia and charm of these vintage treasures. They are valued for their craftsmanship, intricate musical mechanisms, and the ability to evoke a sense of wonder and nostalgia.
While modern technology has provided alternative means for enjoying music, the allure of a music box remains unmatched. The delicate sound produced by the tiny metal tines or the resonating strings transports us to a bygone era when simplicity and beauty went hand in hand.
In the next section, we will explore the various components that make up a music box, delving into the intricate inner workings that bring music to life.
Components of a Music Box
Music boxes may appear simple on the outside, but their inner workings are incredibly complex and fascinating. Understanding the components of a music box can give you a deeper appreciation for the craftsmanship involved in creating these mechanical marvels.
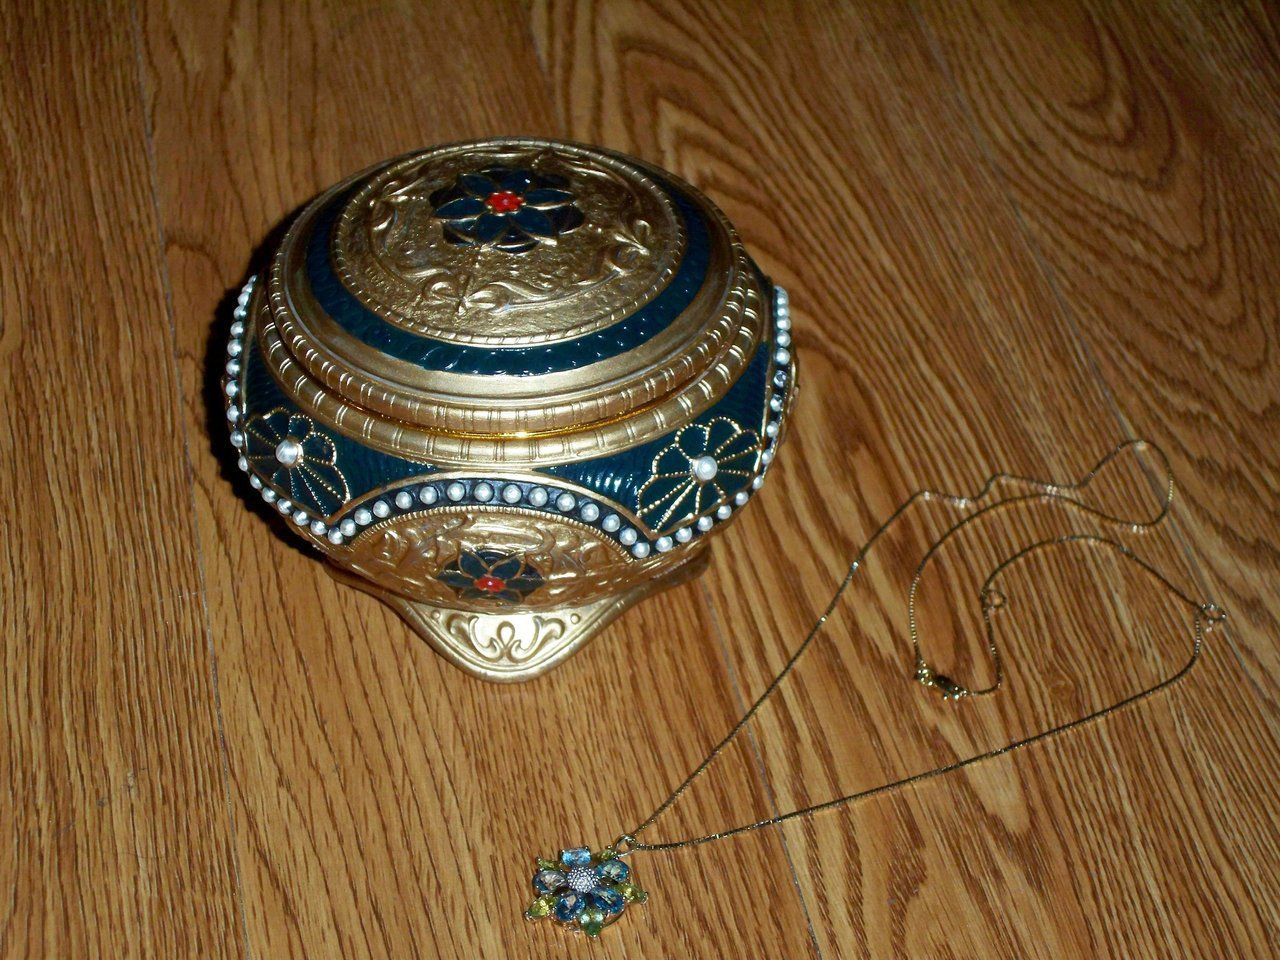
1. Case: The case is the exterior shell of the music box, typically made of wood, metal, or a combination of materials. It serves as both a protective covering and a decorative element, often featuring intricate carvings, inlays, or painted designs.
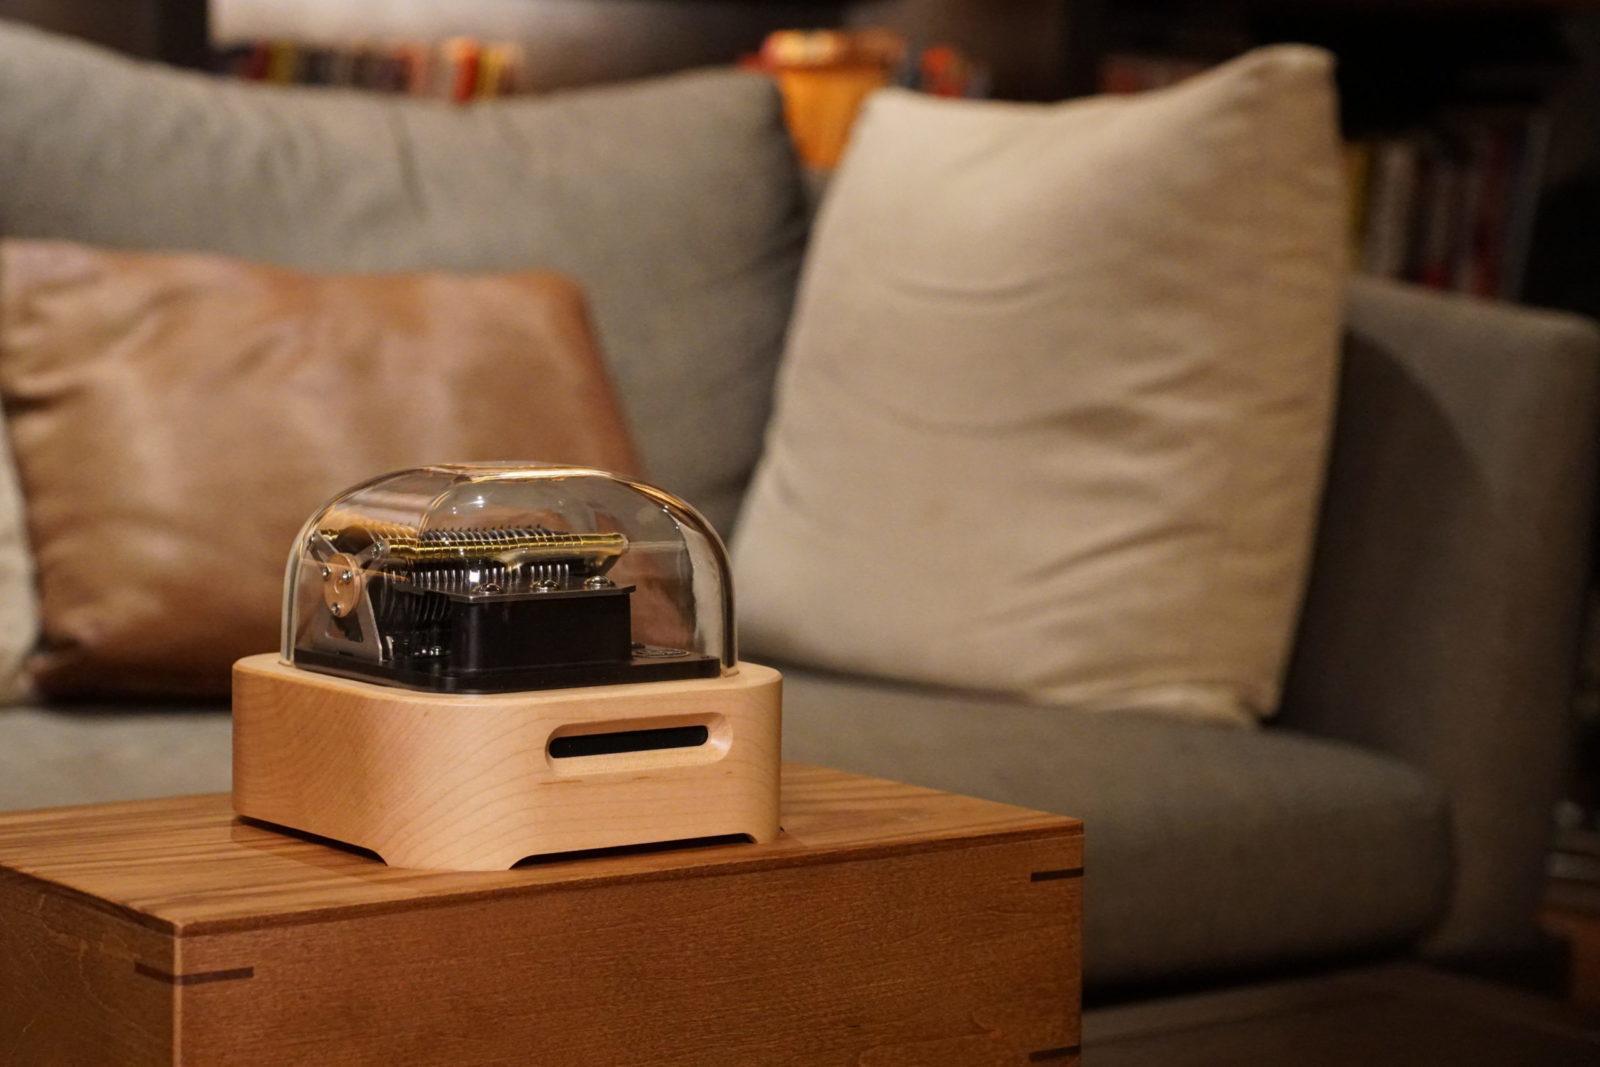
2. Musical Mechanism: The musical mechanism is the heart of the music box and is responsible for producing the melodic tones. It consists of several key components:
- Cylinder or Disk: The cylinder or disk holds the programmed pins or prongs that pluck the tune’s individual notes. The cylinder mechanism is found in older music boxes, while the disk mechanism is more commonly used in modern music boxes.
- Tunes: The tunes are encoded onto the cylinder or disk, with each pin or prong corresponding to a specific note. As the cylinder or disk rotates, the pins or prongs interact with a comb or resonating plate to produce musical notes.
- Comb: The comb is a metal strip with teeth of varying lengths. When the pins or prongs on the cylinder or disk interact with the comb, they pluck the teeth, producing the musical notes. The size and arrangement of the comb determine the quality and range of the sound.
- Spring: The spring provides the energy needed to power the music box. It is wound up manually or, in some cases, with the help of a key or a winding mechanism.
3. Governor: The governor controls the speed at which the cylinder or disk rotates, ensuring a consistent and even tempo for the music. It consists of weighted flywheels or rotating arms that regulate the speed of the mechanism.
4. Stop/Start Mechanism: The stop/start mechanism allows the user to control when the music plays. It typically consists of a lever or button that engages or disengages the musical mechanism.
5. Sound Amplifier: Some music boxes feature a sound amplifier, such as a resonating plate or soundboard that enhances the volume and quality of the music produced.
Each component of a music box plays a crucial role in creating the beautiful melodies that enchant us. Next, let’s explore the different types of musical mechanisms used in music boxes.
Musical Mechanisms
Music boxes use a variety of mechanisms to create the magical melodies that bring joy to our ears. These mechanisms determine the tunes that can be played and the complexity of the music box’s movements. Let’s explore some of the common musical mechanisms used in music boxes.
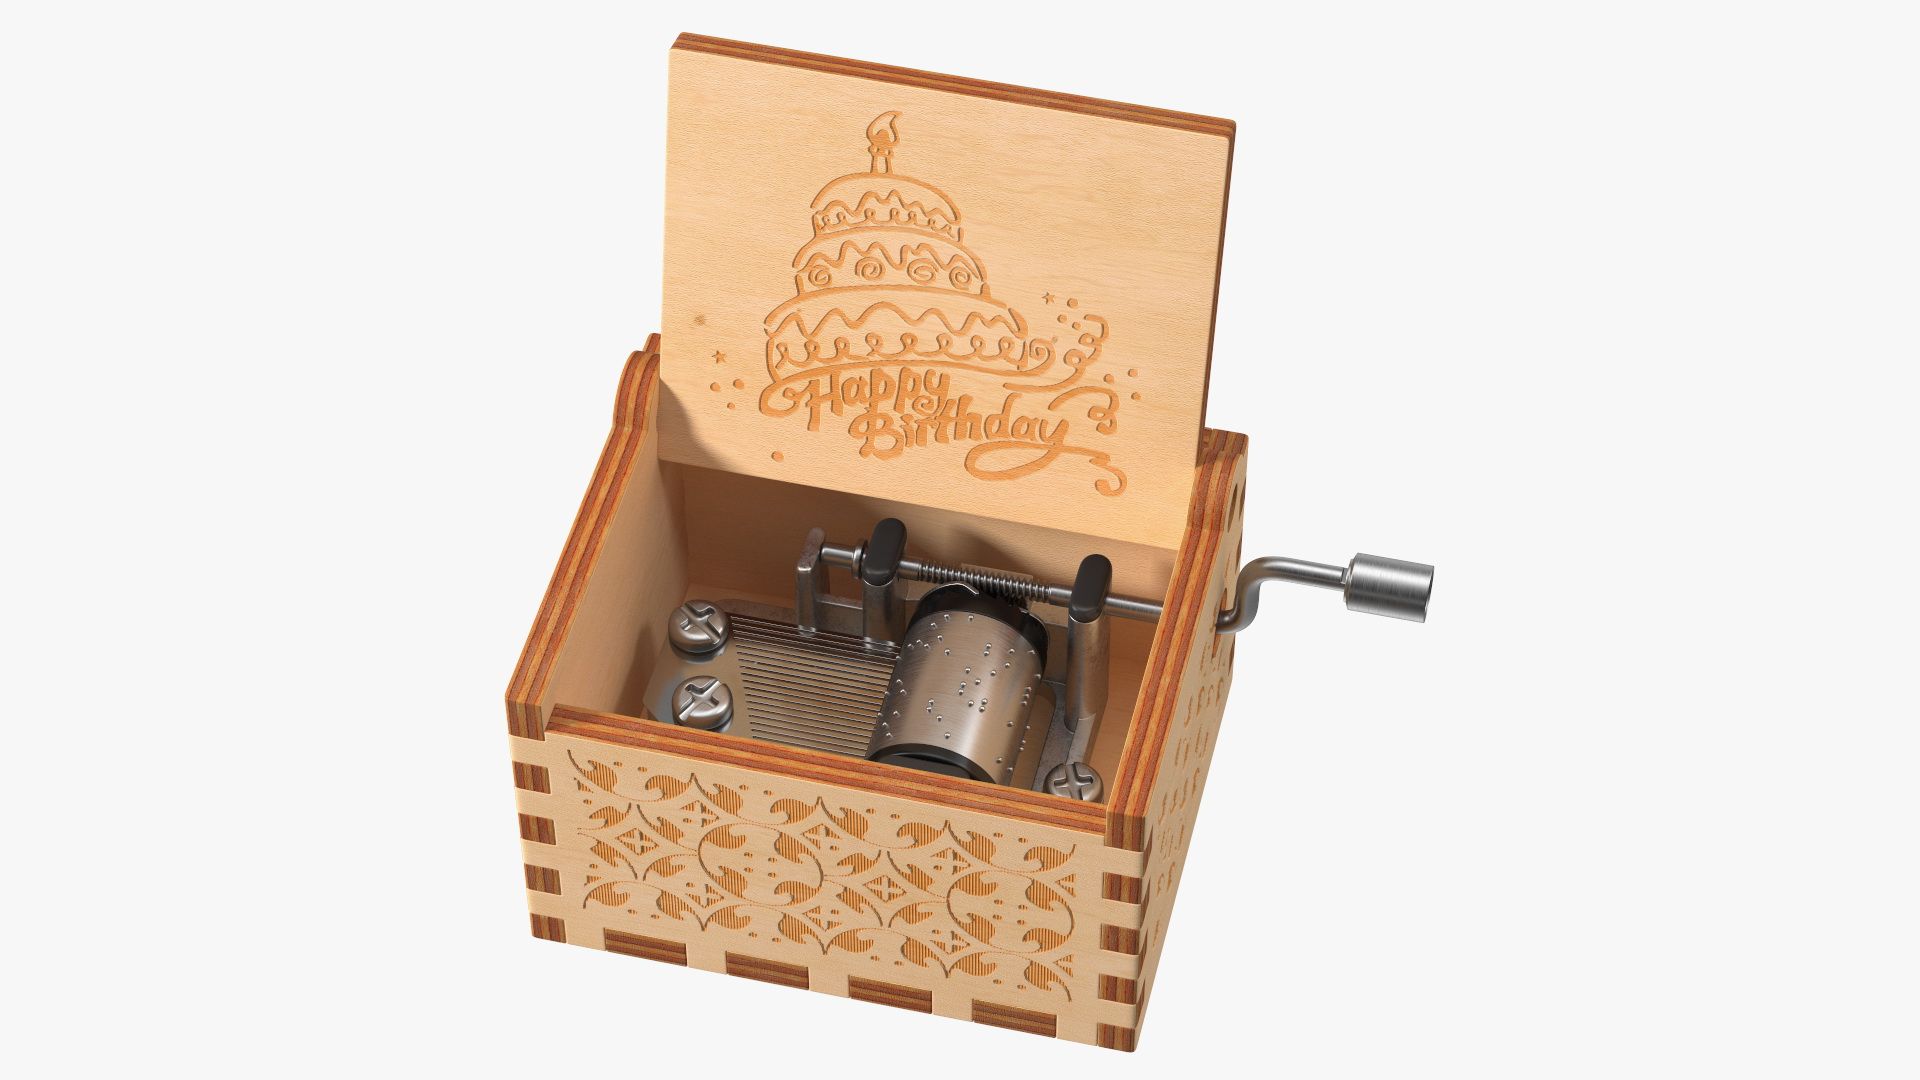
1. Cylinder Mechanism: The cylinder mechanism is one of the earliest and simplest forms of musical mechanisms used in music boxes. It consists of a metal cylinder with pins or prongs positioned along its length. As the cylinder rotates, the pins or prongs pluck the comb, producing the musical notes. Cylinder mechanisms are often found in vintage music boxes and can play a fixed set of tunes.
2. Disc Mechanism: Disc mechanisms became popular in the 19th century and are still widely used today. Instead of a cylinder, the disc mechanism utilizes a metal disc with precisely placed holes or bumps. As the disc rotates, the holes or bumps activate the comb, creating the desired musical notes. One of the advantages of disc mechanisms is their versatility, as different musical discs can be interchanged to play a wide range of tunes.
3. Music Box Movements: Music box movements refer to the combination of the musical mechanism and the other components that enable the music box to play. These movements can be either pre-made and purchased separately or custom-made to fit specific music box designs. Music box movements are available in various sizes and configurations to cater to different music box styles and functions.
4. Revolving Cylinder Mechanism: A variation of the cylinder mechanism is the revolving cylinder mechanism. In this mechanism, the cylinder has multiple tunes encoded on different sections, and it rotates to align the desired tune with the comb. The user can select which tune to play by controlling the cylinder’s rotation. This mechanism allows for a greater variety of tunes to be played without the need to change cylinders.
5. Auto-Stop Mechanism: Some music boxes feature an auto-stop mechanism that pauses or stops the music automatically at the end of a tune. This mechanism adds a touch of convenience and sophistication to the music box, preventing it from continuously playing when not in use.
These are just a few examples of the musical mechanisms used in music boxes. The specific mechanism chosen depends on factors such as the desired tunes, the complexity of movements, and personal preferences. Whether it’s the nostalgic sound of a cylinder mechanism or the versatility of a disc mechanism, each type of mechanism brings its unique charm to the music box.
Now that we have explored the musical mechanisms, let’s delve into the differences between cylinder and disc music boxes in the next section.
Cylinder vs. Disc Music Boxes
When it comes to music boxes, two of the most common types of mechanisms are the cylinder and disc mechanisms. Each type has its own unique characteristics and charm. Let’s compare cylinder and disc music boxes to understand their differences.
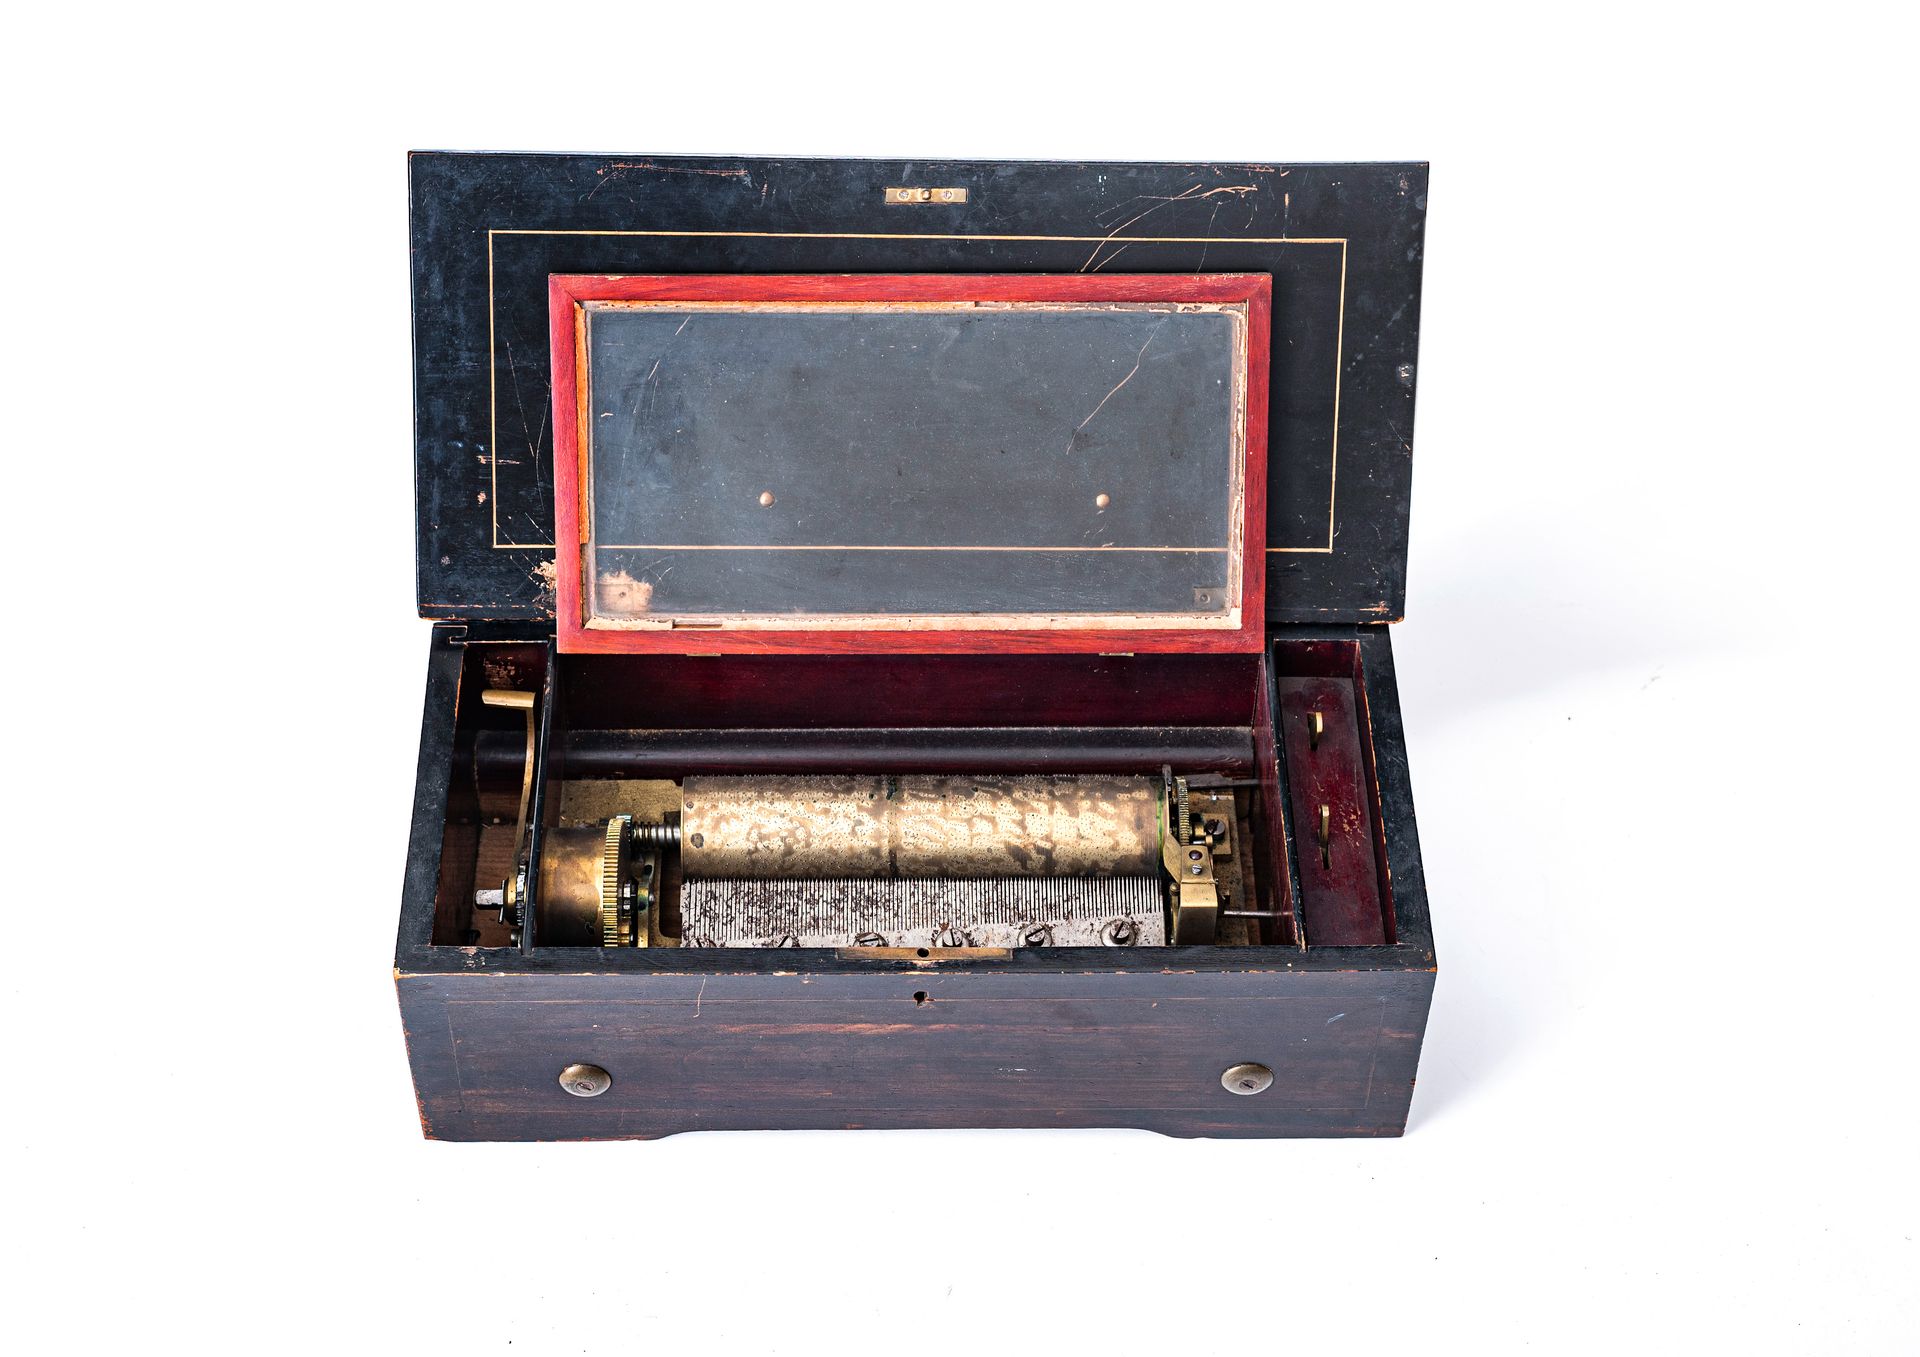
Cylinder Music Boxes:
Cylinder music boxes are the traditional form of music boxes, dating back to the 18th century. They feature a metal cylinder with pins or prongs positioned along its length. As the cylinder rotates, the pins or prongs pluck the comb, producing the musical notes. Cylinder music boxes are known for their nostalgic and quaint sound, evoking a sense of vintage charm and elegance. They often have a limited number of tunes and can play continuously as long as the mechanism is wound.
Disc Music Boxes:
Disc music boxes, on the other hand, utilize a round metal disc with precisely placed holes or bumps. As the disc rotates, the holes or bumps activate the comb, creating the desired musical notes. Disc music boxes offer greater versatility in terms of tunes, as different discs can be inserted or interchanged to play various songs. They are also known for a crisper and more vibrant sound compared to cylinder music boxes. Disc music boxes often have a stop/start mechanism, allowing users to select which tune to play.
So, what are the key differences between cylinder and disc music boxes?
Tune Selection: Cylinder music boxes generally have a fixed set of tunes, and the tunes play in sequence as the cylinder rotates. Disc music boxes offer a wider selection of tunes, and users can switch between different discs to play their preferred songs.
Variety of Tunes: Disc music boxes have a greater repertoire of tunes, as multiple discs can be used interchangeably. Cylinder music boxes have a limited number of tunes encoded on a single cylinder.
Sound Quality: While both types produce charming melodies, disc music boxes tend to have a crisper and more resonant sound due to the precision of the disc mechanism. Cylinder music boxes have a softer and more nostalgic sound.
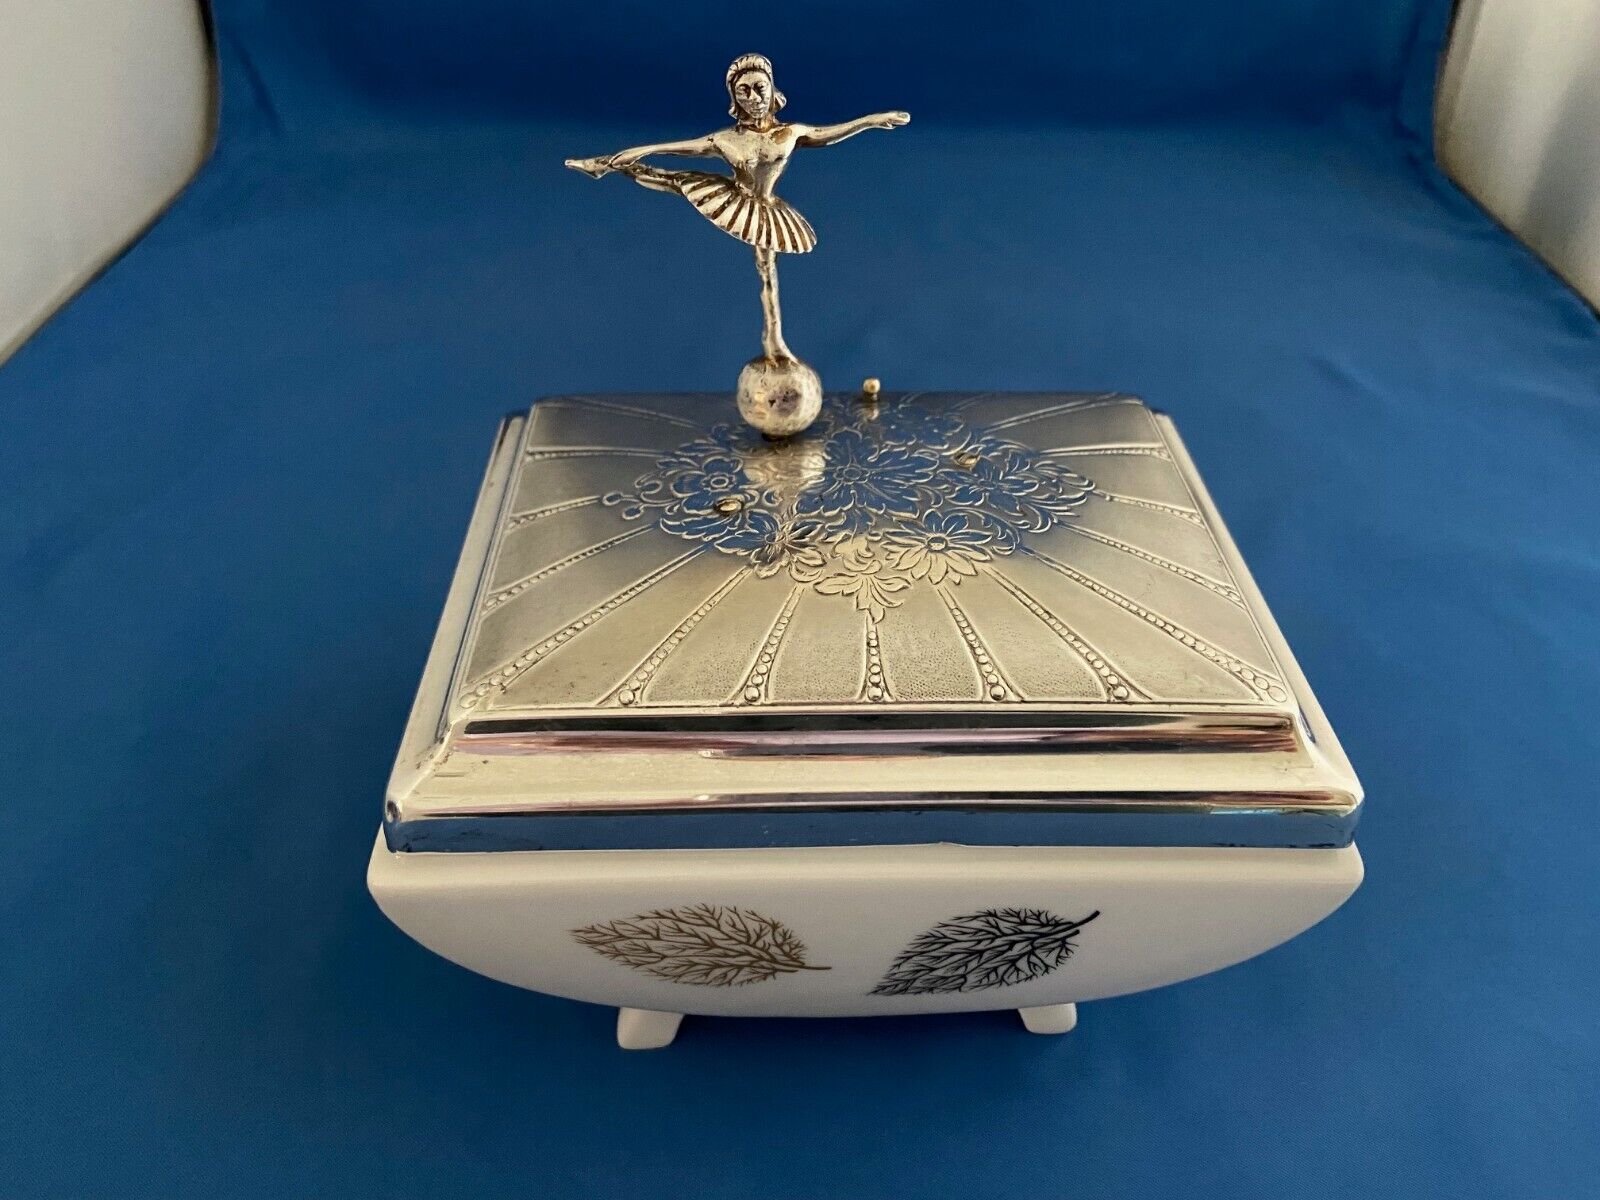
Complexity of Movements: Disc music boxes often feature more intricate movements, such as rotating dancers or other figurines that accompany the music. Cylinder music boxes generally have simpler movements, focusing mainly on the music itself.
Both cylinder and disc music boxes have their own appeal and charm. The choice between the two depends on personal preferences, desired tunes, and the overall aesthetic and functionality of the music box.
Now that we’ve explored the different types of music box mechanisms, let’s move on to the materials and tools needed to make a music box from scratch.
Materials and Tools for Making a Music Box
If you’re feeling adventurous and want to create your own music box, you’ll need a few essential materials and tools. While the specific requirements may vary depending on your design and preferences, here are some commonly used materials and tools for making a music box:
Materials:
- Wood: Choose a high-quality wood such as maple, walnut, or cherry for the main body of the music box. You can also use veneer sheets for a decorative finish.
- Music Mechanism: Purchase a premade music box movement or musical mechanism that fits your desired tune and style.
- Decorative Materials: Consider adding embellishments like fabric, paint, or inlay work to customize the appearance of your music box.
- Hardware: You’ll need hinges, screws, hooks, and other hardware to assemble the music box and its components.
- Adhesive: Use strong wood glue or epoxy adhesive to securely bond the different parts of the music box.
Tools:
- Measuring Tools: A ruler, measuring tape, and calipers will help ensure accurate dimensions for the different parts of the music box.
- Saw: Choose a saw suitable for cutting wood, such as a table saw or a handheld saw. This will be used to cut the wood pieces to the desired dimensions.
- Sanding Tools: Sandpaper or a sanding block is necessary to smooth the edges and surfaces of the wood parts and create a polished finish.
- Drill: A drill is essential for creating holes for the hardware, such as hinges or hooks.
- Chisels: Chisels are useful for shaping and carving the wood, especially for intricate details or decorative designs.
- Clamps: Clamps will help hold the wood pieces in place while the adhesive dries, ensuring a strong and secure bond.
- Finishing Tools: Brushes or spray guns are needed to apply the desired finish, such as paint, varnish, or wood stain, to protect and enhance the appearance of the music box.
These are just the basic materials and tools needed to make a music box. Depending on your creativity and design ideas, you may require additional materials such as fabric, beads, or decorative elements to add a personal touch.
Before embarking on your music box-making journey, it’s important to carefully plan and gather all the necessary materials and tools. With the right resources and a bit of patience, you’ll be able to create a unique and melodious masterpiece to treasure or gift to someone special.
Next, let’s delve into the step-by-step guide to making a music box, where we’ll explore the process in detail.
Step-by-Step Guide to Making a Music Box
Creating a music box from scratch requires careful planning and attention to detail. Here is a step-by-step guide to help you navigate the process:
Step 1: Design and Plan: Decide on the overall design and size of your music box. Sketch out the dimensions and features you want to incorporate, including the placement of the music mechanism, compartments, or decorative elements.
Step 2: Gather Materials and Tools: Collect all the necessary materials and tools as discussed in the previous section. Ensure you have everything you need before starting the construction.
Step 3: Prepare the Wood: Cut the wood according to your design specifications using a saw. Sand the edges and surfaces of the wood to achieve a smooth finish.
Step 4: Assembly: Begin assembling the main body of the music box by joining the wooden pieces together. Use wood glue or adhesive to securely bond the parts. Use clamps to hold the pieces firmly while the adhesive dries.
Step 5: Create Compartments: If you want to include compartments in your music box, design and construct them accordingly. This step may involve cutting and fitting additional pieces of wood to create the desired compartments.
Step 6: Install the Music Mechanism: Carefully follow the instructions provided with the music mechanism and install it in the designated area of the music box. Ensure it fits securely and properly aligns with any necessary holes or slots.
Step 7: Finishing Touches: Sand the entire music box to achieve a smooth and polished surface. Apply the desired finish, such as paint, varnish, or stain, to protect and enhance the appearance of the wood. Let it dry completely.
Step 8: Test and Adjust: Wind up the music mechanism and test it to ensure proper functioning. Make any necessary adjustments to the positioning or alignment of the mechanism if needed.
Step 9: Add Decorative Elements: If desired, add decorative elements such as fabric lining, inlay work, or other embellishments to enhance the aesthetic appeal of your music box.
Step 10: Enjoy and Share: Your music box is now complete! Sit back, listen to the delightful melodies, and appreciate your handcrafted creation. Share it with family and friends, or present it as a unique and cherished gift.
Remember, creating a music box is a labor of love, requiring patience, precision, and attention to detail. Take your time and enjoy the process, allowing your creativity to shine through in every step.
In the next section, we will explore different ways to decorate and customize your music box, allowing you to truly make it your own.
Decorating and Customizing Your Music Box
Once you have completed the construction of your music box, it’s time to add the finishing touches that will make it truly unique and personalized. Decorating and customizing your music box allows you to unleash your creativity and make it a reflection of your own style. Here are some ideas to inspire you:
1. Painting and Staining: Apply paint or wood stain to the exterior of the music box to give it a vibrant or rustic look, depending on your preference. Experiment with different colors and finishes to achieve the desired effect.
2. Decorative Inlays: Consider adding decorative inlays made of contrasting wood or other materials to the surface of the music box. Inlays can create intricate patterns or designs that elevate the visual appeal of the box.
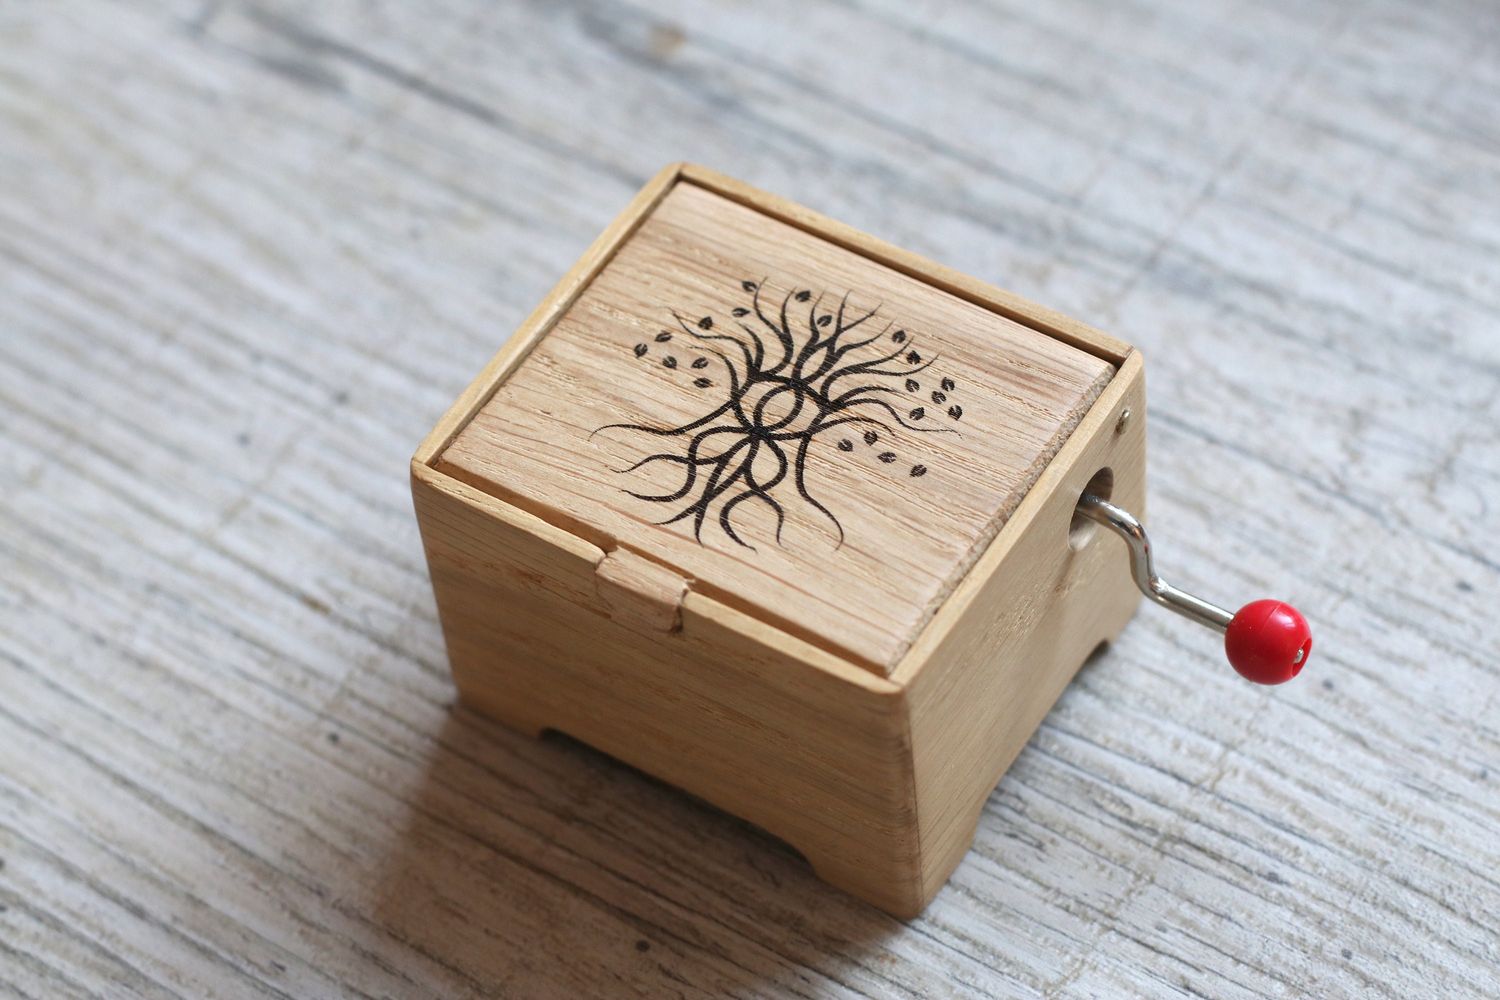
3. Engravings or Carvings: Use carving tools or engraving techniques to etch intricate designs, patterns, or even meaningful symbols onto the wood. This adds a personalized and artistic touch to your music box.
4. Fabric Lining: Line the interior of the music box with velvet, satin, or another soft fabric to protect the contents and add a touch of elegance. Choose a color that complements the overall design of the box.
5. Decorative Hardware: Enhance the appearance of your music box by adding decorative hinges, clasps, handles, or even small metal ornaments. Select hardware that matches the style and theme of your box.
6. Personalized Messages: Incorporate a special message, quote, or dedication by engraving it onto a small plaque or using stencils and paint. This adds a sentimental and personal touch to your music box.
7. Embellishments: Consider adding decorative elements such as beads, sequins, or small trinkets that complement the design of your music box. These accents can add a touch of sparkle and charm.
8. Custom Removable Inserts: Create custom inserts or dividers within the compartments of the music box to organize and display jewelry, small trinkets, or other cherished items that hold significance to you.
9. Photographic or Paper Collage: Craft a collage using printed photographs, decorative paper, or small cutouts to create a visually stunning and personal display on the exterior or interior of your music box.
10. Theme-Based Designs: Customize your music box based on a specific theme. It can be inspired by nature, a favorite book or movie, a special memory, or any other source of inspiration that resonates with you.
Remember, the options for decorating and customizing your music box are limitless. Let your imagination lead the way and make it a true expression of your own personality and style. The process of decorating and adding personal touches to your music box is an enjoyable and creative journey that adds even more meaning to your handcrafted masterpiece.
In the next section, we will share some valuable tips and troubleshooting advice to help ensure your music box operates smoothly and stands the test of time.
Tips and Troubleshooting
Creating and maintaining a music box can come with its own set of challenges. To help you along the way, here are some valuable tips and troubleshooting advice:
1. Take Your Time: Building a music box requires patience and attention to detail. Take your time during each step of the process to ensure accuracy and precision.
2. Follow Instructions Carefully: When assembling the music box, refer to the instructions provided with your music mechanism to ensure proper installation and functioning.
3. Test the Music Mechanism: Before finalizing the construction, test the music mechanism to ensure it plays the desired tune accurately and smoothly.
4. Regular Maintenance: Keep your music box in good condition by regularly dusting it with a soft cloth and avoiding exposure to excessive moisture or direct sunlight.
5. Wind-Up Properly: If your music box has a spring-based winding mechanism, be careful not to overwind it. Follow the instructions for winding to prevent damage to the mechanism.
6. Proper Storage: When not in use, store your music box in a cool, dry place away from potential hazards that may cause damage or scratches.
7. Clean the Combs: Over time, dust and debris can accumulate on the comb of the music mechanism, affecting the sound quality. Use a soft brush or compressed air to gently clean the comb periodically.
8. Addressing Sticking Notes: If you notice any notes that sound muffled or stick during playback, carefully inspect and adjust the alignment of the pins or prongs on the cylinder or disk mechanism.
9. Lubrication: If the music mechanism becomes stiff or produces a grinding sound, apply a small amount of lubricant to the appropriate parts as recommended by the manufacturer.
10. Seek Professional Help: If you encounter complex issues or are unsure about any aspect of your music box’s maintenance or repair, consider consulting a professional experienced in working with music boxes.
Remember, each music box is unique, and troubleshooting may vary depending on the specific mechanism and design. The key is to be observant, patient, and willing to learn. With proper care and attention, your music box will bring joy and enchantment for years to come.
Now that you have an understanding of the tips and troubleshooting techniques, let’s conclude our journey into the world of music boxes.
Conclusion
Music boxes are more than just enchanting musical instruments. They are timeless treasures that combine craftsmanship, melody, and artistry. Throughout history, these captivating creations have brought joy, nostalgia, and a touch of magic into our lives.
In this article, we explored the fascinating world of music boxes, from their rich history to the intricacies of their components and mechanisms. We learned about the classic cylinder and versatile disc music box mechanisms and the materials and tools needed to create your own music box.
We also discussed the importance of personalization and customization, discovering the various ways to decorate and add a personal touch to your music box, making it a reflection of your style and personality. Furthermore, we provided helpful tips and troubleshooting advice to ensure the smooth operation and longevity of your music box.
Whether you are a collector, a DIY enthusiast, or simply someone who appreciates the beauty of music, a music box holds a special place in our hearts. It connects us to the past while allowing us to create our own unique melodies and memories.
So why not indulge in the magical world of music boxes? Whether you choose to acquire a vintage piece, embark on the adventure of building your own, or simply enjoy the music they create, music boxes are sure to bring a melody of joy and wonder into your life.
As we conclude this exploration of music boxes, we invite you to embrace the enchantment and the mesmerizing melodies that these exquisite instruments offer. Let the music transport you to a place of serenity, nostalgia, and pure bliss.