Home>Devices & Equipment>Music Box>How To Make Rotating Music Box
Music Box
How To Make Rotating Music Box
Published: January 12, 2024
Learn how to make a mesmerizing rotating music box with our step-by-step guide. Create a unique and enchanting musical experience with this DIY project.
(Many of the links in this article redirect to a specific reviewed product. Your purchase of these products through affiliate links helps to generate commission for AudioLover.com, at no extra cost. Learn more)
Table of Contents
Introduction
Music boxes have been enchanting people for centuries with their melodic tunes and delicate mechanisms. They evoke a sense of nostalgia and beauty, making them a beloved keepsake and a delightful gift. While there are many pre-made music boxes available in the market, there’s something special about making your own rotating music box.
In this article, we will guide you through the process of creating your very own rotating music box. By following these simple steps and gathering the necessary materials, you can unleash your creativity and craft a unique music box that will captivate anyone who lays eyes on it.
Creating a rotating music box not only allows you to customize the design and decor, but it also gives you the opportunity to personalize the music selection. Whether you want to create a whimsical carousel-inspired box or a serene nature-themed one, the possibilities are endless.
Assembling a rotating music box does require a certain level of craftsmanship, but don’t worry – we will break down the steps for you in a clear and concise manner. So, whether you’re a seasoned DIY enthusiast or a beginner looking for a new creative project, this guide is for you.
Materials Needed
Before diving into the process of creating a rotating music box, let’s make sure we have all the necessary materials. Here’s a list of items you’ll need:
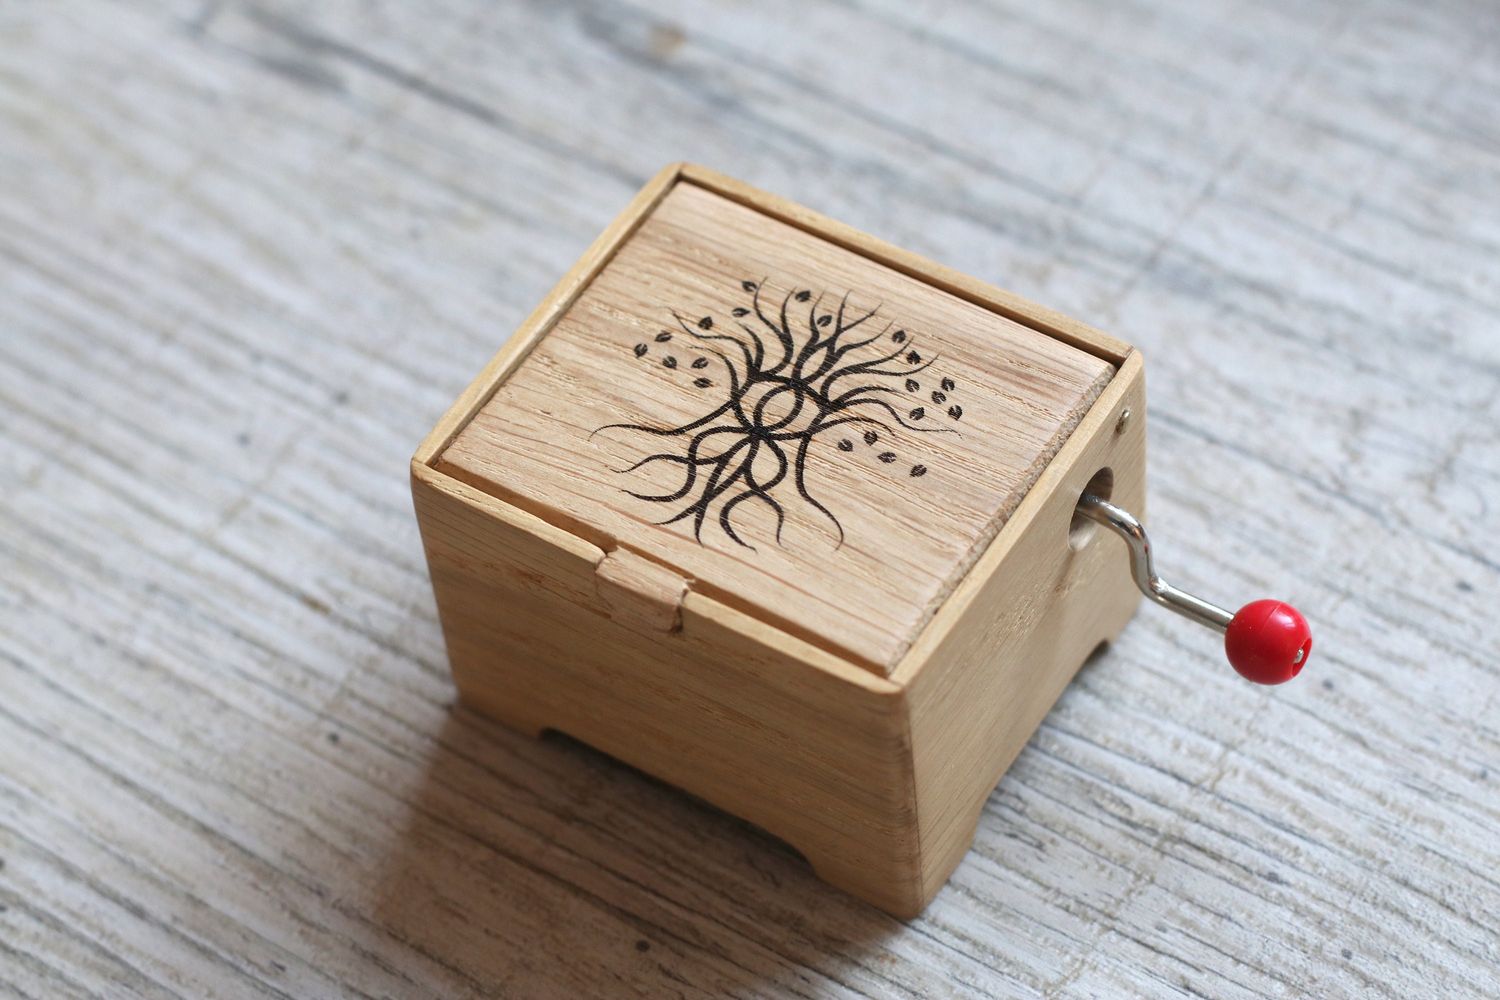
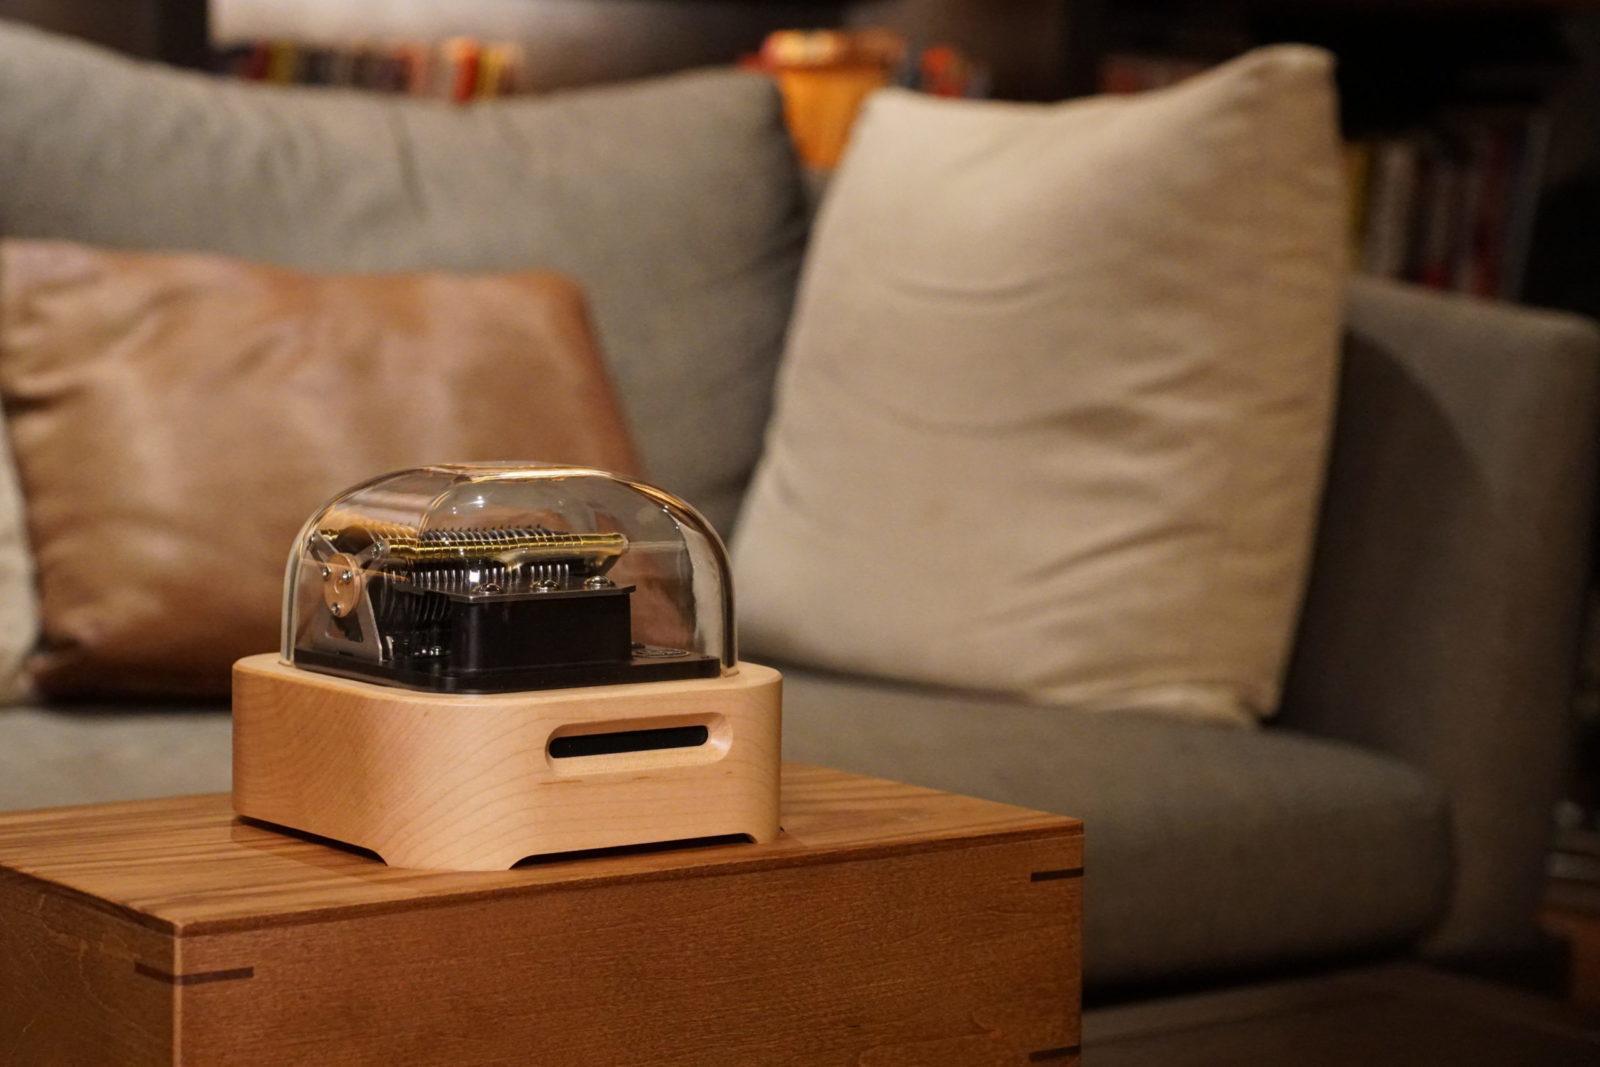
- Wooden or acrylic base – This will serve as the foundation of your music box.
- Rotating mechanism – This can be a rotating turntable or a rotating rod that will allow the music box to spin.
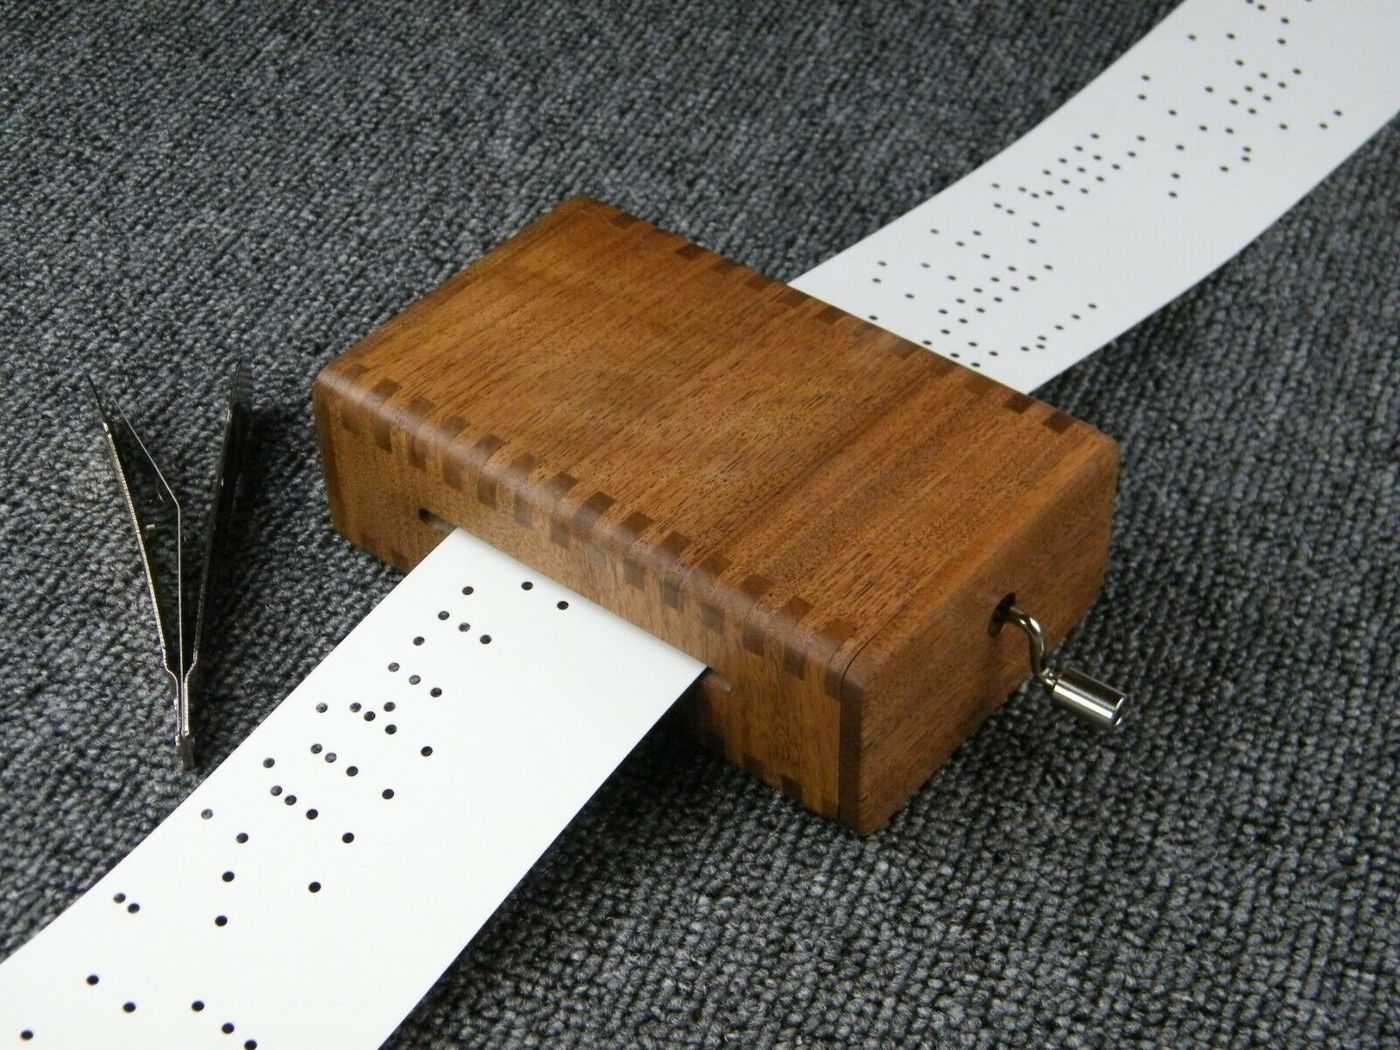
- Music box movement – Choose a pre-made music box movement that plays your desired tune.
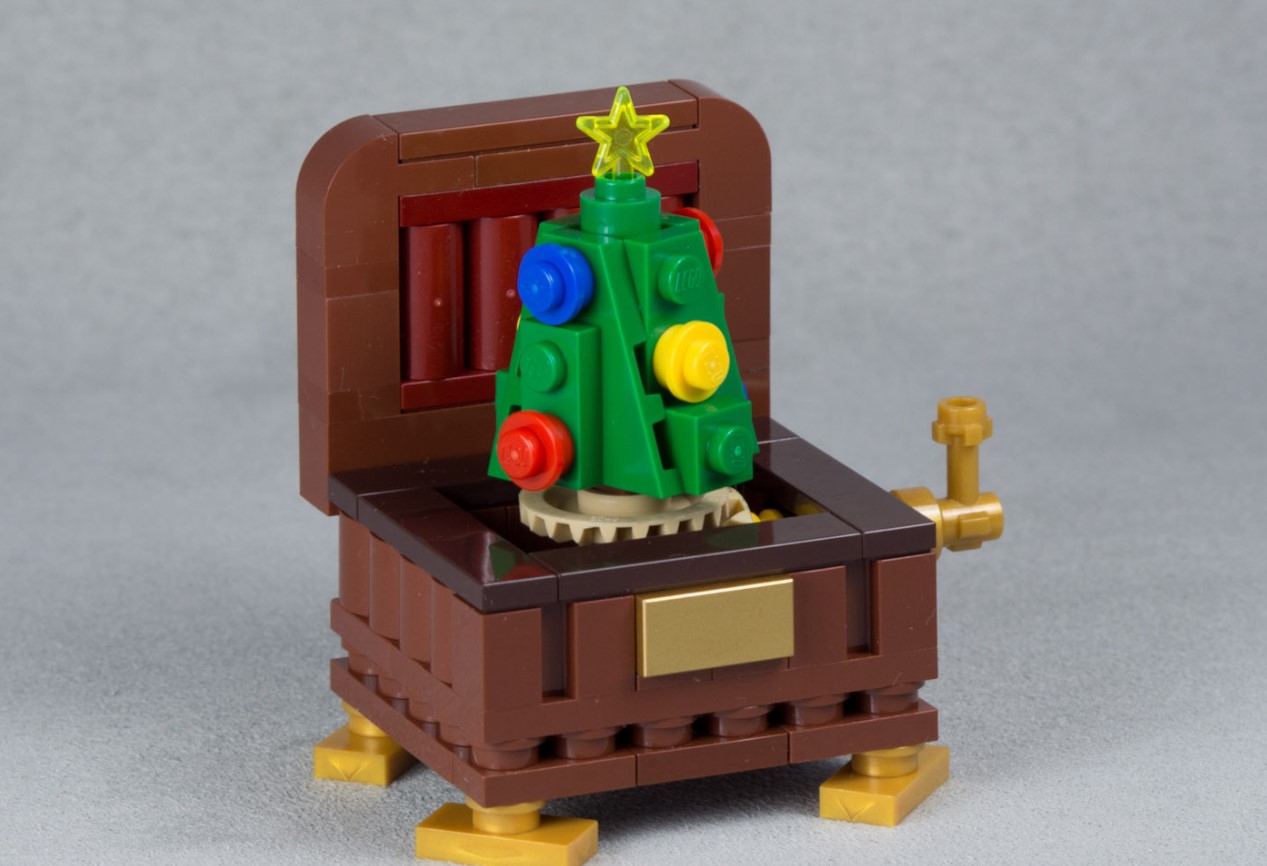
- Decorative elements – These can include small figurines, crystals, or any other embellishments you want to add to give your music box a personal touch.
- Drill or Dremel tool – You’ll need this to create holes in the base for the rotating mechanism and the music box movement.
- Screws and nuts – These will be used to secure the rotating mechanism and the music box movement to the base.
- Adhesive – Use a strong adhesive to bond the decorative elements to the base securely.
- Paint or stain – If you wish to paint or stain the base, make sure to have the appropriate materials for that.
- Paintbrushes – These will come in handy if you decide to paint the base.
- Optional: Sandpaper – You may need sandpaper to smooth out any rough edges or surfaces on the base.
Make sure to gather all the necessary materials before starting the project. You can easily find these items at your local craft store or online. Now that you have everything you need, let’s move on to the next step of assembling the music box base.
Step 1: Gathering the Parts
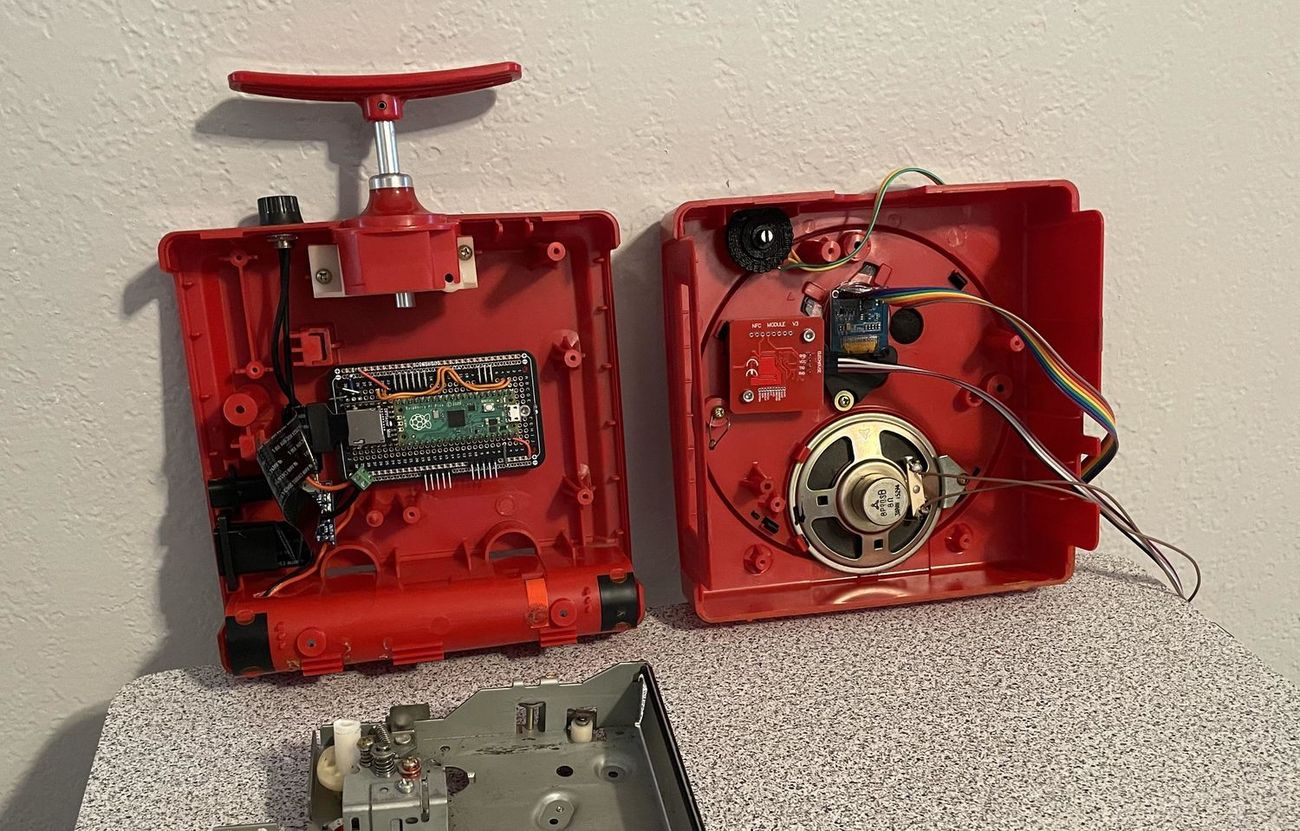
The first step in creating a rotating music box is to gather all the necessary parts and materials. This includes the base, rotating mechanism, music box movement, decorative elements, and tools. Here’s a detailed breakdown of what you’ll need:
- Base: Choose a wooden or acrylic base that is sturdy and large enough to accommodate the rotating mechanism and musical movement. You can select a pre-made base or create one from scratch using a suitable material.
- Rotating Mechanism: Decide on the type of rotating mechanism you want to use. It can be a rotating turntable or a rotating rod. Ensure that the mechanism is durable, smooth in rotation, and capable of handling the weight of the music box.
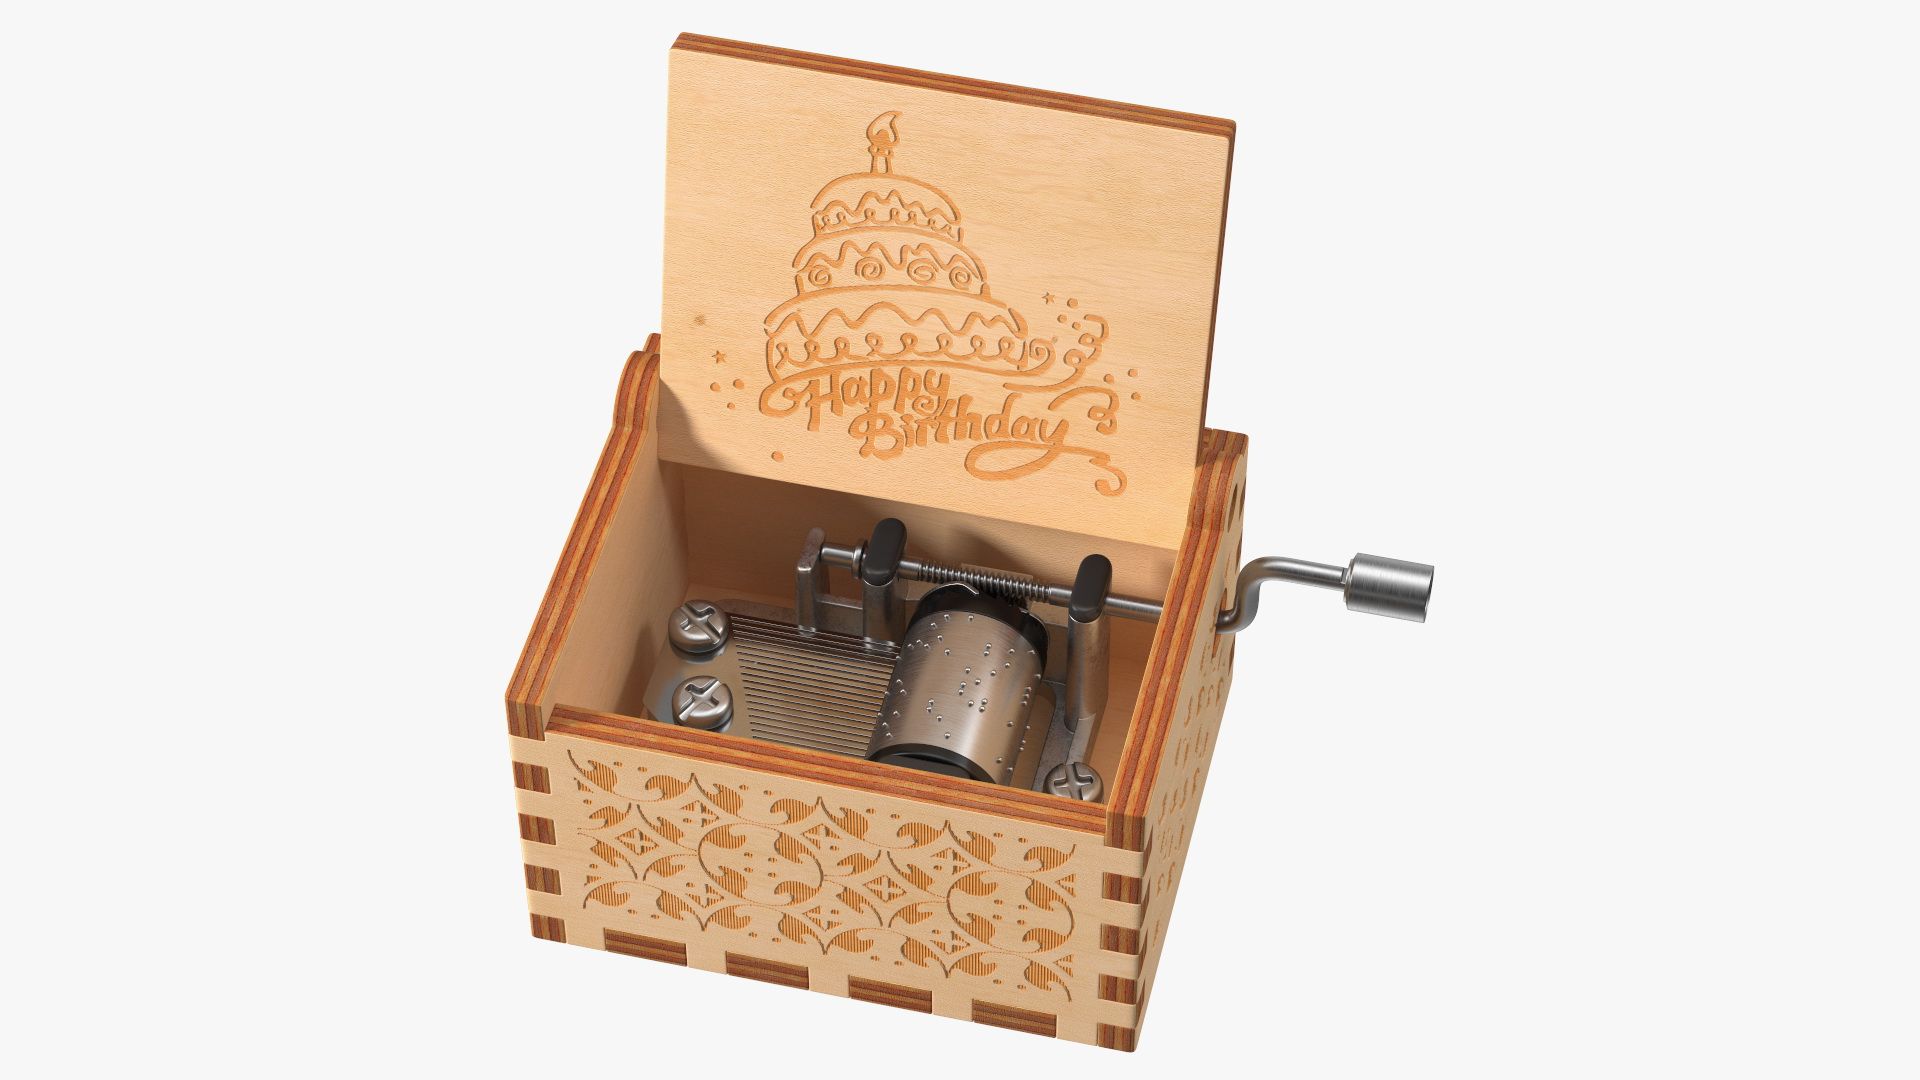
- Music Box Movement: Select a pre-made music box movement that corresponds to the tune you desire. These can be found in various melodies, from classic tunes to modern songs. Make sure the movement is compatible with the rotating mechanism and can be easily attached to the base.
- Decorative Elements: Gather small figurines, crystals, or any other decorative elements that you want to incorporate into your music box. These elements will enhance the visual appeal and theme of your creation.
- Tools: You’ll need a drill or a Dremel tool to create holes in the base for the rotating mechanism and the music box movement. Additionally, prepare screws and nuts to secure the parts to the base. If you plan to paint or stain the base, gather appropriate brushes and materials.
Ensure that you have all the necessary parts and tools before moving on to the next step. If any items are missing, make a checklist and acquire them from your local craft store or online supplier.
Once you have gathered all the parts, you are ready to start assembling the music box base. This foundation will provide stability and support for the rotating mechanism and decorative elements. In the next step, we will guide you through the process of creating the music box base.
Step 2: Assembling the Music Box Base
Now that you have all the necessary parts gathered, it’s time to assemble the music box base. This step involves creating a stable foundation for the rotating mechanism and decorative elements to be placed on. Here’s how you can do it:
- Prepare your chosen base material – If you’re using a pre-made base, ensure that it is clean and free from any imperfections. If you’re creating a base from scratch, cut and shape the material to your desired dimensions.
- Drill holes – Use a drill or a Dremel tool to create holes in the base where the rotating mechanism and music box movement will be attached. Measure and mark the appropriate positions for these holes beforehand.
- Smooth out rough edges – If there are any rough edges or surfaces on the base, use sandpaper to gently smooth them out. This will create a sleek and professional finish.
- Paint or stain – If you wish to add color or enhance the appearance of the base, now is the time to paint or stain it. Apply the paint or stain evenly and allow it to dry completely before proceeding.
- Attach the rotating mechanism – Take the rotating mechanism and align it with the hole you drilled in the base. Secure it in place using screws and nuts, ensuring that it is tightly fastened.
- Attach the music box movement – Similarly, align the music box movement with its designated hole on the base. Use screws and nuts to secure it firmly, making sure it is aligned correctly with the rotating mechanism.
Once the rotating mechanism and music box movement are securely attached to the base, you have successfully completed the assembly of the music box base. This step is crucial as it provides the stability and functionality needed for the rotating motion. In the next step, we will explore how to create the rotating mechanism for your music box.
Step 3: Creating the Rotating Mechanism
The rotating mechanism is a key component of your music box, allowing it to spin gracefully and showcase its decorative elements. In this step, we will guide you through the process of creating the rotating mechanism. Follow these steps:
- Choose a rotating turntable or rod – Decide whether you prefer a rotating turntable or a rotating rod mechanism. Consider factors such as size, weight capacity, and ease of rotation.
- Measure and cut the turntable or rod – Using a saw or cutting tool, measure and cut the rotating mechanism according to the dimensions required for your music box base.
- Create a hole in the center – If you’re using a rotating turntable, drill a hole in the center to accommodate the screw or axle that will be attached to it. If you’re using a rotating rod, ensure that it is already equipped with a central hole for attachment.
- Attach the rotating mechanism to the base – Take the turntable or rod and insert it into the hole you previously drilled in the base. Secure it in place using screws or other fasteners to ensure stability and smooth rotation.
- Test the rotation – Once the rotating mechanism is attached, test the rotation to ensure that it moves smoothly and without any obstructions. Make any necessary adjustments to ensure proper functionality.
By following these steps, you will have successfully created the rotating mechanism for your music box. This mechanism will allow your music box to rotate gracefully, adding a touch of enchantment to the overall design. In the next step, we will guide you through attaching the music box movement to the base.
Step 4: Attaching the Music Box to the Base
Now that you have assembled the music box base and created the rotating mechanism, it’s time to attach the music box movement to the base. The music box movement is what produces the melodious tunes that will bring your music box to life. Follow these steps to securely attach the music box movement:
- Place the music box movement on the base – Position the music box movement over the designated hole on the base, ensuring that it is aligned properly.
- Secure the music box movement – Use screws or other fasteners to secure the music box movement to the base. Make sure that it is tightly fastened to prevent any wobbling or movement.
- Connect the music mechanism to the rotating mechanism – Find the appropriate spindle or axle on the music box movement that will connect to the rotating mechanism. Align them carefully and connect them securely.
- Test the functionality – Once the music box movement is attached, give it a test run to ensure that it plays the tunes smoothly and synchronizes with the rotation of the box. Make any necessary adjustments to achieve the desired effect.
- Optional: Add additional supports – Depending on the size and weight of your music box, you may want to add additional supports or reinforcements to ensure the stability and longevity of the structure. This can be done with additional screws, brackets, or adhesive.
By following these steps, you will have successfully attached the music box movement to the base of your rotating music box. The next step involves adding the finishing touches and decorative elements to make your music box truly unique and visually captivating.
Step 5: Adding Decorative Elements
Now that your music box is assembled and the basic mechanisms are in place, it’s time to unleash your creativity by adding decorative elements. These elements will bring your music box to life and make it a visually stunning piece. Follow these steps to add the perfect finishing touches:
- Select your decorative elements – Choose small figurines, crystals, or any other decorative objects that align with the theme or style you envision for your music box. Consider elements that will complement the melody or evoke the desired atmosphere.
- Plan the arrangement – Before permanently attaching the decorative elements, plan the placement and arrangement on the music box base. Visualize how they will interact with each other and the rotating motion of the box.
- Attach the elements – Using a strong adhesive, carefully attach the decorative elements to the base of the music box. Ensure that they are securely bonded to avoid any accidental detachment while the box is in motion.
- Be mindful of weight distribution – As you attach the decorative elements, keep in mind the weight distribution. Make sure to evenly distribute the weight so as not to disrupt or hinder the rotation of the music box.
- Add additional embellishments – If desired, you can further enhance your music box by adding paint, glitter, or other embellishments to the base or the decorative elements. Be mindful of the overall aesthetics and ensure that it complements the theme you have chosen.
By following these steps, you will have successfully added the decorative elements to your music box, making it a truly personalized creation. The decorative elements will add a touch of charm and artistry, enhancing the overall look and feel of the music box. Now, it’s time to move on to the final step – testing and making any necessary adjustments.
Step 6: Testing and Adjusting the Music Box
Now that your music box is fully assembled, it’s time to test its functionality and make any necessary adjustments. Follow these steps to ensure that your music box is working perfectly:
- Turn on the music box mechanism – Wind up or activate the music box mechanism to start playing the chosen tune. Listen carefully to ensure that the melody is clear and in sync with the rotating motion.
- Observe the rotation – Watch the rotation of the music box to ensure that it is smooth and balanced. Make sure that there are no wobbles or obstructions that could interrupt the rotation.
- Check for any loose parts – Examine the entire music box to ensure that all parts are securely attached. Double-check the tightness of screws, nuts, and connections to prevent any potential issues later on.
- Listen for any abnormalities – Pay attention to any strange or abnormal sounds that may come from the music box mechanism. If you notice anything unusual, carefully investigate and make any necessary adjustments or repairs.
- Make adjustments if needed – If you encounter any issues during the testing process, make the necessary adjustments to address them. This may involve repositioning decorative elements, tightening screws, or troubleshooting any mechanical problems.
- Test multiple times – Repeat the testing process a few times to ensure consistency and durability. This will help you identify and address any recurring issues that may arise.
By thoroughly testing your music box and making any necessary adjustments, you ensure that it is functioning properly and ready to be enjoyed. Take your time during this step to ensure that every aspect of your music box is working harmoniously together.
Congratulations! You have successfully crafted your very own rotating music box. It is now ready to be showcased and admired. Whether you keep it as a personal treasure or gift it to someone special, this unique creation will surely bring joy and enchantment to whoever encounters it.
Remember, the process of creating a music box is a labor of love and craftsmanship. Embrace your creativity, enjoy the journey, and have fun making beautiful melodies come to life through your very own rotating music box.
Feel free to experiment with different designs, themes, and tunes to create a collection of mesmerizing music boxes. Let your imagination soar, and happy crafting!
Conclusion
Congratulations on completing your journey of creating a rotating music box! Through careful assembly, creativity, and attention to detail, you have crafted a unique and enchanting piece that combines the art of music with the beauty of rotation.
By following the step-by-step guide in this article, you have learned how to gather the necessary materials, assemble the music box base, create the rotating mechanism, attach the music box movement, add decorative elements, and test the functionality of your music box. Throughout the process, you have infused your own personal touch and style, making your music box a true reflection of your creativity.
A rotating music box adds a touch of magic and elegance to any space. It captures the imagination and brings joy through its melodic tunes and graceful movement. Whether you choose to keep your music box as a cherished keepsake or gift it to someone dear, it will surely become a treasured item that evokes memories and emotions.
As you continue on your creative journey, don’t be afraid to experiment with different designs, themes, and melodies. Each music box you create can tell a unique story and become a stunning work of art. Let your imagination soar and explore new possibilities.
Remember, the creation of a rotating music box requires time, patience, and attention to detail. Enjoy the process, embrace the challenges, and relish in the satisfaction of bringing your vision to life. And don’t forget to share your masterpiece with others, spreading the joy and wonder that a music box can bring.
Now, go forth and continue your creative endeavors. Whether you embark on new crafting projects or delve deeper into the world of music, may your passion and imagination guide you to new heights. Happy creating!