Home>Devices & Equipment>Music Box>How To Make A Lego Music Box
Music Box
How To Make A Lego Music Box
Published: January 12, 2024
Learn how to create a magical LEGO music box with our step-by-step guide. Enjoy the enchanting melodies and creativity with this fun and innovative DIY project.
(Many of the links in this article redirect to a specific reviewed product. Your purchase of these products through affiliate links helps to generate commission for AudioLover.com, at no extra cost. Learn more)
Table of Contents
Introduction
Music boxes have been captivating people’s hearts for centuries with their enchanting melodies and delicate charm. The combination of music and craftsmanship can create a truly mesmerizing experience. If you’re a fan of both music and Lego, why not merge these two passions and create your very own Lego music box?
In this article, we will guide you through the process of making a Lego music box, step by step. Whether you’re a seasoned Lego builder or a novice, this project will provide a fun and rewarding challenge. Not only will you have the joy of constructing a unique and functional music box, but you’ll also have the opportunity to unleash your creativity by customizing it with decorative elements.
Before we dive into the building process, let’s take a moment to imagine the delightful outcome. Picture a small, intricately designed Lego box, adorned with your favorite colors and unique patterns. Twist the tiny crank, and as you do, the gears inside will start turning, creating a harmonious melody that fills the air. It’s a magical moment, made even more special by the fact that you built it yourself!
So, if you’re ready to embark on this Lego music box adventure, gather your Lego bricks and let’s get started on the journey of creating a one-of-a-kind musical masterpiece.
Materials Needed
Before we begin constructing our Lego music box, let’s gather the necessary materials. Here’s a list of items you’ll need:
- Lego bricks: You’ll need a variety of Lego bricks in different sizes and colors. Make sure you have a good collection of basic bricks, plates, and specialty pieces to create the base and gears of your music box.
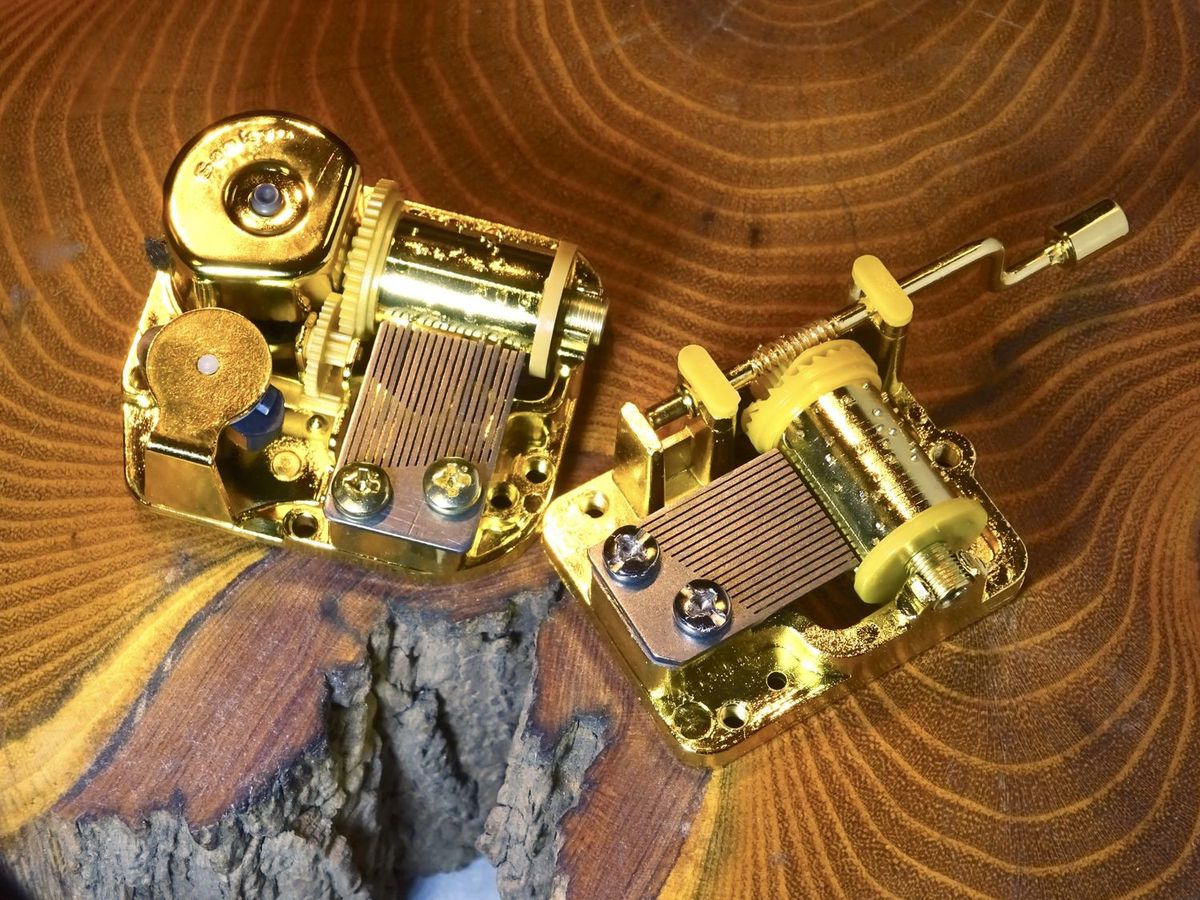
- Music component: Look for a small, pre-made music component that can be easily incorporated into your Lego design. These can be found online or in hobby stores and come in various melodies to suit your preference.
- Decorative elements: Get creative and gather additional Lego pieces to personalize your music box. This can include minifigures, flowers, animals, or any other Lego elements that reflect your personality or desired theme.
- Crank or motor: Depending on your preference, you’ll need either a small crank or a motor to power the gears and activate the music component. Choose one that fits well with your design and provides a smooth and consistent motion.
- Tools: Prepare some basic tools such as a stud remover, pliers, and a small screwdriver. These will come in handy during the construction process, especially when attaching the music component.
- Instructions or reference material: While this article will provide a step-by-step guide, having additional instructions or reference material for specific Lego techniques can be helpful. You can find Lego building books or online resources to assist you in creating more complex mechanisms or designs.
Now that you have all the necessary materials, it’s time to unleash your creativity and start building your Lego music box!
Step 1: Gathering the Lego Pieces
Before diving into the construction of your Lego music box, it’s important to gather all the necessary Lego pieces. Creating a well-organized workspace will make the building process smoother and more enjoyable. Here’s how you can gather your Lego pieces:
- Sort by color and size: Start by sorting your Lego bricks by color and size. This will make it easier to find the right pieces as you progress through the build. Use small containers or trays to keep the different colors and sizes separate.
- Separate specialty pieces: Identify any specialty pieces you’ll need for your music box, such as gears, axles, or connectors. Keep these pieces separate from the rest to easily access them later on.
- Utilize storage solutions: If you have a large Lego collection, consider using storage solutions such as bins or drawers to keep your bricks organized. Label each container according to the type of pieces it contains, making it easier to locate them when needed.
- Retrieve missing pieces: Check if you have all the necessary Lego pieces for your music box. If you find any missing pieces, browse through your collection or consider purchasing them from a Lego store or online marketplace.
- Prepare workspace: Clear a clean and spacious workspace where you can comfortably build your music box. Ensure you have enough room to spread out your Lego pieces and access any tools you may need during the process.
Gathering all your Lego pieces before you begin will save you time and frustration during the construction phase. It will also give you an opportunity to get familiar with the available pieces and plan the design of your music box. With your Lego pieces organized and ready, you’re now set to move on to the next step of building your Lego music box.
Step 2: Building the Base
Now that you have your Lego pieces sorted and organized, it’s time to start building the base of your music box. The base will serve as the foundation for the rest of the components and provide stability to your creation. Follow these steps to construct the base:
- Choose a size and shape: Decide how big you want your music box to be and select the appropriate Lego baseplate or build your own base using multiple plates. Consider the dimensions of the music component and plan the base accordingly to ensure it fits well.
- Attach the baseplate: Place the baseplate on your workspace and secure it firmly. Make sure it sits flat and is aligned properly. This will ensure the stability of your music box once it’s assembled.
- Build the walls: Use Lego bricks to build the walls of the base around the perimeter of the baseplate. The height of the walls can vary based on your preference and the design you have in mind. Ensure the walls are securely attached to the baseplate.
- Add reinforcement: Strengthen the base structure by adding additional bricks or plates on the inside of the walls. This will add stability and prevent the base from flexing or collapsing when other components are added later on.
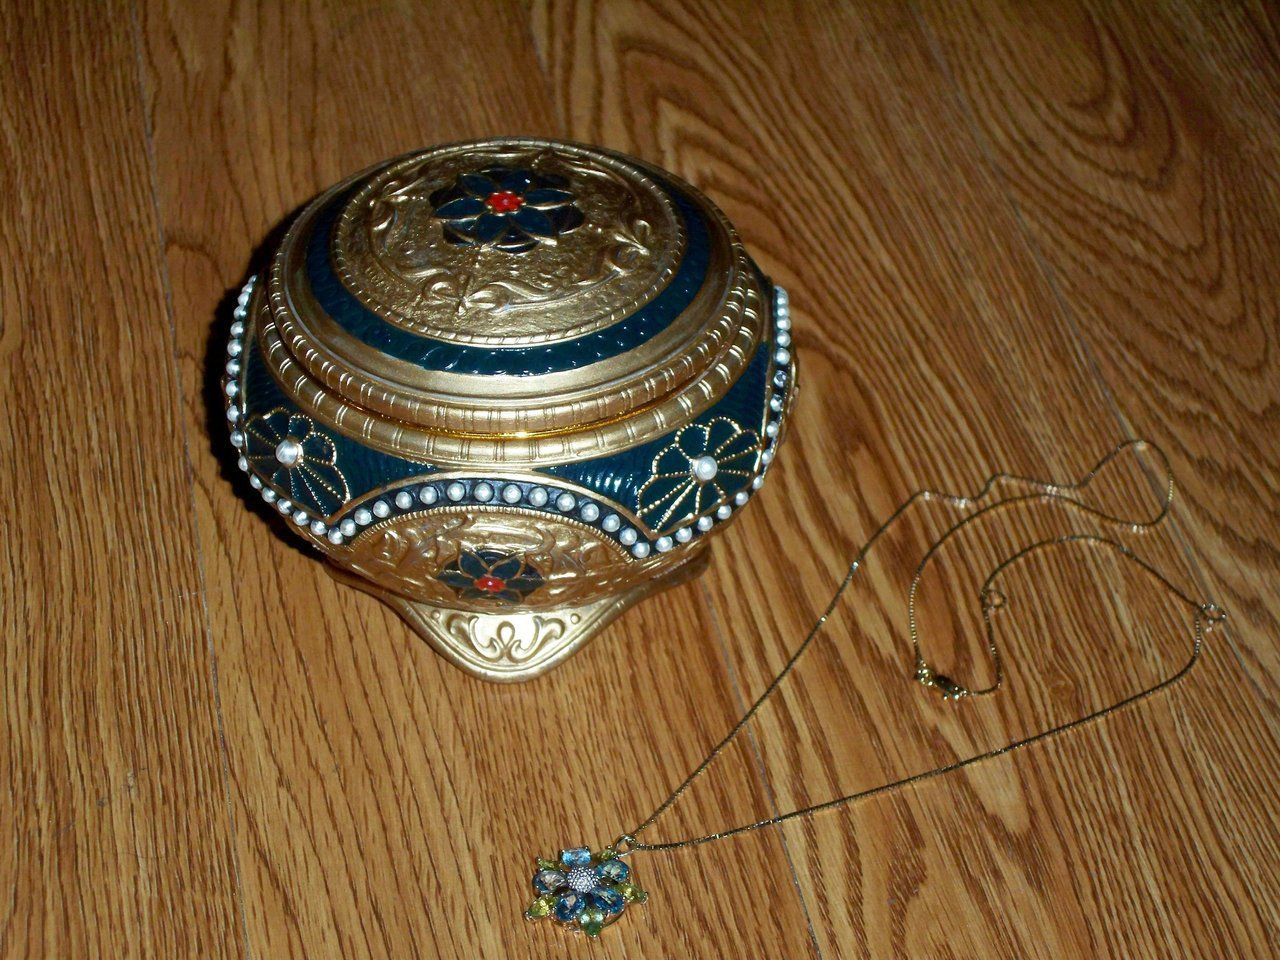
- Create compartments (optional): If you wish to have compartments to store small trinkets or jewelry, consider incorporating them into the base design. Use plates and bricks to create dividers for these compartments.
- Test stability: Once the base is built, test its stability by gently shaking it. Make any necessary adjustments or reinforcements if the base feels wobbly or unstable.
When building the base, remember to be creative and experiment with different Lego techniques. You can use various colors and textures to add visual interest and personalize your music box. Once you’re satisfied with the stability and appearance of the base, you’re ready to move on to the next step of constructing the gear mechanism for your Lego music box.
Step 3: Constructing the Gear Mechanism
The gear mechanism is a crucial part of your Lego music box as it will enable the rotation of the music component and the creation of beautiful melodies. Follow these steps to construct the gear mechanism:
- Choose the gears: Select the appropriate gears that will fit well together and create the desired motion. Consider the size and function of the music component when choosing the gears.
- Attach the central gear: Place a central gear on the baseplate, ensuring it is firmly attached and aligned at the center of the music box. This gear will serve as the main driving force for the rotational motion.
- Add supporting gears: Attach additional gears around the central gear, connecting them via axles or connectors. These gears will transmit the rotational force to different parts of the music box.
- Create gear ratio: Experiment with different gear sizes to achieve the desired gear ratio. This will determine the speed and smoothness of the rotation. Adjust the gear combination as needed to find the right balance.
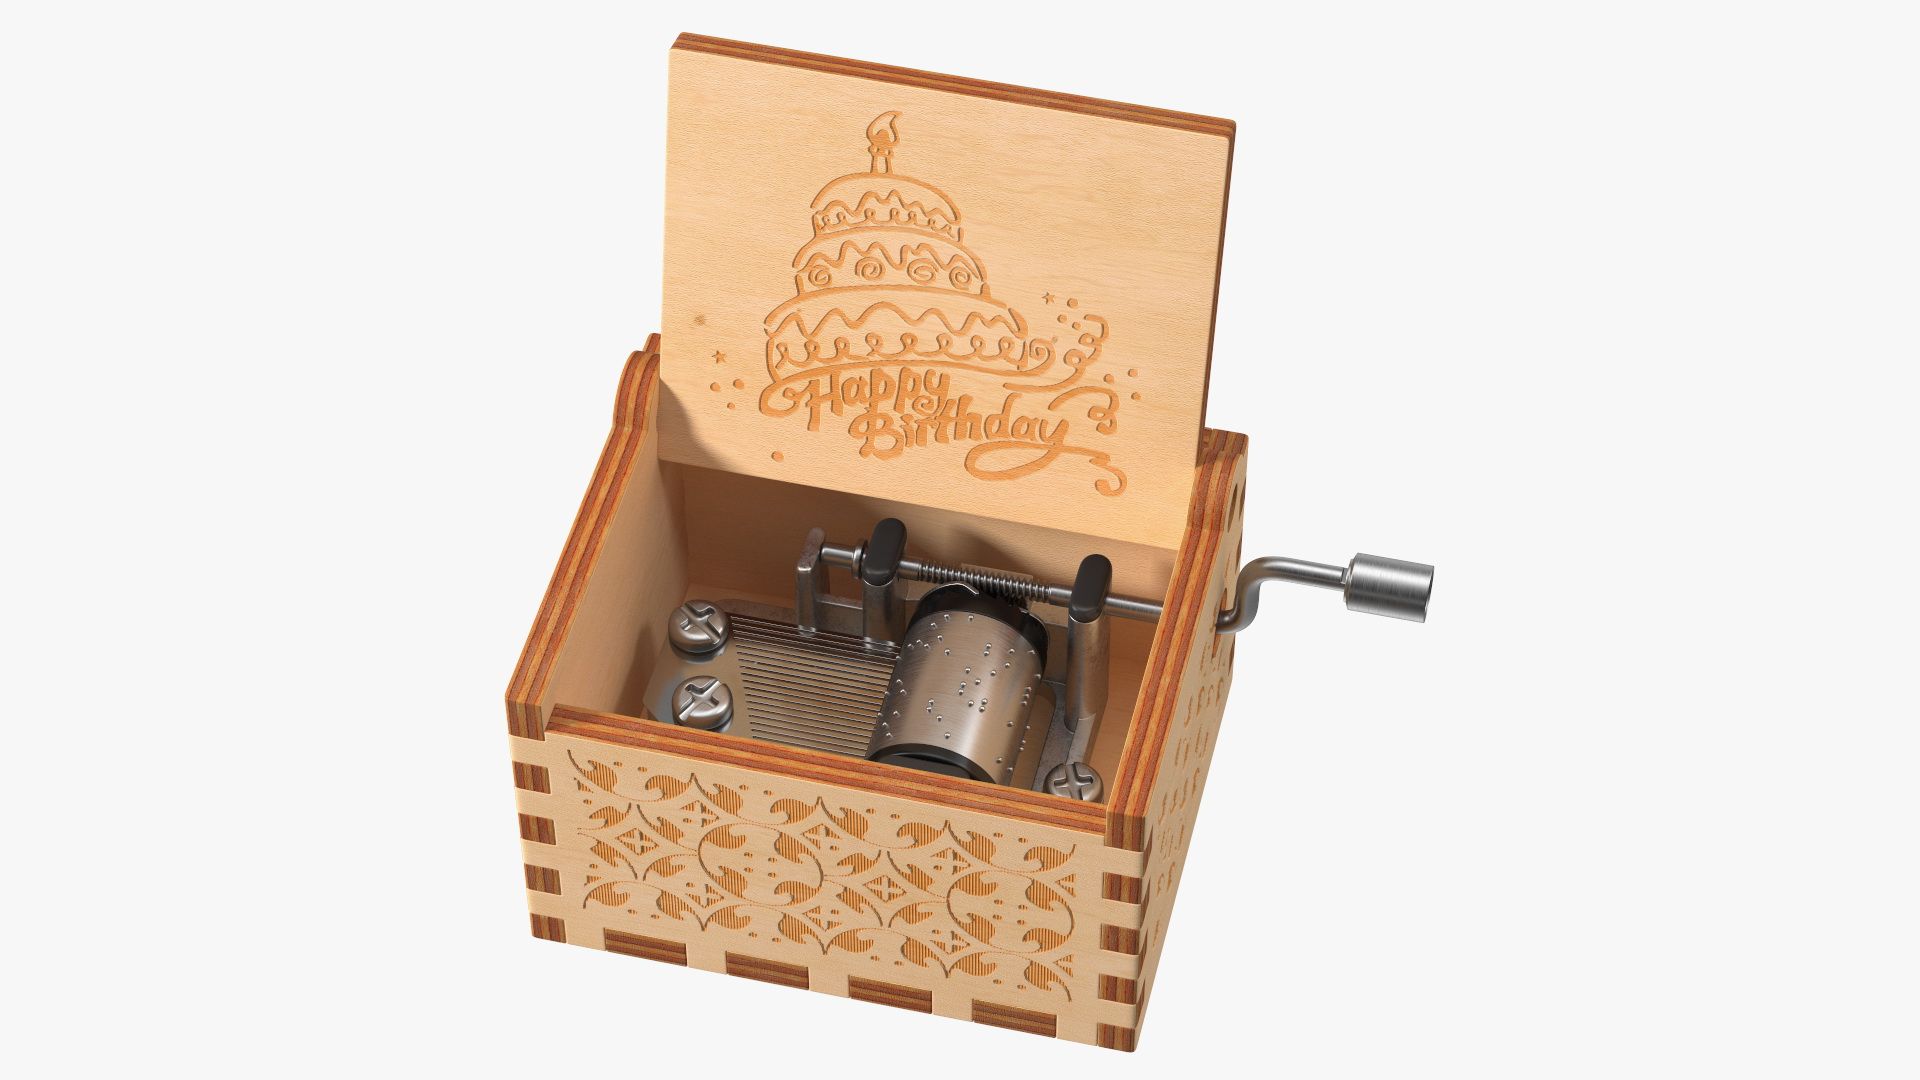
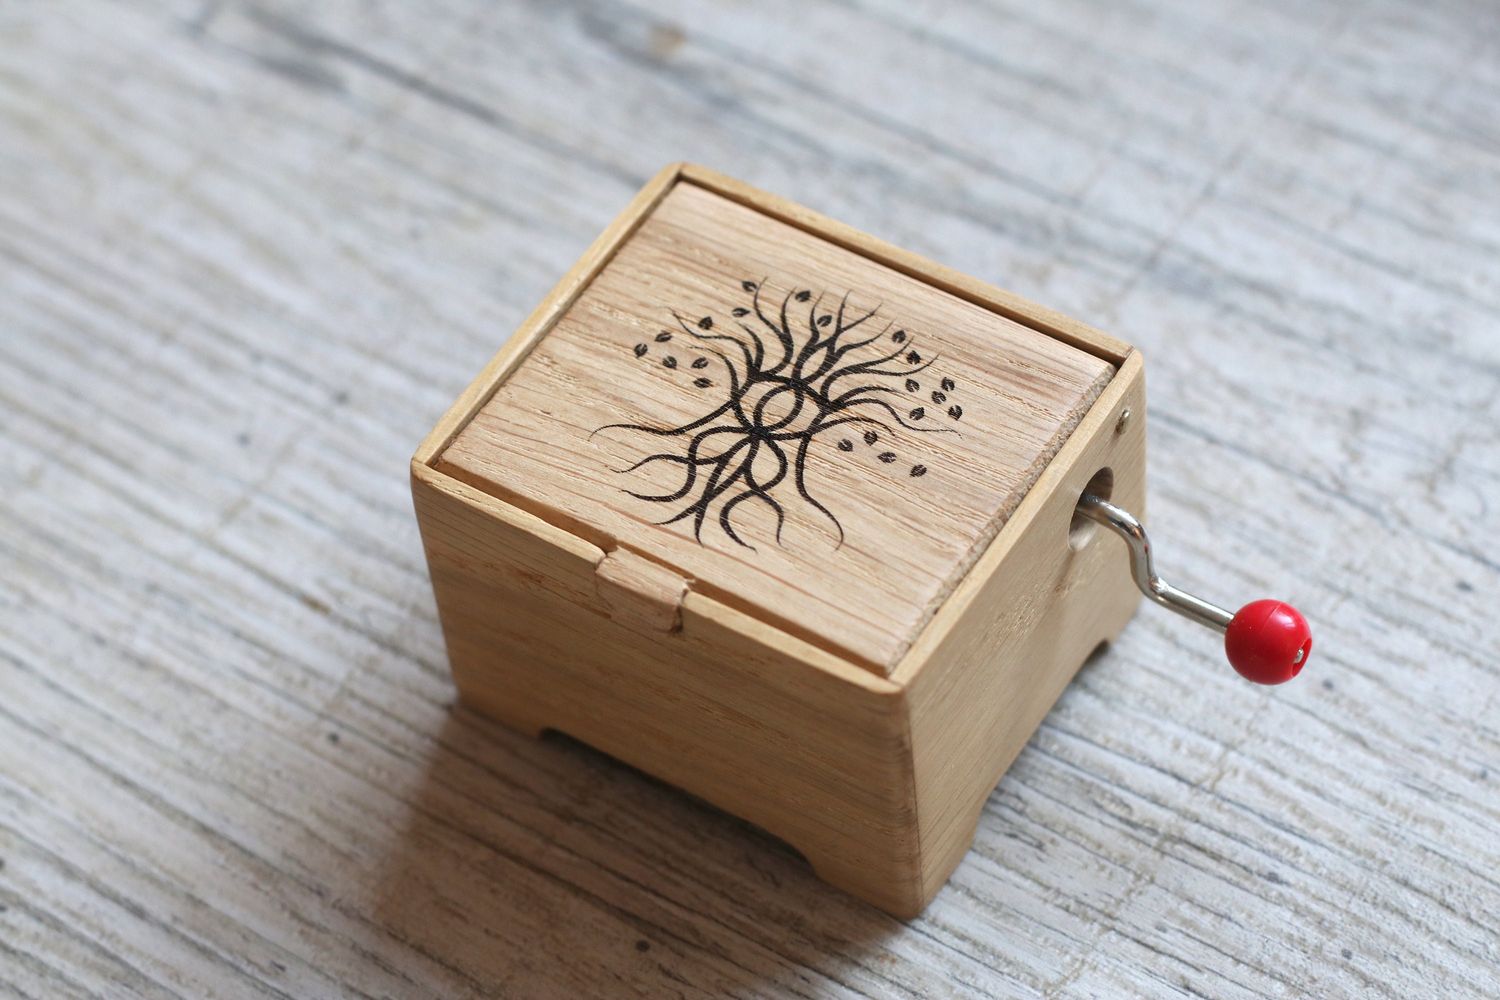
- Include a crank or motor: Decide if you want to manually turn a crank or use a motor to power the gears. If using a crank, ensure it is attached securely and allows smooth rotation. If using a motor, connect it to the gear mechanism and test its functionality.
- Test the gear mechanism: Gently turn the crank or activate the motor to ensure the gears rotate smoothly and without any obstructions. Make any necessary adjustments to improve the performance of the gear mechanism.
Remember to take your time and experiment with different gear configurations to achieve the desired motion and functionality. The gear mechanism is the heart of your Lego music box, so ensure it is well-constructed and provides a smooth and consistent rotation. Once you’re satisfied with the gear mechanism, you can proceed to the next step of attaching the music component.
Step 4: Attaching the Music Component
With the gear mechanism in place, it’s time to add the music component to your Lego music box. The music component is what will bring your creation to life with its melodies. Follow these steps to attach the music component:
- Choose a suitable location: Decide where you want to place the music component on your music box. It can be on the base, inside a compartment, or even integrated into the walls. Consider the size and shape of the music component when selecting the location.
- Prepare the attachment point: Create a secure attachment point for the music component by attaching Lego bricks or plates to the chosen location. Ensure that it is sturdy and will support the weight of the music component without wobbling or shifting.
- Connect and secure the music component: Use small screws or adhesive to attach the music component to the prepared attachment point. If using screws, make sure to drill pilot holes to avoid splitting the Lego bricks. Ensure that the music component is firmly attached and does not move or shift.
- Test the music component: Turn the crank or activate the motor to test the music component. Confirm that it plays the melodies properly and there are no issues with the rotation or alignment. Make any necessary adjustments to ensure smooth operation.
Attaching the music component is an exciting step as it adds the element of music to your Lego music box. Take your time to position the music component in a visually pleasing and functional way. Ensure that it is securely attached and works seamlessly with the gear mechanism. Once the music component is successfully attached, you’re ready to move on to the next step of adding decorative elements to your Lego music box.
Step 5: Adding Decorative Elements
Now that the functional components of your Lego music box are in place, it’s time to add some decorative elements to enhance its visual appeal and personal touch. Follow these steps to add decorative elements to your music box:
- Choose a theme or style: Decide on a theme or style that you want your music box to reflect. It can be anything from a nature-inspired design to a whimsical fantasy theme. Select Lego pieces that align with your chosen theme.
- Add color and texture: Use a variety of colorful Lego bricks and plates to add vibrancy to your music box. Experiment with different textures and patterns to create visual interest.
- Incorporate minifigures and accessories: Consider adding minifigures or Lego accessories that complement your chosen theme. These can bring life and character to your music box.
- Create scenes or landscapes: Use Lego bricks to build scenes or landscapes around your music box. This can include trees, flowers, buildings, or any other elements that enhance the overall aesthetic of your creation.
- Customize with stickers or decals: If you have Lego stickers or decals, use them to add additional details or designs to your music box. This can be a fun way to personalize your creation.
- Experiment with different arrangements: Play with different arrangements of the decorative elements to find the most visually pleasing composition. Don’t be afraid to make changes and adjustments until you’re satisfied.
Adding decorative elements is where your creativity can truly shine. Let your imagination run wild and create a music box that reflects your unique style and personality. Remember to balance the decorative elements with the functionality of the music box, ensuring they don’t obstruct the gears or the music component. Once you’re happy with the decorative elements, it’s time to move on to the final step of testing and fine-tuning your Lego music box.
Step 6: Testing and Fine-tuning
After all the construction and decoration, it’s important to thoroughly test and fine-tune your Lego music box to ensure its functionality and overall performance. Follow these steps to test and fine-tune your music box:
- Test the rotation: Turn the crank or activate the motor to observe the rotation of the gears. Ensure that they move smoothly and without any obstructions. If you notice any issues, make necessary adjustments to improve the rotation.
- Check for stability: Gently shake the music box to check its stability. Ensure that all the components, including the gears, music component, and decorative elements, are securely attached and do not wobble or shift.
- Adjust the gear ratio: If the rotation feels too fast or too slow, you can adjust the gear ratio by changing the sizes of the gears. Experiment with different combinations until you find the desired speed and smoothness.
- Tune the music component: If the melodies played by the music component are not to your liking, check if there are any tuners or adjustments available. Follow the manufacturer’s instructions to fine-tune the music component to your preference.
- Make necessary repairs: If you encounter any parts that are loose or not functioning properly, make the necessary repairs by reinforcing the attachments or replacing any damaged pieces.
- Seek feedback: Get input from others who observe or interact with your music box. Their observations and suggestions can help you identify any areas that need further improvement.
Testing and fine-tuning your Lego music box is a critical step in ensuring its functionality and overall satisfaction. Don’t be discouraged if you need to make adjustments or repairs along the way. It’s all part of the process of creating a well-crafted and enjoyable music box. Once you’re satisfied with the testing and fine-tuning, you can proudly showcase and enjoy your custom-made Lego music box.
Conclusion
Congratulations on successfully building your very own Lego music box! Throughout this journey, you’ve combined your love for music and creativity with the versatile Lego building system to create a unique and enchanting masterpiece. From gathering the Lego pieces to constructing the gear mechanism, attaching the music component, adding decorative elements, and fine-tuning the final product, each step has contributed to the fulfillment of your vision.
Your Lego music box not only showcases your building skills, but it also provides a delightful and personalized experience. As you turn the crank or activate the motor, the gears come to life, producing beautiful melodies that fill the air. The charming and vibrant decorative elements further enhance the magic, making your music box a true work of art.
Remember, your Lego music box is not just an inanimate creation; it is an expression of your passion and creativity. Share it with friends and family, inspiring them with your talent and encouraging them to explore their own artistic endeavors. The joy and satisfaction you derive from this project can serve as a constant reminder of how imagination and ingenuity can intertwine with the world of music.
Building a Lego music box is an ongoing process of discovery and refinement. Feel free to experiment with different gear ratios, melodies, or decorative elements. Customize it further to suit different themes or occasions. The possibilities are endless, and your Lego music box can continue to evolve and bring joy for years to come.
Now, take a moment to step back and appreciate the beauty of your creation. Your Lego music box stands as a testament to your imagination, craftsmanship, and dedication. Embrace the melodies it plays and cherish the memories it evokes. You have created something truly special, and your Lego music box is a testament to your ingenuity and passion.
Additional Tips and Ideas
As you continue your Lego music box journey, here are some additional tips and ideas to enhance your building experience:
- Experiment with different melodies: If your music component allows, try swapping out the melody. You can explore different tunes and songs to create a diverse collection of melodies for your music box.
- Add lighting effects: Incorporate LED lights into your music box to create a captivating visual experience. Illuminate certain elements or create a soft glow to enhance the ambiance.
- Incorporate motion: Consider adding additional motorized components to your music box to introduce mesmerizing movements. This can include spinning elements, rotating figurines, or even small animated scenes.
- Create interchangeable decorative elements: Build multiple sets of decorative elements so you can easily switch them out and change the overall look and theme of your music box depending on the mood or occasion.
- Document your process: Take photos or make a video documentary of your Lego music box creation. This not only allows you to track your progress but also inspires others who may want to embark on a similar project.
- Share your creation: Display your Lego music box at home, in your office, or at special events. Showcase your talent and inspire others with your unique creation.
- Collaborate with others: Involve friends or family members in the building process. Collaborate on designing and constructing different components, allowing for a more diverse and creative final result.
- Join Lego communities: Engage with other Lego enthusiasts by joining online forums, social media groups, or local Lego clubs. Share your progress, exchange ideas, and gain inspiration from fellow builders.
- Challenge yourself: Once you’ve mastered the basics, challenge yourself with more complex mechanisms or intricate designs. Push the boundaries of what you can achieve with Lego, and continue to learn and grow as a builder.
Remember, the joy of building a Lego music box extends beyond the final product. It’s about the satisfaction of seeing your vision come to life, the creativity unleashed in the process, and the joy it brings to those who witness and interact with your creation. So, embrace your passion, follow your imagination, and have fun on this exciting Lego music box adventure!