Home>Devices & Equipment>Music Box>How To Make A Crank Music Box
Music Box
How To Make A Crank Music Box
Modified: February 22, 2024
Learn how to make your own crank music box with this step-by-step guide. Create beautiful melodies and personalized gifts using our Music Box tutorials.
(Many of the links in this article redirect to a specific reviewed product. Your purchase of these products through affiliate links helps to generate commission for AudioLover.com, at no extra cost. Learn more)
Table of Contents
Introduction
Music boxes have a timeless charm that captivates people of all ages. The delicate melodies and nostalgic tunes transport us to a world of whimsy and wonder. If you’ve ever wanted to create your own music box, you’ve come to the right place. In this guide, we will show you how to make a crank music box from scratch.
Creating a music box can be a fun and rewarding DIY project. Not only will you have the satisfaction of building something with your own hands, but you will also have a unique music box that plays the songs that resonate with you. Whether you want to gift it to a loved one or keep it as a cherished personal possession, a handmade music box holds a special place in our hearts.
While it may seem like a complex process, making a crank music box is actually quite approachable. We will guide you step by step through the entire process, from selecting a song to building the box, attaching the crank mechanism, and assembling the music strip. We will also cover testing and adjusting the music box to ensure it plays smoothly.
But don’t worry, you don’t need to be a master craftsman or have an extensive knowledge of musical instruments to make a music box. With a few basic materials and some patience, you can create a beautiful music box that will bring joy to your life or the life of someone special.
So, roll up your sleeves, gather your supplies, and let’s dive into the magical world of music box making. Get ready to unleash your creativity and make a music box that will be treasured for years to come.
Materials Needed
Before we begin the process of making a crank music box, let’s gather all the necessary materials. Here’s a list of items you’ll need:
- A wooden or plastic box for the music box enclosure
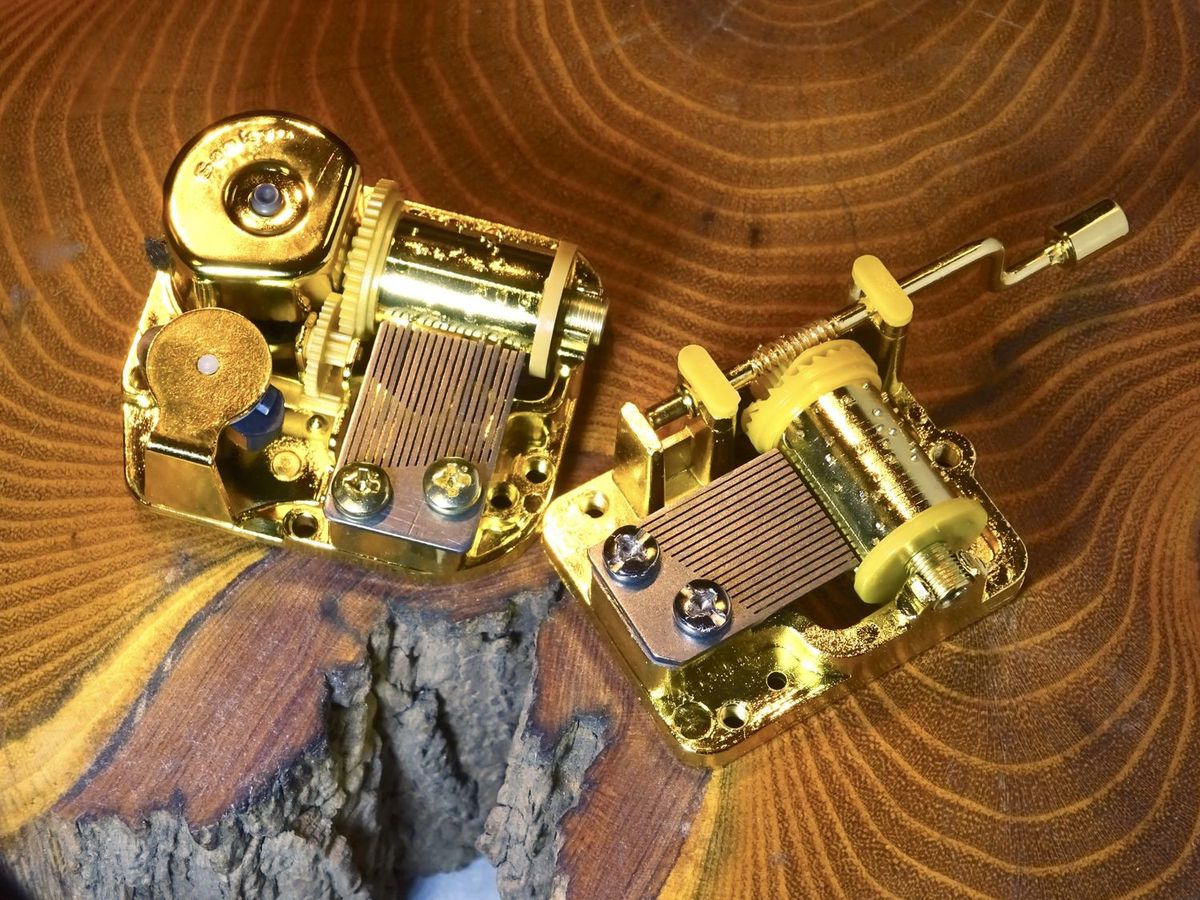
- A music box mechanism with a crank
- A drill and drill bits
- Wood glue or strong adhesive
- Sandpaper or a sanding block
- A small saw or a precision knife
- Paper or cardstock for the music strip
- A ruler or measuring tape
- Pencil or pen for marking
- Decorative materials such as paint, stickers, or washi tape (optional)
The type and size of the materials may vary depending on your personal preference and the desired outcome of your music box. Make sure to choose a box that is sturdy and has enough space to accommodate the music box mechanism. The music box mechanism with a crank can usually be found at craft stores or online specialty stores.
For the assembly process, you may need additional tools such as pliers or a screwdriver, depending on the specific music box mechanism you select. Read the instructions provided with the music box mechanism to ensure you have all the necessary tools at hand.
It’s always a good idea to gather all the materials before starting the project. This way, you can work smoothly without any interruptions. Once you have everything ready, it’s time to move on to the next step: choosing a song for your crank music box.
Step 1: Choosing a Song
The song you choose for your music box is an essential part of the experience. It sets the mood and brings a personal touch to your creation. When selecting a song, consider the following:
- Song Length: Choose a song that can be played within the capabilities of your music box mechanism. The length of the song determines how many teeth or pins are needed on the music box mechanism to generate the melody.
- Simplicity: Opt for a song with a relatively simple melody. Intricate compositions may not translate well onto the limited number of notes that a music box can play.
- Sentimental Value: Consider selecting a song that holds personal meaning for you or the intended recipient of the music box. It could be a favorite song, a lullaby, or a melody associated with a special memory.
- Availability: Make sure the sheet music or MIDI file for the chosen song is easily accessible. This will make creating the music strip, discussed later, much simpler.
Once you’ve taken these factors into account, start exploring different songs and melodies. You can search for sheet music or MIDI files online, or you can browse through music books and albums for inspiration. Take your time to find the perfect song that resonates with you.
Remember, the choice of song is entirely up to you, so don’t be afraid to select something unique and meaningful. With the song selected, you can now move on to building the music box enclosure in the next step.
Step 2: Building the Box
Creating the enclosure for your music box is an important step in the construction process. It provides a protective and aesthetically pleasing casing for the internal components. Follow these steps to build the box:
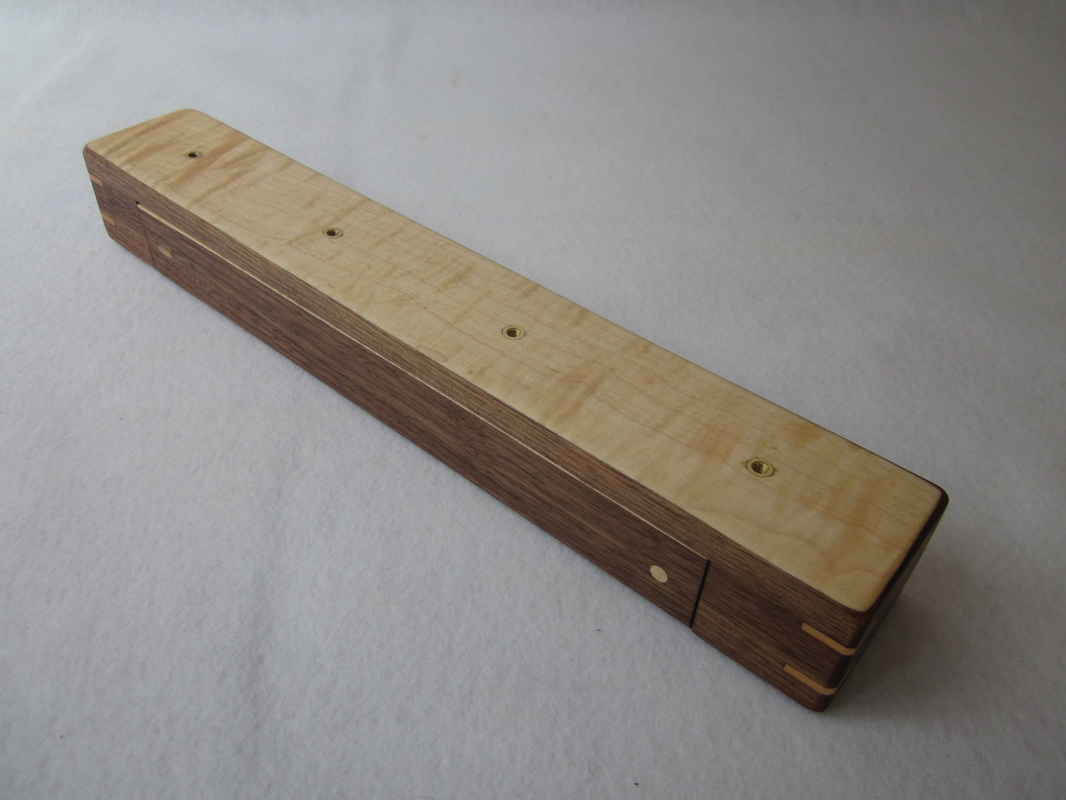
- Select the Material: Choose a material for your box, such as wood or plastic. Wood can give a traditional and rustic look, while plastic offers durability and flexibility. Make sure the material is sturdy enough to hold the music box mechanism and withstand the pressure of the crank.
- Measure and Mark: Determine the desired dimensions for your box. Measure and mark the dimensions on the material to serve as a guide when cutting.
- Cut the Pieces: Use a saw or a precision knife to cut the various pieces needed for the box: the front, back, sides, and bottom. Take your time to ensure accurate cuts and smooth edges.
- Assemble the Box: Using wood glue or a strong adhesive, join the pieces together to form the box structure. Apply pressure and allow the glue to dry according to the manufacturer’s instructions.
- Sand and Finish: Use sandpaper or a sanding block to smooth out any rough edges or surfaces. Apply paint, stain, or a protective finish, if desired, to enhance the appearance of the box.
When assembling the box, ensure that you leave enough space inside to accommodate the music box mechanism and the music strip components. It’s important to strike a balance between a snug fit and allowing enough movement for the mechanism to function properly.
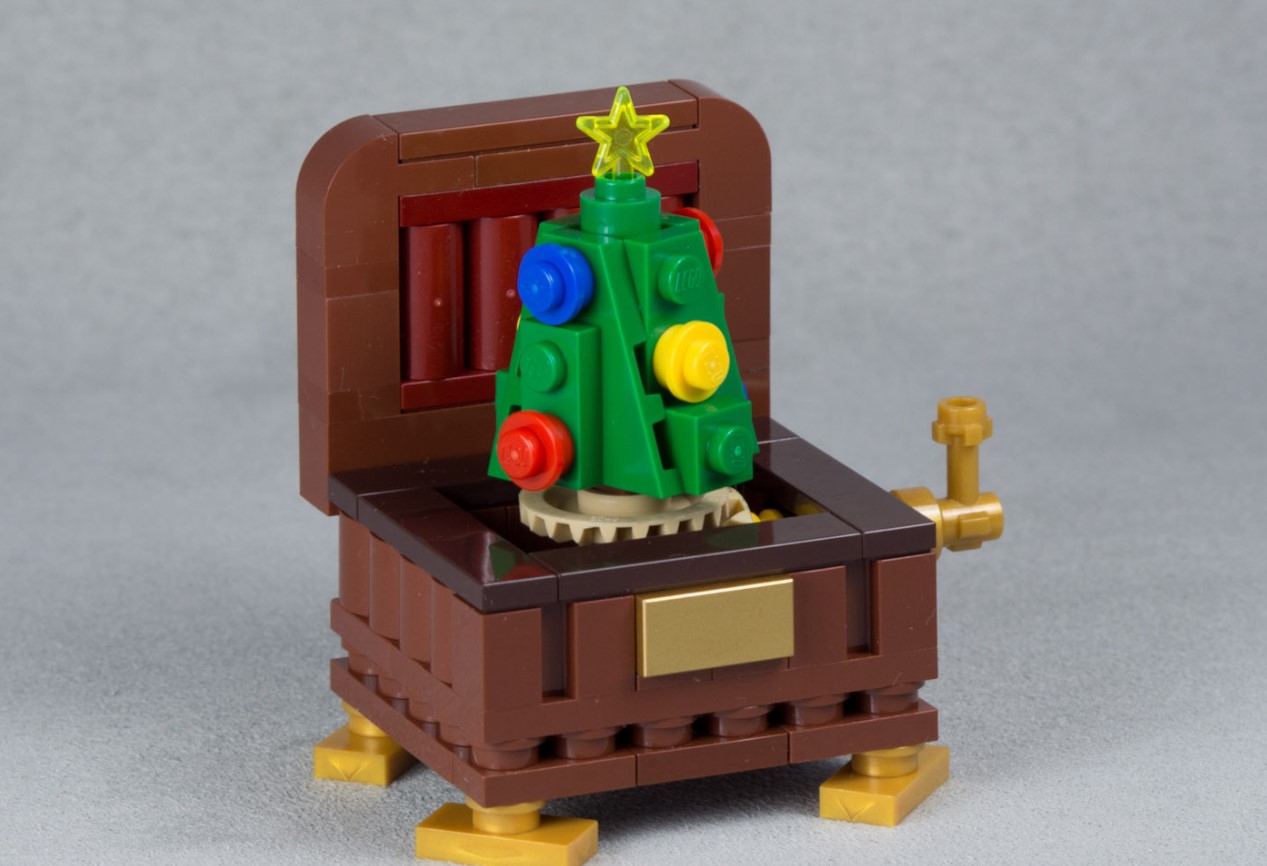
Feel free to get creative with the design and decoration of your box. Add personal touches such as engravings, stickers, or paint to make it uniquely yours. The box is not only a functional component but also a canvas for self-expression.
Once the box is built to your satisfaction, you are ready to move on to the next step: attaching the crank mechanism.
Step 3: Attaching the Crank Mechanism
Attaching the crank mechanism is a crucial step in bringing your music box to life. This mechanism will enable you to manually turn the crank and generate the beautiful melodies. Follow these steps to attach the crank mechanism:
- Positioning the Mechanism: Determine the ideal location for the crank mechanism on the back or side of the box. Consider both the aesthetic appeal and the ease of access for turning the crank.
- Marking and Drilling Holes: Use a pencil or pen to mark the spots where the holes for the crank mechanism will be drilled. Take care to align the holes accurately with the mechanism and ensure they are positioned securely on the box.
- Drill the Holes: Using an appropriately sized drill bit, carefully drill the holes at the marked spots. Take your time and apply even pressure to avoid any splintering or damage to the box material.
- Attach the Mechanism: Insert the crank mechanism into the drilled holes from the inside of the box. Use any included fasteners, such as screws or nuts, to secure the mechanism tightly in place.
Make sure the crank mechanism is securely attached to the box, allowing for smooth and uninterrupted rotation. Test the movement of the crank to ensure it turns freely without any obstructions or resistance.
If your music box mechanism requires additional components, such as gears or levers, carefully follow the manufacturer’s instructions for proper assembly and attachment. Each crank mechanism may have its own specific requirements and variations.
Once the crank mechanism is securely in place, you are ready to move on to the next step: creating the music strip.
Step 4: Creating the Music Strip
The music strip is a vital component that determines the melody played by the music box. It consists of a long strip of paper or cardstock with strategically placed holes or marks that correspond to specific notes. Follow these steps to create the music strip for your crank music box:
- Measure and Cut: Measure the length of your music box and cut a strip of paper or cardstock to fit. The width of the strip should be slightly narrower than the distance between the teeth or pins on the music box mechanism.
- Choose a Template: Search for a music strip template online or create your own. The template will provide a guide for marking the holes or notes on the strip. Make sure the template corresponds to the number of notes or teeth on your music box mechanism.
- Transfer the Notes: Place the template on top of the music strip and align it properly. Use a pencil or pen to trace the hole or note positions onto the strip. Ensure that the markings are accurate and clearly visible.
- Punch or Cut the Holes: Following the markings, use a hole punch or a precision knife to create the holes on the music strip. Alternatively, you can use a sharp object like a pin to poke the holes. Ensure that the holes are clean and well-defined.
It’s important to align the holes or markings with the teeth or pins of the music box mechanism. This will allow the mechanism to properly read the strip and generate the corresponding notes as you turn the crank.
Consider the rhythm and timing of the song when arranging the holes on the strip. Longer notes will require larger holes, while shorter notes will have smaller or shorter punctures. Feel free to experiment with the arrangement to achieve the desired melody and musical expression.
Once the music strip is completed and the holes are punched or cut, you can move on to the next step: assembling the music box.
Step 5: Assembling the Music Box
Now that you have your crank mechanism and music strip ready, it’s time to assemble the components inside the box. Follow these steps to complete the assembly of your crank music box:
- Preparation: Ensure that the inside of the box is clean and free from any debris or dust. This will prevent any interference with the movement of the music strip and components.
- Insert the Music Strip: Gently feed the music strip through the opening at the bottom or side of the music box. Guide the strip along the teeth or pins of the music box mechanism, making sure it is properly aligned.
- Secure the Music Strip: Use adhesive or tape to secure the loose end of the music strip to the inside of the box. This will prevent the strip from unraveling or getting stuck in the mechanism.
- Test the Operation: Carefully turn the crank of the music box to observe the movement of the music strip. Ensure that the strip glides smoothly along the mechanism, and the holes or marks are properly read.
As you turn the crank, listen to the melody being played and make any necessary adjustments. If the notes sound off or the timing seems incorrect, you may need to reposition or adjust the music strip. Remember, this step requires some trial and error to achieve the desired musical outcome.
Take your time in adjusting the tension and positioning of the strip until you are satisfied with the sound and performance of the music box. This may involve fine-tuning the placement of the strip, securing it more firmly, or making slight modifications to the holes or markings.
Once you are confident in the operation and sound of your music box, you can move on to the final steps of testing, adjusting, and personalizing your creation.
Step 6: Testing and Adjusting
After assembling the music box, it’s important to test and make any necessary adjustments to ensure optimal performance. Follow these steps to test and fine-tune your crank music box:
- Turning the Crank: Turn the crank slowly and listen carefully to the melody produced. Pay attention to the timing, pitch, and overall quality of the sound.
- Timing and Tempo: If the timing feels off or the tempo of the song is not as desired, you can make adjustments by slightly modifying the spacing between the holes or markings on the music strip.
- Pitch and Melody: If the pitch of the notes seems incorrect, you may need to reposition the holes or adjust their size on the music strip. Experiment with different hole shapes and sizes to achieve the desired melody.
- Tension and Movement: Observe the movement of the music strip as you turn the crank. Ensure that it moves smoothly and without any obstructions. If you encounter any issues, such as the strip getting stuck or not advancing properly, check for any misalignments or mechanical problems.
- Repeat Testing and Adjustments: Continue testing, making adjustments, and fine-tuning your music box until you are satisfied with its performance. Remember, this step may require some patience and experimentation to achieve the desired results.
Don’t be discouraged if it takes a few iterations to get the music box to sound exactly as you envision. Making adjustments and refining the tuning is part of the process and allows you to create a personalized and harmonious musical experience.
Once you are satisfied with the testing and adjustments, it’s time for the final step: personalizing your music box with unique touches and decorations.
Step 7: Personalizing the Music Box
Now that your crank music box is fully functional, it’s time to add personal touches and decorations that make it uniquely yours. Personalization allows you to express your creativity and make the music box truly special. Here are some ideas to personalize your music box:
- Paint or Stain: Use acrylic paint, wood stain, or other suitable materials to add color and enhance the look of the box. Consider painting intricate patterns, designs, or even a picture that holds meaning to you.
- Decoupage: Apply decorative paper or fabric using decoupage techniques to give your music box a vintage or artistic appearance. Experiment with different patterns and textures to achieve the desired effect.
- Embellishments: Add decorative embellishments such as beads, sequins, buttons, or charms to the box’s exterior. These small accents can add a touch of elegance or whimsy, depending on your preference.
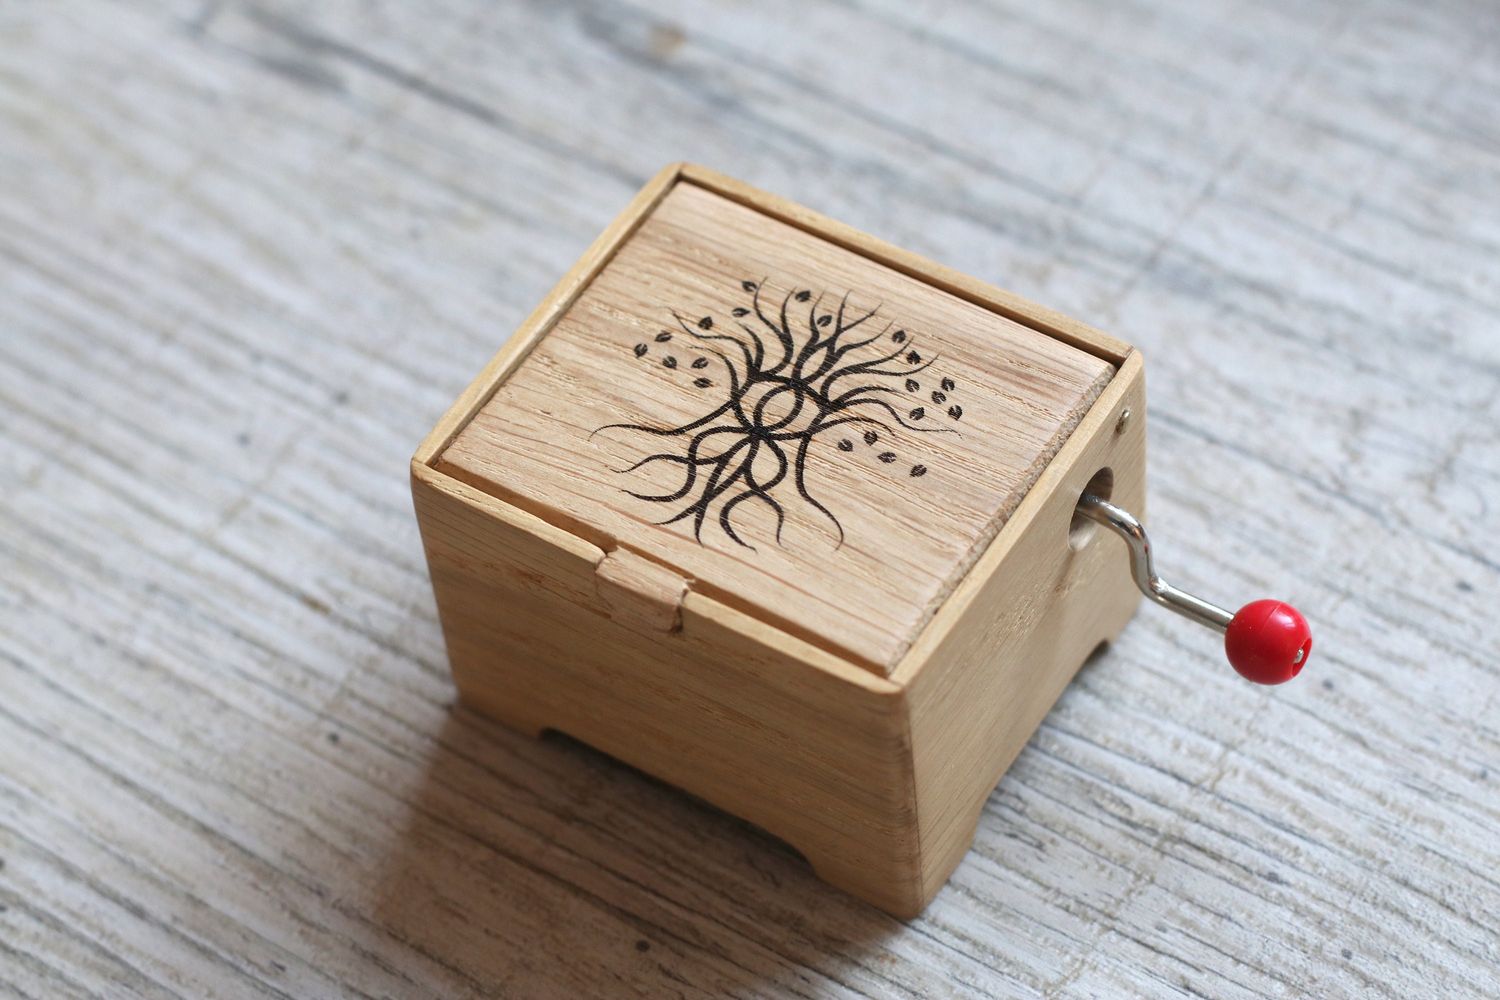
- Engraving or Wood Burning: If you’re working with a wooden box, consider engraving or wood burning your initials, a meaningful phrase, or a design onto the surface. This personalization technique adds a rustic and personalized touch.
- Customizing the Music Strip: You can further personalize your music box by creating a custom-designed music strip. Use colored paper or draw patterns on the strip to align with the theme or mood of your music box. This adds an extra layer of uniqueness to your creation.
Remember, personalization is a way to infuse your personality and style into the music box, making it a cherished keepsake or a thoughtful gift for someone special. Let your imagination run wild and create a music box that tells a story or evokes emotions through its appearance.
Once you’ve added the finishing touches to your personalized music box, take a moment to appreciate your craftsmanship and creativity. Your handmade music box is now ready to bring joy and enchantment to anyone who hears its sweet melodies.
Congratulations! You have successfully completed all the steps to make your own crank music box from start to finish. Enjoy the music and the satisfaction of creating something truly beautiful with your own hands.
Conclusion
Crafting a crank music box is a fulfilling and rewarding endeavor that allows you to combine artistry and music in a unique way. By following the step-by-step process outlined in this guide, you have learned how to create a personalized music box from scratch.
From choosing the perfect song to building the box, attaching the crank mechanism, creating the music strip, and testing and adjusting, each step has contributed to the creation of your very own music box masterpiece.
As you worked through the process, you learned to make careful measurements, apply your woodworking or crafting skills, and tap into your creativity to personalize your music box. The time and effort invested have resulted in a truly special and one-of-a-kind creation.
Now, imagine the joy and delight your handmade music box will bring to yourself or the recipient. When the crank is turned and the melody fills the air, memories will be made, emotions will be stirred, and the power of music will be felt deeply.
Remember, making a music box is not just about the end result—it’s about the journey and the sense of accomplishment that comes with creating something beautiful. Your music box reflects your passion and creativity, making it a treasured possession or a heartfelt gift.
So, whether you choose to keep it as a personal memento or share it with someone special, your crank music box will continue to enchant and captivate for years to come.
Now go forth, embrace your newfound knowledge, and continue to explore the magical world of music box making. Let your imagination run wild as you create more musical treasures for yourself and others to enjoy.
Happy crafting, and may the melodies of your music box fill your heart with joy!