Home>Devices & Equipment>Music Box>How To Make A Music Box With Ballerina
Music Box
How To Make A Music Box With Ballerina
Published: January 12, 2024
Learn how to create your own exquisite music box with a delicate ballerina inside. Get step-by-step instructions and unleash your creativity with this enchanting DIY project.
(Many of the links in this article redirect to a specific reviewed product. Your purchase of these products through affiliate links helps to generate commission for AudioLover.com, at no extra cost. Learn more)
Table of Contents
Introduction
A music box with a ballerina is a beautiful and enchanting creation that brings joy and nostalgia to anyone who encounters it. It combines the melodic beauty of music with the graceful elegance of a ballerina figurine, creating a magical and mesmerizing experience. Whether you want to gift it to a loved one or simply create a keepsake for yourself, making a music box with a ballerina can be a rewarding and fulfilling DIY project.
In this article, we will guide you through the process of making your very own music box with a ballerina. We’ll cover everything from choosing the materials and building the base to creating the music mechanism and adding the ballerina figurine. By following these steps, you’ll be able to create a unique and personalized music box that will delight both young and old alike.
Before we begin, keep in mind that this project requires some basic DIY skills and tools. It may take some time and patience, but the end result will be worth it. So, let’s dive in and get started on this magical journey of creating a music box with a ballerina.
Choosing the Materials
When it comes to making a music box with a ballerina, the materials you choose will play a crucial role in the overall quality and aesthetics of the final product. Here are some key materials you will need for this project:
- Wood: Select a high-quality wood that is sturdy and durable, such as birch or maple. You will need a sheet of wood for the base and sides of the music box.
- Music Mechanism: Choose a music mechanism that fits the size and design of your music box. There are options available that play different tunes, so choose one that resonates with your preferences.
- Ballerina Figurine: Look for a delicate and beautifully crafted ballerina figurine that will fit well on top of the music box. You can find these figurines in various styles and sizes.
- Decorative Paper or Fabric: Select a decorative paper or fabric to line the inside of the music box. This will add a touch of elegance and hide any internal components.
- Adhesive: Get a strong adhesive that is suitable for bonding wood and other materials together. Make sure it is non-toxic and dries clear.
- Paint or Varnish: If you want to add color or protect the wood, choose a paint or varnish that matches your desired aesthetic.
- Optional Accessories: Depending on your creative vision, you may want to consider additional accessories such as miniature mirrors, ribbons, or gemstones to enhance the beauty of the music box.
Before purchasing these materials, it’s a good idea to plan out the design and dimensions of your music box. Measure the space needed for the music mechanism and the ballerina figurine to ensure a proper fit. Consider your desired theme and aesthetic to guide your material selections.
Once you have gathered all the necessary materials, you are ready to move on to the next step: building the base of the music box.
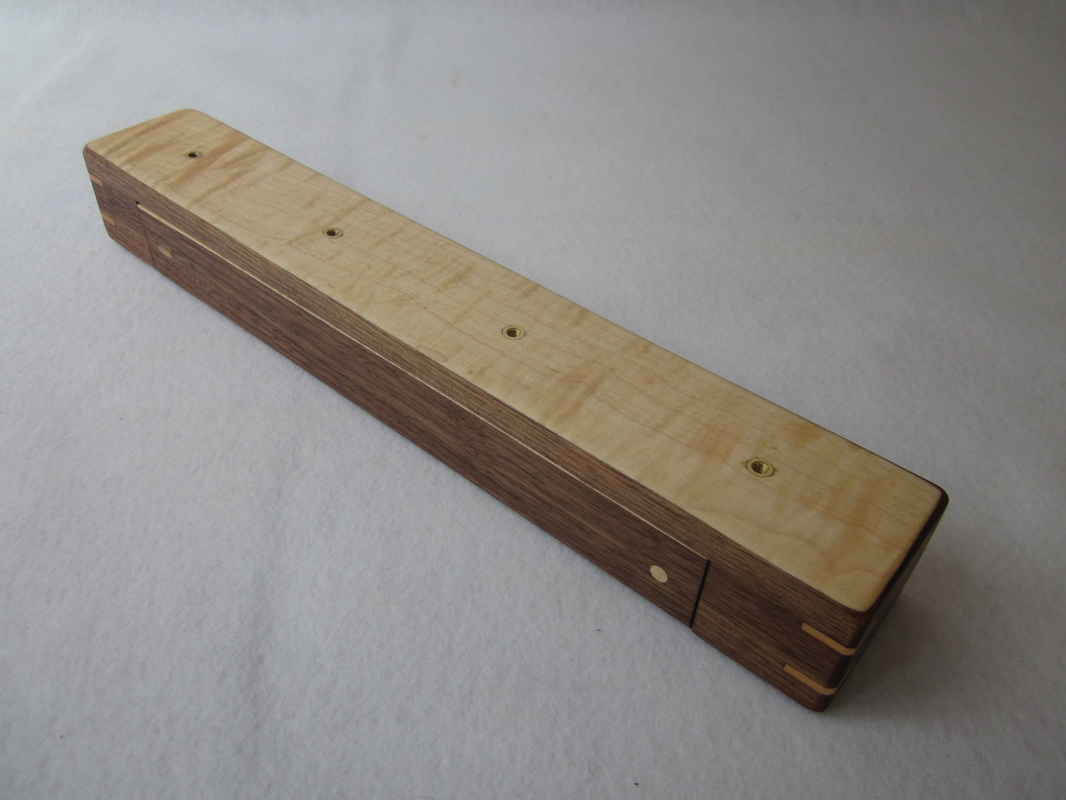
Building the Base
The base of the music box serves as the foundation for the entire structure. It provides stability and support for the music mechanism and ballerina figurine. Here is a step-by-step guide to building the base of your music box:
- Measure and Cut the Wood: Using the dimensions determined in the planning stage, measure and mark the wood sheet accordingly. Carefully cut the wood using a saw or a suitable cutting tool.
- Sand the Edges: To ensure smooth and polished edges, use sandpaper to sand down the rough edges of the wood. This will create a more professional and refined look.
- Create the Compartments: Determine the size and shape of the compartments you want in your music box. Using a pencil, mark the locations where you want the compartments to be, ensuring they are appropriately sized for the music mechanism and the ballerina figurine. Make sure to leave enough space between compartments for the figurine to fit comfortably.
- Use a Router (Optional): If you want to add a decorative touch to the compartments, you can use a router to shape the openings. This step is optional, but it can elevate the aesthetics of your music box.
- Assemble the Base: Apply a suitable adhesive to the edges of the compartments and carefully join them together. Use clamps to hold the pieces in place until the adhesive dries completely. Ensure that the base is sturdy and stable.
- Sand and Paint: Once the adhesive is dry, use sandpaper to smooth out any rough surfaces or uneven edges. If desired, paint or varnish the base to enhance its appearance and to match your chosen aesthetic.
Remember to take your time during the construction process and double-check the measurements to ensure a precise and well-built base. The base is the starting point of your music box, so it needs to be strong and properly constructed to support the weight of the components that will be added later.
With the base completed, it’s time to move on to the next step: creating the music mechanism.
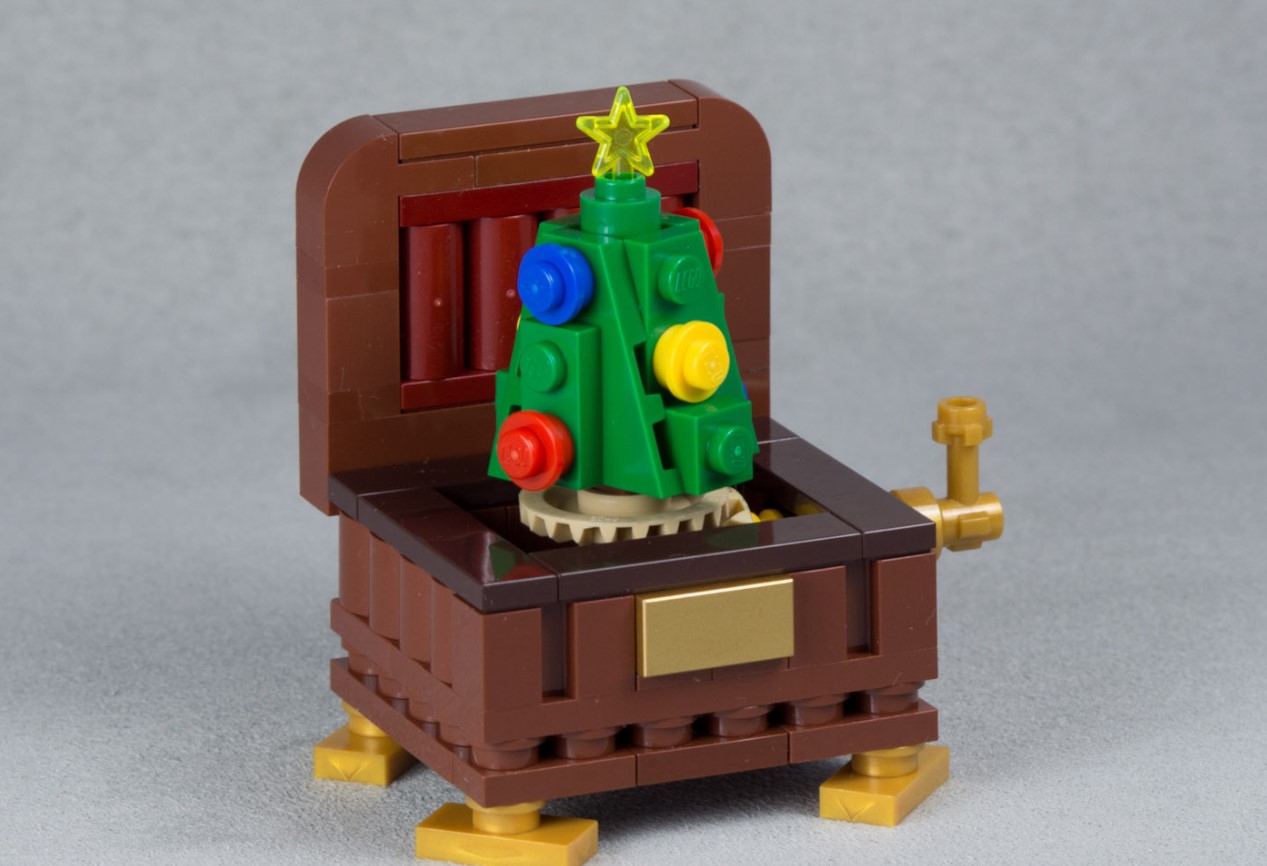
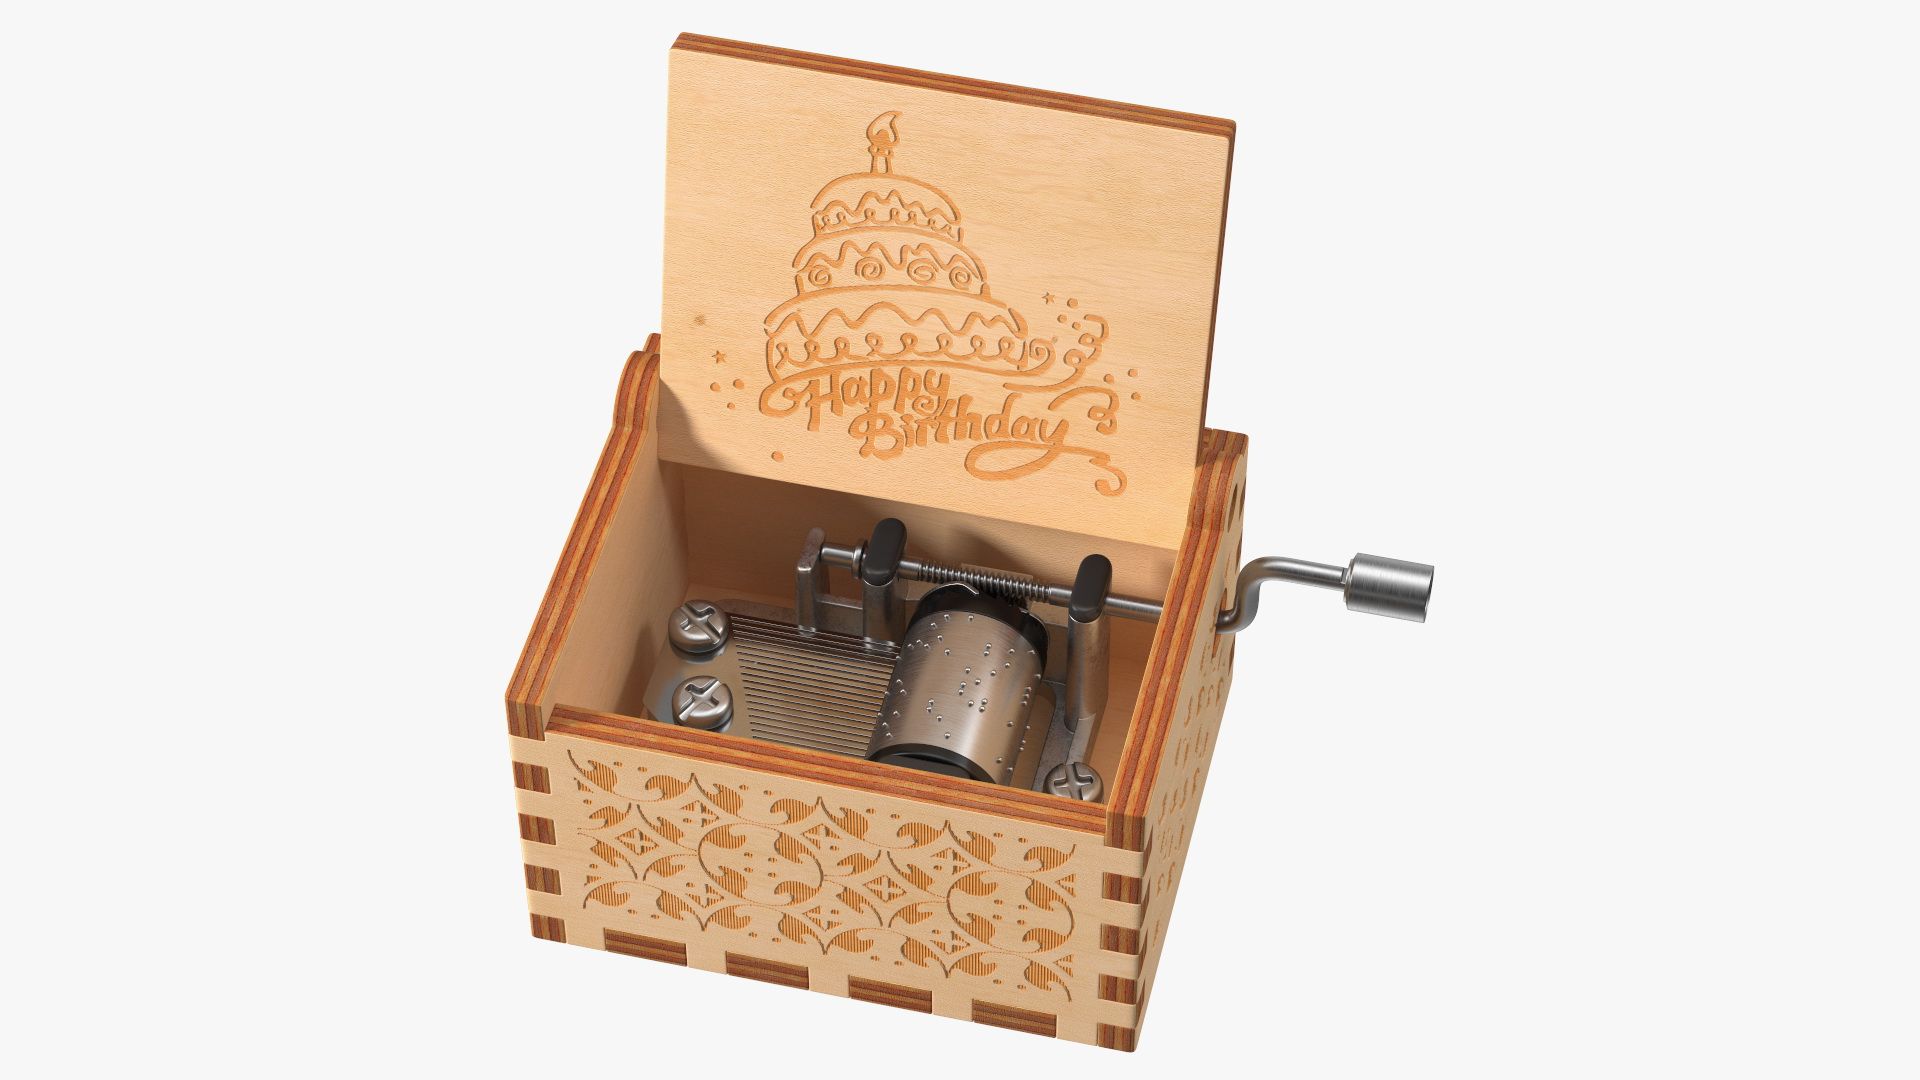
Creating the Music Mechanism
The music mechanism is the heart of the music box, as it generates the enchanting melodies that accompany the rotation of the ballerina figurine. Here’s a step-by-step guide on how to create the music mechanism for your music box:
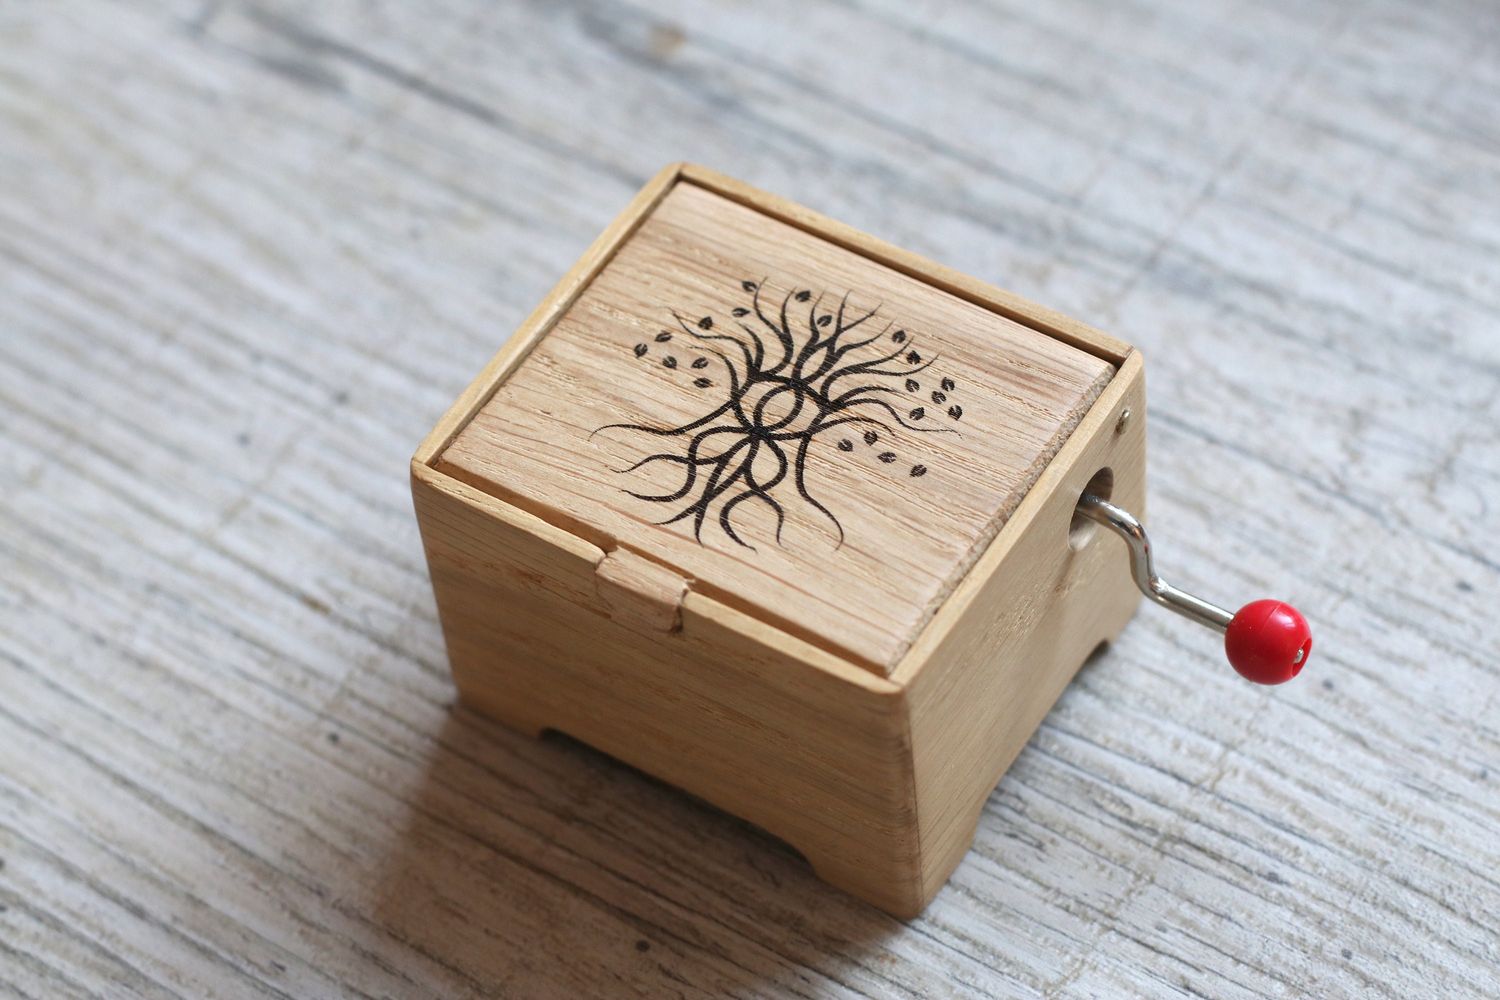
- Choose the Music Box Kit: Select a music box kit that aligns with your desired melody and complexity level. Kits are available in various tunes and can range from simple wind-up mechanisms to more intricate options with programmable tunes.
- Disassemble the Music Box: Carefully disassemble the music box kit according to the manufacturer’s instructions. This will allow you to access the internal components and prepare them for installation in your handmade music box.
- Attach the Music Cylinder: Install the music cylinder onto the base of your music box. Ensure that it is aligned properly and securely fastened. Follow the instructions provided with your kit for this step.
- Connect the Music Key: Attach the music key to the designated place on the music mechanism. This key will be used to wind up the music box and activate the music. Make sure it is positioned correctly and can be easily accessed.
- Test the Music Mechanism: Before proceeding with the assembly, test the music mechanism to ensure it is functioning properly. Wind up the music box and listen to the melody. Adjust any necessary components to achieve the desired sound quality.
Once you have completed these steps, you will have a fully functional music mechanism for your music box. It’s important to follow the instructions provided with your music box kit and exercise care during the assembly process to avoid damaging any delicate components.
Now that the music mechanism is ready, it’s time to move on to the next step: assembling the music box.
Assembly of the Music Box
With the base and music mechanism prepared, it’s time to assemble the various components of the music box. Follow these steps to ensure a smooth and successful assembly:
- Attach the Music Mechanism: Carefully place the music mechanism into the designated compartment of the base. Ensure that it fits securely and aligns properly with the music cylinder and the winding key. Use adhesive or screws, depending on the design of your music box, to secure the mechanism in place.
- Line the Interior: Cut the decorative paper or fabric to fit the inside of the music box. Use adhesive to attach it to the walls and base, creating a visually pleasing and polished interior. This lining will also help protect the internal components of the music box.
- Install the Ballerina: Position the ballerina figurine on top of the music box, ensuring she is centered and secure. Depending on the design of your music box, you may need to use a small dowel or glue to attach the figurine to the base.
- Test the Functionality: Before finalizing the assembly, test the functionality of the music box. Wind up the music key and observe the rotation of the ballerina while listening to the melodious tune. Adjust any components if necessary to ensure smooth operation.
- Secure the Top: If your music box has a removable or hinged top, make sure to securely attach it in place. This will protect the internal components and enhance the overall appearance of the music box.
Throughout the assembly process, pay attention to the details and make any necessary adjustments for a seamless fit. Take your time to ensure all components are secure and the music box functions properly.
With all the major components in place, you’re almost done! The next step is to add the finishing touches to your music box.
Adding the Ballerina Figurine
The ballerina figurine is the focal point of the music box, adding a touch of elegance and charm to the overall design. Here are the steps to add the ballerina figurine to your music box:
- Prepare the Surface: Ensure that the surface where the ballerina figurine will be placed is clean and free of any dust or debris. This will provide a smooth and secure attachment.
- Position the Figurine: Carefully place the ballerina figurine on top of the music box. Consider the balance and visual appeal of the placement. Experiment with different positions until you find the one that you find most satisfactory.
- Secure the Figurine: Depending on the design of your music box and the ballerina figurine, you may use adhesive or a small dowel to secure the figurine in place. Use a small amount of non-toxic glue or adhesive designed for crafts to prevent any damage or residue.
- Ensure Stability: Once the figurine is attached, gently test its stability by rotating the music key and observing its movement. Make any necessary adjustments to ensure that the figurine rotates smoothly without any wobbling or imbalance.
- Final Touches: Take a step back and assess the overall appearance of your music box with the ballerina figurine. Make any additional adjustments or embellishments, such as adding ribbons or gemstones, to further enhance its aesthetic appeal.
Adding the ballerina figurine is the final step in completing your music box. Take your time to position and secure the figurine correctly, ensuring that it adds a captivating and graceful touch to the overall design.
Now that your music box is assembled and the ballerina figurine is in place, let’s move on to the final section: the finishing touches.
Finishing Touches
The finishing touches of your music box will make it truly unique and personalized. These final details and embellishments will add a special touch to enhance its visual appeal and charm. Here are some ideas for adding those finishing touches:
- Paint or Varnish: If you haven’t already done so, consider painting or varnishing the exterior of your music box. Choose a color or finish that complements the overall theme and style of the box.
- Decorative Elements: Explore the use of decorative elements such as miniature mirrors, ribbons, or gemstones to enhance the appearance of your music box. These can be attached to the exterior or used to adorn the ballerina figurine.
- Personalization: Consider adding personal touches to your music box, such as engraving a name or adding a small plaque with a meaningful message. This will make it a cherished keepsake or a special gift for someone dear.
- Protective Coating: Apply a protective coating, such as a clear varnish or sealant, to shield the exterior of the music box from wear and tear. This will help preserve its beauty for years to come.
- Showcase: Choose a display case or shelf to showcase your handmade music box. This will not only protect it from dust but also create a dedicated space to admire and enjoy your creation.
Remember, the finishing touches are an opportunity to let your creativity shine and make your music box truly one-of-a-kind. Experiment with different ideas and elements to achieve the desired look and feel.
Once you are satisfied with the finishing touches, your music box with a ballerina is complete! It is now ready to be cherished and admired, bringing joy and enchantment to all who experience its melodic melodies and graceful movements.
Congratulations on creating your own music box with a ballerina!
Conclusion
Crafting a music box with a ballerina is a delightful and fulfilling DIY project that allows you to create a unique and enchanting piece of art. By carefully selecting materials, constructing the base, creating the music mechanism, adding the ballerina figurine, and putting the finishing touches, you have now completed a beautiful music box that embodies elegance and charm.
Throughout this journey, you have exercised creativity, skill, and patience. You have chosen the perfect wood, fitted the music mechanism, and positioned the ballerina figurine with care. The result is a personalized masterpiece that emits melodic tunes and brings the delicate movements of the ballerina to life.
This music box with a ballerina is more than just a decorative item; it is a symbol of joy, nostalgia, and craftsmanship. Whether you keep it for yourself or give it as a thoughtful gift, it is sure to captivate the hearts of those who encounter it. It serves as a reminder of the beauty of art and the importance of preserving traditions like the music box.
As you admire your finished creation, take a moment to appreciate the process and effort you put into making this music box. Your attention to detail and dedication have culminated in a truly remarkable piece that can be treasured for generations to come.
Now, imagine the enchantment as the music plays, and the ballerina gracefully twirls upon the stage of your music box. It’s a magical sight that evokes a sense of wonder and joy. Take a moment to savor this accomplishment and bask in the glory of your handmade music box.
So, whether you find solace in the tinkling melodies or marvel at the beauty of the ballerina’s movements, your music box with a ballerina will continue to bring joy and evoke a sense of nostalgia as time goes by.
Congratulations on your journey to creating such a timeless and captivating piece of art. May your music box bring delight and inspiration to all who encounter it. Keep exploring your creativity and embrace the wonders that music and craftsmanship can bring.