Home>Devices & Equipment>Music Box>How To Make Music Box Anastasia
Music Box
How To Make Music Box Anastasia
Modified: January 22, 2024
Learn how to make a beautiful music box inspired by Anastasia. Create your own enchanting melodies with this step-by-step guide.
(Many of the links in this article redirect to a specific reviewed product. Your purchase of these products through affiliate links helps to generate commission for AudioLover.com, at no extra cost. Learn more)
Table of Contents
Introduction
Welcome to the magical world of music boxes! These delightful little treasures have been enchanting people for centuries with their beautiful melodies and intricate designs. If you’re a fan of the animated film “Anastasia” and have always dreamt of having your own music box playing the iconic song “Once Upon a December,” then you’re in luck! In this article, we will guide you through the process of making your very own Anastasia-inspired music box.
This DIY project is not only a fun and creative way to spend your time, but it also allows you to customize your music box to suit your personal style and preferences. Whether you’re a seasoned crafter or a beginner looking for a new hobby, making a music box can be a rewarding experience that brings joy and nostalgia into your life.
Before we dive into the step-by-step instructions, let’s take a moment to gather all the materials you’ll need for this project.
Materials Needed
Before you embark on your music box-making adventure, it’s important to have all the necessary materials at hand. Below is a list of items you’ll need to gather:
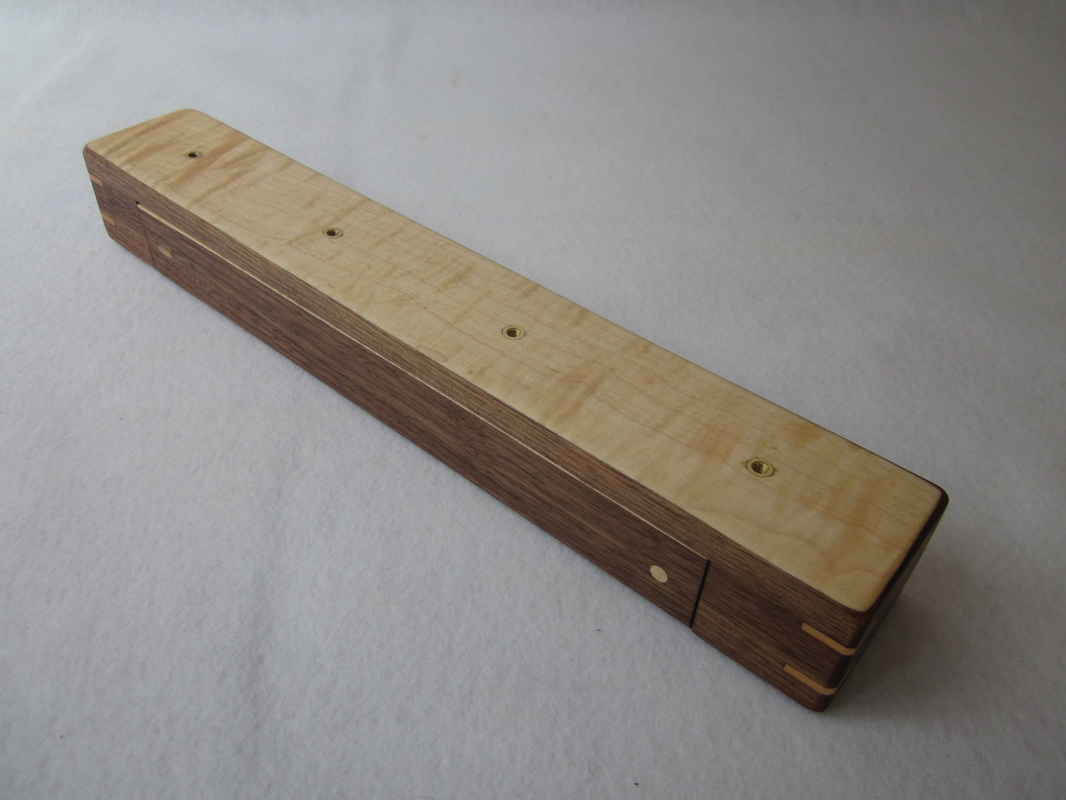
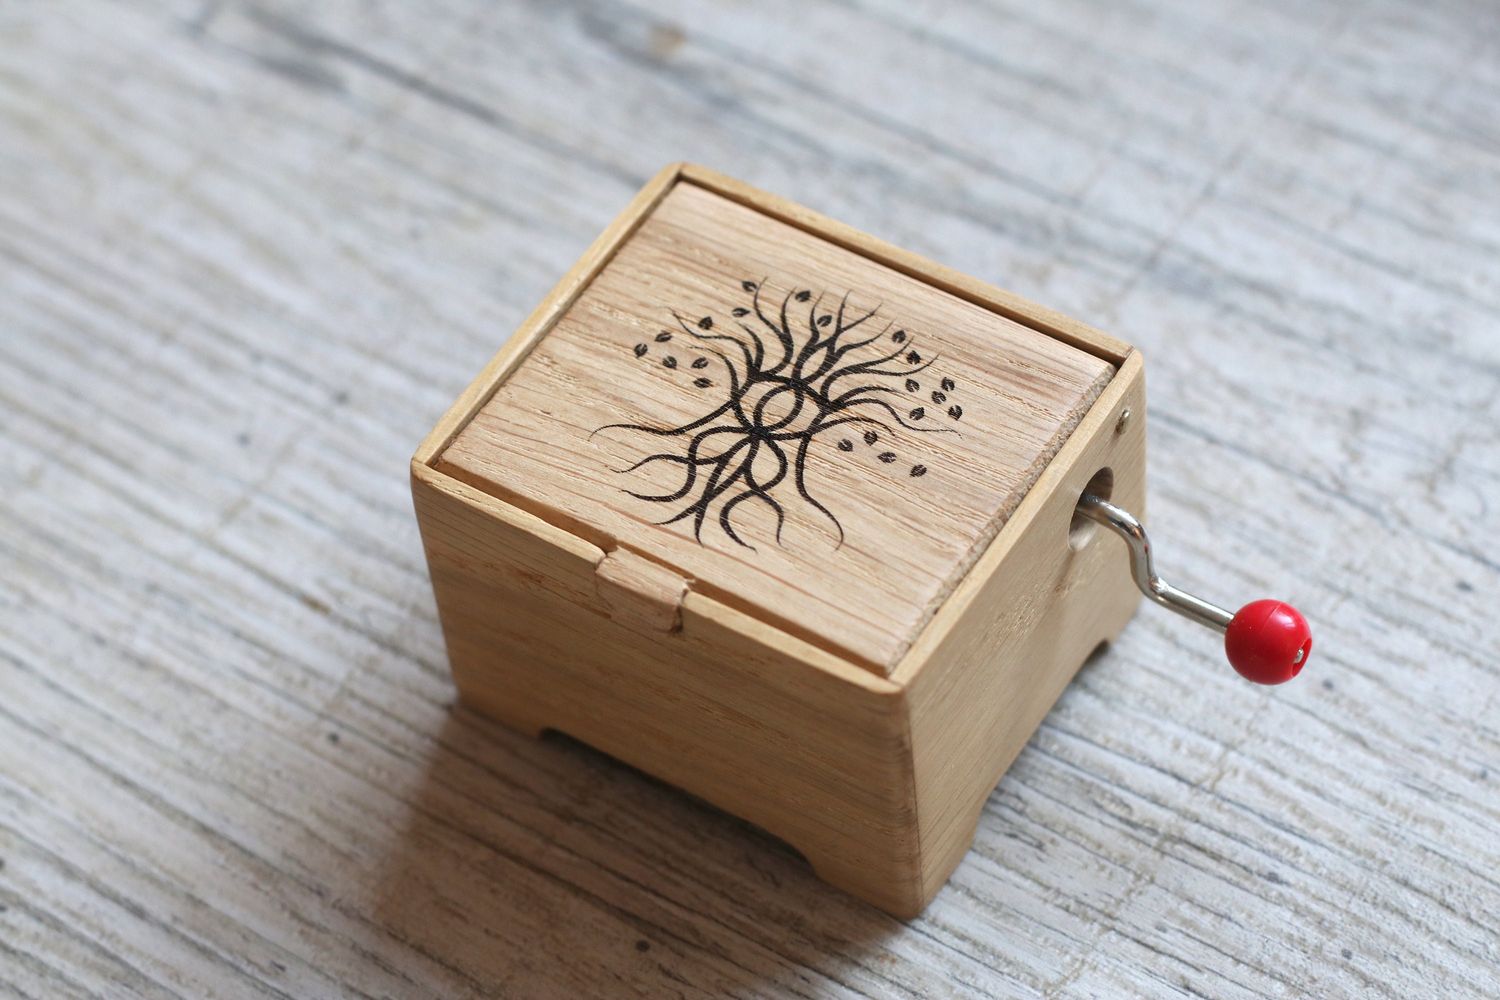
- A small wooden box: Choose a box that is sturdy and has enough space to fit the music mechanism.
- Music mechanism: Look for a music box mechanism that plays the tune “Once Upon a December” from the movie Anastasia. You can find these online or at specialty craft stores.
- Paper or cardboard: This will be used to create the music strip that activates the music mechanism.
- Decorative paper or fabric: Choose a design or texture that matches your personal style.
- Craft glue or adhesive: Use a strong adhesive to secure the components of the music box.
- Paint or markers: If you want to add a personal touch to the wooden box, you can use paint or markers to decorate it.
- Decorative embellishments: This can include beads, pearls, ribbons, or any other embellishments you’d like to add to your music box.
- Scissors and/or craft knife: These tools will be necessary for cutting and shaping the materials.
It’s important to note that these are just the basic materials needed to create a music box inspired by Anastasia. Feel free to get creative and add any additional materials that you feel would enhance the final design.
Now that you have everything you need, let’s move on to the first step: preparing the base of your music box.
Step 1: Preparing the Base
The first step in creating your Anastasia-inspired music box is to prepare the base. Follow these steps to ensure a sturdy foundation for your music box:
- Start by selecting a small wooden box of your choice. Make sure it is clean and free from any imperfections.
- If desired, you can paint or decorate the exterior of the box to match your personal style. Allow the paint or markers to dry completely before moving on to the next step.
- Next, carefully measure the dimensions of the music mechanism. This will help determine the size and placement of the hole you will need to create in the box.
- Using a craft knife or a drill, carefully cut or create a hole on the top or side of the wooden box. This hole should be large enough to accommodate the music mechanism without any interference.
- Once the hole is created, check to ensure that the music mechanism fits snugly and securely in place.
- Apply craft glue or adhesive around the edges of the music mechanism to secure it in place within the box. Allow it to dry according to the manufacturer’s instructions.
With the base of your music box prepared, you’re now ready to move on to the next step: assembling the music mechanism.
Step 2: Assembling the Music Mechanism
Now that you have prepared the base of your music box, it’s time to assemble the music mechanism. Follow these steps to ensure a smooth and successful assembly:
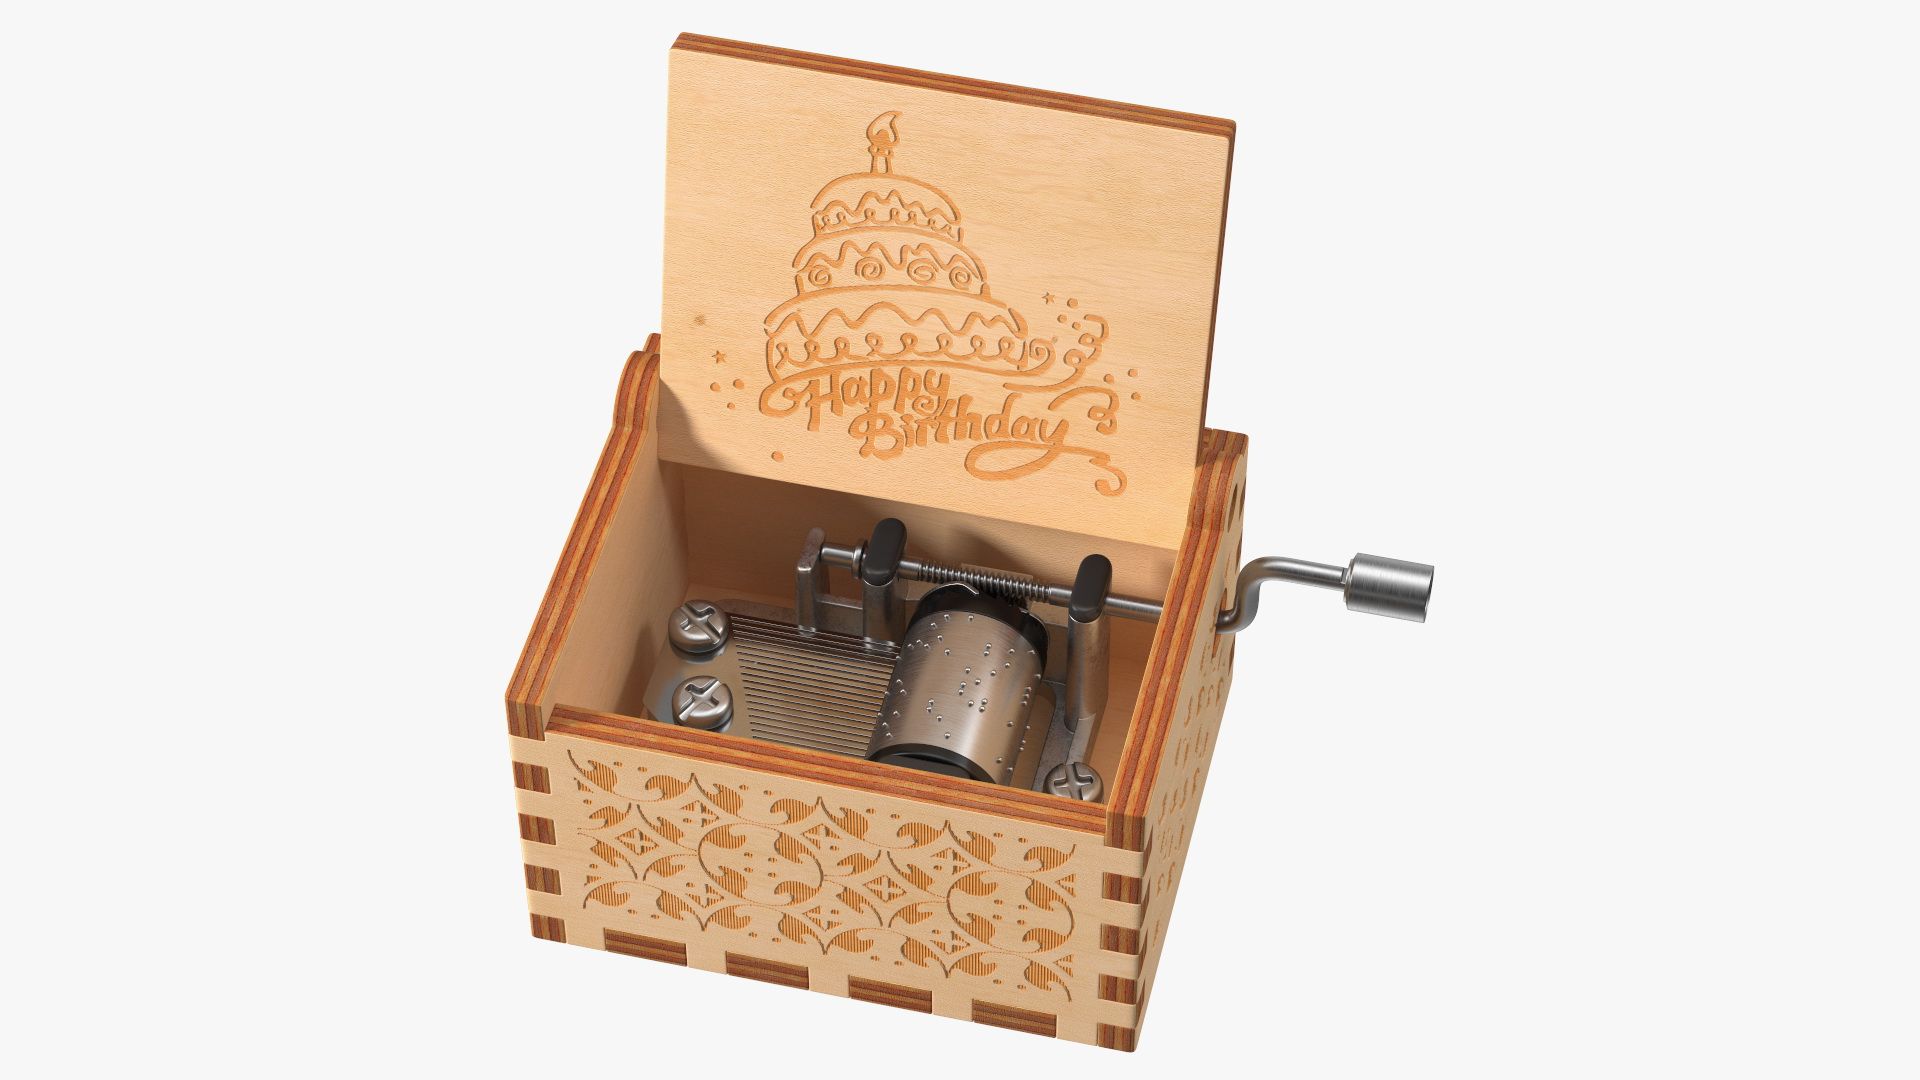
- Take the music mechanism you purchased and carefully examine it. Pay close attention to any instructions or diagrams that may be included.
- Identify the metal cylinder or barrel of the music mechanism. This is the component that contains the pins or prongs that produce the melody.
- Observe the pattern of the pins or prongs on the music mechanism. This pattern corresponds to the melody that will be played.
- Using the measurements you obtained during the preparation stage, cut a strip of paper or cardboard that matches the length and width of the metal cylinder.
- Using a pen or pencil, mark the positions on the paper strip where the pins or prongs should be placed. This can be done by lightly tracing the pattern from the music mechanism onto the paper strip.
- With the markings in place, carefully punch or cut holes on the paper strip using a craft knife or a hole punch. Make sure the holes align with the pattern on the music mechanism.
- Carefully insert the paper strip into the music mechanism, ensuring that the holes align with the pins or prongs.
- Test the music mechanism by winding it up or activating it according to the manufacturer’s instructions. If all has been assembled correctly, you should hear the familiar melody playing.
Once you have successfully assembled the music mechanism, you can move on to the next step: creating the melody.
Step 3: Creating the Melody
Now that you have the music mechanism assembled, it’s time to create the melody that will play on your Anastasia-inspired music box. Follow these steps to bring the enchanting tune to life:
- Start by identifying the notes and melodies that make up the song “Once Upon a December” from Anastasia. You can find sheet music or tablature online, or you can listen to the song and try to replicate the melody by ear.
- Using the paper or cardboard strip that you prepared earlier, mark the positions where each note or melody line will be placed. You can use musical notation symbols or simply label the positions with the corresponding note names.
- Carefully punch or cut holes on the paper strip at the marked positions. Each hole represents a note or melody line that will be played by the music mechanism.
- Double-check the accuracy of the hole placements by comparing them to the sheet music or tablature. Make any necessary adjustments to ensure the correct melody is played.
- Insert the melody strip into the music mechanism, aligning the holes with the pins or prongs. Ensure that the strip fits snugly and smoothly without any obstructions.
- Test the music box again by activating the mechanism. If all is well, you should hear the familiar melody of “Once Upon a December” playing beautifully.
Creating the melody for your music box is a crucial step in capturing the essence of the Anastasia theme. Take your time to ensure the accuracy of the notes and enjoy the process of bringing the music to life.
With the melody created and the music playing, it’s time to move on to the next step: decorating the box to make it truly beautiful and unique.
Step 4: Decorating the Box
With the functional aspects of your Anastasia-inspired music box complete, it’s time to let your creativity shine by decorating the box. Follow these steps to add a touch of beauty and personalization to your music box:
- Choose a decorative paper or fabric that matches the theme and style you envision for your music box. It could be a pattern that reflects the lush elegance of Anastasia or something that represents your own unique taste.
- Measure and cut the chosen paper or fabric to fit the exterior surfaces of the box. Make sure to account for any curves or indentations in the design.
- Apply a thin, even layer of craft glue or adhesive to the back of the paper or fabric, ensuring that the edges are well-coated.
- Carefully place the paper or fabric onto the box, smoothing out any bubbles or wrinkles as you go. Take your time to align the design and make any necessary adjustments.
- Allow the glue or adhesive to dry completely before moving on to the next step.
- If desired, you can add additional embellishments such as beads, pearls, ribbons, or any other decorative elements that enhance the overall aesthetic of the music box.
- Use craft glue or adhesive to securely attach the embellishments to the box, ensuring they are well-placed and won’t interfere with the function of the music box.
By decorating the exterior of your music box, you can transform it into a visually stunning piece of art. Whether you opt for a simple and elegant design or a more elaborate and intricate style, the choice is yours to make.
Now that your music box is beautifully decorated, it’s time to add the finishing touches. Keep reading to learn about the final step in creating your Anastasia-inspired music box!
Step 5: Adding the Finishing Touches
Congratulations! You’re in the final stage of creating your Anastasia-inspired music box. Follow these steps to add the finishing touches and complete your masterpiece:
- Take a step back and assess the overall appearance of your music box. Look for any areas that could benefit from additional embellishments or details.
- If desired, you can use paint or markers to add small decorative accents or intricate designs to the exterior of the box. This can include floral patterns, delicate borders, or any other artistic elements that enhance the beauty of the box.
- Allow the paint or markers to dry completely before proceeding.
- Inspect the interior of the box and consider adding a soft lining material to give it a luxurious feel and protect the delicate components.
- Measure and cut a piece of fabric or velvet that fits the interior of the box. Use craft glue or adhesive to carefully secure it in place, ensuring a smooth and wrinkle-free appearance.
- Close and open the music box multiple times to ensure that everything is functioning smoothly and that the decorations and lining stay in place.
- Take a moment to admire your completed Anastasia-inspired music box. Enjoy the sight of your personalized creation and the anticipation of listening to the enchanting melody play.
Congratulations on successfully creating your own Anastasia-inspired music box! You can now sit back, relax, and let the beautiful melody of “Once Upon a December” transport you to a world of wonder and magic whenever you play your music box.
Remember, this project is a labor of love, and the more care and attention you put into each step, the more rewarding the final result will be. So take your time, enjoy the creative process, and let your music box become a cherished treasure in your collection or a meaningful gift for someone special.
Thank you for joining us on this musical journey, and we hope you enjoy the enchantment of your Anastasia-inspired music box for years to come!
Please note that the term “Anastasia” is used here for descriptive purposes only. The music and theme associated with the movie are to be respected and attributed to their respective copyright holders.
Conclusion
Congratulations on completing your Anastasia-inspired music box! Through each step of the process, from preparing the base to adding the finishing touches, you have crafted a unique and beautiful piece that brings the magic of the movie into your hands.
Creating your own music box is not just a DIY project; it’s an opportunity to express your creativity and make something truly special. By customizing the design, melody, and decoration, you have added a personal touch to your music box, making it a reflection of your style and love for the Anastasia theme.
As you listen to the familiar melody of “Once Upon a December” playing from your music box, allow yourself to be transported to a world of nostalgia and sweet memories. The enchanting tune resonates with the emotions and stories we hold dear, capturing the essence of the beloved film.
Whether you choose to display your music box as a decorative centerpiece or gift it to someone special, it is sure to bring joy and delight. Each time the melody fills the air, it will evoke a sense of wonder, taking you on a journey back to the magical moments of Anastasia.
Remember, this project is just the beginning of your exploration into the world of music boxes. You can continue to experiment with different melodies, designs, and themes, creating an entire collection of unique and meaningful treasures.
We hope you have enjoyed this DIY adventure and that your Anastasia-inspired music box brings you endless happiness. Let the melodies play and fill your heart with the magic and nostalgia of this timeless film.
Thank you for joining us on this enchanting journey. Happy crafting and may the music never fade from your life!