Home>Devices & Equipment>Music Box>How To Make A Music Box With Wood
Music Box
How To Make A Music Box With Wood
Published: January 11, 2024
Learn how to create your own music box using wood with this step-by-step guide. Explore the world of music box making and unleash your creativity.
(Many of the links in this article redirect to a specific reviewed product. Your purchase of these products through affiliate links helps to generate commission for AudioLover.com, at no extra cost. Learn more)
Table of Contents
- Introduction
- Materials Needed
- Step 1: Choose the Wood
- Step 2: Measure and Cut the Wood Pieces
- Step 3: Sand the Wood Pieces
- Step 4: Assemble the Music Box Base
- Step 5: Create the Music Mechanism Holder
- Step 6: Attach the Music Mechanism
- Step 7: Build the Music Box Cover
- Step 8: Add Decorative Elements
- Step 9: Test and Fine-tune the Music Box
- Conclusion
Introduction
Music boxes have a magical appeal, transporting us to a world filled with whimsy and nostalgia. These delightful miniature musical instruments can bring joy to our lives or serve as a charming decorative piece. While you can easily find music boxes in stores, there’s something special about crafting your own. If you love the idea of creating a unique music box with your hands, this article will guide you through each step.
Creating a music box from scratch allows you to personalize every detail to your liking. From choosing the wood and designing the cover to selecting the music mechanism and adding decorative elements, the possibilities for customization are endless. Whether you’re a seasoned woodworker or a beginner looking for a DIY project, making a music box can be a rewarding and fulfilling experience.
In this comprehensive guide, we will walk you through the process of making a music box with wood. We will cover everything from gathering the necessary materials to finely tuning the music box for optimal sound quality. So, get ready to unleash your creativity and create a beautiful music box that will enchant both yourself and others.
Materials Needed
Before you start crafting your own music box, it’s important to gather all the necessary materials. Here’s a list of items you’ll need:
- Wood of your choice (such as birch, walnut, or mahogany)
- Measuring tape or ruler
- Saw (a table saw or a hand saw)
- Sandpaper (various grits, ranging from coarse to fine)
- Wood glue
- Clamps
- Music mechanism (also known as a music box movement)
- Small screws or fasteners
- Drill with a small drill bit
- Decorative elements (such as paint, varnish, knobs, or beads)
- Paintbrushes or foam brushes
When it comes to selecting the wood, choose a type that is sturdy and suited for woodworking. Birch, walnut, and mahogany are commonly used due to their durability and attractive grain patterns. Additionally, consider the size and shape of the wood, as it will determine the overall dimensions of your music box.
Sandpaper is essential for smoothing out rough edges and achieving a polished finish. It’s recommended to have different grits of sandpaper to gradually refine the wood surface and create a smooth texture.
The music mechanism is the heart of the music box, responsible for producing the beautiful melodies. These can be easily found online or in craft stores. Make sure to choose a mechanism that matches the size and style of your music box.
Lastly, don’t forget about the decorative elements! Whether it’s a splash of color, unique knobs, or intricate beadwork, these touches will add character and charm to your finished music box.
Now that you have all the necessary materials, you’re ready to embark on the journey of creating your very own music box. Let’s dive into the step-by-step process of making a wooden music box.
Step 1: Choose the Wood
The first step in creating your own music box is choosing the right type of wood. The wood you select will not only determine the overall look and feel of your music box but also its durability and resonance. Here are a few considerations to keep in mind when choosing wood:
1. Sturdiness: Opt for a wood that is strong and durable. This will ensure that your music box can withstand frequent use and last for years to come. Popular choices for music boxes include birch, walnut, and mahogany, as they are not only sturdy but also have beautiful grain patterns.
2. Workability: Consider the workability of the wood. Some woods are easier to cut, shape, and carve than others. If you’re a beginner or have limited woodworking skills, you may want to choose a wood that is more forgiving and less prone to splintering. Birch and pine are good options for beginners.
3. Aesthetics: Decide on the desired aesthetic of your music box. Different wood types have their own unique color, texture, and grain patterns. Think about the overall look and feel you want to achieve, and choose a wood species that aligns with your vision.
4. Availability: Consider the availability and accessibility of the wood. While exotics woods like ebony or padauk may be desirable, they may be harder to find or more expensive. Explore local lumberyards or online suppliers to find a wood that suits your preferences and budget.
Taking the time to select the right wood for your music box is crucial. It will not only affect the aesthetics but also the overall quality and longevity of your final product. So, make sure to choose a wood species that resonates with your vision and craftsmanship abilities.
Step 2: Measure and Cut the Wood Pieces
Once you have chosen the wood for your music box, it’s time to measure and cut the necessary pieces. This step is crucial to ensure that all the components fit together seamlessly. Here’s a step-by-step guide:
1. Plan your design: Before you start cutting, carefully plan the design and dimensions of your music box. Decide on the size of the base, cover, and any additional compartments you may want to include. Consider the size of the music mechanism and leave enough space for it to fit comfortably.
2. Measure the wood: Using a measuring tape or ruler, measure and mark the dimensions of each wood piece based on your design. Double-check your measurements to ensure accuracy.
3. Cut the wood: With the measurements in place, it’s time to cut the wood pieces. Use a saw appropriate for your skill level and wood type. A table saw or a hand saw can be used depending on the complexity of your design. Take your time and follow the marked lines precisely to achieve clean and straight cuts.
4. Sand the edges: After cutting, use sandpaper to smooth out any rough edges or splinters. Start with a coarse grit sandpaper and gradually work your way to finer grits for a polished finish.
5. Dry fit the pieces: Once the wood pieces have been cut and sanded, dry fit them together to ensure they align properly. Make any necessary adjustments or trims if needed.
6. Label the pieces: To avoid confusion during assembly, it’s helpful to label each wood piece. Use a pencil or masking tape to mark the corresponding locations of each piece.
Remember to take your time during this step and pay attention to detail. Accurate measurements and clean cuts are essential for a smooth assembly process and a professional-looking final product. With your wood pieces measured and cut, you’re ready to move on to the next step of sanding.
Step 3: Sand the Wood Pieces
After cutting the wood pieces for your music box, it’s time to sand them to achieve a smooth and polished finish. Sanding not only enhances the appearance of the wood but also ensures that there are no rough edges that could cause injury. Here’s a step-by-step guide on how to sand your wood pieces:
1. Gather the necessary sandpaper: Start by gathering sandpaper of various grits, ranging from coarse to fine. Coarse grits, such as 80 or 120, are effective for removing rough surfaces and imperfections, while finer grits, such as 220 or 320, will create a smoother finish.
2. Begin with the coarsest grit: Start by using the coarsest grit sandpaper and rub it evenly along the surfaces of the wood pieces. Sand in the direction of the wood grain, applying moderate pressure. This will help to smooth out any rough areas and irregularities.
3. Gradually progress to finer grits: After sanding with the coarse grit, switch to a medium grit sandpaper and repeat the process. Continue to progress to finer grits until the wood feels smooth and the desired level of smoothness is achieved. Remember to sand evenly and always follow the wood grain to avoid creating scratches or marks.
4. Pay attention to the edges and corners: Be sure to sand the edges and corners of the wood pieces as well. Take extra care to round off any sharp edges to prevent splinters and make the final piece more comfortable to handle.
5. Remove sanding residue: After sanding with each grit, use a soft cloth or a brush to remove any sanding residue from the wood pieces. This will help you evaluate the smoothness of the surface and ensure a clean work environment.
6. Finish with a fine sanding: Once you have achieved a smooth surface, finish the sanding process with a very fine grit sandpaper, such as 400 or 600. This will provide a final touch of smoothness and prepare the wood for any finishing treatments or coatings you may choose to apply.
Remember to take your time and be thorough during the sanding process. Proper sanding will not only enhance the overall appearance of your music box but also contribute to the longevity and quality of the final product. With your wood pieces beautifully sanded, you’re ready to proceed to the next step: assembling the music box base.
Step 4: Assemble the Music Box Base
With your wood pieces cut and sanded, it’s time to assemble the base of your music box. The base serves as the foundation for the entire structure, providing stability and support. Here’s a step-by-step guide on how to assemble the music box base:
1. Lay out the wood pieces: Start by laying out the wood pieces for the base according to your design. Make sure they are aligned correctly and in the desired configuration.
2. Apply wood glue: Apply a thin, even layer of wood glue to the mating surfaces of the wood pieces. Use a brush or a small stick to spread the glue evenly.
3. Join the wood pieces: Carefully press the glued surfaces of the wood pieces together, aligning them accurately. Use clamps or other suitable clamping devices to secure the pieces while the glue dries. Follow the manufacturer’s instructions for the recommended drying time of the glue.
4. Wipe off excess glue: Use a damp cloth or sponge to wipe off any excess glue that squeezes out from the joints. This will prevent it from drying and interfering with the final finish.
5. Allow the glue to dry thoroughly: Give the assembled base ample time to dry completely. This may take several hours or even overnight depending on the type of glue used.
6. Remove clamps and inspect: Once the glue has fully dried, remove the clamps and inspect the assembled base. Ensure that all the joints are secure and no gaps or misalignments are present.
Remember to work carefully and precisely during the assembly process to achieve a sturdy and well-aligned base. The quality of the base will influence the overall stability and functionality of your music box. With the base assembled, you’re ready to move on to the next step: creating the music mechanism holder.
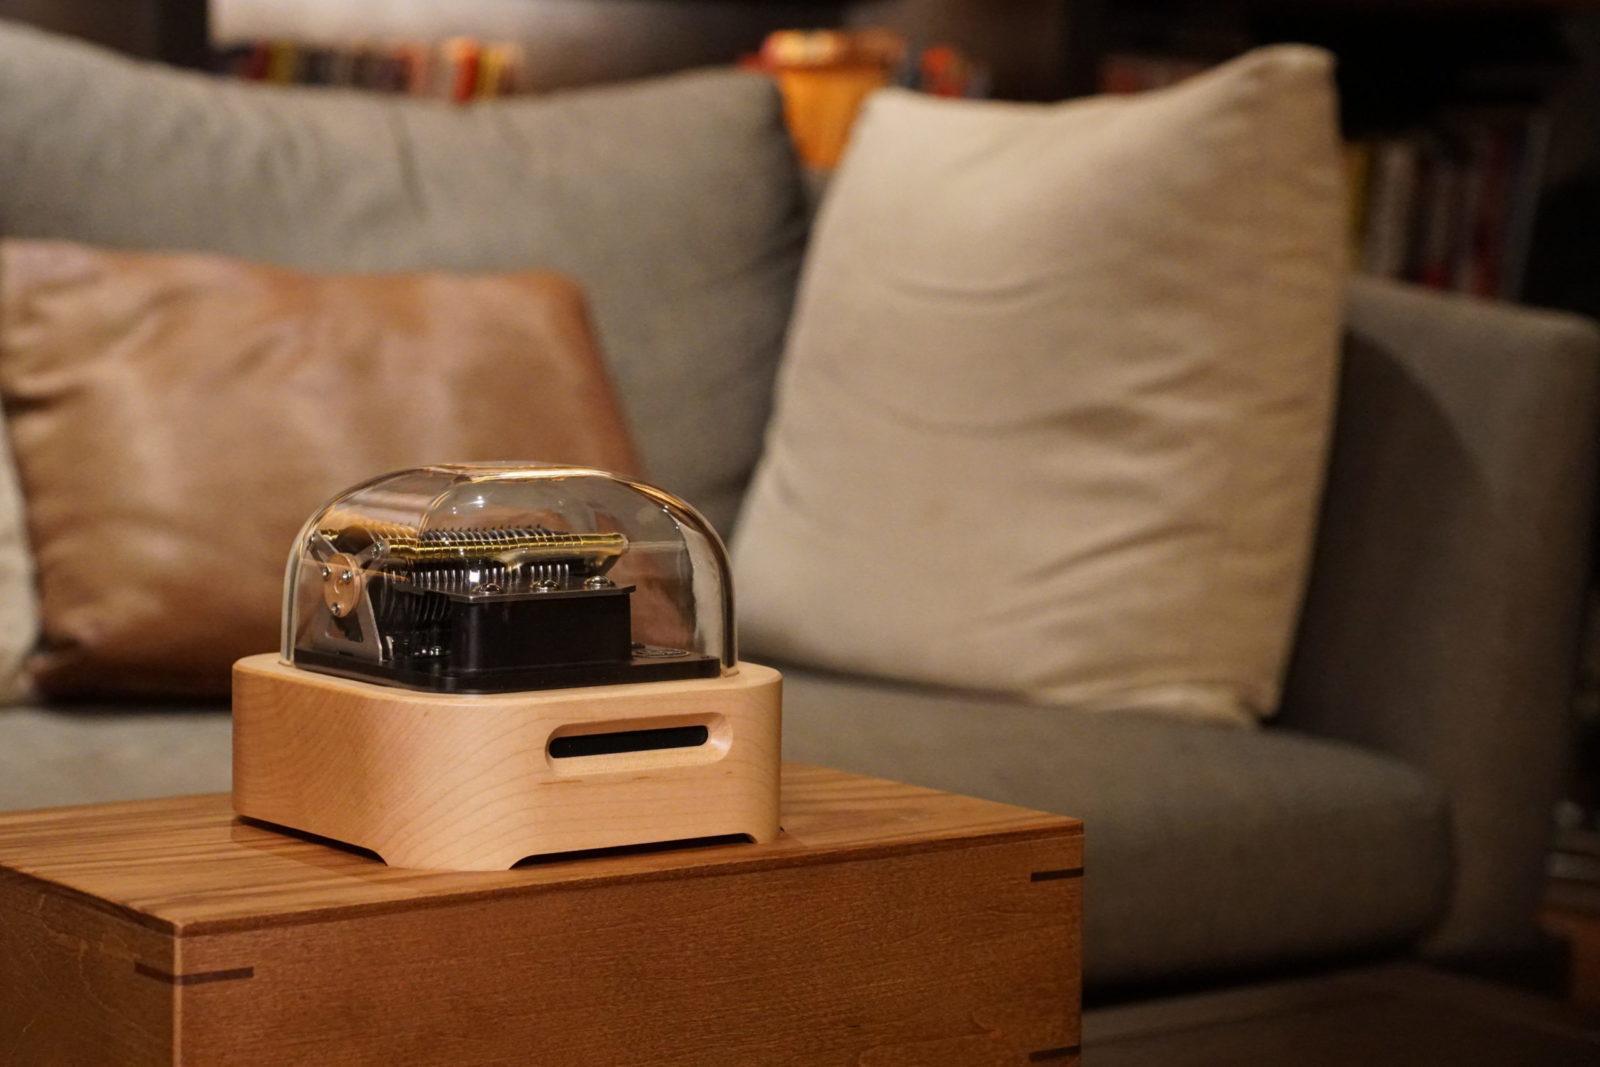
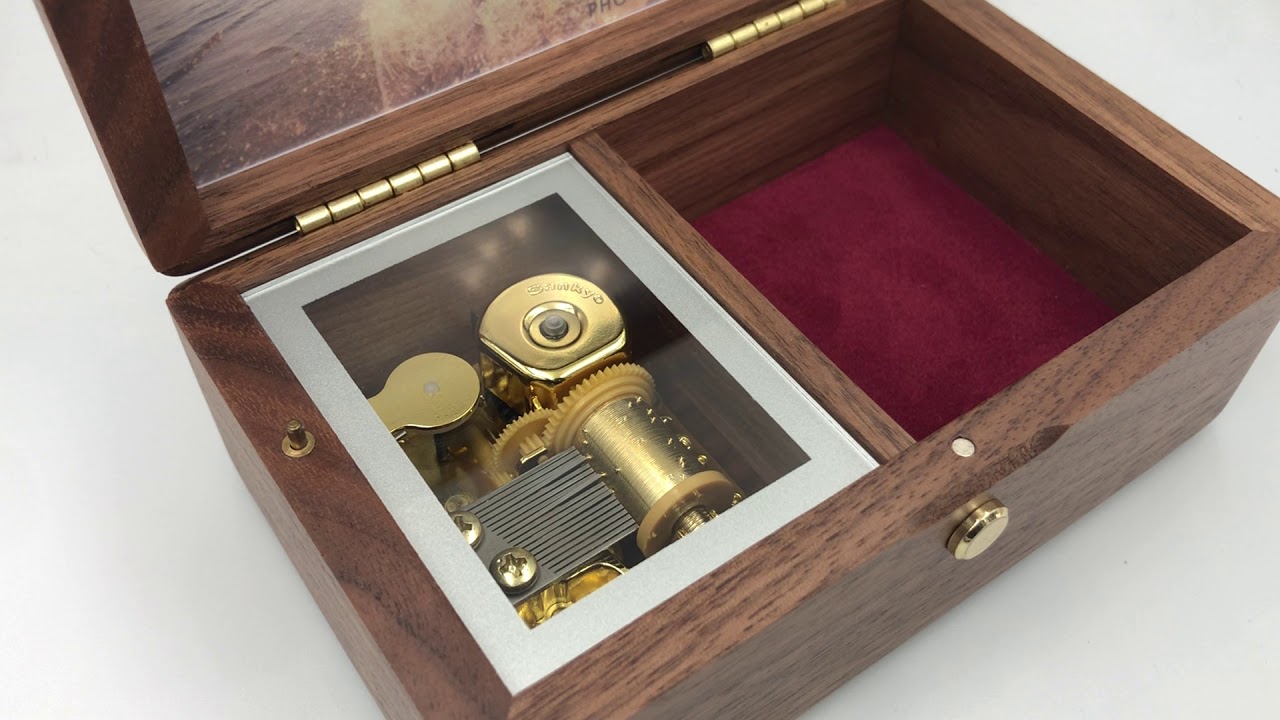
Step 5: Create the Music Mechanism Holder
Creating a music mechanism holder is an essential step in building your music box. This holder serves as a protective enclosure for the music mechanism, keeping it secure and positioned correctly within the box. Here’s how you can create the music mechanism holder:
1. Measure the dimensions: Measure the dimensions of the music mechanism to determine the size of the holder. Take note of the height, width, and depth of the mechanism, as well as any additional space required for movement.
2. Mark and cut the wood: Using the measurements from the previous step, mark the dimensions on a suitable wood piece. Ensure the depth of the wood matches the depth of the music mechanism. Carefully cut the wood to create the base and sides of the holder.
3. Create slots or notches: Depending on the design of your music mechanism, you may need to create slots or notches in the wood to accommodate certain parts of the mechanism. Use a chisel, router, or other suitable tools to carefully create these slots or notches as indicated by the mechanism’s requirements.
4. Test the fit: Place the music mechanism inside the holder and test the fit. Ensure that it sits securely within the holder without any wobbling or shifting. Adjust the slots or notches if needed to achieve a snug and stable fit.
5. Secure the music mechanism: Once you are satisfied with the fit, secure the music mechanism within the holder using small screws or fasteners. Ensure the screws or fasteners are not too long to avoid damaging the mechanism.
6. Test the movement: Before proceeding, test the movement of the music mechanism to ensure it plays correctly within the holder. Make any necessary adjustments to the positioning or the slots to improve the movement if needed.
7. Sand and finish: Sand the surfaces of the music mechanism holder to achieve a smooth finish. You can also apply paint, stain, or varnish to match the overall design of your music box, if desired. Allow the finish to dry completely before proceeding.
The music mechanism holder is a crucial component of your music box, as it ensures the mechanism operates correctly and remains protected. With the holder created and the music mechanism securely in place, you’re ready to move on to the next step: attaching the music mechanism to the base.
Step 6: Attach the Music Mechanism
Attaching the music mechanism to the base is an important step in the construction of your music box. It ensures that the mechanism is securely fastened and positioned correctly within the box. Here’s a step-by-step guide on how to attach the music mechanism:
1. Position the music mechanism: Place the music mechanism holder onto the base of the music box in the desired location. Ensure that it is centered and aligned properly.
2. Mark the screw hole locations: Using a pencil or a small drill bit, mark the locations of the screw holes on the base of the music box. These holes will be used to fasten the music mechanism to the base.
3. Drill pilot holes: Using a small drill bit, carefully drill pilot holes at the marked locations. These pilot holes will make it easier to insert screws and reduce the risk of splitting the wood.
4. Attach the music mechanism: With the pilot holes drilled, align the music mechanism holder with the base and carefully insert screws through the holes. Secure them tightly, but be cautious not to overtighten and damage the wood or the mechanism.
5. Test the mechanism: Test the movement and operation of the music mechanism to ensure that it is functioning correctly. Press the lever or wind the mechanism to activate the music. Make any necessary adjustments to ensure smooth movement and proper alignment.
6. Fine-tune the sound: If desired, you can fine-tune the sound of your music box. This can be achieved by adjusting the position of the music mechanism holder, adding or removing padding materials, or modifying the openings for the sound to resonate optimally. Experiment with different adjustments to achieve the desired sound quality.
By securely attaching the music mechanism to the base, you’re one step closer to completing your music box. The attachment ensures that the mechanism remains stable and functional within the box. With the mechanism successfully attached, you can now proceed to the next step: building the music box cover.
Step 7: Build the Music Box Cover
Building the music box cover is an exciting step as it adds the final touch of elegance to your creation. The cover not only protects the music mechanism but also enhances the overall aesthetic appeal of the music box. Here’s how you can build the music box cover:
1. Measure and cut the cover pieces: Measure the dimensions of the music box base to determine the size of the cover. Cut the wood pieces for the cover, including the top and sides, according to your measurements.
2. Create any openings: Depending on your design, you may want to create openings on the cover to allow the music to resonate. This can be done by cutting small holes or slots using a saw or a router. Take caution to ensure the openings are precise and symmetrical.
3. Sand the cover pieces: Use sandpaper to smooth the surfaces of the cover pieces. Start with a coarse-grit sandpaper and gradually move to finer grits for a polished finish.
4. Assemble the cover: Apply wood glue to the edges of the cover pieces and carefully join them together. Use clamps or other suitable clamping devices to hold the pieces in place until the glue dries. Wipe off any excess glue and allow it to dry thoroughly.
5. Attach the cover to the base: Once the cover is dry and solid, position it on top of the music box base. Align the edges of the cover with the base and use small screws or fasteners to attach it securely. Ensure that the cover sits flush with the sides of the base.
6. Test the fit and movement: Test the fit of the cover by opening and closing it. Make any necessary adjustments to ensure it opens and closes smoothly without any interference. Check that the music mechanism is still properly aligned and functions correctly within the enclosed space.
7. Finish the cover: Apply paint, stain, or varnish to the cover to enhance its appearance. This is an opportunity to add your personal touch and customize the aesthetics of your music box. Allow the finish to dry completely.
Building the music box cover completes the structure of your music box, giving it a polished and cohesive look. With the cover securely attached, you’re one step away from the final touches that will make your music box truly unique and captivating.
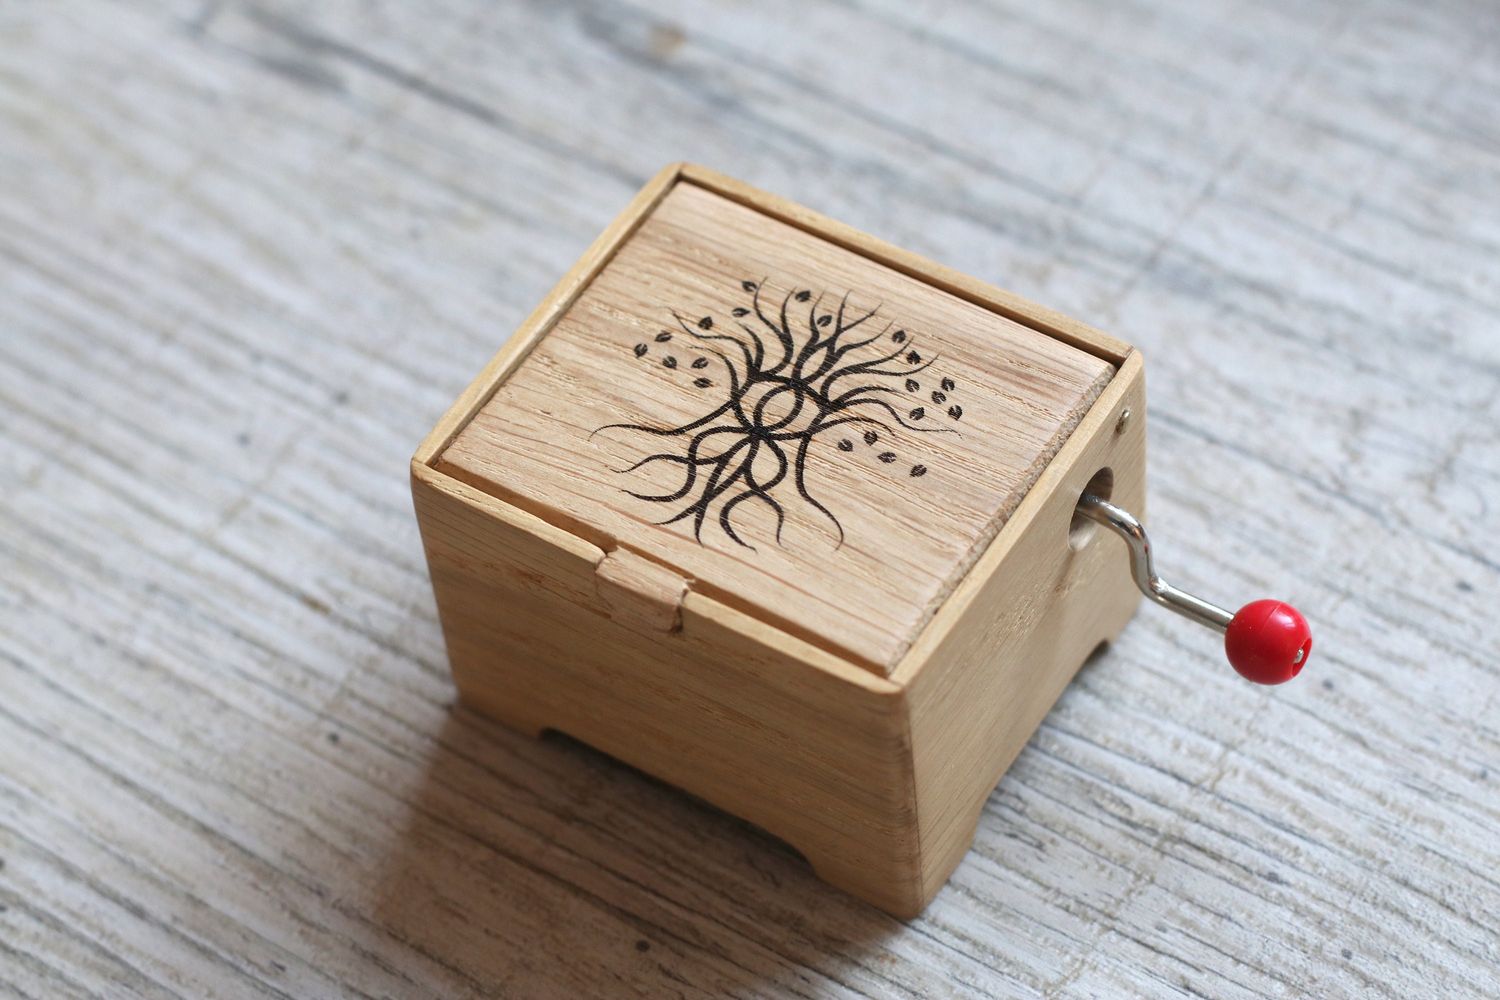
Step 8: Add Decorative Elements
Now that your music box is taking shape, it’s time to add those special decorative elements that will make it truly standout. These elements will not only add visual appeal but also reflect your personal style and creativity. Here’s how you can add decorative elements to your music box:
1. Choose your decorative elements: Consider the theme or style you want to achieve with your music box. This could include paint, varnish, knobs, beads, or other embellishments. Select materials that complement the overall design and create the desired aesthetic.
2. Paint or stain: If you want to add color to your music box, paint or stain the wood surfaces. Choose colors that resonate with your style and match the intended theme. Use a brush or foam brush to apply the paint or stain evenly. Allow it to dry completely before moving on to the next step.
3. Varnish or seal the wood: If you want to highlight the natural beauty of the wood, apply a coat of varnish or sealant. This will protect the wood and enhance its grain and color. Follow the manufacturer’s instructions for application and drying times.
4. Add decorative knobs or handles: Consider adding decorative knobs or handles to the music box cover. These can be functional or purely decorative, adding a touch of elegance and charm. Choose knobs or handles that complement the overall design and ensure they are securely attached.
5. Incorporate beads or other embellishments: If you want to add intricate details or a touch of whimsy, consider incorporating beads, ribbons, or other small embellishments. These can be glued or attached strategically to enhance the visual appeal of the music box.
6. Personalize with engraving or carving: For a truly unique touch, consider engraving or carving designs or patterns into the wood surfaces of the music box. This can include initials, names, or meaningful symbols that hold significance to you or the intended recipient.
Remember to strike a balance between adding decorative elements and maintaining the functionality and integrity of the music box. Let your creativity flow and allow these decorative elements to bring your music box to life. With the addition of these personalized touches, your music box will be transformed into a work of art.
Step 9: Test and Fine-tune the Music Box
Now that you have assembled and decorated your music box, it’s time to test its functionality and fine-tune any elements that may affect its performance. This step ensures that your music box produces beautiful melodies and operates smoothly. Here’s how you can test and fine-tune your music box:
1. Test the music mechanism: Wind up the music mechanism or activate it in the prescribed manner to ensure it plays the desired tune. Listen carefully to the sound quality and volume. Pay attention to any skipping or unusually slow or fast playback, as this may indicate a need for adjustment.
2. Adjust the music mechanism position: If the sound quality or volume is not satisfactory, consider adjusting the positioning of the music mechanism holder. This can be done by loosening the screws and repositioning it slightly to improve the sound resonance. Test the sound again after each adjustment until you achieve the desired result.
3. Fine-tune the opening slots: If necessary, fine-tune the size and shape of any openings or slots on the music box cover. This can affect the resonance and projection of the sound. Make small adjustments by gradually enlarging or reshaping the openings until you are satisfied with the sound quality.
4. Add additional padding or insulation: If the sound is still not optimal, consider adding small pieces of felt or foam insulation inside the music box to dampen any unwanted vibrations or buzzing. Experiment with different placements and layers to achieve the best sound.
5. Fine-tune the closing and opening mechanism: Ensure that the music box cover opens and closes smoothly without any obstruction or resistance. If necessary, adjust or lubricate the hinges or clasps to ensure a seamless operation.
6. Overall evaluation: Step back and evaluate the overall functionality, appearance, and sound of your music box. Make any final adjustments or refinements to improve its performance and visual appeal.
Remember to take your time during this step and be patient with the fine-tuning process. Every small adjustment can make a significant difference in the final outcome of your music box. Once you are satisfied with the results, congratulations! You have successfully created a beautiful, personalized music box that will bring joy and enchantment to your life or make a thoughtful gift for someone special.
Conclusion
Crafting your own music box with wood is a rewarding and creative endeavor that allows you to create a unique and personalized piece of art. By following the step-by-step process outlined in this guide, you have learned how to choose the right wood, measure and cut the pieces, sand and assemble them, and add decorative elements to bring your music box to life. Along the way, you have honed your woodworking skills and allowed your creativity to flourish.
From the choice of wood to the precise positioning of the music mechanism, every detail of your music box has been carefully considered and executed. The result is a beautifully crafted music box that not only plays enchanting melodies but also serves as a captivating centerpiece or a cherished gift.
Remember, as you embark on your journey of creating a music box, don’t be afraid to infuse your own personal touch and imagination into the design. Whether it’s through unique decorative elements, custom carvings, or personalized engravings, let your creativity shine and make your music box truly one-of-a-kind.
Now, it’s time to enjoy the melodic tunes and admire the beauty of your handcrafted creation. Whether displayed on a shelf, gifted to a loved one, or treasured as a family heirloom, your music box will undoubtedly bring joy and a sense of wonder to those who experience its magic.
So, pick up your tools, unleash your creativity, and let the soothing melodies of your handmade music box fill the air. Happy crafting!