Home>Production & Technology>Audiophile>Audiophile Locking RCA Connector How To Install
Audiophile
Audiophile Locking RCA Connector How To Install
Modified: January 22, 2024
Learn how to properly install and secure audiophile locking RCA connectors for superior audio performance.
(Many of the links in this article redirect to a specific reviewed product. Your purchase of these products through affiliate links helps to generate commission for AudioLover.com, at no extra cost. Learn more)
Table of Contents
Introduction
Welcome to the world of audiophiles, where music is not just a form of entertainment but a transcendent experience of sound quality and clarity. Audiophiles are passionate about achieving the best possible audio reproduction, and one crucial component that can make all the difference is the RCA connector.
In this comprehensive guide, we will delve into the audiophile locking RCA connector and explore how to install it to enhance your audio system’s performance. Whether you’re a beginner or an experienced audiophile, this article will equip you with the knowledge and skills to maximize the potential of your audio setup.
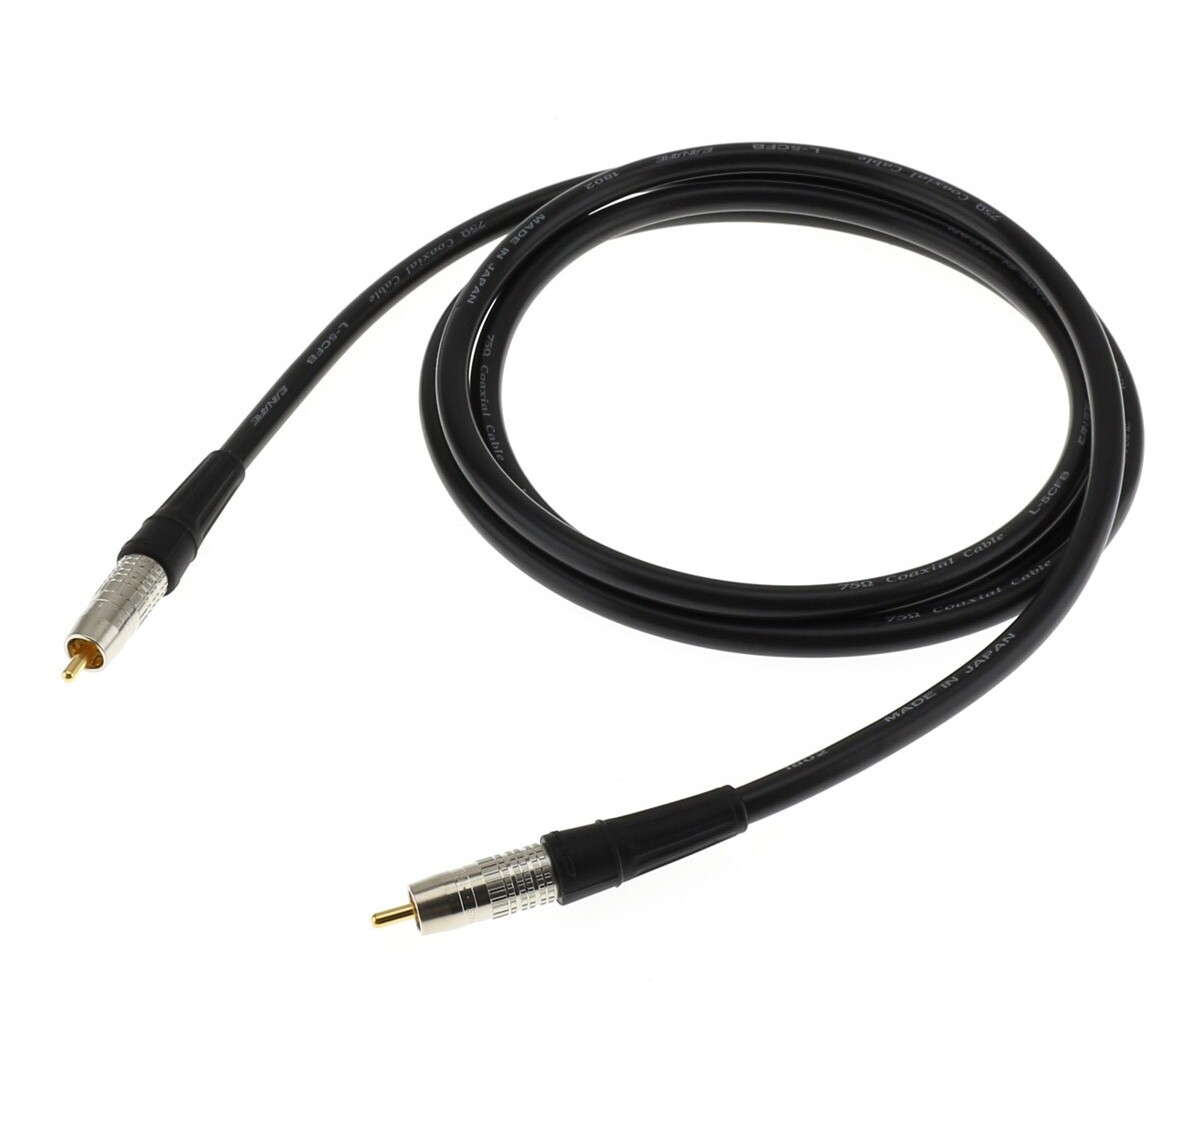
The locking RCA connector is designed to provide a secure and reliable connection between your audio components, ensuring minimal signal loss and interference. Unlike traditional RCA connectors, which utilize a friction fit mechanism, locking RCA connectors feature a durable locking mechanism that keeps the connection intact, even when subjected to vibrations and movements.
By implementing locking RCA connectors, you can enjoy a stable and consistent audio signal, resulting in improved sound quality and a more immersive listening experience. These connectors are commonly used in high-end audio systems, including professional studios, home theater setups, and high-fidelity audio setups.
Now that we understand the importance of the audiophile locking RCA connector, let’s delve into the tools and materials you will need to install it effectively.
Understanding the Audiophile Locking RCA Connector
Before diving into the installation process, it’s essential to have a clear understanding of the audiophile locking RCA connector and its key features. This connector is specifically designed to overcome the limitations of traditional RCA connectors and provide a more robust and secure connection for your audio system.
One of the standout features of the audiophile locking RCA connector is its locking mechanism. Unlike regular RCA connectors that rely solely on friction to stay connected, locking RCA connectors incorporate a threaded design that ensures a firm and secure connection between your audio components.
Along with the threaded mechanism, these connectors often feature high-quality materials such as gold-plated connectors, copper conductors, and a sturdy outer shell. These premium materials minimize signal loss and interference, resulting in improved sound quality and clarity.
Another key aspect of the audiophile locking RCA connector is its compatibility. These connectors are designed to fit standard RCA ports found on most audio devices, including amplifiers, preamplifiers, CD players, turntables, and speakers.
Additionally, some locking RCA connectors may also offer various features like 360-degree rotation, which allows for easy installation in tight spaces, and color coding options to differentiate between different audio channels.
When it comes to price, it’s worth noting that audiophile locking RCA connectors generally fall in the higher price range compared to standard RCA connectors. However, the investment is justified by the improved audio performance and the long-term reliability these connectors provide.
Now that we have a good understanding of the audiophile locking RCA connector, let’s move on to the tools and materials you will need to install it successfully.
Tools and Materials Needed
Before you can install the audiophile locking RCA connector, there are a few essential tools and materials you will need. Ensuring you have everything prepared beforehand will make the installation process smoother and more efficient.
Here’s a list of the tools and materials you will need:
- Audiophile locking RCA connector: Purchase a high-quality locking RCA connector that suits your audio system’s requirements. Look for connectors with features like gold-plated connectors and sturdy construction for optimal performance.
- Wire cutters/strippers: These tools will be necessary to remove the outer insulation from the audio cables and expose the inner wires.
- Soldering iron and solder: If your audiophile locking RCA connector requires soldering, make sure you have a soldering iron and the necessary soldering materials on hand.
- Heat shrink tubing: Heat shrink tubing helps to provide additional protection and insulation for the soldered connections. It is available in various sizes, so make sure you have the appropriate size for your cable connections.
- Heat gun or lighter: A heat gun or lighter is needed to shrink the heat shrink tubing and secure the connections.
- Electrical tape: Electrical tape can be used as an alternative to heat shrink tubing, providing insulation and protection for the connections.
- Wire strippers: Wire strippers are useful for stripping the insulation from the individual wires within the audio cables.
- Small screwdriver: Some locking RCA connectors may require you to unscrew or tighten certain components, so having a small screwdriver handy is essential.
It’s important to ensure that you have all the necessary tools and materials before starting the installation process. This will save you time and frustration during the installation and ensure a successful and professional-looking result.
With the tools and materials ready, let’s move on to the step-by-step guide to installing the audiophile locking RCA connector.
Step-by-Step Guide to Installing the Audiophile Locking RCA Connector
Now that you have all the necessary tools and materials, it’s time to install the audiophile locking RCA connector. Follow these step-by-step instructions to ensure a successful installation:
- Start by preparing the audio cables. Use the wire strippers to remove a small section of the outer insulation, exposing the individual wires inside.
- If your locking RCA connector requires soldering, tin the exposed wires by applying a small amount of solder to each wire. This will make it easier to create a secure connection.
- Slide the heat shrink tubing over the audio cable, ensuring it is positioned to cover the soldered connections later in the process.
- Insert the exposed wires into the corresponding terminals of the locking RCA connector. Make sure to follow the proper color coding if applicable.
- If your locking RCA connector requires soldering, use the soldering iron to heat the connection between the wire and the terminal on the connector. Apply solder to create a secure and reliable connection.
- Slide the heat shrink tubing over the soldered connections and use a heat gun or lighter to shrink the tubing, providing insulation and protection to the connections.
- Ensure that the locking mechanism on the RCA connector is in the unlocked position. This will make it easier to insert the connector into the corresponding RCA ports.
- Insert the locking RCA connector firmly into the corresponding RCA port on your audio component. Gently twist the connector clockwise to engage the locking mechanism and secure the connection.
- Repeat the above steps for each RCA connection you need to make, ensuring a proper and secure installation for each.
- Once all the locking RCA connectors are installed, test the audio system to ensure that the connections are working correctly and producing the desired sound quality.
Following these steps will allow you to successfully install the audiophile locking RCA connector and enjoy enhanced audio performance in your system.
Now that the installation is complete, it’s important to test the connection to ensure everything is working as expected. Let’s explore how to test the connection in the next section.
Testing the Connection
After installing the audiophile locking RCA connector, it’s crucial to test the connection to ensure that it is functioning properly and delivering the desired audio quality. Testing the connection will allow you to identify any potential issues and make any necessary adjustments for optimal performance.
Here are some steps to follow when testing the connection:
- Start by playing audio through your audio system, whether it’s from a CD player, turntable, or any other audio source.
- Listen for any distortions, crackling noises, or dropouts in the sound. These issues could indicate a poor connection or inadequate signal flow.
- Check if the audio is coming through both channels of your stereo system. Sometimes, an improperly connected or faulty RCA connector can lead to audio only playing in one channel.
- Verify that the audio is clear and balanced across the frequency spectrum. Uneven sound or excessive bass, treble, or midrange can indicate an issue with the connection.
- If you notice any issues during the testing phase, try adjusting the connection by gently twisting and reseating the locking RCA connector. This can sometimes resolve any minor connection problems.
- If the issues persist, it may be worth checking the soldered connections or ensuring that the wiring is properly secured within the RCA connector.
- Consider using a different audio cable or RCA connector to see if the issue lies with a faulty component. This can help isolate the problem and identify the source of the audio issues.
By following these steps and testing the connection thoroughly, you can ensure that your audiophile locking RCA connector is functioning correctly and delivering the desired audio quality.
Next, let’s explore some additional tips and precautions to keep in mind during the installation process.
Tips and Precautions for Installation
When installing the audiophile locking RCA connector, it is important to keep a few tips and precautions in mind to ensure a successful and hassle-free installation. Following these guidelines will help you achieve the best possible audio performance and avoid any potential issues.
Here are some tips and precautions to consider:
- Read the manufacturer’s instructions: Before starting the installation, carefully read the instructions provided by the manufacturer. This will ensure that you follow the recommended installation process and don’t miss any important steps.
- Double-check cable compatibility: Make sure that the audiophile locking RCA connectors and the audio cables you are using are compatible. Verify that the connectors are designed for the type and size of the cables you are working with.
- Ensure proper cable length: When choosing audio cables, ensure that they are of appropriate length for your setup. Excessive cable length can lead to signal degradation, while cables that are too short may create tension and strain on the connections.
- Take your time with soldering: If your locking RCA connectors require soldering, take your time and ensure that the connections are secure and properly soldered. Cold or weak solder joints can negatively impact the audio performance.
- Avoid over-tightening: When connecting the locking RCA connectors, be careful not to over-tighten them. Excessive force can damage the connectors or your audio components.
- Secure the connections: After completing the installation, double-check that the connections are secure and free from any loose wires or components. This will prevent any accidental disconnections or interruptions in the audio signal.
- Keep cables organized: Use cable management techniques, such as cable ties or cable sleeves, to keep your audio cables neat and organized. This will make future maintenance or adjustments easier and prevent tangling or damage to the cables.
- Regularly inspect and maintain connections: Periodically check the locking RCA connectors and the associated cables for any signs of wear or damage. Clean the connectors and ensure that they are functioning optimally to maintain the best audio performance.
By following these tips and precautions, you can ensure a smooth installation process and enjoy the enhanced audio performance provided by the audiophile locking RCA connectors.
Now let’s conclude our guide on installing the audiophile locking RCA connector.
Conclusion
Installing the audiophile locking RCA connector is a worthwhile endeavor for any audio enthusiast looking to optimize their audio system’s performance. By following the step-by-step guide and utilizing the necessary tools and materials, you can achieve a secure and reliable connection that minimizes signal loss and interference.
Understanding the audiophile locking RCA connector’s features and benefits is key to making an informed decision and selecting the right connector for your needs. The locking mechanism, high-quality materials, and compatibility with standard RCA ports are all factors that contribute to enhanced audio quality and a more immersive listening experience.
Testing the connection after installation ensures that everything is functioning as expected, and any issues can be addressed promptly. Taking additional precautions, such as reading manufacturer instructions, double-checking cable compatibility, and maintaining the connections, will help you achieve long-term satisfaction with your audio system.
Remember to indulge your passion for music and appreciate the transformation that the audiophile locking RCA connector can bring to your listening experience. Whether you’re a professional in a recording studio or an avid music lover in a home theater setup, the installation of the locking RCA connector can take your audio to new heights.
So go ahead, dive into the world of superior sound quality, and enjoy the heightened audio performance that the audiophile locking RCA connector brings to your beloved audio system.