Home>Devices & Equipment>Subwoofer>How To Hook Up Subwoofer
Subwoofer
How To Hook Up Subwoofer
Published: January 22, 2024
Learn how to properly hook up a subwoofer to your audio system and enhance your audio experience with our step-by-step guide.
(Many of the links in this article redirect to a specific reviewed product. Your purchase of these products through affiliate links helps to generate commission for AudioLover.com, at no extra cost. Learn more)
Table of Contents
Introduction
Welcome to the world of deep bass and immersive audio experiences! If you’re a fan of music, movies, or gaming, then a subwoofer is a must-have addition to your audio setup. A subwoofer is a specialized speaker designed to reproduce low-frequency sounds, giving your audio a richer, fuller, and more impactful punch.
Hooking up a subwoofer may seem like a daunting task, especially if you’re not familiar with audio equipment. But fear not, because in this article, I’ll walk you through the step-by-step process of connecting a subwoofer and optimizing it for the best performance.
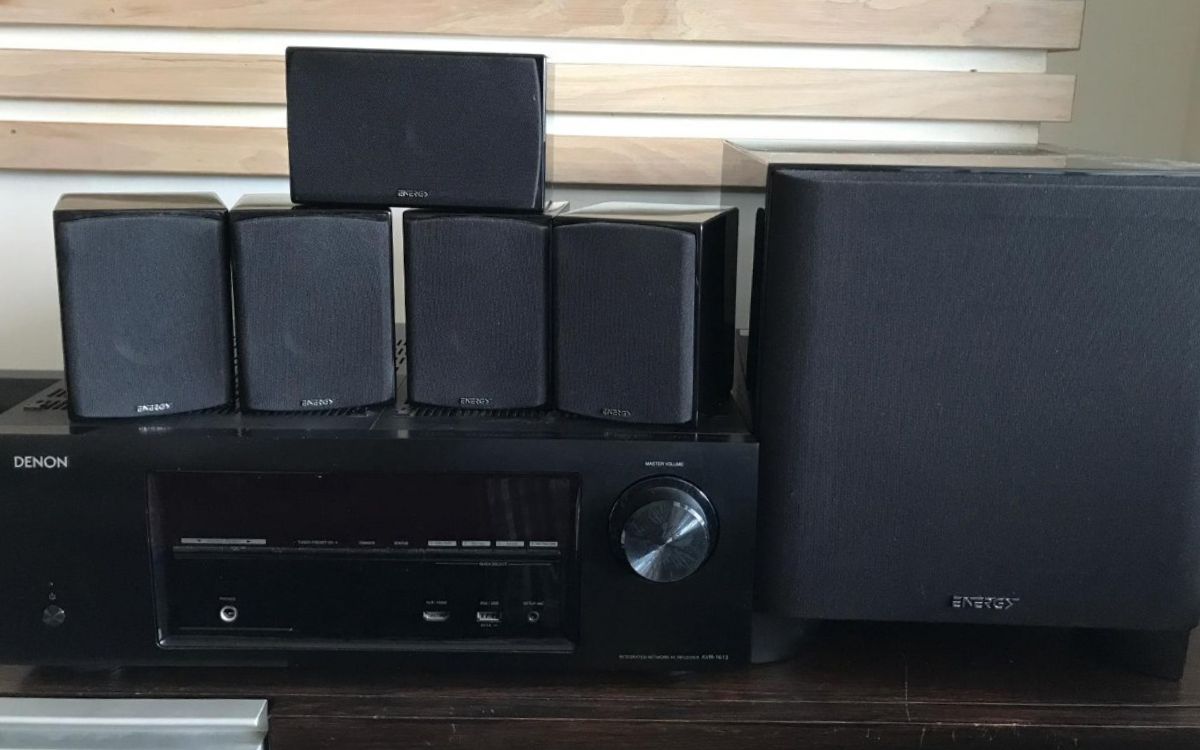
Before we dive into the nitty-gritty details, let’s quickly go over the equipment you’ll need. First and foremost, you’ll need a subwoofer itself. There are various types and sizes available, so make sure to choose one that suits your audio preferences and room size. Additionally, you’ll need an RCA cable to connect the subwoofer to your audio source, and a power cable to provide electricity.
Once you’ve gathered your equipment, the next step is to determine the optimal placement for your subwoofer. Placement plays a crucial role in achieving the desired audio performance, so we’ll cover some tips and considerations to help you find the perfect spot.
Now, let’s get ready to dive into the world of thumping bass and rumbling lows as we embark on this journey to connect and optimize your subwoofer. Whether you’re a seasoned audio enthusiast or just starting to explore the wonders of sound, this guide will provide you with the knowledge and confidence to set up your subwoofer like a pro.
Step 1: Gather Necessary Equipment
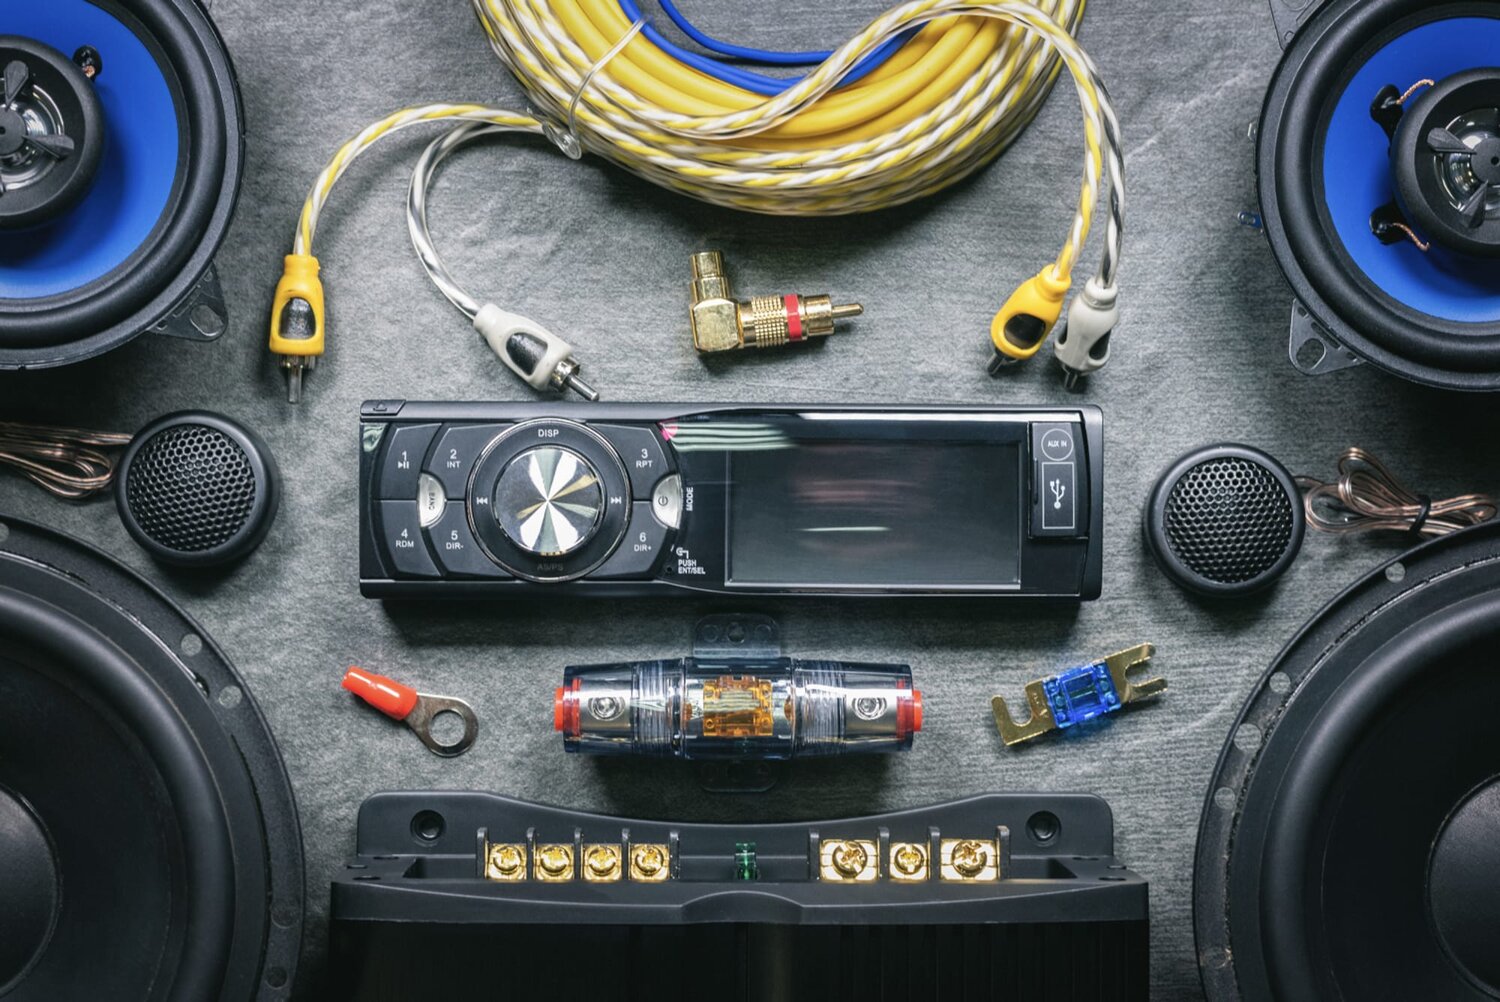
Before you begin the process of connecting your subwoofer, make sure you have all the necessary equipment at hand. Here’s a checklist of what you’ll need:
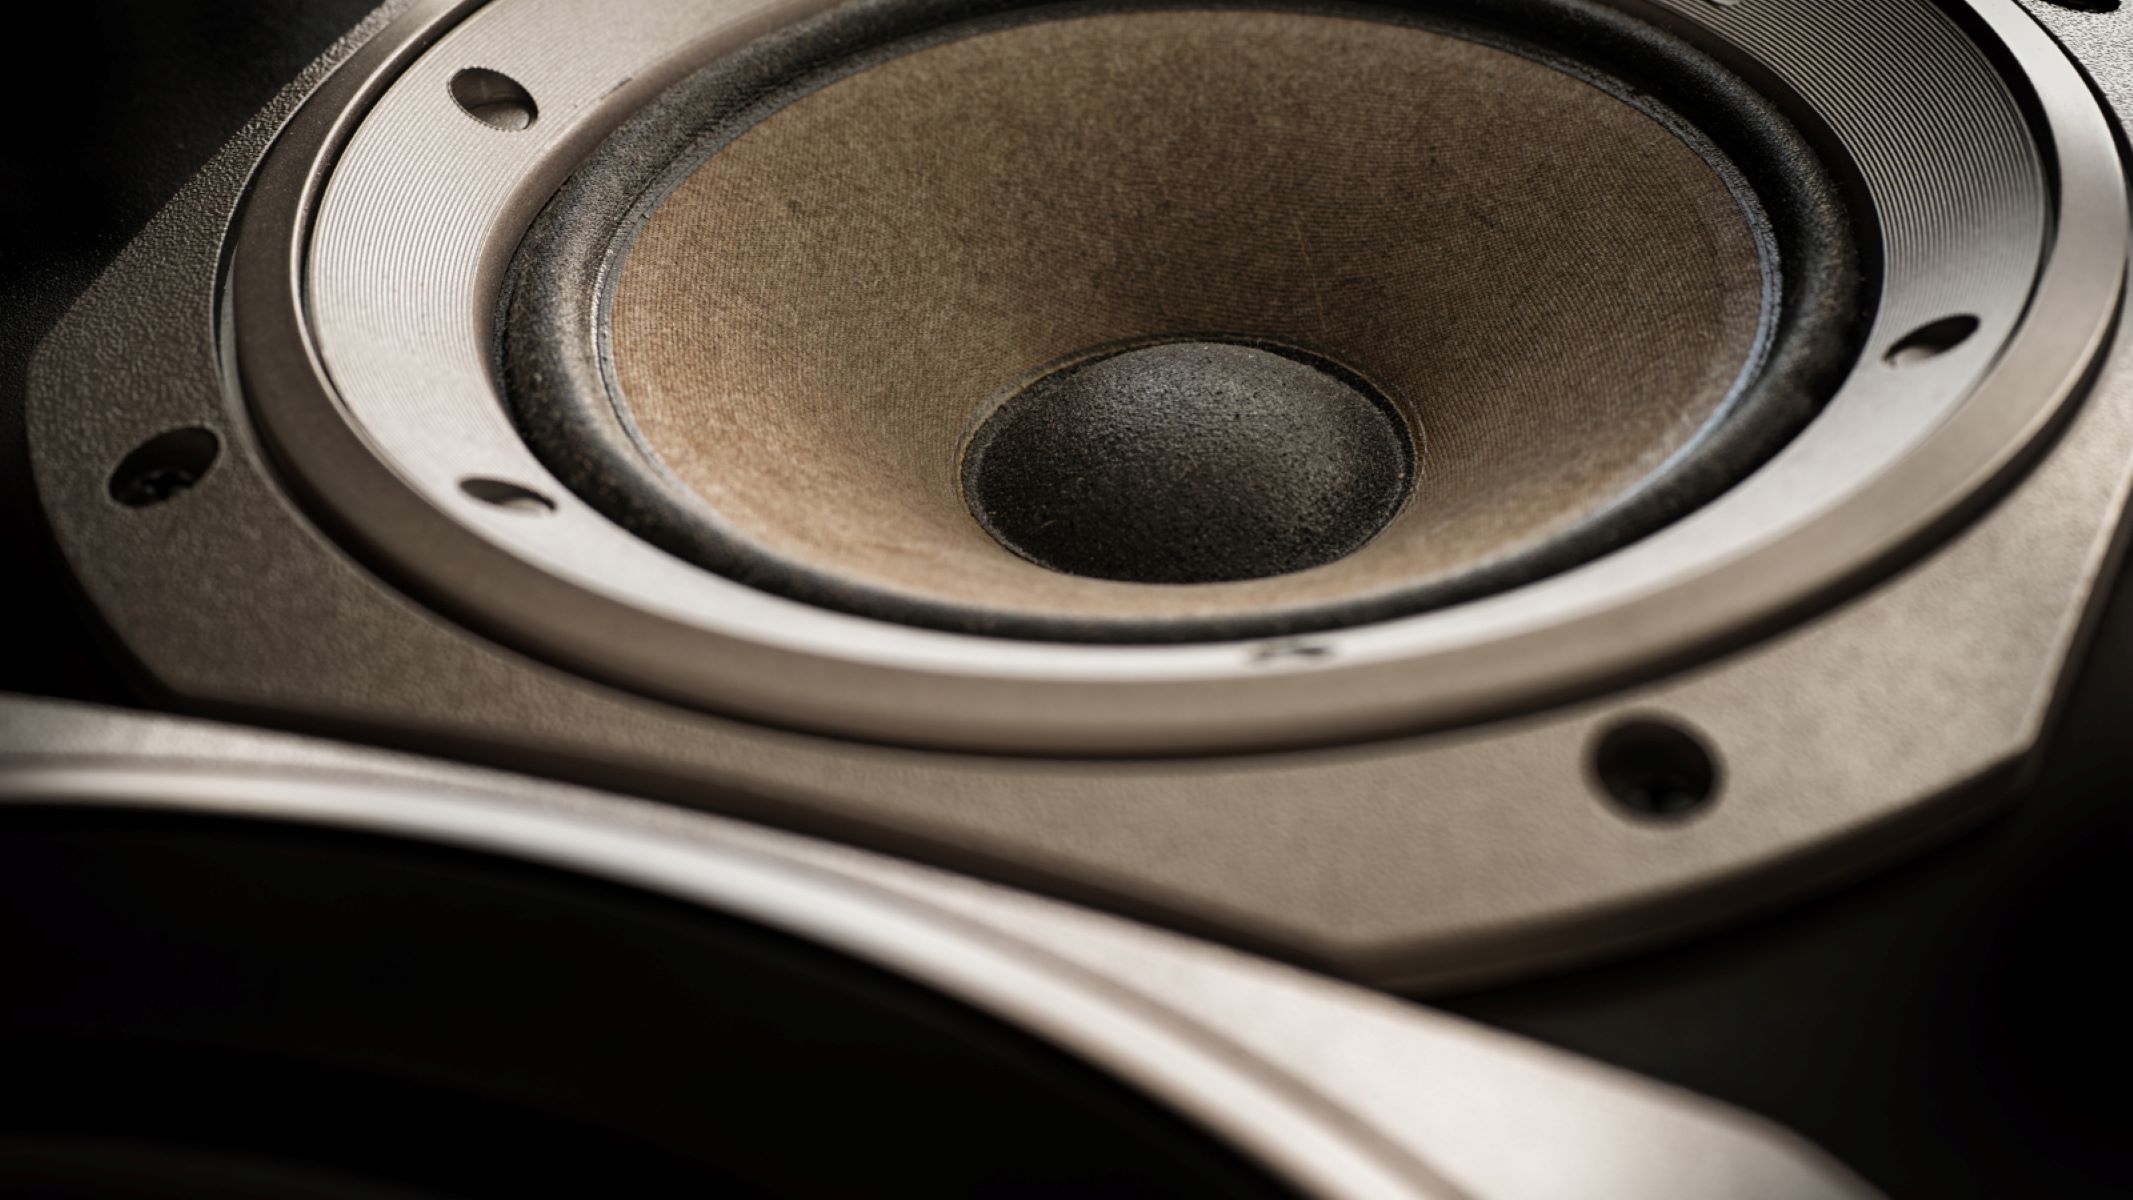
- Subwoofer: Choose a subwoofer that suits your audio needs and room size. Consider factors such as power output, frequency range, and enclosure type.
- RCA Cable: This is the cable that will connect your subwoofer to your audio source. Ensure that it has the appropriate connectors for both ends.
- Power Cable: The subwoofer needs to be powered, so make sure you have a power cable that fits the power input of your subwoofer.
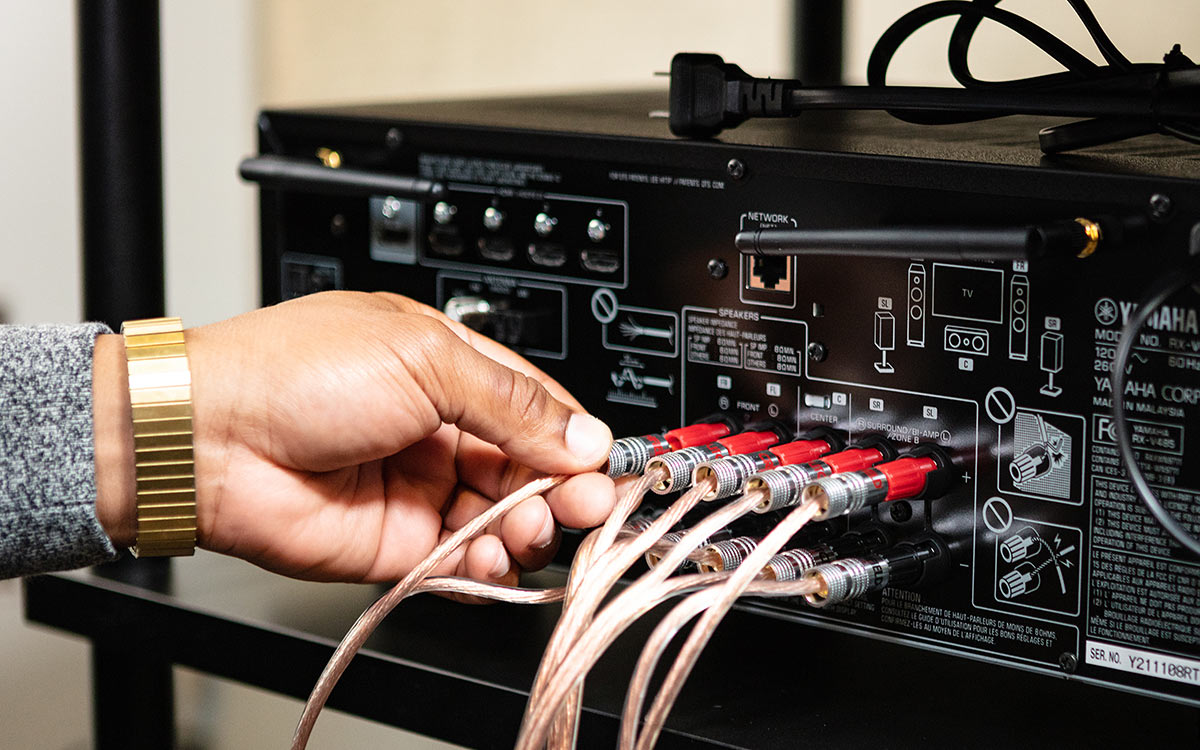
- Audio Source: This can be your receiver, amplifier, or even a soundbar. Make sure your audio source has a subwoofer output or a dedicated preamp output.
Once you have gathered all the necessary equipment, double-check that everything is in good working condition.
Take a moment to inspect the subwoofer for any physical damage and ensure that all the necessary cables are in good condition. It’s important to have high-quality cables to ensure optimal audio performance and minimize any signal loss.
Now that you have everything you need, let’s move on to the next step: determining the optimal placement for your subwoofer.
Step 2: Determine Subwoofer Placement
Proper subwoofer placement is crucial for achieving optimal audio performance and bass response. Here are some factors to consider when determining the placement of your subwoofer:
- Room size and layout: The size and layout of your room play a significant role in subwoofer placement. Larger rooms may require multiple subwoofers for even bass distribution, while smaller rooms may benefit from corner placement for enhanced bass impact.
- Listening position: Consider the location of your primary listening position. The subwoofer should ideally be placed near this position to create an immersive audio experience.
- Speaker configuration: Take into account the number and placement of your main speakers. Placing the subwoofer in close proximity to the main speakers can help improve the integration of the low-frequency sound with the rest of the audio.
- Room acoustics: The acoustic properties of your room can have a significant impact on the bass response. Experiment with different subwoofer placements to find the spot that minimizes unwanted resonances or bass nulls.
- Boundary reinforcement: Placing the subwoofer near a wall or corner can provide boundary reinforcement, which enhances bass output. However, be cautious of excessive bass buildup in certain room modes.
While these factors provide a starting point, it’s important to note that room acoustics vary, and personal preference also comes into play. It may require some trial and error to find the perfect placement that suits your taste and room characteristics.
Once you have determined the general area for subwoofer placement, position it at ear level or slightly above to maintain sonic coherence. Avoid placing the subwoofer on the floor or too high up, as it can negatively impact sound quality.
Remember to leave some space around the subwoofer for ventilation to prevent overheating. Keep in mind any aesthetic considerations as well, ensuring that the subwoofer placement doesn’t disrupt the overall look and feel of your room.
With the ideal placement in mind, it’s time to move on to the next step: connecting the RCA cable.
Step 3: Connect the RCA Cable
Now that you have determined the optimal placement for your subwoofer, it’s time to connect it to your audio source using the RCA cable. Follow these steps to ensure a proper connection:
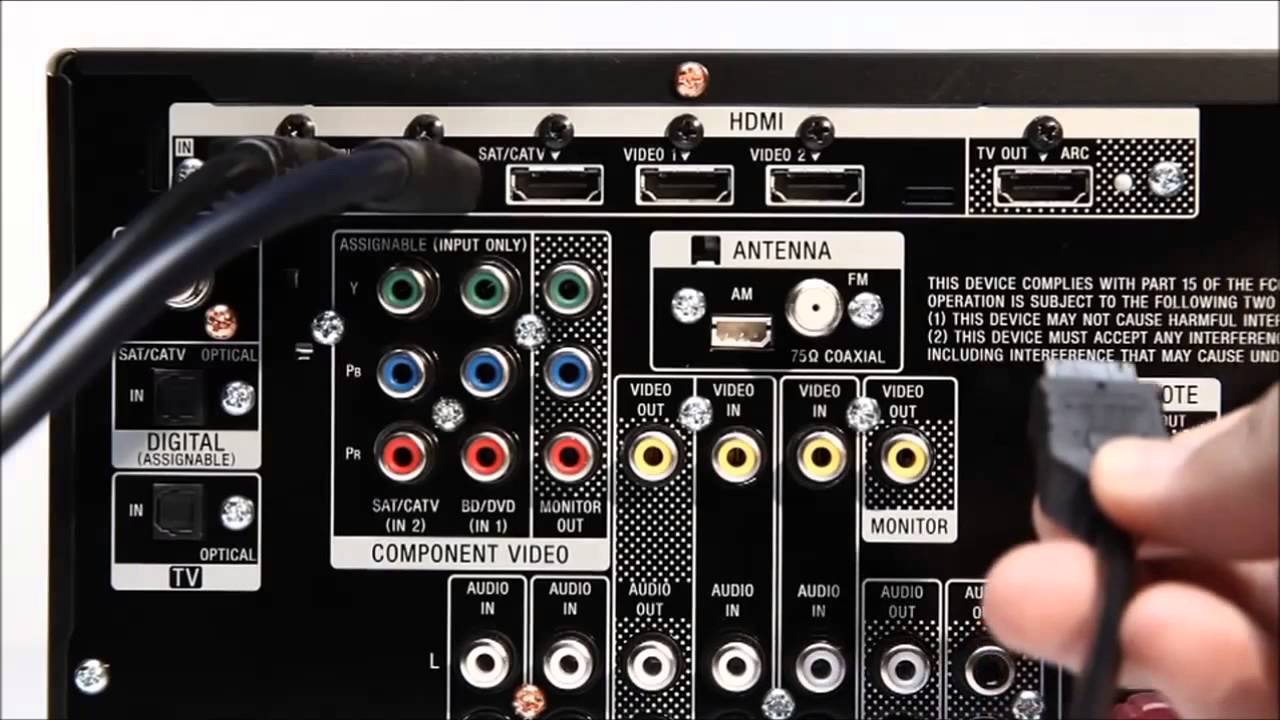
- Locate the subwoofer output: Check your audio source for a dedicated subwoofer output or a preamp output. It is usually labeled as “Subwoofer,” “LFE,” or “Pre-out.”
- Connect one end of the RCA cable: Take one end of the RCA cable and plug it into the subwoofer output on your audio source.
- Connect the other end of the RCA cable: Take the other end of the RCA cable and plug it into the corresponding input on the back of your subwoofer. It is typically labeled as “LFE” or “Sub In.”
- Ensure a secure connection: Make sure the RCA cable plugs are securely inserted into their respective ports. A loose connection can result in audio distortions or no sound at all.
Once the RCA cable is securely connected, you have established the audio connection between your audio source and the subwoofer. However, there is still one crucial step remaining: powering up the subwoofer.
Let’s move on to the next step: connecting the power cable.
Step 4: Connect the Power Cable
Now that you have successfully connected the RCA cable between your audio source and subwoofer, it’s time to provide power to the subwoofer. Follow these steps to connect the power cable:
- Locate the power input: Look for the power input on the back of your subwoofer. It is typically labeled as “Power,” “AC In,” or similar.
- Plug in the power cable: Take the power cable and insert it into the power input of the subwoofer.
- Connect the other end of the power cable: Plug the opposite end of the power cable into a power outlet or surge protector. Ensure that the outlet is properly grounded to avoid any electrical issues.
- Verify power connection: Make sure the power cable is securely connected on both ends and there are no loose connections.
Once the power cable is connected, you can now power on your subwoofer. Check if there is a power switch or button on the subwoofer itself and turn it on. You may also need to power on your audio source, such as a receiver or amplifier, if it has a separate power control.
With the subwoofer powered on, you have successfully established the audio and power connections. Now it’s time to adjust the subwoofer settings to ensure optimal performance.
Let’s move on to the next step: adjusting the subwoofer settings.
Step 5: Adjust Subwoofer Settings
Now that your subwoofer is connected and powered on, it’s time to fine-tune the settings to optimize its performance and integrate it with your existing audio system. Follow these steps to adjust the subwoofer settings:
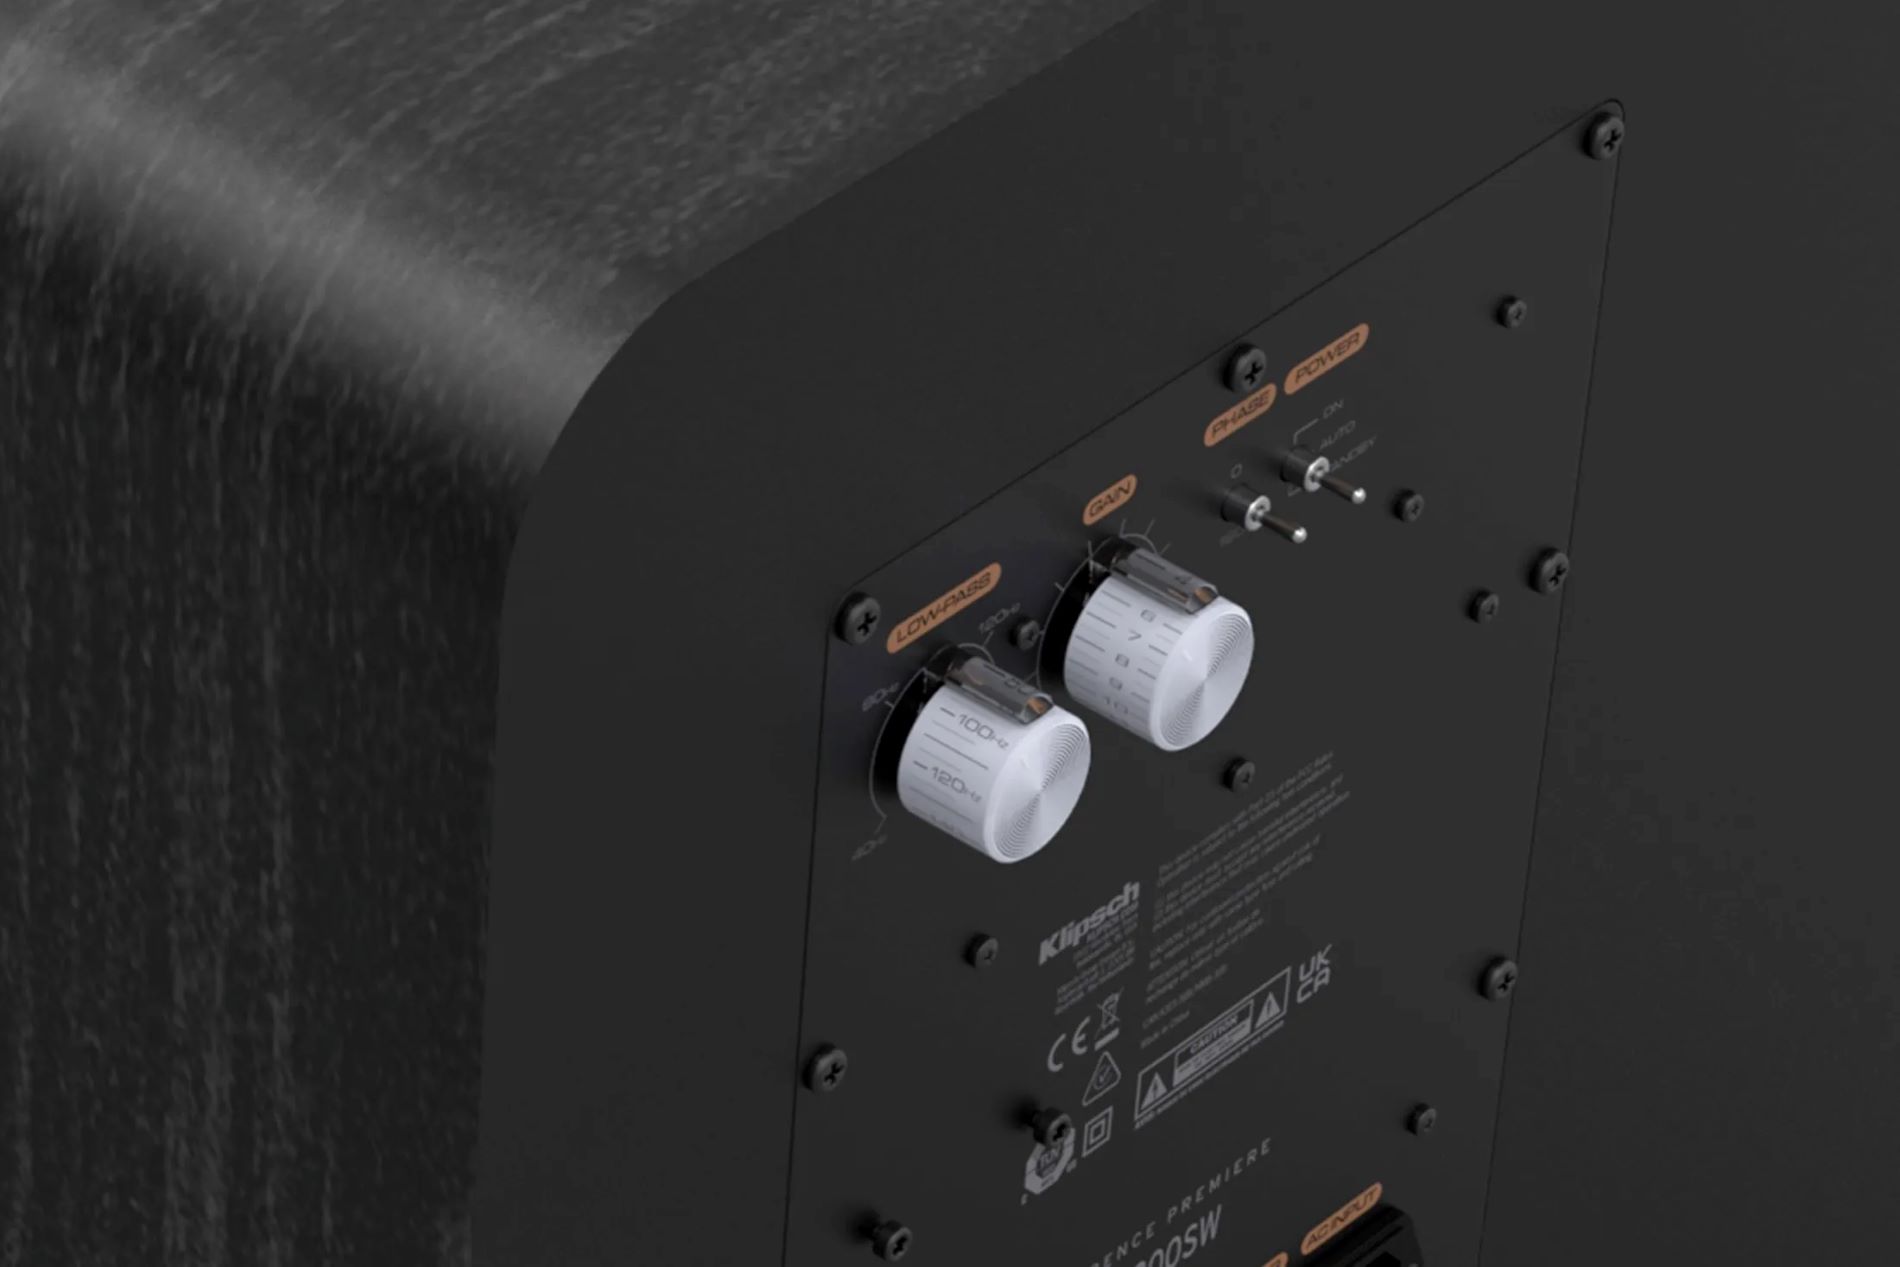
- Access the subwoofer controls: Locate the control panel on your subwoofer. It may be on the back, side, or front, depending on the model.
- Adjust the volume: Start by adjusting the subwoofer volume or level control. This control determines the volume of the bass output from the subwoofer. Begin by setting it to around 50% and make adjustments as needed later.
- Adjust the crossover frequency: The crossover frequency determines at what point the subwoofer takes over the reproduction of low-frequency sounds. Set the crossover frequency to a level that complements your main speakers and avoids overlap or gaps in sound reproduction.
- Experiment with phase control: The phase control helps align the timing of the subwoofer with the main speakers. Switch between 0 and 180 degrees to find the setting that results in the tightest and most seamless integration with your audio system.
- Consider additional settings: Depending on your subwoofer model, you may have additional settings such as equalization options, low-pass filters, or bass boost. Experiment with these settings to achieve the desired audio characteristics.
It’s important to note that every room and audio setup is unique, so take the time to experiment with different settings to find the balance that suits your preferences and listening environment. Trust your ears and make adjustments based on your personal taste and the characteristics of your room.
Once you have adjusted the subwoofer settings, it’s time to put it to the test and ensure everything is working as expected.
Let’s move on to the next step: testing the subwoofer.
Step 6: Test the Subwoofer
With the subwoofer connected and the settings adjusted, it’s time to test its performance and ensure that it is working as expected. Follow these steps to test your subwoofer:
- Play content with bass: Choose a piece of audio or video content that has a significant amount of low-frequency sounds, such as a bass-heavy music track or a movie scene with explosions.
- Listen for balanced sound: Pay close attention to the sound coming from your subwoofer and the main speakers. The bass should be well-integrated with the rest of the audio, enhancing the overall audio experience without overpowering or distorting other frequencies.
- Make adjustments if necessary: If you feel that the bass is too weak or overpowering, go back to the subwoofer settings and make adjustments to the volume, crossover frequency, or phase control accordingly. Repeat the process until you achieve a balanced and immersive soundstage.
- Test different content: Try playing different types of audio content, including music genres and movie genres, to ensure that the subwoofer performs well across different sound scenarios. This will help you fine-tune the settings further if necessary.
During the testing process, make sure to listen at various volume levels to ensure that the subwoofer delivers consistent performance and doesn’t distort or lose clarity at higher volumes.
If you encounter any issues or are unsatisfied with the subwoofer’s performance, double-check all the connections, settings, and placement to identify and resolve the problem. Don’t hesitate to consult the user manual or reach out to the manufacturer for further assistance.
Once you are satisfied with the subwoofer’s performance and it seamlessly integrates into your audio system, it’s time to move on to the final step: fine-tuning the sound to your specific preferences.
Step 7: Fine-tune the Sound
Now that your subwoofer is connected, powered on, and tested, it’s time to fine-tune the sound to your specific preferences. Follow these steps to further improve your audio experience:
- Listen critically: Take the time to listen to different audio content and pay attention to the balance between the subwoofer and the main speakers. Adjust the subwoofer’s volume control to achieve a balanced and immersive soundstage.
- Experiment with placement: If you’re not fully satisfied with the bass response, try adjusting the placement of the subwoofer in the room. Move it slightly to different positions and listen for any improvements or changes in the bass reproduction.
- Make small adjustments to settings: Fine-tune the settings on your subwoofer, such as the crossover frequency or phase control, to achieve the desired sound. Small adjustments can often make a significant difference in the overall audio performance.
- Consider room acoustics: If you’re facing challenges with room acoustics, you may need to explore acoustic treatments like bass traps or room diffusers to minimize unwanted resonances or nulls. These treatments can help improve the overall bass response in your listening space.
- Use room correction software: If your subwoofer or audio system supports it, consider utilizing room correction software. These tools can measure and analyze your room’s acoustics, automatically adjusting the subwoofer’s settings to optimize the sound based on the specific characteristics of your room.
Remember, fine-tuning the sound is a personal preference, and it may require some trial and error to find the perfect balance and achieve the audio experience you desire. Don’t be afraid to experiment and trust your ears as you make adjustments.
Once you are satisfied with the sound and have fine-tuned the subwoofer to your liking, you can sit back, relax, and enjoy a truly immersive audio experience with deep, powerful bass.
Congratulations! You have successfully connected, configured, and optimized your subwoofer. Now you can fully indulge in your favorite music, movies, and games with enhanced audio quality and a more thrilling audio experience.
Enjoy the deep bass and immersive sound that your subwoofer brings to your audio setup!
Conclusion
Congratulations on successfully setting up and optimizing your subwoofer! By following the steps outlined in this guide, you have taken the necessary steps to enhance your audio system and bring deep, impactful bass to your music, movies, and gaming experiences.
Throughout this process, you have learned how to gather the necessary equipment, determine the optimal placement for your subwoofer, connect the RCA and power cables, adjust the subwoofer settings, test its performance, and fine-tune the sound to suit your preferences.
Remember, achieving the perfect sound is an ongoing process. As you continue to explore and enjoy your audio system, don’t hesitate to make further adjustments, experiment with different settings, and explore new ways to optimize your listening experience.
Additionally, it’s important to consider the specific characteristics of your room and acoustics. Room size, layout, and acoustic treatments play a significant role in the overall performance of your subwoofer, so don’t hesitate to explore additional options such as room correction software or acoustic treatments to further enhance your sound quality.
Now, sit back, relax, and enjoy the deep, rumbling bass that your subwoofer brings to your audio setup. Immerse yourself in the rich, full-bodied sound that adds a new dimension to your favorite content.
Thank you for taking the time to read this comprehensive guide. We hope it has provided you with valuable insights and knowledge to make the most of your subwoofer. Happy listening!