Home>Devices & Equipment>Turntable>How Do I Hook Up A Turntable With A Preamp

Turntable
How Do I Hook Up A Turntable With A Preamp
Modified: January 22, 2024
Learn how to easily hook up a turntable with a preamp and enjoy your favorite vinyl records with crystal clear sound. Find step-by-step instructions and tips for optimal performance.
(Many of the links in this article redirect to a specific reviewed product. Your purchase of these products through affiliate links helps to generate commission for AudioLover.com, at no extra cost. Learn more)
Table of Contents
Introduction
Welcome to the world of turntables, where the warm and rich sounds of vinyl records take you on a nostalgic journey. Whether you’re a seasoned audiophile or a newbie to the vinyl scene, hooking up a turntable with a preamp is essential for optimal sound reproduction.
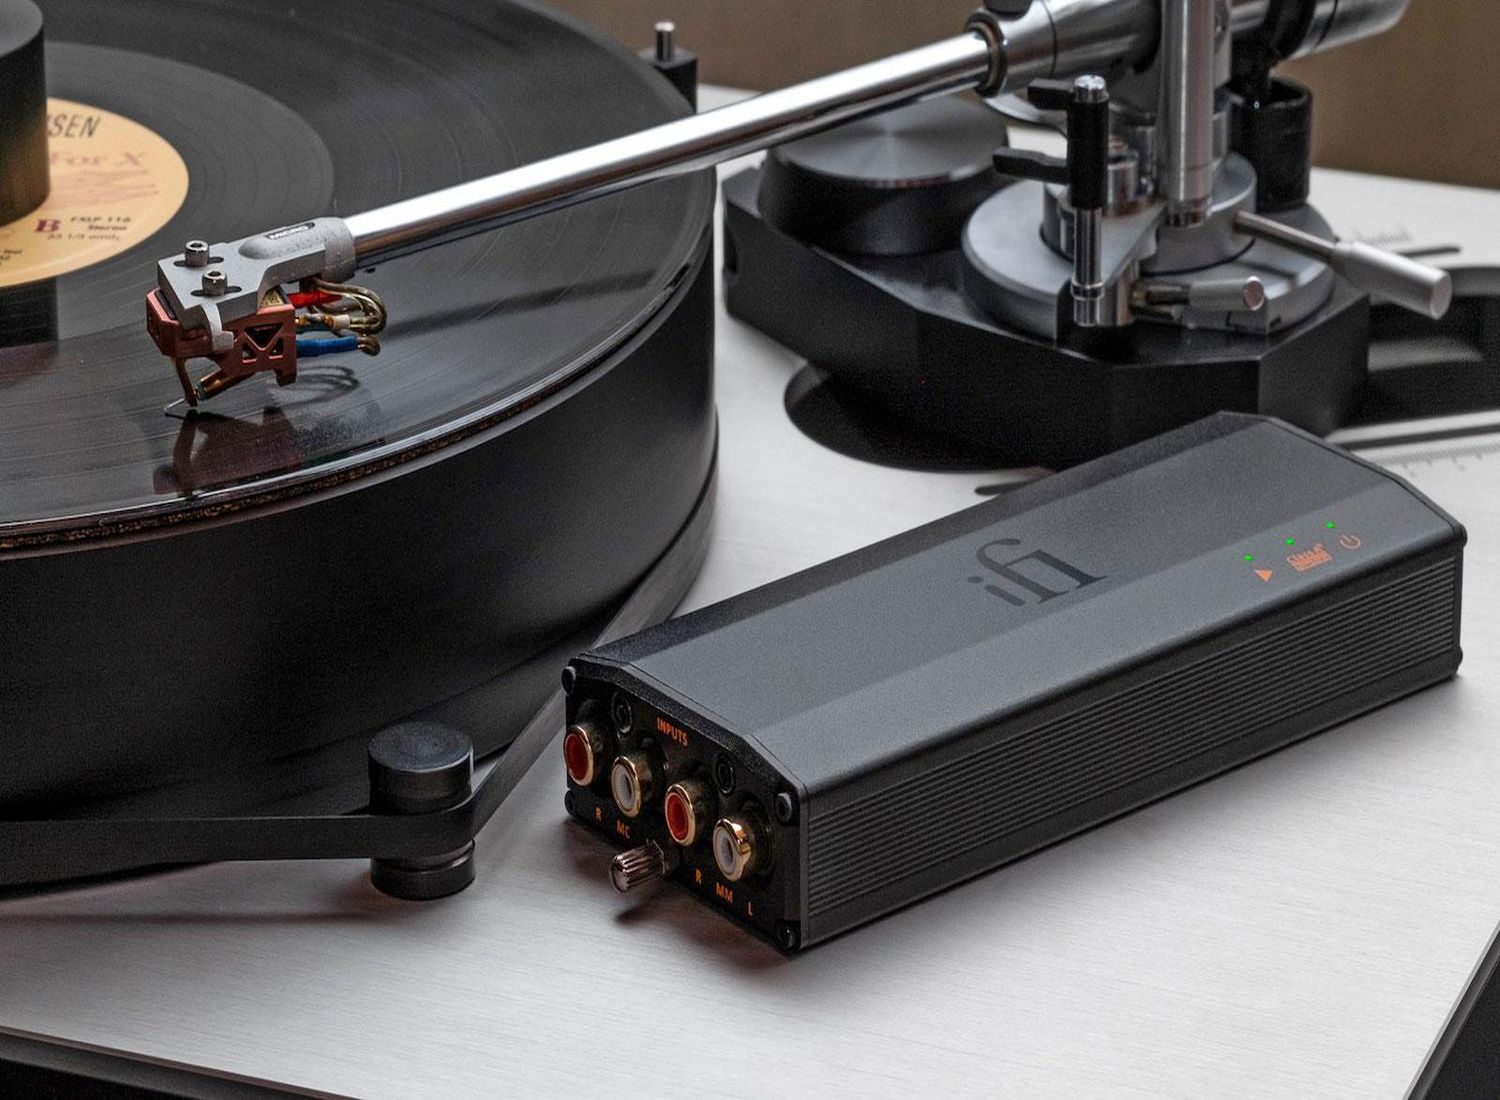
A turntable is a device that plays vinyl records. It consists of a rotating platter, a tonearm, and a cartridge that houses the stylus. However, most modern audio systems are not equipped to directly connect to a turntable. This is where a preamp comes in.
A preamp, short for preamplifier, is a device that amplifies the low-level signal from your turntable’s cartridge to a line-level signal suitable for amplification in your audio system. It also helps to correct the frequency response and equalization of the vinyl record.
Now that we understand the basics, let’s dive into the process of hooking up a turntable with a preamp. Don’t worry if you’re not a tech wizard – we’ll guide you through the steps to ensure a smooth and enjoyable listening experience.
Understanding Turntables and Preamps
Before we get into the nitty-gritty of connecting a turntable with a preamp, it’s essential to have a basic understanding of these components.
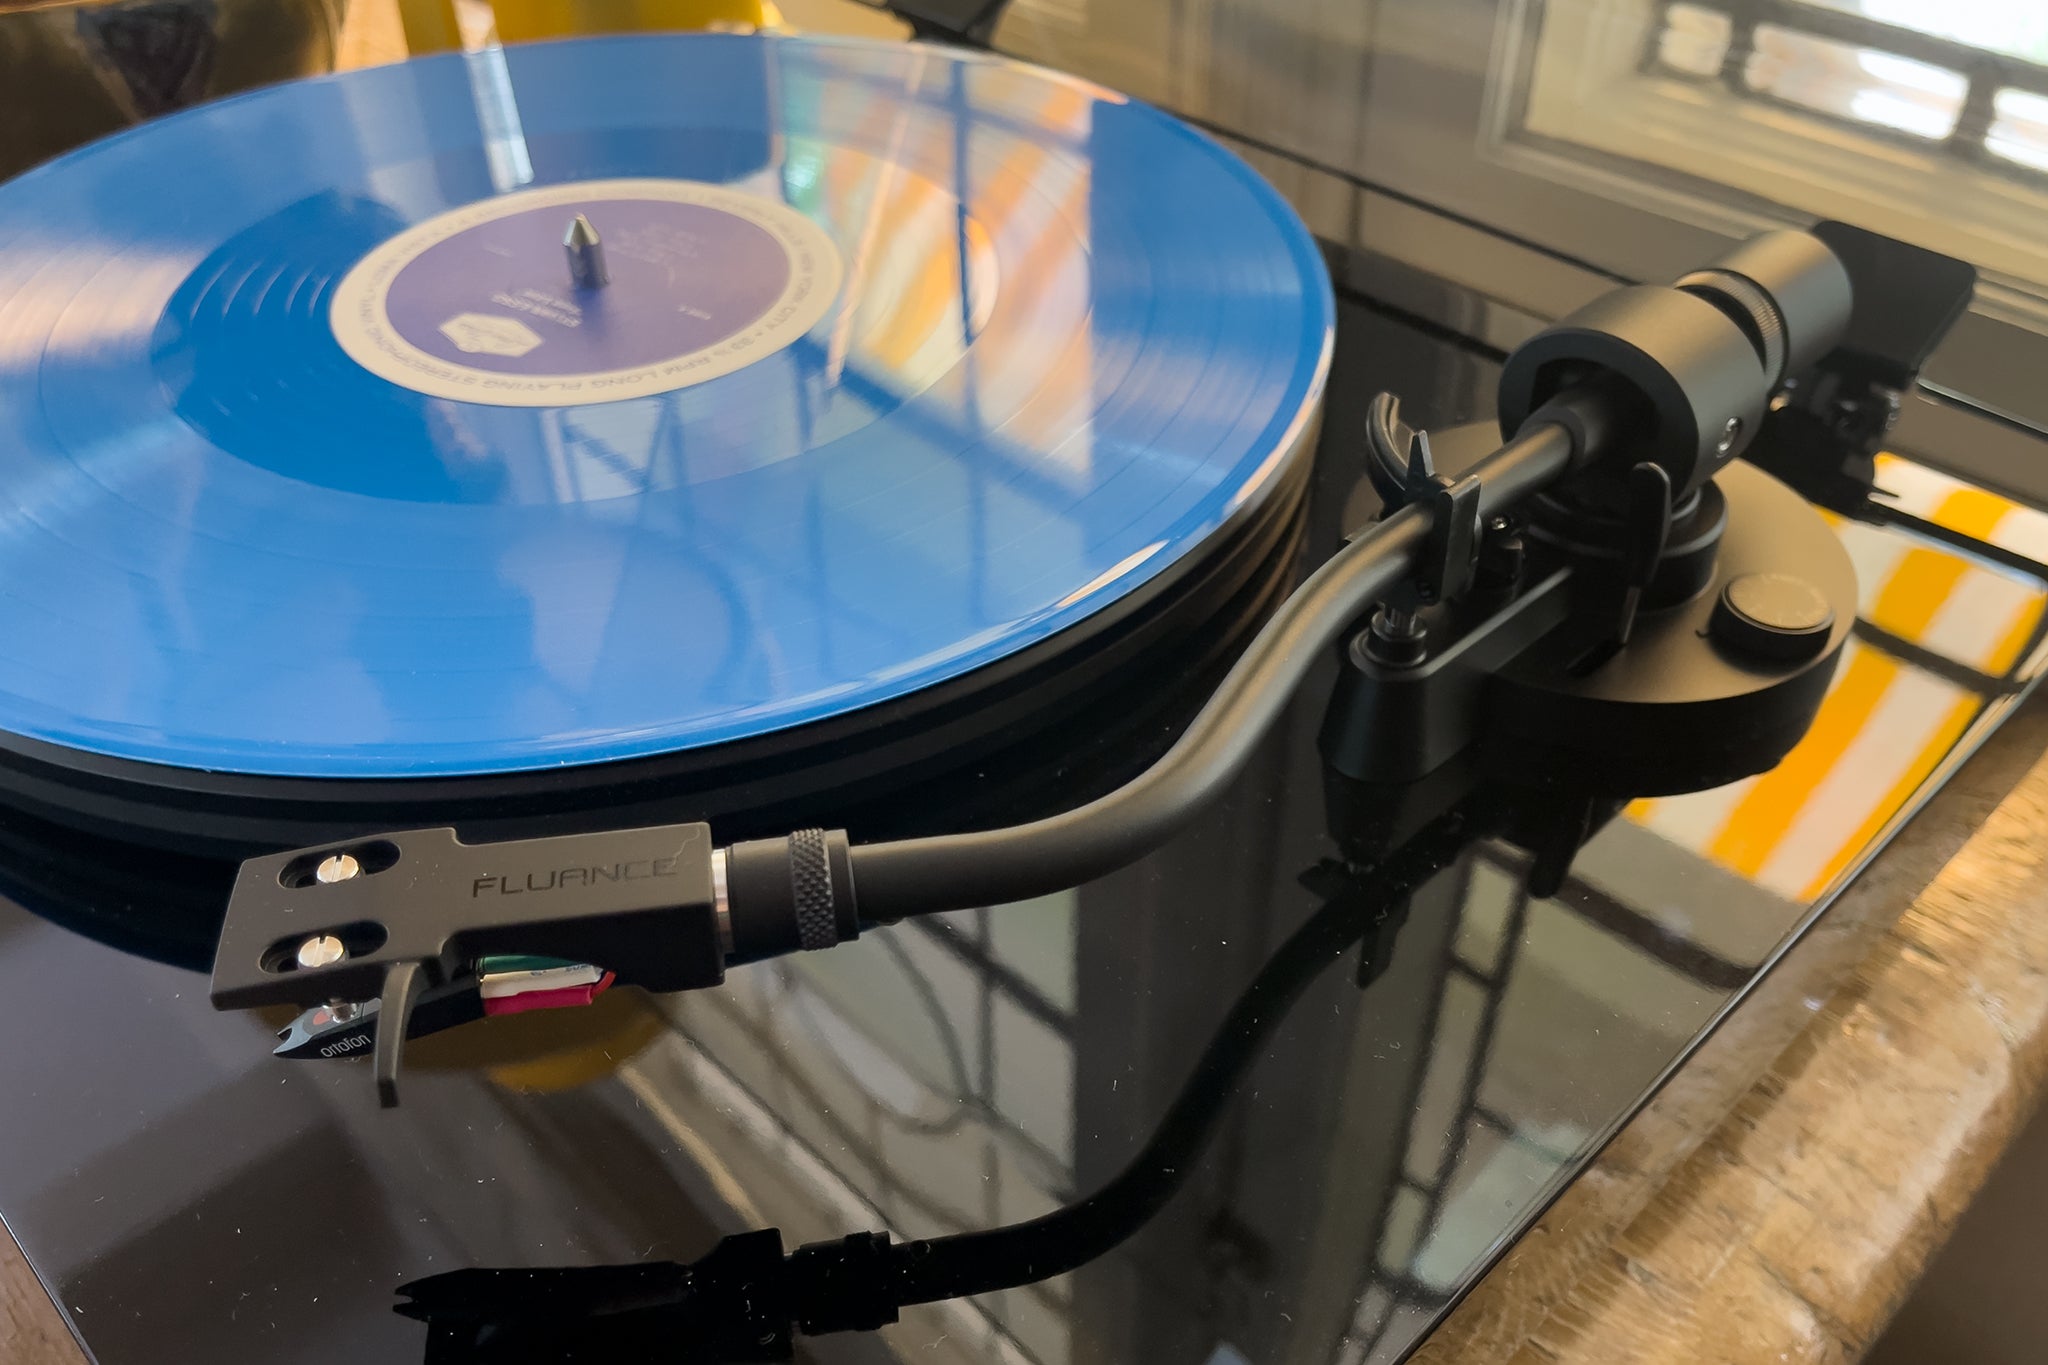
A turntable is a mechanical device designed to play vinyl records. It consists of several key parts. The platter is the revolving disc upon which the record is placed and spins. The tonearm is the long arm that holds the cartridge and stylus (needle) and moves across the record’s grooves. The cartridge houses the stylus and converts the physical movement of the stylus into an electrical signal.
A preamp, on the other hand, is an electronic device that amplifies the low-level signal produced by the cartridge. It boosts the audio signal to line level, which is the standard level for audio devices such as amplifiers, speakers, and receivers. Additionally, a preamp may include equalization settings to correct the frequency response of the vinyl records.
It’s important to note that not all turntables require a separate preamp. Some turntables come with a built-in preamp, allowing you to connect them directly to speakers or audio systems. However, many higher-end turntables do not have a built-in preamp and require an external one for optimal performance.
Why do you need a preamp? Vinyl records produce a very weak electrical signal. Without a preamp to boost the signal, the sound would be barely audible. The preamp amplifies the signal to a level that can be properly amplified by an audio system.
Now that you have a basic understanding of turntables and preamps, it’s time to move on to the steps involved in hooking them up together.
Steps to Hook Up a Turntable with a Preamp
Now that you have your turntable and preamp ready, let’s go through the step-by-step process of connecting them together.
- Gather the Required Equipment: Before you begin, make sure you have all the necessary equipment. You will need your turntable, preamp, audio cables, and an audio system or speakers.
- Connect the Turntable to the Preamp: Start by locating the RCA output jacks on your turntable. These are usually color-coded, with red for the right channel and white for the left channel. Connect the corresponding RCA cables from your turntable to the RCA input jacks on your preamp.
- Connect the Preamp to an Audio System: Next, you need to connect the preamp to your audio system or speakers. Use a pair of RCA cables to connect the RCA output jacks on your preamp to the RCA input jacks on your audio system or speakers. Make sure to match the correct channels (left and right).
- Check the Settings and Test the Setup: Once everything is connected, double-check the settings on your preamp and audio system. Set the input source on your audio system to the correct input where the preamp is connected. Adjust the volume levels on both the preamp and audio system to a comfortable level. Now, play a vinyl record on your turntable and listen for the sound coming through your audio system or speakers.
That’s it! You have successfully hooked up your turntable with a preamp and are ready to enjoy the analog goodness of vinyl records.
Remember, every turntable and preamp may have slightly different connections and settings, so consult the manuals provided with your specific equipment for detailed instructions. In case of any issues or difficulties, refer to the troubleshooting section or seek assistance from a professional.
Step 1: Gather the Required Equipment
Before you begin the process of hooking up your turntable with a preamp, it’s important to gather all the necessary equipment. Having everything prepared will make the setup process much smoother. Here’s what you’ll need:
- Turntable: Of course, you’ll need a turntable to play your beloved vinyl records. Ensure that your turntable has a separate phono output or a built-in phono preamp. If your turntable doesn’t have a built-in preamp, you’ll need an external one.
- Preamp: If your turntable does not have a built-in preamp, you’ll need to acquire an external preamp. There are various preamp options available, ranging from budget-friendly to high-end models. Choose one that suits your needs and budget.
- Audio Cables: To connect the turntable and preamp, you’ll need audio cables. Most turntables and preamps use RCA cables, which have color-coded connectors. Ensure you have a pair of RCA cables with the appropriate length for your setup.
- Audio System or Speakers: You’ll also need an audio system or speakers to amplify and play the sound from your turntable. This can be a stereo receiver, amplifier, powered speakers, or even a home theater system. Make sure your chosen audio system has an available audio input for the preamp.
- Power Cables: Check that you have the necessary power cables for your turntable, preamp, and audio system, if applicable. Make sure everything is properly connected to a power source.
Once you have gathered all the required equipment, you’re ready to move on to the next step of connecting the turntable to the preamp. Having everything prepared beforehand ensures a hassle-free setup process and helps you to enjoy your vinyl records with optimal sound quality.
Step 2: Connect the Turntable to the Preamp
Now that you have all the necessary equipment gathered, it’s time to connect your turntable to the preamp. This step is crucial in ensuring that the audio signal from your turntable gets properly amplified by the preamp. Here’s how to do it:
- Locate the output jacks on your turntable. In most cases, these jacks are labeled “phono” or “line out” and are color-coded. The typical color coding is red for the right channel and white for the left channel.
- Take the RCA cables and plug the red connector into the red output jack on your turntable. Then, plug the white connector into the white output jack. Make sure to securely connect the cables to ensure proper signal transfer.
- On the other end of the RCA cables, locate the input jacks on your preamp. These are usually labeled “phono input” or “line input.” Once again, match the color coding and connect the red RCA cable to the red input jack and the white RCA cable to the white input jack.
- Ensure that the connections are secure and snug. Loose or improperly connected cables can result in audio distortion or no sound at all.
- If your preamp has a ground wire, it needs to be connected to your turntable. Look for the grounding screw on the turntable and attach the ground wire from the preamp to it. This helps minimize hum or static noise during playback.
That’s it! Your turntable is now connected to the preamp, and the audio signal can be properly amplified. Remember to double-check all the connections and ensure they are secure before moving on to the next step.
In the next step, we’ll discuss how to connect the preamp to your audio system or speakers to complete the setup process.
Step 3: Connect the Preamp to an Audio System
Now that you have successfully connected your turntable to the preamp, the next step is to connect the preamp to an audio system or speakers. This will allow you to amplify and enjoy the sound from your vinyl records. Follow these steps to complete the setup:
- Identify the output jacks on your preamp. These are typically labeled “line out” or “output.” They may be color-coded like the input jacks.
- Take a pair of RCA cables and connect the red connector to the red output jack on the preamp. Connect the white connector to the white output jack. Make sure to match the colors correctly.
- On the other end of the RCA cables, locate the input jacks on your audio system or speakers. These could be labeled “AUX,” “CD,” or “Line In.” Connect the red RCA cable to the red input jack and the white RCA cable to the white input jack, matching the colors once again.
- Ensure that all connections are secure and snug. Loose or poorly connected cables can result in audio distortion or no sound at all.
- If your audio system or speakers have separate left and right channels, make sure to connect the left output from the preamp to the corresponding left input on the audio system. Do the same for the right channel.
Once the preamp is connected to your audio system or speakers, your setup is almost complete. We just need to make sure everything is set up correctly and ready for use. Refer to the next step to learn how to check the settings and test the setup.
Step 4: Check the Settings and Test the Setup
Now that you have connected your turntable to the preamp and the preamp to the audio system or speakers, it’s time to check the settings and test the setup. This step ensures that everything is properly configured, and you can enjoy the best possible sound quality from your vinyl records. Follow these steps to complete the process:
- Double-check all the settings on your preamp. This includes checking the input selection and gain settings. Consult the user manual provided with your specific preamp model if you are unsure about the settings.
- Set the input source on your audio system or speakers to the correct input where the preamp is connected. This could be labeled as “AUX,” “CD,” “Line In,” or any other relevant input. Refer to the user manual of your audio system or speakers for instructions on selecting the input source.
- Adjust the volume levels on both the preamp and the audio system or speakers to a comfortable listening level. It’s a good idea to start with the volume low and gradually increase it to avoid sudden loud noise or distortion.
- Now, it’s time to put your setup to the test. Place a vinyl record on the turntable and gently lower the tonearm onto the record. Make sure the stylus is properly aligned with the record grooves.
- Listen closely to the sound coming through your audio system or speakers. Pay attention to the clarity, balance, and overall quality of the audio. If you notice any issues, such as distorted sound, low volume, or one channel not working properly, double-check all the connections and settings. Also, ensure that your turntable and vinyl record are in good condition.
By checking the settings and testing the setup, you can make any necessary adjustments or troubleshooting if needed. This step ensures that your turntable, preamp, and audio system are working together harmoniously, enabling you to fully enjoy the rich and immersive experience of vinyl records.
Now that your setup is complete and your system is ready to play, sit back, relax, and indulge in the nostalgia and beauty of vinyl music.
Troubleshooting Common Issues
Even with careful setup and configuration, you may encounter some common issues when hooking up a turntable with a preamp. Don’t worry! Many of these issues can be easily resolved. Here are some troubleshooting tips for common problems you may encounter:
- No Sound: If you’re not hearing any sound from your audio system or speakers, check the following:
- Ensure that all cables are securely connected to the right input/output jacks.
- Confirm that the turntable is properly connected to the preamp.
- Verify that the preamp is connected to the audio system or speakers.
- Check the settings on your audio system. Make sure the correct input is selected.
- Inspect the stylus (needle) on your turntable. If it’s damaged or worn out, replace it.
- Hum or Static Noise: Hum or static noise can be caused by several factors, including grounding issues or interference. Try the following:
- Ensure that the grounding wire from the turntable is properly connected to the grounding terminal on the preamp.
- Make sure the grounding wire is not touching or close to any other wires or cables.
- If possible, try repositioning your equipment away from sources of interference, such as electrical appliances or wireless devices.
- If the issue persists, consider using a separate power outlet for your turntable and preamp, preferably one with a dedicated ground.
- Uneven or Low Volume: If you notice volume imbalances between the left and right channels or overall low volume, try the following:
- Check the balance controls on your audio system or receiver. Ensure that they are centered or adjusted to provide balanced sound.
- Inspect the cartridge alignment on your turntable. Misaligned cartridges can result in channel imbalances. Consult your turntable’s manual for instructions on cartridge alignment.
- Make sure the stylus is clean and properly positioned.
- Verify the gain settings on your preamp. Adjust them as needed to achieve a suitable volume level.
If you’ve tried troubleshooting the issues using the above suggestions and are still experiencing problems, consult the user manuals of your turntable, preamp, and audio system for additional troubleshooting steps or consider seeking assistance from a professional audio technician.
Remember, patience and persistence are key when troubleshooting. With a little effort and know-how, you’ll be able to resolve most common issues, ensuring optimal performance and enjoyment from your turntable setup.
Conclusion
Congratulations! You have successfully learned how to hook up a turntable with a preamp, opening the doors to a world of immersive and nostalgic vinyl audio. By following the steps outlined in this guide, you have ensured that the audio signal from your turntable is properly amplified and ready to be enjoyed through your audio system or speakers.
Understanding the components of a turntable and preamp, as well as how they work together, is crucial for achieving optimal sound quality. Remember to gather all the necessary equipment, connect the turntable to the preamp using RCA cables, and then connect the preamp to an audio system or speakers. Checking the settings and testing the setup allows you to fine-tune the audio experience to your preference.
If you encounter any common issues during the setup, use the troubleshooting tips provided to address and resolve them. Remember to check the connections, adjust settings, and ensure proper grounding to minimize any audio disturbances.
Now that your turntable setup is complete, you can sit back, relax, and indulge in the warm, authentic sound of vinyl records. Explore your favorite albums, rediscover forgotten gems, and immerse yourself in the unique experience that only vinyl can provide.
Enjoy your vinyl journey and happy listening!

