Home>Production & Technology>Stereo>How To Hook Up Stereo To TV

Stereo
How To Hook Up Stereo To TV
Published: November 18, 2023
Learn how to connect your stereo to your TV for an immersive audio experience. Step-by-step guide on hooking up your stereo system to enhance your TV viewing.
(Many of the links in this article redirect to a specific reviewed product. Your purchase of these products through affiliate links helps to generate commission for AudioLover.com, at no extra cost. Learn more)
Table of Contents
Introduction
Welcome to our comprehensive guide on how to hook up a stereo to your TV. If you’re looking to enhance your TV viewing experience with immersive and high-quality sound, connecting a stereo system is a great option. Whether you want to enjoy movies with booming audio or crank up your favorite music, integrating a stereo with your TV can take your entertainment to the next level.
With the right equipment and a few simple steps, you’ll be able to enjoy the rich and dynamic sound that a stereo system provides. In this article, we will walk you through the process of connecting a stereo to your TV, allowing you to experience audio in a whole new way.
Before we begin, it’s important to note that there are various ways to connect a stereo to your TV, depending on the available audio output options and the specific equipment you have. In this guide, we will focus on using RCA cables, as it is a commonly available and straightforward method.
So, if you’re ready to elevate your TV audio experience, let’s dive into the steps you need to follow to connect your stereo to your TV.
Step 1: Gather the Necessary Equipment
Before you can connect your stereo to your TV, it’s essential to gather all the necessary equipment. Here’s a list of items you’ll need:
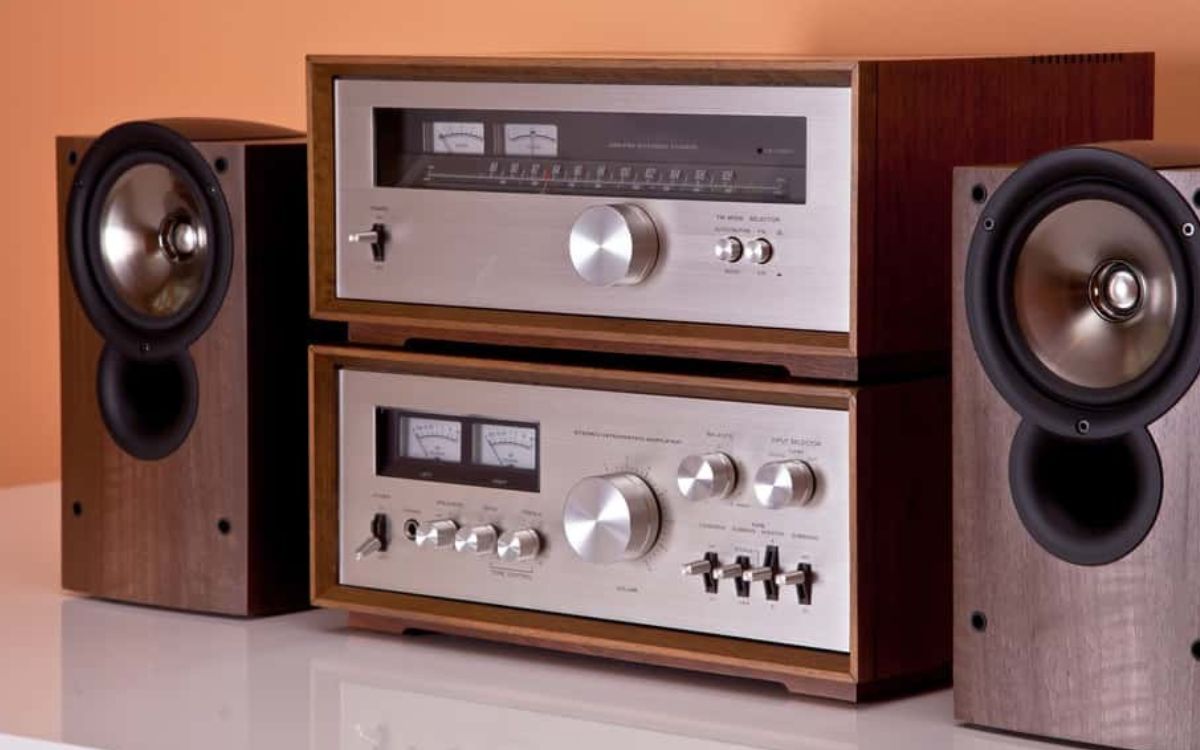
- A stereo system: This can be a receiver, amplifier, or soundbar with audio input options.
- A TV: Ensure that your TV has audio output options, such as RCA or HDMI ARC (Audio Return Channel).
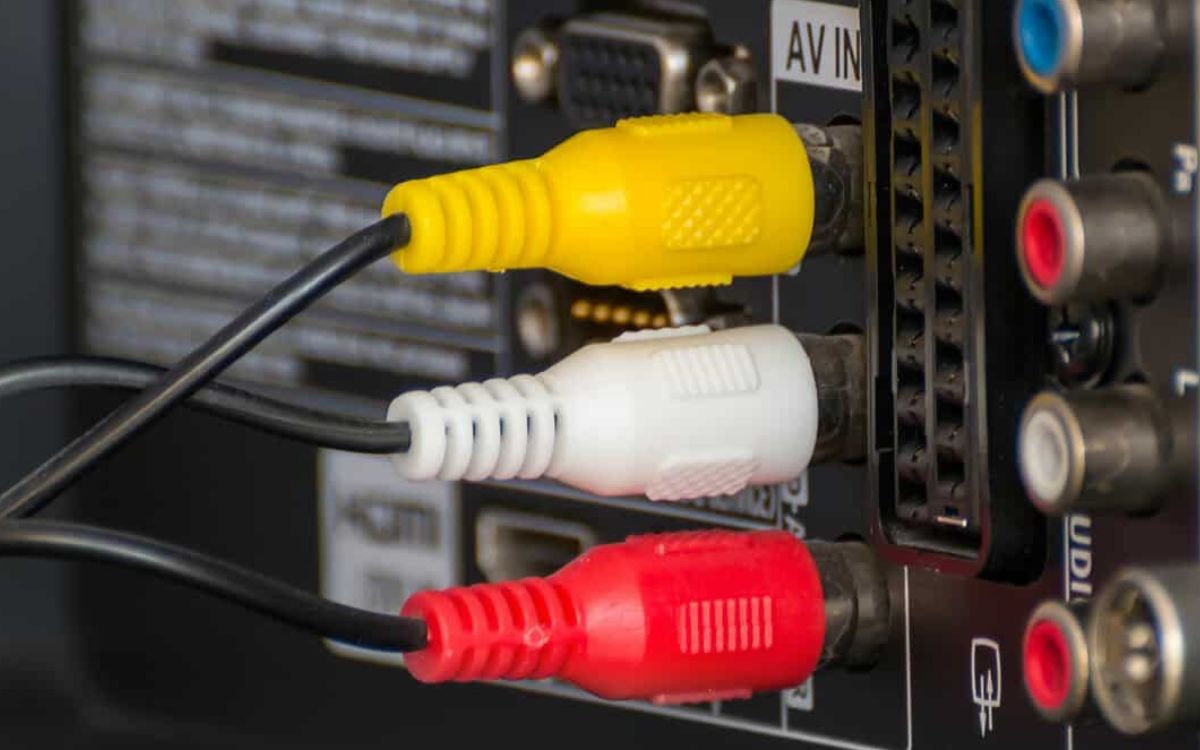
- RCA cables: These are the traditional red and white cables used for audio connections.
- HDMI cable (optional): If your TV and stereo both support HDMI ARC, you can use an HDMI cable instead of RCA cables for a digital audio connection.
Once you have gathered all the necessary equipment, you’re ready to move on to the next step.
Note: Depending on the specific audio output options on your TV and the input options on your stereo, you may need additional cables or adapters. Consult the user manuals of your TV and stereo system for compatibility and cable requirements.
Step 2: Check the Audio Output Options on Your TV
Before you can connect your stereo to your TV, it’s important to identify the available audio output options on your TV. This will help determine the appropriate method of connection. Here are some common audio output options you may find on your TV:
- RCA output: This is a commonly found option on older TVs. It consists of two RCA jacks (red and white) labeled as “Audio Out” or “Line Out.”
- HDMI ARC (Audio Return Channel): This is a newer and more advanced option available on some TVs. It allows for both audio input and output through a single HDMI port. Look for an HDMI port labeled as “ARC” on your TV.
- Optical output: Some TVs may have an optical audio output, also known as a Toslink port. It uses a square-shaped connector for transmitting digital audio signals.
- Headphone output: In some cases, you can use the headphone output on your TV to connect to the stereo system. However, this method may not provide the best audio quality.
Take a close look at the back or side of your TV to locate these audio output options. It’s also a good idea to consult the user manual of your TV for more detailed information on the available audio outputs.
Once you have identified the audio output options on your TV, you can proceed to the next step and connect your stereo system.
Step 3: Connect the Stereo to the TV Using RCA Cables
Now that you have identified the audio output options on your TV, it’s time to connect your stereo system using RCA cables. Follow these steps:
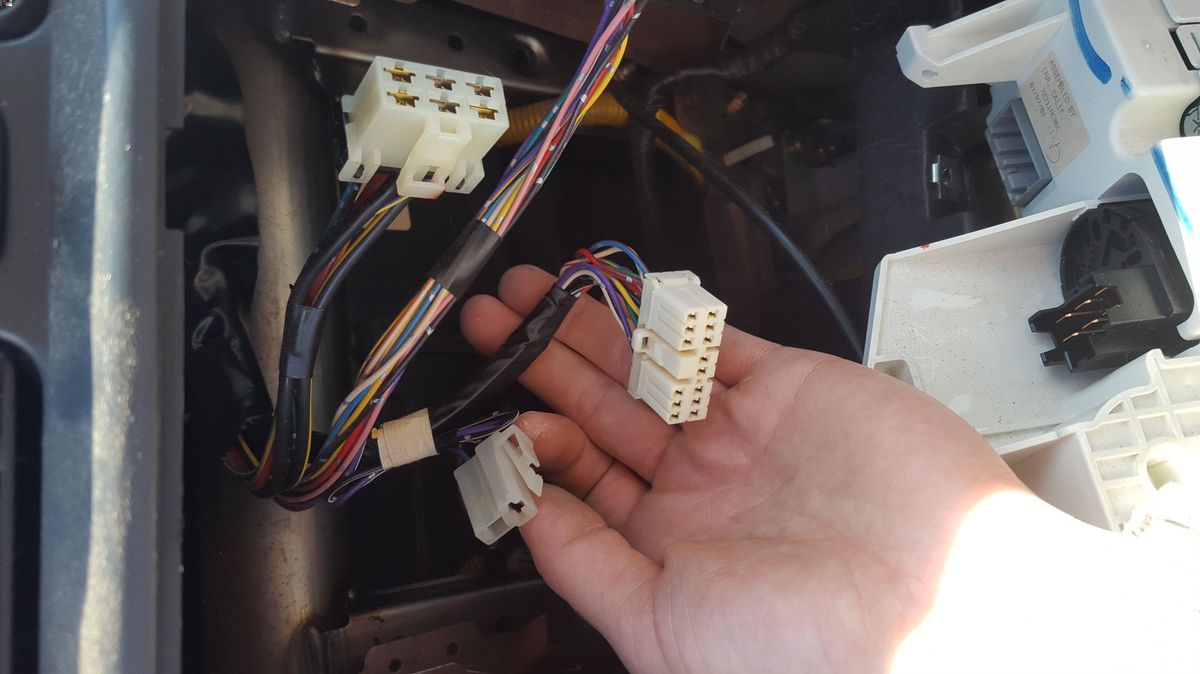
- Locate the audio input options on your stereo system. These are usually labeled as “Aux In,” “Line In,” or “Audio In”.
- Take the red RCA cable and plug one end into the red output jack on your TV, labeled as “Audio Out” or “Line Out.” Insert the other end into the corresponding red input jack on your stereo.
- Repeat the above step with the white RCA cable, connecting it to the white output jack on your TV and the corresponding white input jack on your stereo.
- Ensure that the connections are secure and tight to avoid any audio distortion or loose connections.
Once you have successfully connected the RCA cables between your TV and stereo system, you are one step closer to enjoying enhanced sound quality.
If you prefer a digital audio connection and your TV and stereo both support HDMI ARC, you can use an HDMI cable instead of RCA cables. Simply connect one end of the HDMI cable to the HDMI ARC port on your TV and the other end to the HDMI ARC input on your stereo. Make sure to consult the user manual of your TV and stereo to ensure compatibility and proper setup.
With the connection in place, it’s time to move on to the next step and adjust the audio settings on your TV.
Step 4: Adjust the Audio Settings on Your TV
Once you have successfully connected your stereo system to your TV, it’s important to adjust the audio settings on your TV for optimal sound output. Follow these steps to adjust the settings:
- Turn on your TV and navigate to the settings menu. This can usually be accessed by pressing the “Menu” button on your TV remote control.
- Look for the “Audio” or “Sound” settings in the menu options.
- Within the audio settings, locate the option for “Output” or “Audio Output.”
- Select the appropriate audio output source. If you connected the stereo using RCA cables, choose the RCA output option. If you used HDMI ARC, select the HDMI ARC option.
- Adjust the audio settings to your preference. You may have options such as “Bass,” “Treble,” or “Equalizer” settings to fine-tune the audio output.
- Test the audio by playing a video or music on your TV. Make sure the sound is coming through the stereo system and adjust the volume levels accordingly.
It’s worth noting that the specific audio settings and menu options may vary depending on the brand and model of your TV. If you need further assistance, refer to the user manual of your TV or consult the manufacturer’s website for detailed instructions.
With the audio settings adjusted, you’re now ready for the final step in the process: testing the connection and enjoying stereo sound.
Step 5: Test the Connection and Enjoy Stereo Sound
After connecting and adjusting the audio settings, it’s time to test the connection and enjoy the immersive stereo sound. Follow these steps:
- Turn on both your TV and stereo system.
- Select a movie, TV show, or music that you want to watch or listen to.
- Play the media and listen for the sound coming from your stereo system.
- Make sure that the sound is clear and balanced. If you experience any issues, such as poor audio quality or no sound at all, verify that all the connections are secure and correctly plugged in. Also, double-check the audio settings on your TV.
- Adjust the volume levels on both your TV and stereo system to your desired level.
- If you connected the stereo using RCA cables, you can also control the volume using the stereo system’s remote control.
Once you have confirmed that the connection is working properly, sit back, relax, and enjoy the enhanced audio experience provided by your stereo system. Whether you’re watching movies, TV shows, or listening to music, the immersive sound will take your entertainment to a whole new level.
Remember, if you ever want to switch back to the TV’s built-in speakers, simply disconnect the RCA cables or change the audio output settings on your TV.
Congratulations! You have successfully connected your stereo system to your TV and are now ready to enjoy the rich sound quality it provides.
Conclusion
Connecting a stereo system to your TV is a simple and effective way to elevate your audio experience while watching movies, TV shows, or listening to music. By following the steps outlined in this guide, you can enjoy immersive and high-quality sound that enhances your overall entertainment.
Remember to gather all the necessary equipment, including the stereo system, TV, and appropriate cables. Identify the audio output options on your TV and connect the stereo using RCA cables or HDMI ARC for a digital audio connection.
Once connected, adjust the audio settings on your TV to ensure optimal sound output. Fine-tune the settings according to your preferences and test the connection by playing media on your TV. Verify that the sound comes through the stereo system and adjust the volume levels to your liking.
With everything set up, it’s time to sit back, relax, and enjoy the immersive stereo sound that brings your favorite movies, shows, and music to life. Experience the depth and clarity that a stereo system provides and take your entertainment to new heights.
If you encounter any issues during the setup process, refer to the user manuals of your TV and stereo system or seek assistance from the manufacturer’s support.
Now that you have the knowledge and know-how, go ahead and enjoy an enhanced audio experience with your connected stereo system and enjoy the captivating sound that complements your viewing pleasure.