Home>Devices & Equipment>Turntable>How To Hook Up Turntable To Denon Avr-S920W Receiver With Built In Preamp
Turntable
How To Hook Up Turntable To Denon Avr-S920W Receiver With Built In Preamp
Modified: January 22, 2024
Learn how to easily connect your turntable to the Denon AVR-S920W receiver with a built-in preamp. Enjoy high-quality sound and enhance your vinyl listening experience!
(Many of the links in this article redirect to a specific reviewed product. Your purchase of these products through affiliate links helps to generate commission for AudioLover.com, at no extra cost. Learn more)
Table of Contents
Introduction
If you’re a music enthusiast or a vinyl lover, you know that the quality of the sound can be unparalleled when it comes to playing records on a turntable. One key component in optimizing your turntable experience is ensuring that you have the proper setup to get the best sound quality possible. This includes connecting your turntable to the right equipment, such as a receiver.
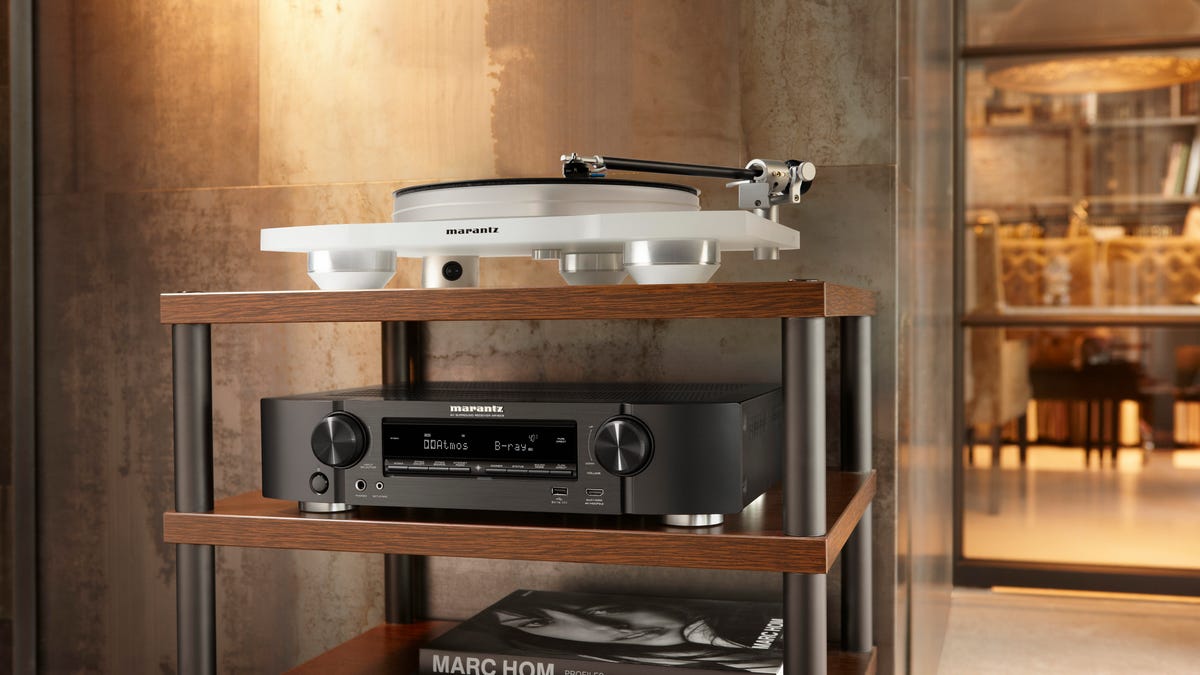
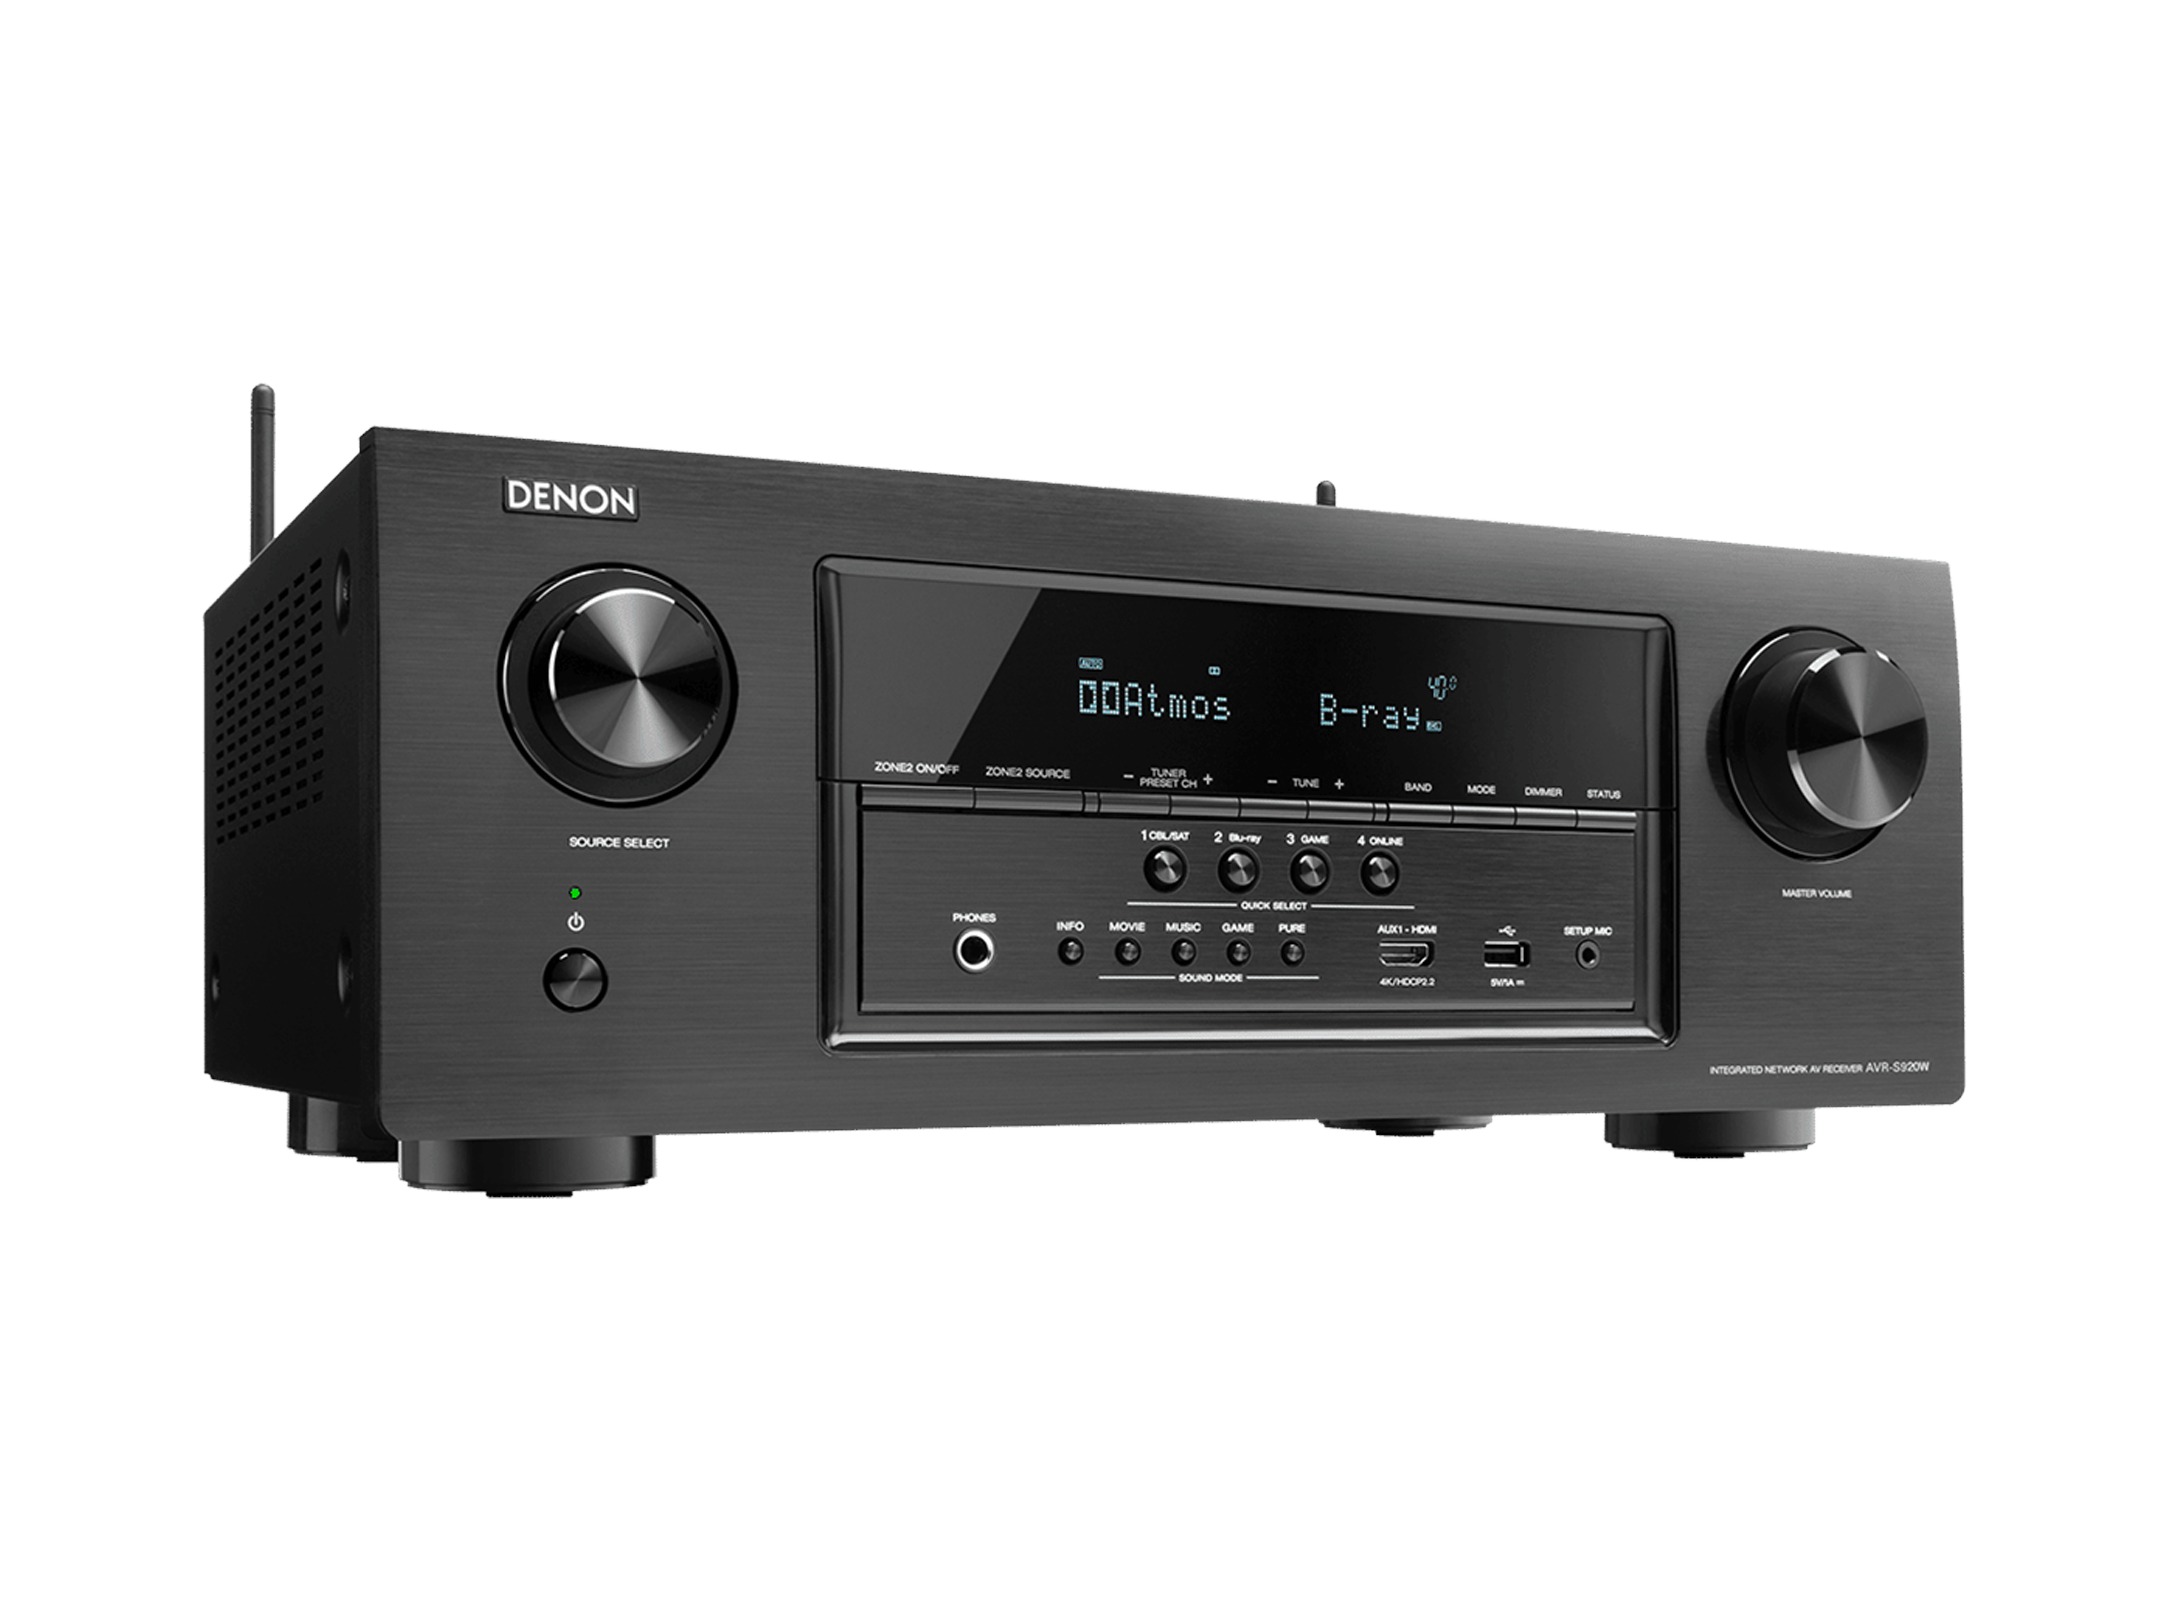
In this article, we will guide you through the process of hooking up a turntable to the Denon AVR-S920W receiver with a built-in preamp. The Denon AVR-S920W is a versatile and high-quality receiver that provides excellent audio performance for both music and home theater systems.
Before we get started, it’s important to note that the Denon AVR-S920W already has a built-in preamp, so you won’t need to purchase an additional external preamp for this setup. This receiver also features a dedicated phono input, specifically designed to connect turntables. With these features in mind, let’s dive into the step-by-step process of connecting your turntable to the Denon AVR-S920W receiver.
Step 1: Gather the necessary equipment
Before you begin the setup process, it’s essential to have all the required equipment ready. Gathering the necessary equipment beforehand will ensure a smooth and hassle-free installation. Here’s a list of the items you will need:
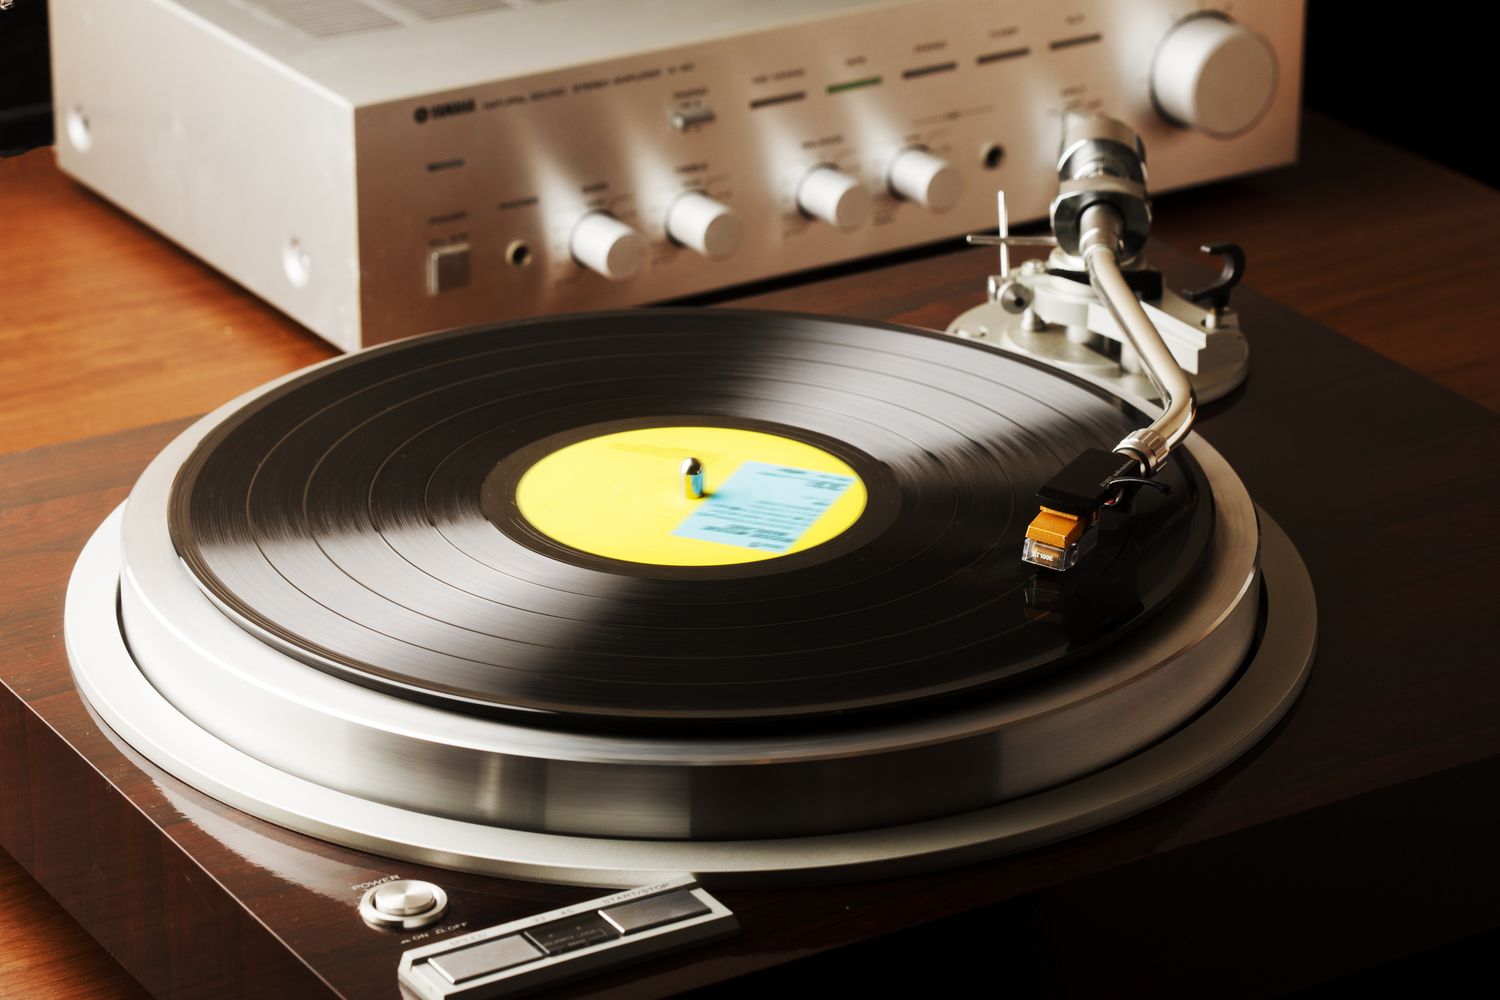
- A turntable: Choose a turntable that suits your preferences and budget. There are various options available in the market, ranging from entry-level models to high-end audiophile-grade turntables. Make sure your turntable has a built-in phono preamp or that you have an external preamp if your turntable does not have one.
- The Denon AVR-S920W receiver: This is the star of the show. The Denon AVR-S920W is a feature-rich receiver that offers excellent audio quality and convenience.
- An RCA cable: You will need an RCA cable to connect the turntable to the receiver. Ensure that the cable has the appropriate connectors on each end.
- A grounding wire (optional): Some turntables require a grounding wire to reduce unwanted hum or buzzing noises. Check if your turntable requires a grounding wire and make sure to have it ready if necessary.
- Power cables and accessories: Make sure you have all the necessary power cables and accessories for both the turntable and the Denon receiver.
Once you have gathered all the equipment, you’re ready to move on to the next step of the setup process.
Step 2: Locate the phono input on the Denon AVR-S920W
Now that you have all the necessary equipment ready, the next step is to locate the phono input on the Denon AVR-S920W. The phono input is specifically designed for connecting turntables and has a built-in preamp that amplifies the signal from the turntable.
To locate the phono input, follow these steps:
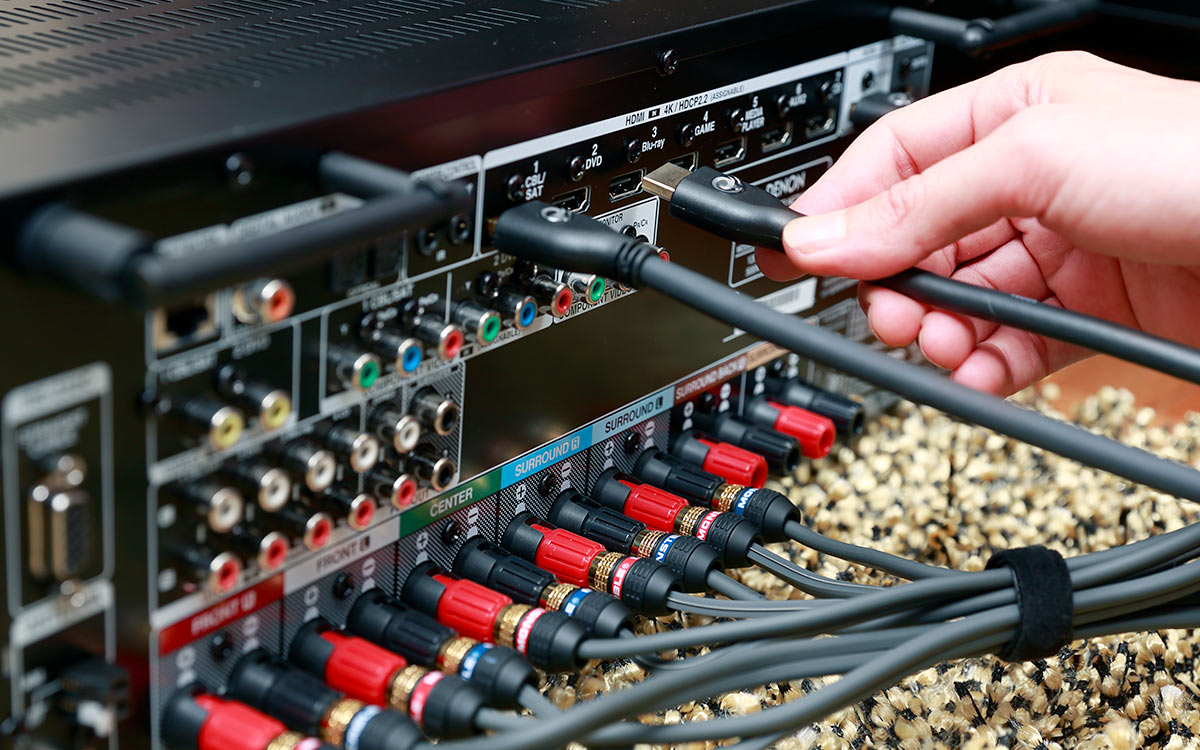
- Locate the back panel of the Denon AVR-S920W receiver. This is where all the inputs and outputs are located.
- Look for the section labeled “Phono” or “Phono Input.” It is usually labeled with the word “Phono” and often has a different color or design to distinguish it from other input options.
- Depending on the specific model of the Denon receiver, the phono input may be labeled as “MM” (Moving Magnet) or “MC” (Moving Coil) to indicate the type of turntable cartridge it supports. Make sure you choose the correct input based on your turntable’s cartridge type.
Once you have located the phono input, you are ready to proceed with connecting your turntable to the Denon AVR-S920W receiver.
Step 3: Connect the turntable to the receiver
With the phono input located on the Denon AVR-S920W, it’s time to connect your turntable to the receiver. Follow these steps to ensure a proper connection:
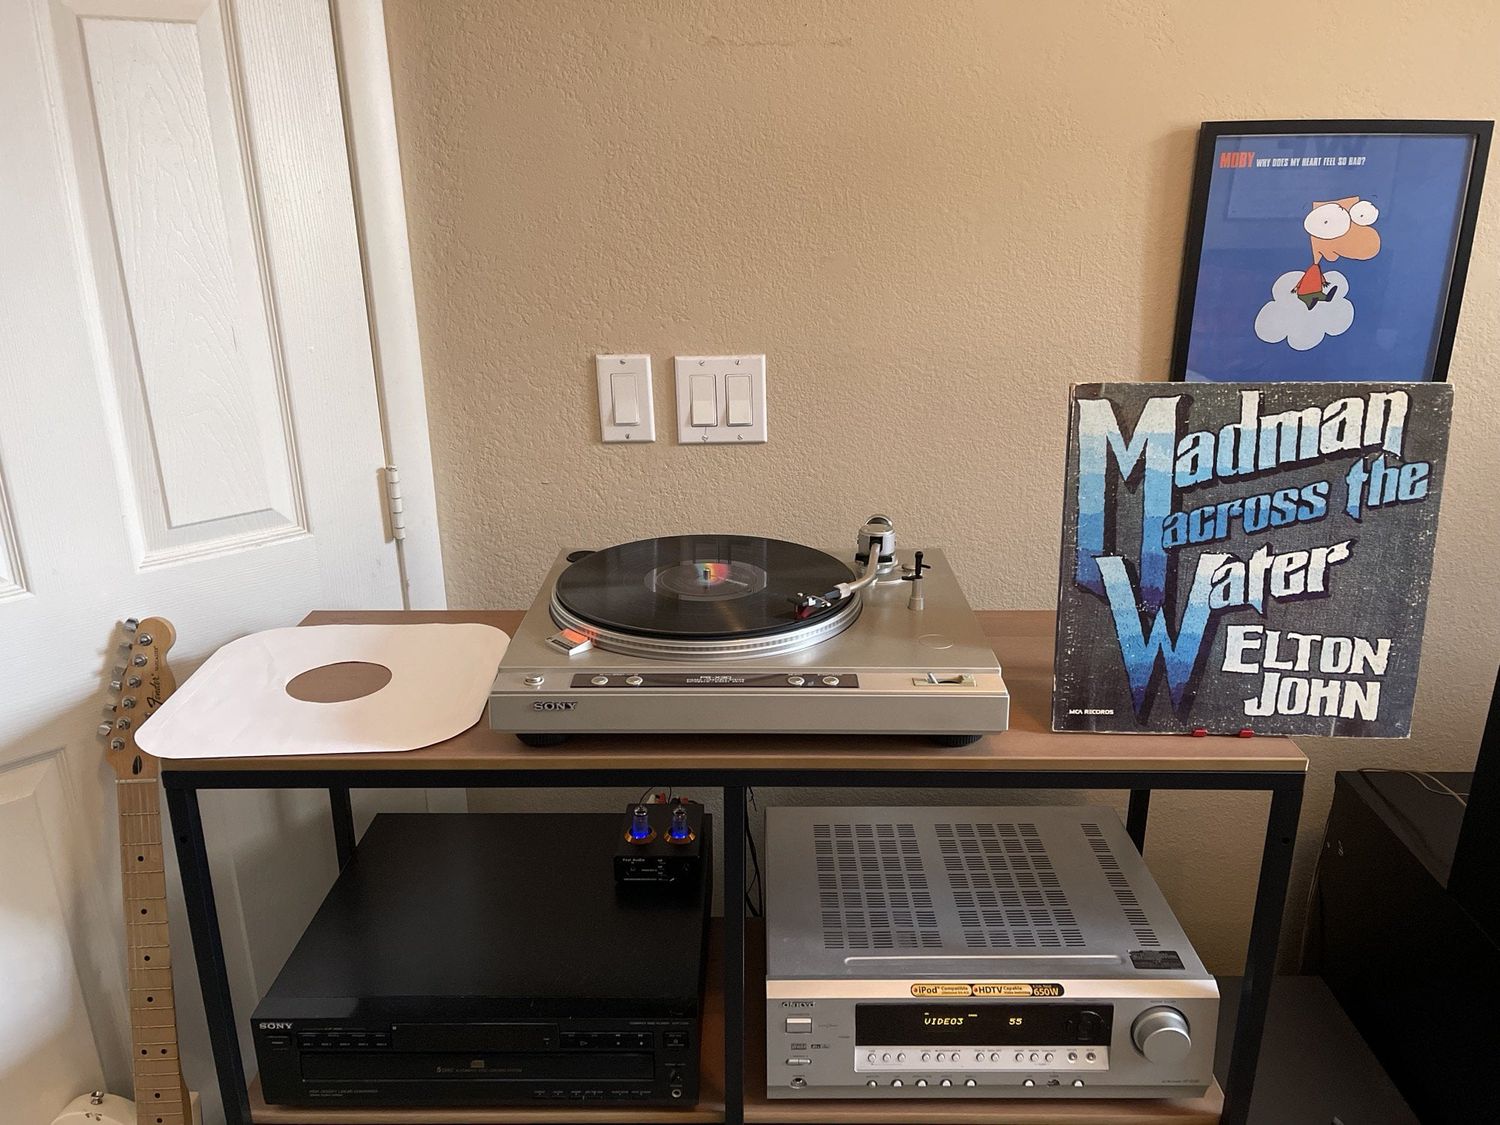
- Take your RCA cable and connect one end to the output jacks on the back of the turntable. The output jacks are usually color-coded red and white or marked as “R” and “L” for right and left channels.
- Connect the other end of the RCA cable to the phono input on the back of the Denon AVR-S920W. Make sure to match the colors or labels on the receiver’s input jacks.
- If your turntable requires a grounding wire, locate the grounding terminal on the back of the receiver. It is usually labeled as “Ground” and may have a symbol resembling a grounding symbol. Connect one end of the grounding wire to the turntable’s grounding post and the other end to the grounding terminal on the receiver.
Once you have made all the necessary connections, double-check to ensure that everything is securely connected. Loose connections can result in poor audio quality or no sound at all.
Now that your turntable is properly connected to the Denon AVR-S920W receiver, it’s time to move on to the next step of the setup process.
Step 4: Configure the receiver settings
After connecting the turntable to the Denon AVR-S920W receiver, it’s essential to configure the receiver settings to ensure optimal audio performance. Follow these steps to configure the settings:
- Turn on the Denon receiver and the connected turntable.
- Using the remote control or the control panel on the front of the receiver, navigate to the “Setup” menu.
- Within the “Setup” menu, locate the “Input Assign” or “Input Setup” option. This menu allows you to customize the input settings for each input source.
- Select the phono input that is connected to your turntable. If there are multiple phono inputs, choose the one that corresponds to the physical input you used.
- Within the input settings, make sure the input type is set to “Phono” or the appropriate cartridge type, such as “MM” or “MC,” depending on your turntable.
- Adjust any other relevant settings, such as equalization options if available, to match the characteristics of your turntable and personal preferences.
- Save the settings and exit the setup menu.
Once you have configured the receiver settings, you are ready to proceed to the final step of the setup process: testing the connection and adjusting as needed.
Step 5: Test the connection and adjust as needed
Now that you have completed the setup process, it’s time to test the connection between your turntable and the Denon AVR-S920W receiver. Follow these steps to ensure everything is working correctly:
- Select the phono input on the Denon receiver using the input/source selector. This will activate the phono stage and route the audio signal from the turntable.
- Start playing a record on your turntable.
- Listen for any sound coming from the speakers connected to the Denon AVR-S920W. Check if the sound is clear, without any distortion or unwanted noise.
- If you’re not hearing any sound or if the sound quality is not satisfactory, double-check the connections for any loose cables. Ensure that the grounding wire, if used, is properly connected.
- Adjust the volume on the receiver to an appropriate level. Gradually increase the volume until you reach a comfortable listening level.
- If you experience any issues with the sound, such as distorted audio or excessive noise, you may need to adjust the settings on both the turntable and the receiver. Refer to the user manuals of your specific equipment for guidance on adjusting settings like tracking force, anti-skate, gain, or equalization.
Take your time to test and fine-tune the settings to achieve the best possible sound quality. Remember that every turntable and receiver combination may require slight adjustments to optimize the performance.
Congratulations! You have successfully connected your turntable to the Denon AVR-S920W receiver and completed the setup process. It’s time to sit back, relax, and enjoy the rich and immersive sound of your vinyl records.
Conclusion
Connecting a turntable to the Denon AVR-S920W receiver with a built-in preamp can greatly enhance your audio experience. By following the step-by-step process outlined in this article, you can ensure a proper setup and achieve optimal sound quality.
Throughout the setup process, we discussed the importance of gathering the necessary equipment, locating the phono input on the Denon AVR-S920W receiver, connecting the turntable to the receiver, configuring the receiver settings, and testing the connection. These steps are crucial in ensuring a seamless and enjoyable vinyl listening experience.
Remember to take your time and double-check all connections for a secure and stable setup. Adjust the receiver settings and fine-tune the audio settings on both the turntable and receiver to achieve the best sound quality. It’s also essential to refer to the user manuals of your specific equipment for guidance on any additional settings or adjustments.
Once everything is set up correctly, sit back, relax, and enjoy the warm and rich sound of your vinyl records. Whether you’re a casual listener or an avid audiophile, the combination of a turntable and the Denon AVR-S920W receiver will provide you with an immersive and high-quality audio experience.
Now, go ahead and start spinning those records with confidence, knowing that you have successfully connected your turntable to the Denon AVR-S920W receiver. Happy listening!