Home>Devices & Equipment>Turntable>How To Hook Up A Turntable To A Computer
Turntable
How To Hook Up A Turntable To A Computer
Published: January 20, 2024
Learn how to hook up a turntable to your computer and enjoy listening to your vinyl collection in digital format. Step-by-step guide for seamless connection.
(Many of the links in this article redirect to a specific reviewed product. Your purchase of these products through affiliate links helps to generate commission for AudioLover.com, at no extra cost. Learn more)
Table of Contents
Introduction
Turntables have been a staple in the music world for decades, providing a unique and nostalgic way to listen to vinyl records. However, with the rise of digital music, many people are looking for ways to connect their turntables to their computers in order to enjoy the best of both worlds. Whether you want to digitize your vinyl collection, create DJ mixes, or simply enjoy your favorite records through your computer speakers, connecting a turntable to a computer is a great option.
In this article, we will guide you through the process of hooking up a turntable to your computer. We will cover the necessary equipment, setup steps, connection methods, and computer settings to ensure a seamless integration. Before we dive into the technical details, it’s important to note that the specific steps may vary depending on the make and model of your turntable and computer. However, the general principles and concepts we outline here should apply to most setups.
By the end of this article, you will have a clear understanding of how to connect your turntable to your computer and begin enjoying your vinyl collection in a whole new way.
Step 1: Gather the necessary equipment
Before you can connect your turntable to your computer, you will need to gather the necessary equipment. Here’s a list of items you will typically need:
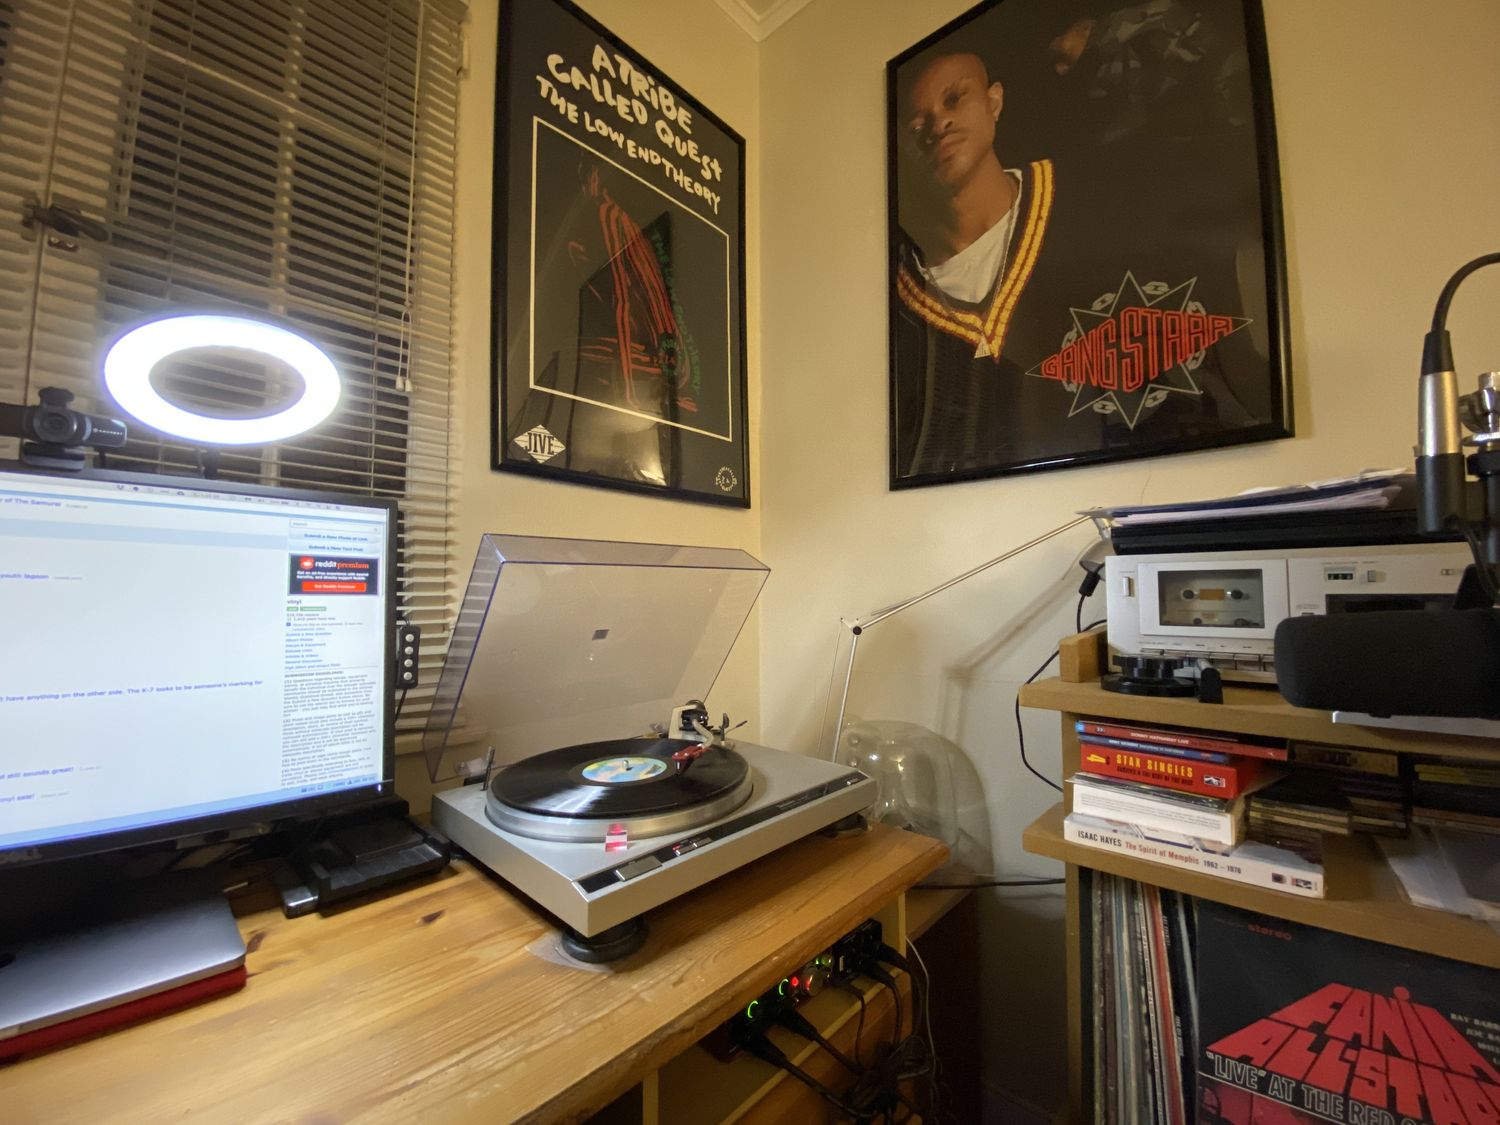
- Turntable: Of course, you will need a turntable to play your vinyl records. Make sure your turntable is in good working condition and has a built-in phono preamp (if not, you will need an external phono preamp).
- Computer: You will need a computer with an available USB port. Most modern computers have multiple USB ports, so finding one shouldn’t be an issue.
- USB Cable: To connect your turntable to your computer, you will need a USB cable. Make sure the USB cable is compatible with your turntable and computer.
- Software: Depending on your specific goals, you may need specific software. For example, if you want to digitize your vinyl collection, you will need audio recording software. If you want to create DJ mixes, you will need DJ software.
- Audio Interface: If your turntable does not have a built-in USB output, you will need an audio interface with a phono preamp. This will allow you to connect your turntable to your computer via the audio interface’s USB port.
- Audio Cables: You may need audio cables to connect your turntable and audio interface. The type of cables you need will depend on the connections available on your turntable and audio interface.
Once you have gathered all the necessary equipment, you’re ready to move on to the next step: setting up your turntable.
Step 2: Setting up the turntable
Now that you have all the necessary equipment, it’s time to set up your turntable. Follow these steps to ensure a proper setup:
- Placement: Find a stable and level surface for your turntable. Avoid placing it near speakers or any other vibrations that could interfere with playback.
- Platter and Belt: Remove the platter and check the condition of the belt. If the belt is worn or stretched, it may affect the turntable’s performance. Replace it if necessary.
- Cartridge and Stylus: Check the cartridge and stylus of your turntable. Make sure they are aligned properly and in good condition. If not, consider replacing them for optimal sound quality.
- Antiskate and Tracking Force: Set the antiskate and tracking force according to the manufacturer’s instructions. This will ensure accurate tracking and prevent record wear.
- Grounding: If your turntable has a grounding wire, connect it to the grounding terminal on your preamp or audio interface. This will help reduce unwanted hum and interference.
Once you have completed these steps, your turntable should be properly set up and ready for the next step: connecting it to your computer.
Step 3: Connecting the turntable to the computer
Now that your turntable is set up, it’s time to connect it to your computer. Follow these steps to establish the connection:
- USB Connection: If your turntable has a built-in USB output, simply connect one end of the USB cable to the USB port on your turntable and the other end to an available USB port on your computer.
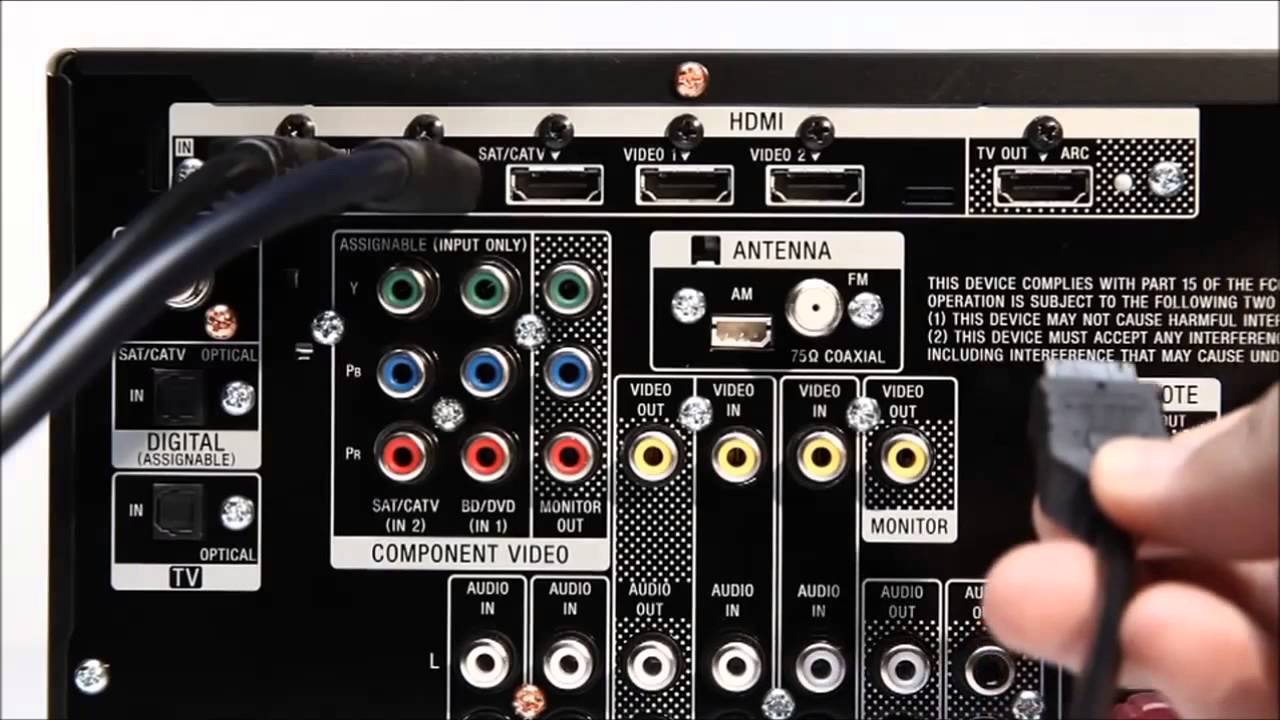
- Audio Interface Connection: If your turntable does not have a built-in USB output, you will need to connect it to an audio interface. Connect the turntable’s audio output cables to the corresponding input jacks on the audio interface. Then, connect the audio interface to your computer using the USB cable.
- Power On: Ensure that your turntable and audio interface (if applicable) are powered on.
- Driver Installation (if needed): In some cases, your computer may require drivers to recognize the turntable or audio interface. Follow the manufacturer’s instructions to install any necessary drivers.
Once you have successfully connected your turntable to your computer, it’s time to move on to the next step: configuring the computer settings.
Step 4: Configuring the computer settings
After connecting your turntable to your computer, it’s important to configure the computer settings to ensure optimal playback and recording. Here’s what you need to do:
- Audio Input/Output Settings: Access the audio settings on your computer and make sure the correct input and output devices are selected. Set the input device to your turntable or audio interface and the output device to your desired audio output (such as speakers or headphones).
- Sample Rate and Bit Depth: Adjust the sample rate and bit depth settings in your audio software to match the specifications of your turntable. Higher sample rates and bit depths offer better audio quality, but keep in mind that they also require more storage space.
- Recording Format: Determine the recording format that suits your needs. Common audio formats include WAV and MP3. WAV files are uncompressed and provide the highest audio quality, while MP3 files are compressed and have smaller file sizes.
- Monitoring: If you want to monitor the audio as you record, make sure the monitoring settings are configured properly. This will allow you to hear the audio in real-time while it is being recorded.
- Volume and Levels: Adjust the volume and levels settings to ensure that the recorded audio is not too soft or too loud. Use the meters in your audio software to monitor the levels and avoid clipping or distortion.
Once you have configured the computer settings to your preference, you’re ready for the final step: testing the connection.
Step 5: Testing the connection
Now that everything is set up and configured, it’s time to test the connection between your turntable and computer. Follow these steps to ensure everything is working properly:
- Playback: Open your preferred audio software and select the input source to your turntable or audio interface. Load a vinyl record onto the turntable and start playback. Adjust the volume on your computer and audio software to a comfortable level. You should now be able to hear the sound through your computer speakers or headphones.
- Recording: If you’re using audio recording software and want to digitize your vinyl collection, start a new recording session. Play a vinyl record and monitor the recording level to make sure it is not too low or too high. After the recording is complete, save the file to your desired location and play it back to confirm the quality and accuracy of the recording.
- DJ Mixing: If you’re using DJ software, load your vinyl tracks into the software and test the cueing, looping, and mixing capabilities. Make sure the software recognizes the turntable as a control source and behaves correctly during playback and manipulation.
- Monitoring: While listening to or recording vinyl through your computer, pay attention to the overall sound quality, any background noise, and any potential issues with the playback or recording. Make any necessary adjustments to improve the sound quality or troubleshoot any issues that may arise.
If everything is working as expected during the testing phase, congratulations! You have successfully connected your turntable to your computer and can now enjoy the benefits of digital music with the warmth and nostalgia of vinyl records.
If you encounter any problems during the testing phase, double-check your connections, settings, and software configurations. Consult the documentation or support resources for your turntable, audio interface, or software for troubleshooting assistance.
Remember, practice makes perfect, so take some time to familiarize yourself with your setup and explore the various possibilities that connecting your turntable to your computer can offer.
Enjoy the world of vinyl and digital music combined!
Conclusion
Connecting a turntable to your computer opens up a whole new world of possibilities for enjoying and preserving your vinyl collection. Whether you want to digitize your records, create DJ mixes, or simply listen to your favorite albums through your computer speakers, the process is relatively straightforward with the right equipment and setup.
In this article, we covered the step-by-step process of connecting a turntable to a computer. From gathering the necessary equipment to setting up the turntable, connecting it to the computer, configuring the computer settings, and testing the connection, we provided you with a comprehensive guide to ensure a successful integration.
Remember, the specific steps may vary depending on the make and model of your turntable and computer, but the general principles we discussed should apply to most setups. Always refer to the manufacturer’s instructions and documentation for specific details and troubleshooting assistance.
Now that you have everything set up, take the time to indulge in the rich and warm sound of vinyl records while enjoying the convenience and versatility of digital technology. Explore your favorite albums, discover new music, and unleash your creativity.
Whether you’re a vinyl enthusiast, a DJ, or simply someone who appreciates the unique experience of playing vinyl records, connecting your turntable to your computer allows you to preserve and share your passion for music in a modern and innovative way.
So grab your favorite records, fire up your computer, and embark on a musical journey that combines the best of both analog and digital worlds. Happy listening!