Home>Production & Technology>Sound Bar>How To Hook Up Sonos Sound Bar To TV
Sound Bar
How To Hook Up Sonos Sound Bar To TV
Published: December 25, 2023
Learn how to easily connect and set up your Sonos Sound Bar to your TV for an immersive audio experience. Enhance your home entertainment with this step-by-step guide.
(Many of the links in this article redirect to a specific reviewed product. Your purchase of these products through affiliate links helps to generate commission for AudioLover.com, at no extra cost. Learn more)
Table of Contents
Introduction
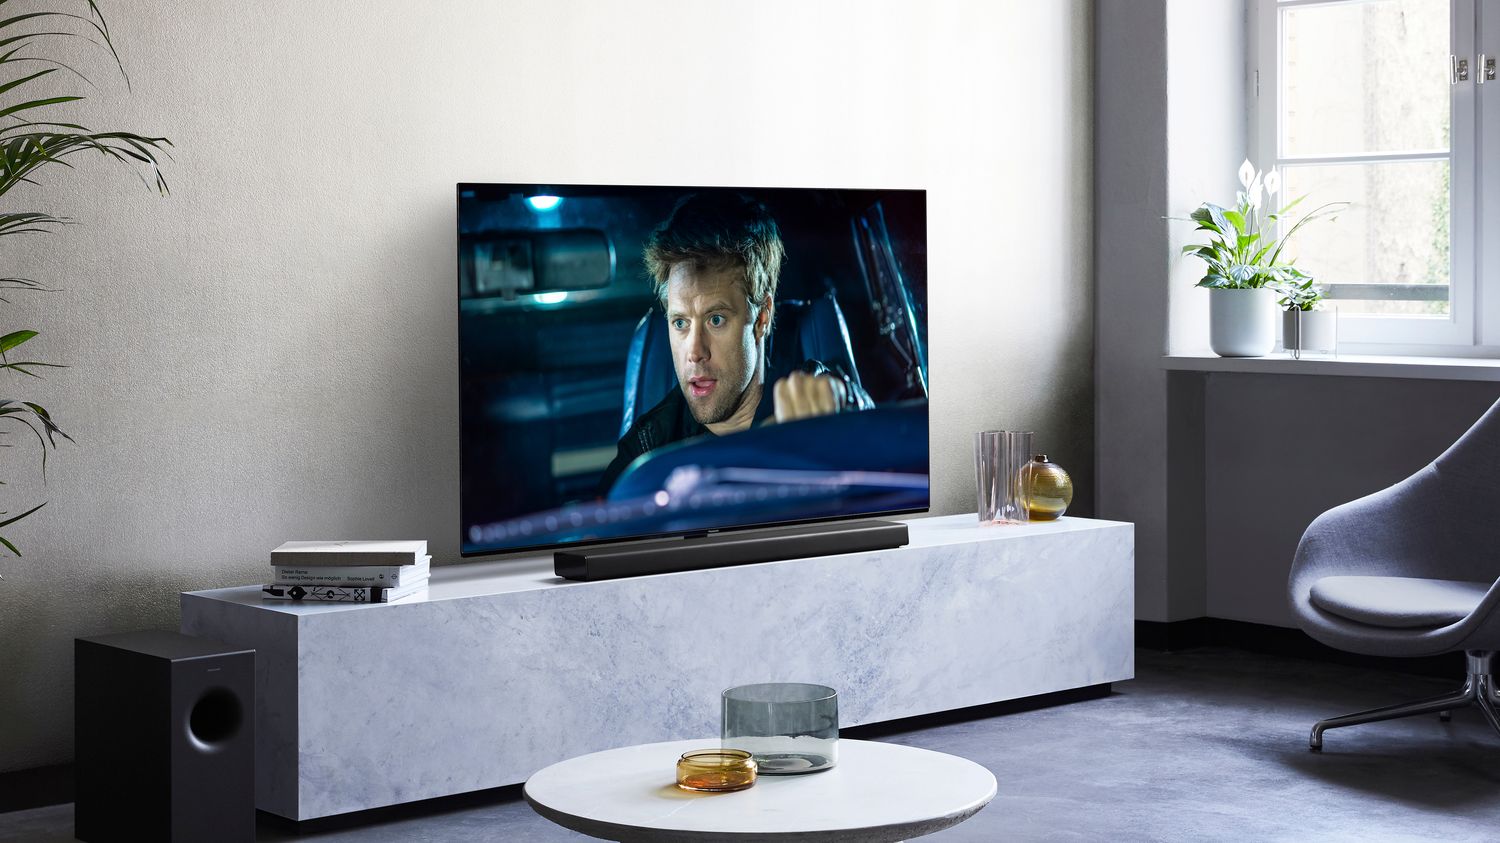
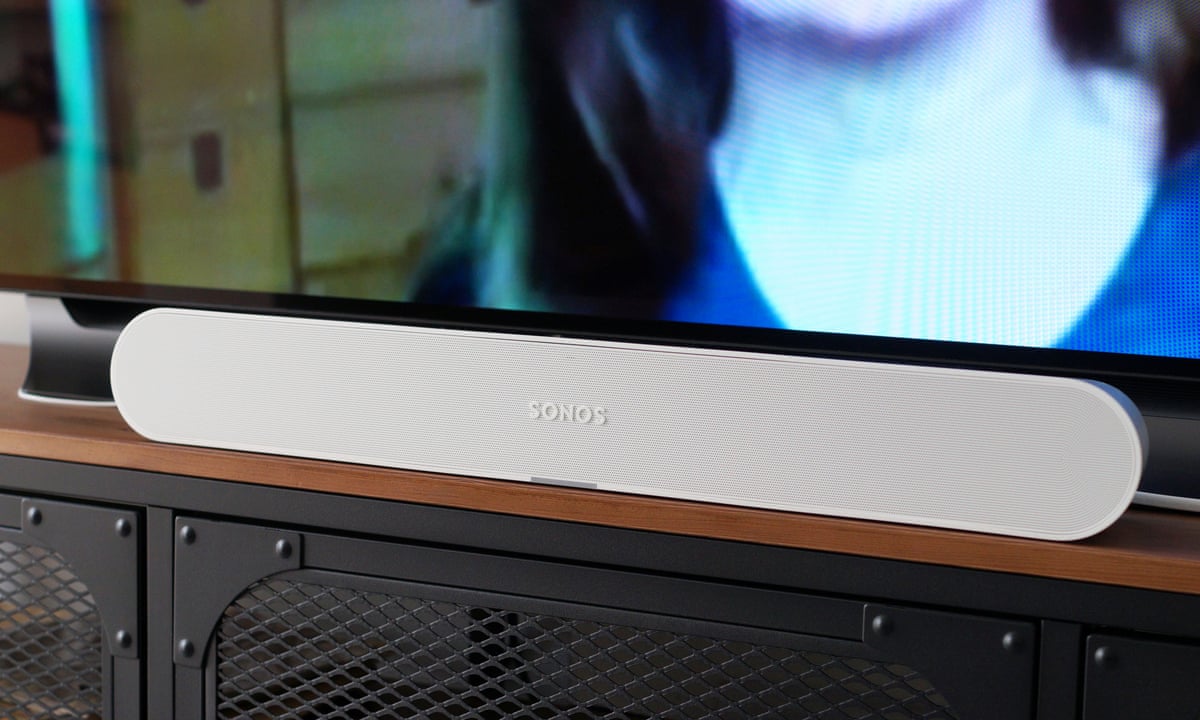
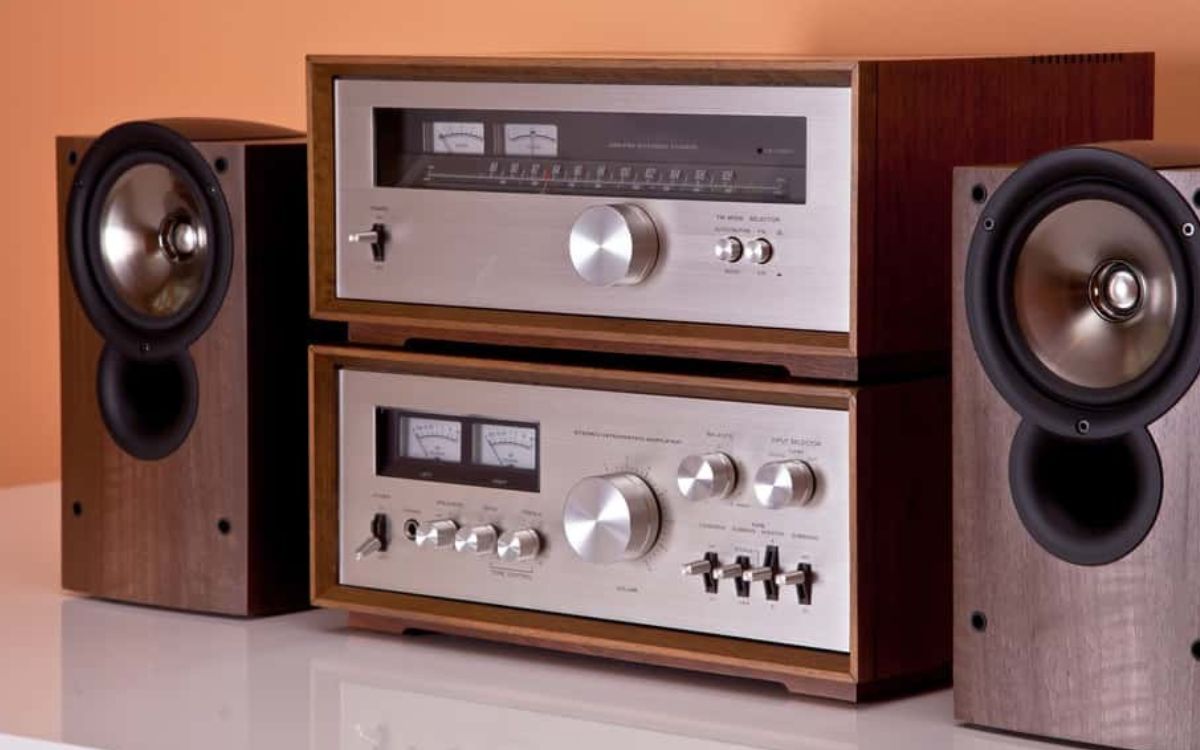
Welcome to the world of immersive audio experience with a Sonos Soundbar! The Sonos Soundbar is a perfect addition to your home theater setup, offering exceptional sound quality and convenience. Whether you enjoy watching movies, listening to music, or playing games, the Sonos Soundbar will take your entertainment experience to the next level.
In this article, we will guide you through the process of hooking up your Sonos Soundbar to your TV. Don’t worry if you’re not tech-savvy; we will provide step-by-step instructions to ensure a seamless setup. By the end, you’ll be enjoying crystal-clear sound and enhanced audio performance.
Before we dive into the setup process, it’s important to note that Sonos Soundbars come in different models, each with its own unique features and specifications. Make sure you have the right Sonos Soundbar model that is compatible with your TV and suits your specific needs. With that said, let’s get started!
Step 1: Check the Compatibility
Before you begin setting up your Sonos Soundbar, it is crucial to ensure compatibility between your TV and the soundbar. This will ensure a smooth and hassle-free installation process. Here are a few things you need to check:
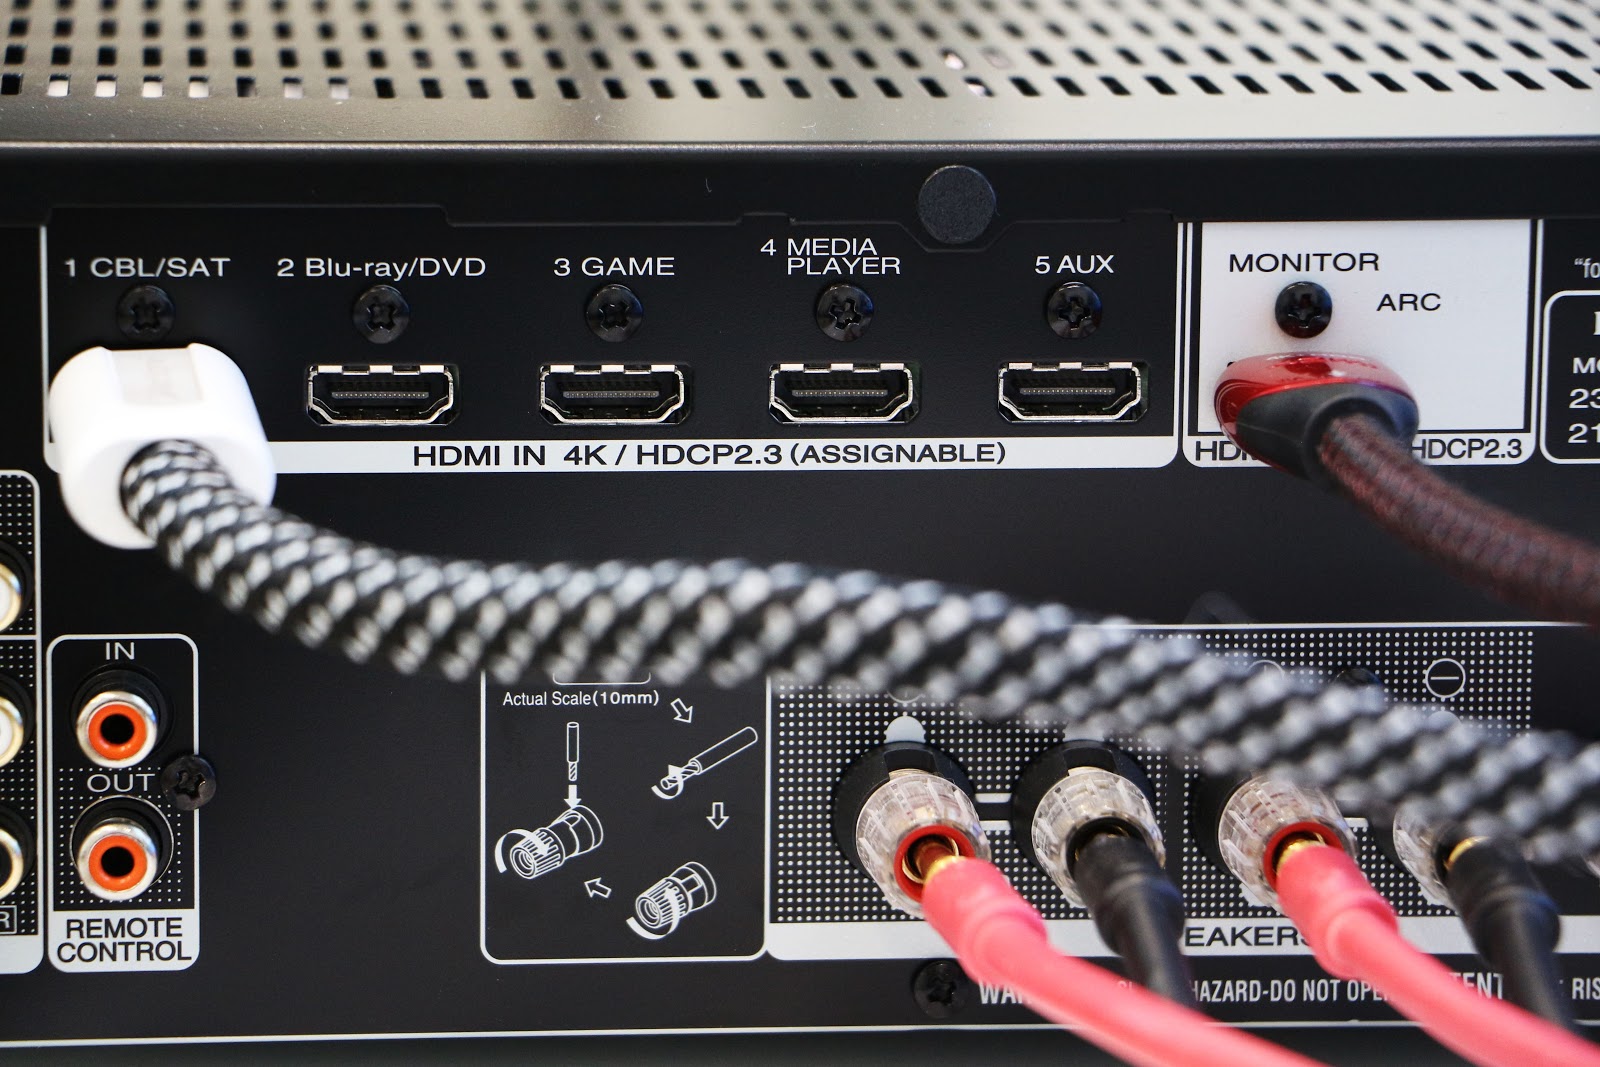
- TV Compatibility: Verify that your TV has an HDMI ARC (Audio Return Channel) port. This is essential for connecting the Sonos Soundbar to your TV. Most modern TVs have this feature, but it’s always a good idea to double-check the specifications or consult the user manual.
- Soundbar Model: Make sure you have the correct Sonos Soundbar model that supports TV connectivity. Different Sonos models have different connectivity options, so ensure that your chosen soundbar is compatible with your TV and meets your requirements.
- Internet Connection: To fully utilize the Sonos Soundbar’s features, including streaming music and accessing online content, make sure your TV has a stable internet connection. This will ensure that you can take advantage of all the capabilities that the soundbar has to offer.
By confirming these compatibility factors, you can proceed confidently with the setup process, knowing that your TV and soundbar are capable of working together seamlessly. If you find any incompatibilities, you might need additional accessories or consider alternative options to connect your Sonos Soundbar to your TV.
Step 2: Gather the Necessary Equipment
Now that you’ve confirmed the compatibility between your TV and the Sonos Soundbar, let’s move on to gathering the necessary equipment. Here’s what you’ll need:
- Sonos Soundbar: Of course, you’ll need the Sonos Soundbar itself. Make sure you have the correct model that suits your needs.
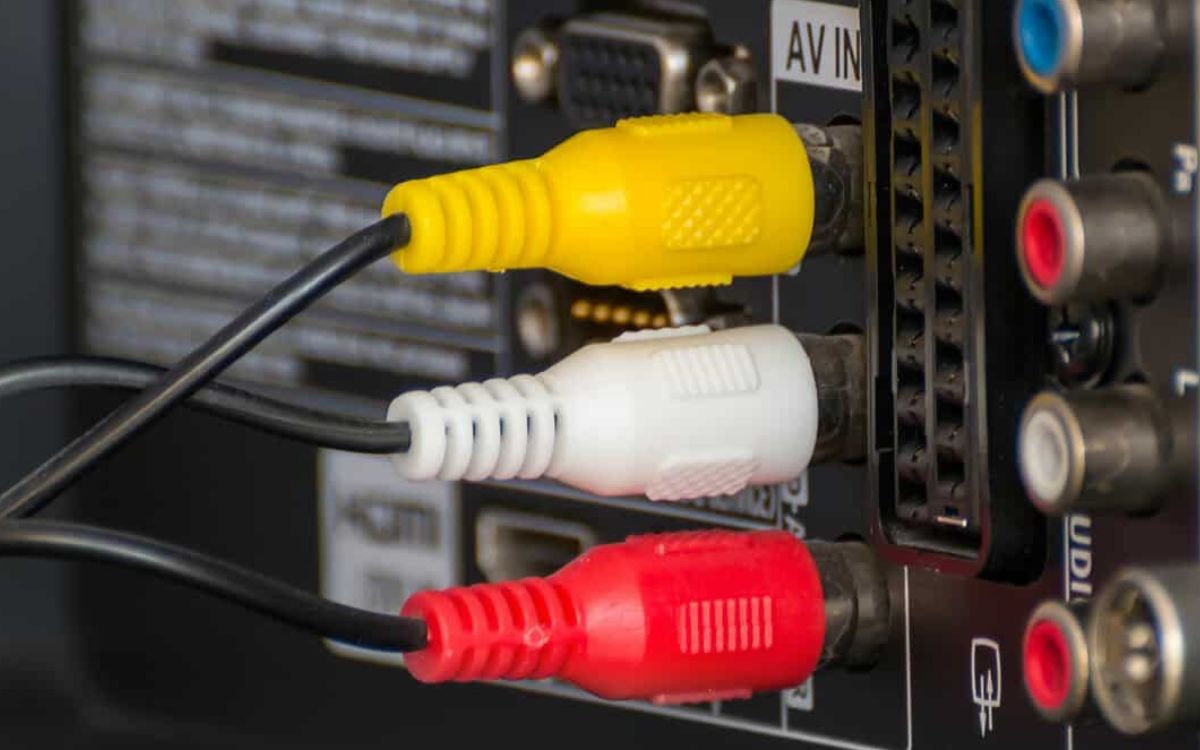
- HDMI Cable: You’ll need an HDMI cable to connect the soundbar to your TV. Ensure that the cable is long enough to reach from your TV to your soundbar without any constraints.
- Power Cable: The Sonos Soundbar comes with a power cable that you’ll need to plug into a power outlet to provide electricity to the soundbar.
- TV Remote: Keep your TV remote handy, as you may need it for certain steps during the setup process.
- Internet Connection: Ensure that your TV is connected to the internet, as mentioned in the previous step, to fully utilize the Sonos Soundbar’s features.
Double-check that you have all the necessary equipment before proceeding to the next step. This will make the setup process smoother and more efficient.
Now that you’re ready with the required equipment, let’s move on to the next step, where we’ll connect the Sonos Soundbar to your TV using HDMI.
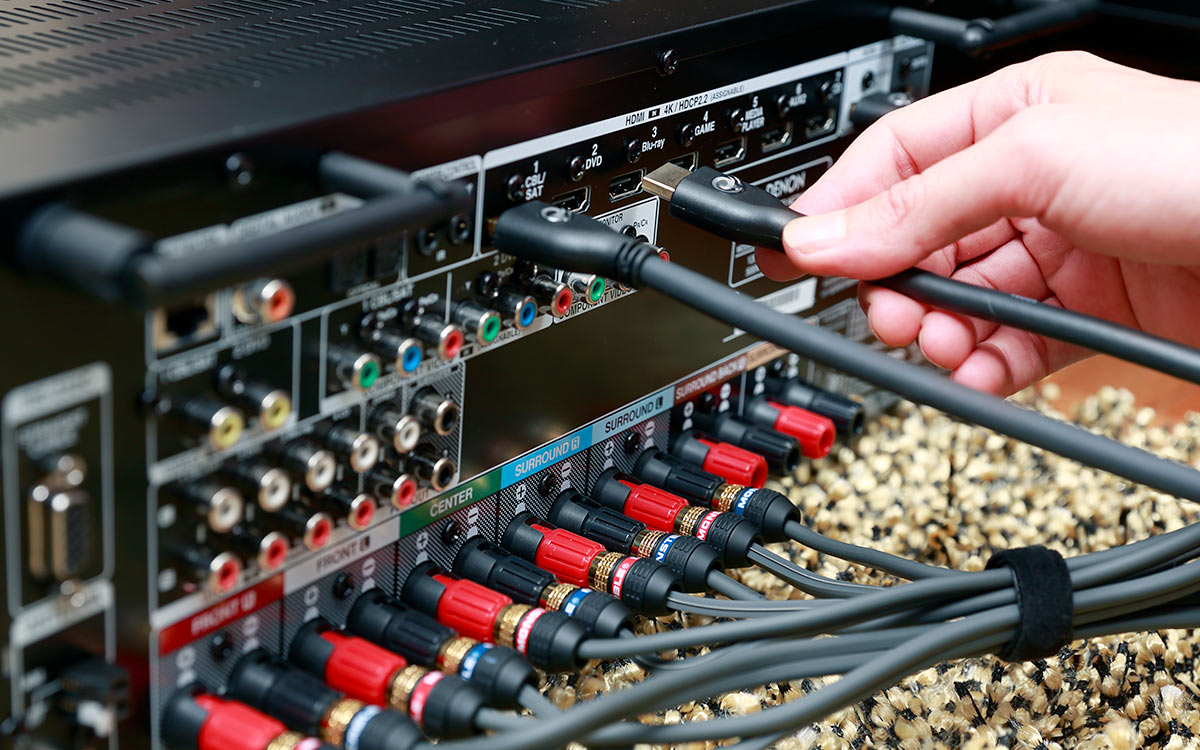
Step 3: Connect the Soundbar to the TV using HDMI
Now it’s time to connect your Sonos Soundbar to your TV using an HDMI cable. Follow these steps:
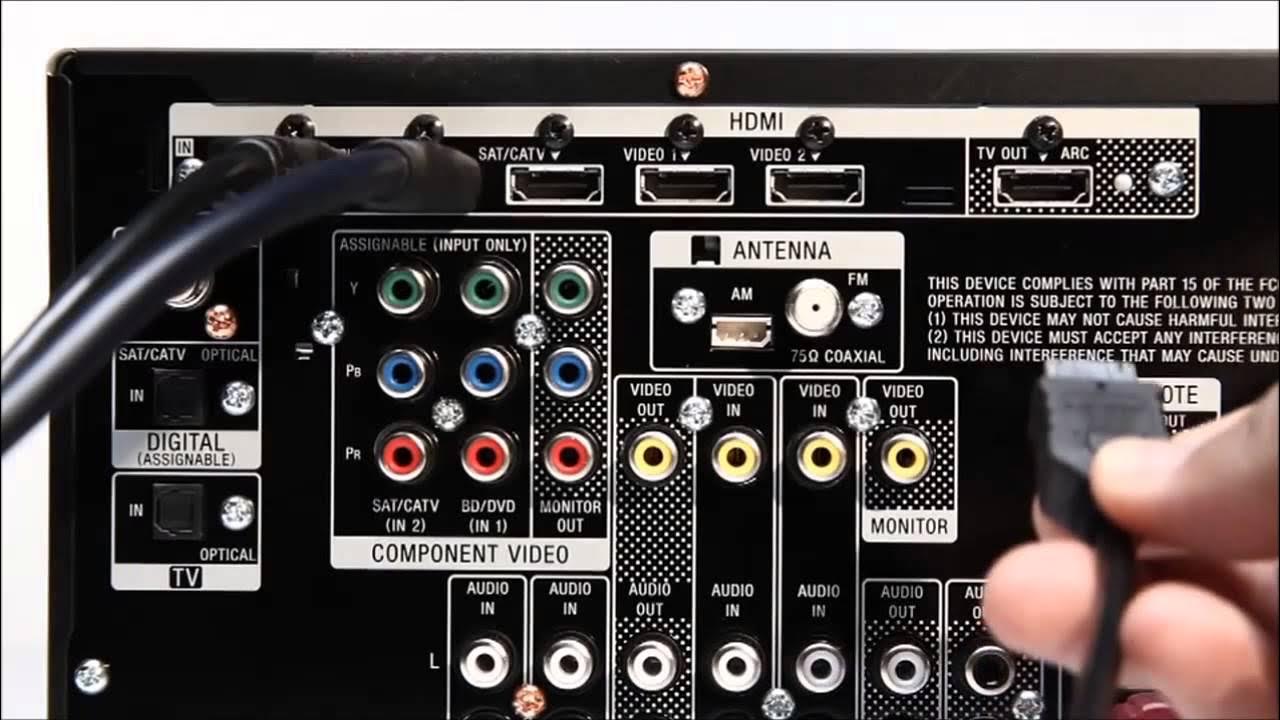
- Locate the HDMI ARC (Audio Return Channel) port on your TV. It is usually labeled as such or marked with an “ARC” symbol.
- Take one end of the HDMI cable and insert it into the HDMI ARC port on your TV.
- Connect the other end of the HDMI cable to the HDMI ARC port on the Sonos Soundbar.
- Ensure that the connections are secure by gently pushing the cable plugs into the ports.
- Power on both the TV and the Sonos Soundbar.
Once the soundbar is connected to your TV using the HDMI cable, the TV should automatically detect the Sonos Soundbar as the audio output source. If not, you may need to manually change the audio output settings on your TV to use the HDMI ARC connection.
Consult your TV’s user manual or navigate to the audio settings menu to select the HDMI ARC setting as the primary audio output. This will route the audio from your TV through the Sonos Soundbar, providing you with superior sound quality.
With the HDMI connection established, you’re one step closer to enjoying immersive sound from your Sonos Soundbar. In the next step, we’ll guide you on setting up the Sonos Soundbar itself.
Step 4: Set up the Sonos Soundbar
Now that your Sonos Soundbar is connected to your TV, it’s time to set it up and configure the necessary settings. Follow these steps:
- Download the Sonos app: Download and install the Sonos app on your smartphone or tablet. It is available for both iOS and Android devices.
- Open the Sonos app: Launch the Sonos app and follow the on-screen instructions to set up a new system.
- Select your Sonos Soundbar model: Choose the Sonos Soundbar model that you are setting up from the list provided in the app.
- Connect the Sonos Soundbar to your Wi-Fi network: Follow the prompts in the app to connect the soundbar to your Wi-Fi network. This will enable you to stream music and access various online features.
- Follow the guided setup: The Sonos app will guide you through the setup process, including configuring room settings, room name, and audio preferences.
- Update the software: Once the initial setup is complete, it is recommended to check for any available software updates for your Sonos Soundbar. This will ensure that you have the latest features and bug fixes.
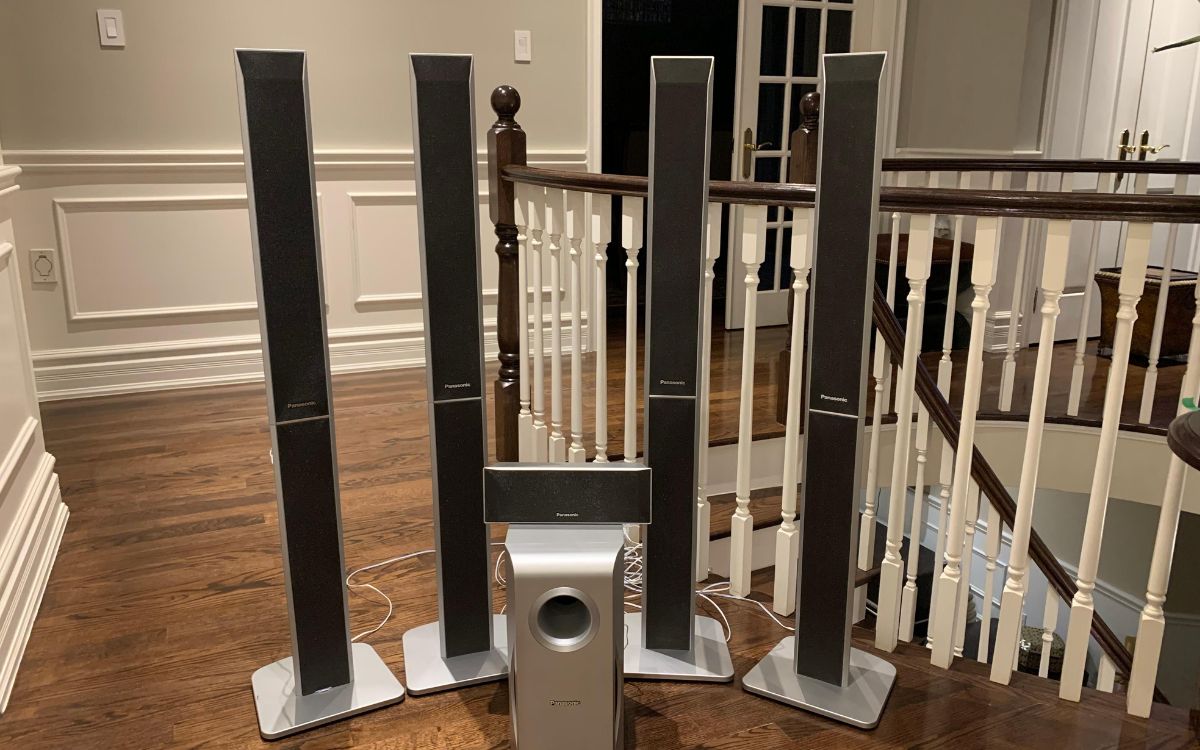
During the setup process, the Sonos app will also provide the option to add additional speakers or a subwoofer to your Sonos system, allowing you to create a complete home audio setup. This step is optional, but it can further enhance your sound experience.
Once you have completed the setup process, your Sonos Soundbar is now ready to provide you with exceptional sound quality and immersive audio. However, there are a few more steps to ensure optimal sound settings, as we’ll cover next.
Step 5: Adjust the Sound Settings
Now that your Sonos Soundbar is set up, it’s time to fine-tune the sound settings to suit your preferences. Here are a few key adjustments you can make:
- Volume Control: Use the volume control buttons on your TV remote or the Sonos app to adjust the soundbar’s volume. Find the perfect balance that suits your listening environment.
- Equalizer Settings: Many Sonos Soundbars have built-in equalizer settings that allow you to adjust the bass, treble, and other audio frequencies. Experiment with these settings to achieve the desired sound profile.
- Audio Modes: Some Sonos Soundbars come with different audio modes, such as “Music Mode,” “Movie Mode,” or “Speech Enhancement.” These modes optimize the sound output for different types of content. Choose the mode that enhances your listening experience.
- Room Calibration: If your Sonos Soundbar supports it, consider using the room calibration feature. This feature analyzes the acoustics of your room and adjusts the sound output accordingly for optimal performance.
Feel free to experiment with these settings until you find the sound quality that suits your preferences and provides an immersive audio experience. Remember, what sounds good to one person may not sound the same to another, so don’t hesitate to customize the settings to your liking.
With the sound settings adjusted, you’re almost ready to enjoy true cinematic sound. But first, let’s make sure everything is working correctly by testing the connection.
Step 6: Test the Connection
Before you sit back and enjoy your favorite movies or music, it’s essential to test the connection between your TV and the Sonos Soundbar. Follow these steps to ensure everything is working properly:
- Choose Audio Output: On your TV, navigate to the audio settings menu and select the Sonos Soundbar as the audio output source.
- Play Content: Play a movie, TV show, or music from a streaming service or any other source on your TV.
- Verify Sound: Listen to the audio output and make sure it is coming from the Sonos Soundbar. You can also adjust the volume and see if the changes reflect on the soundbar.
- Check Surround Sound: If you have additional Sonos speakers or a subwoofer connected to your Sonos system, ensure that they are also properly functioning and producing sound when the content requires it.
- Test Online Features: If your Sonos Soundbar offers online capabilities, such as music streaming or voice control, test those features to ensure they are functioning correctly.
If everything is working as expected, congratulations! You have successfully connected and tested your Sonos Soundbar. You can now sit back, relax, and enjoy immersive sound quality for all your favorite entertainment.
However, if you encounter any issues during the testing process, double-check the connections, settings, and ensure that everything is properly configured. If you’re still experiencing problems, consult the Sonos support resources or contact their customer support for assistance.
With the connection successfully tested, you are now ready to embark on a thrilling audio journey with your Sonos Soundbar.
Conclusion
Hooking up your Sonos Soundbar to your TV is a straightforward process that can greatly enhance your audio experience. By following the steps outlined in this guide, you can ensure a seamless setup and enjoy immersive sound quality for all your favorite movies, music, and games.
Start by checking the compatibility between your TV and the soundbar, ensuring that you have the necessary equipment on hand. Connect the soundbar to your TV using an HDMI cable, and then proceed with setting up the Sonos Soundbar using the Sonos app.
After the setup is complete, adjust the sound settings to your liking, experimenting with volume control, equalizer settings, and audio modes. Once satisfied, test the connection by playing content on your TV and verifying the sound output from the Sonos Soundbar.
If you encounter any issues along the way, double-check the connections and settings, and consult the Sonos support resources for assistance.
Now, sit back, relax, and enjoy the immersive audio experience that your Sonos Soundbar brings to your home entertainment setup. Whether you’re watching movies, listening to music, or playing games, the Sonos Soundbar will elevate your audio experience to new heights.
Remember to keep the Sonos app updated and explore any additional features that your Sonos Soundbar may offer, such as voice control or music streaming capabilities.
With your Sonos Soundbar connected and properly set up, get ready to immerse yourself in a world of rich, detailed, and captivating sound.