Home>Devices & Equipment>Turntable>How To Hook JVC Turntable Al-A158 To Speakers
Turntable
How To Hook JVC Turntable Al-A158 To Speakers
Modified: January 22, 2024
Learn how to easily connect your JVC Turntable Al-A158 to speakers and enjoy high-quality sound with this step-by-step guide.
(Many of the links in this article redirect to a specific reviewed product. Your purchase of these products through affiliate links helps to generate commission for AudioLover.com, at no extra cost. Learn more)
Table of Contents
Introduction
The JVC Al-A158 turntable is a classic piece of audio equipment that allows you to enjoy the warm, nostalgic sound of vinyl records. If you’re a vinyl enthusiast or simply want to experience the unique charm of analog music, you’ll need to properly connect your JVC turntable to a set of speakers to fully enjoy your favorite records.
While the process of hooking up a turntable to speakers may seem daunting at first, it’s actually quite straightforward once you understand the necessary steps. In this guide, we’ll walk you through the process of connecting your JVC turntable to your speakers, ensuring that you can bring your vinyl collection to life.
Before we begin, it’s important to note that the JVC Al-A158 turntable does not have a built-in preamp. This means that you will need an external amplifier with a phono preamp or a separate phono preamp to boost the audio signal from the turntable to a level that can be properly amplified by your speakers. Make sure you have the necessary equipment before proceeding.
Now, let’s dive into the step-by-step process of connecting your JVC turntable to your speakers and enjoy the rich, authentic sound of vinyl records.
Step 1: Gather the necessary equipment
Before you begin the process of connecting your JVC Al-A158 turntable to speakers, it’s important to gather all the necessary equipment. Here’s a list of items you’ll need:
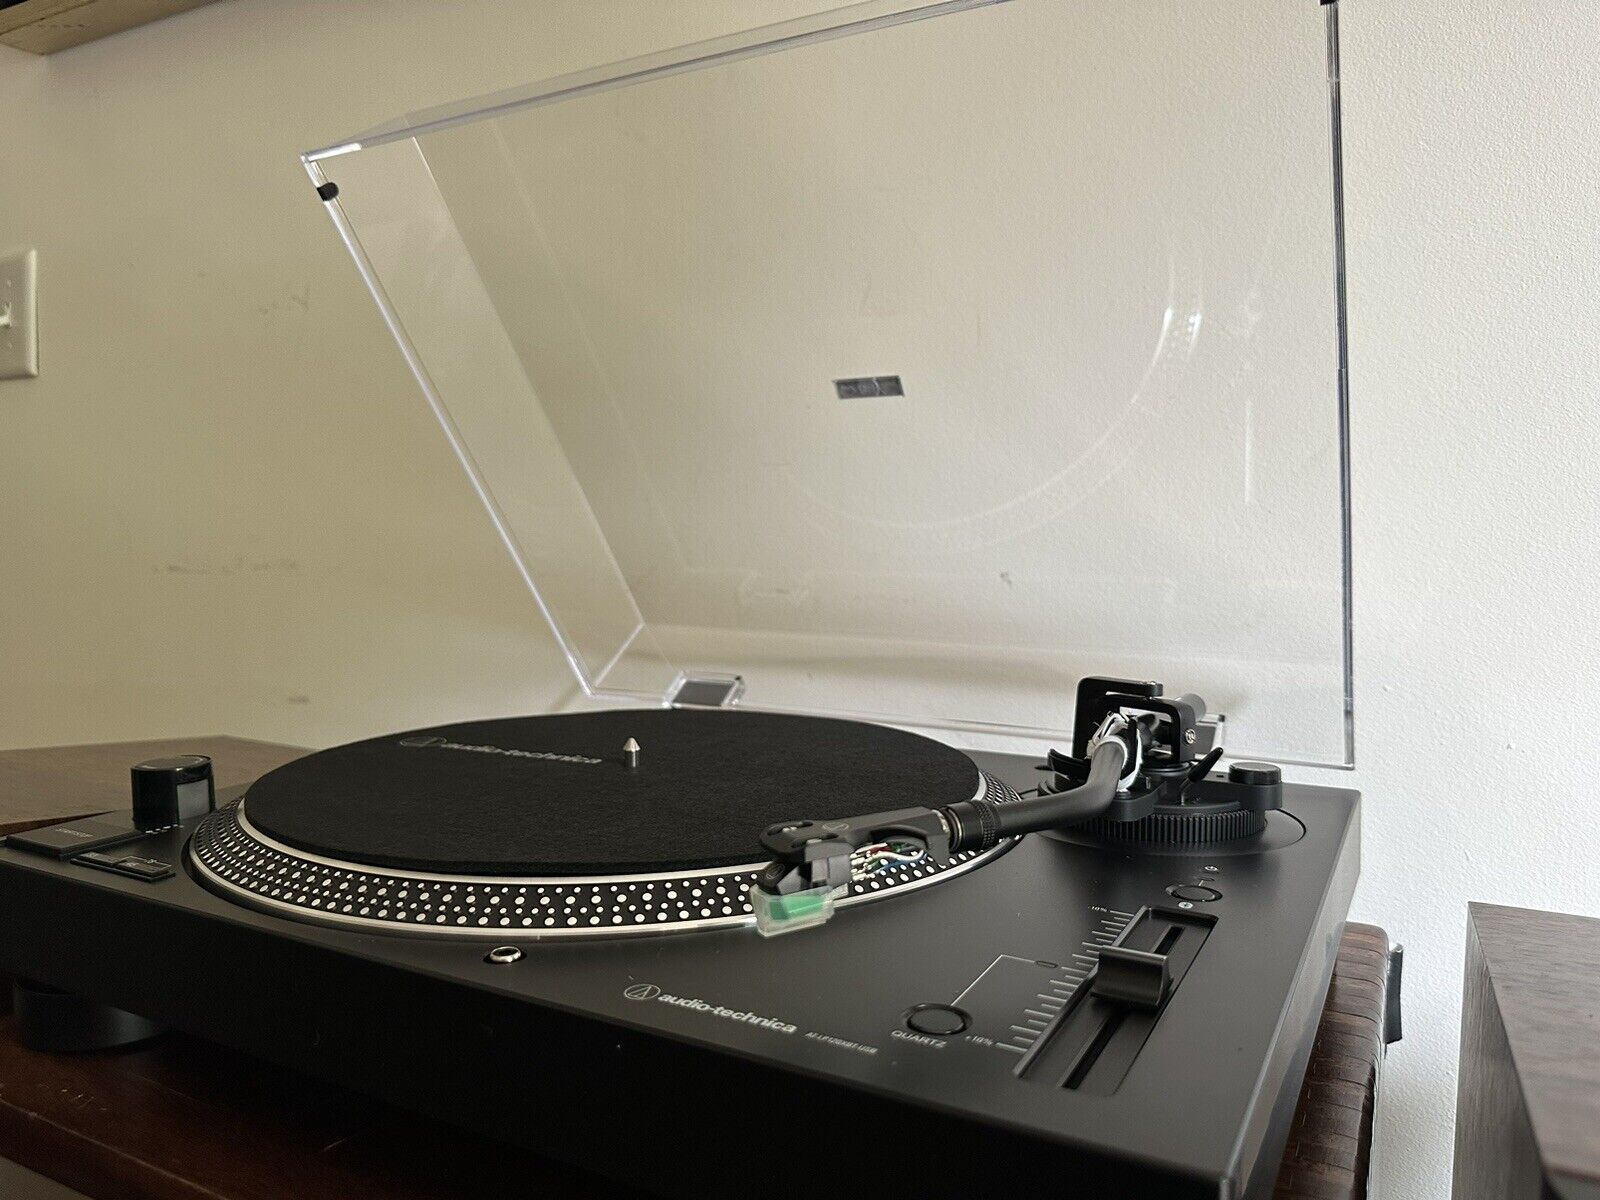
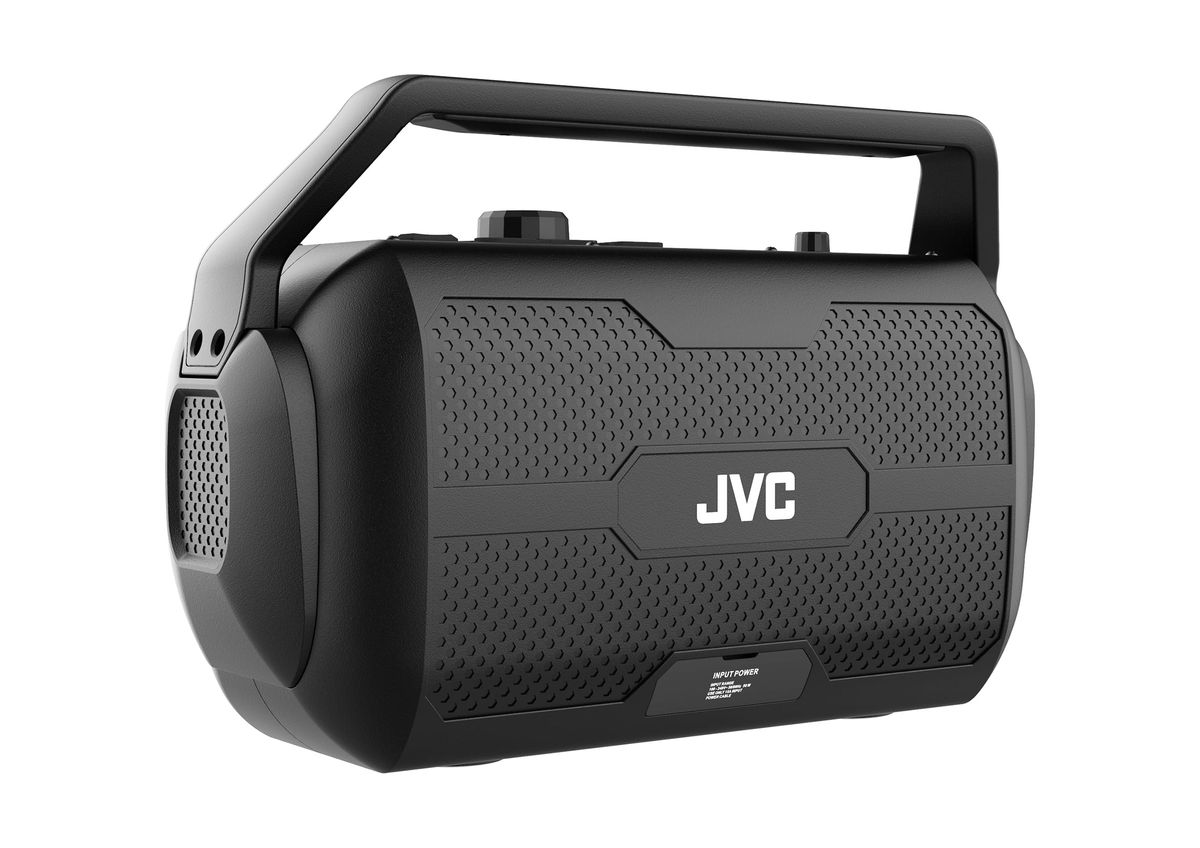
- JVC Al-A158 turntable
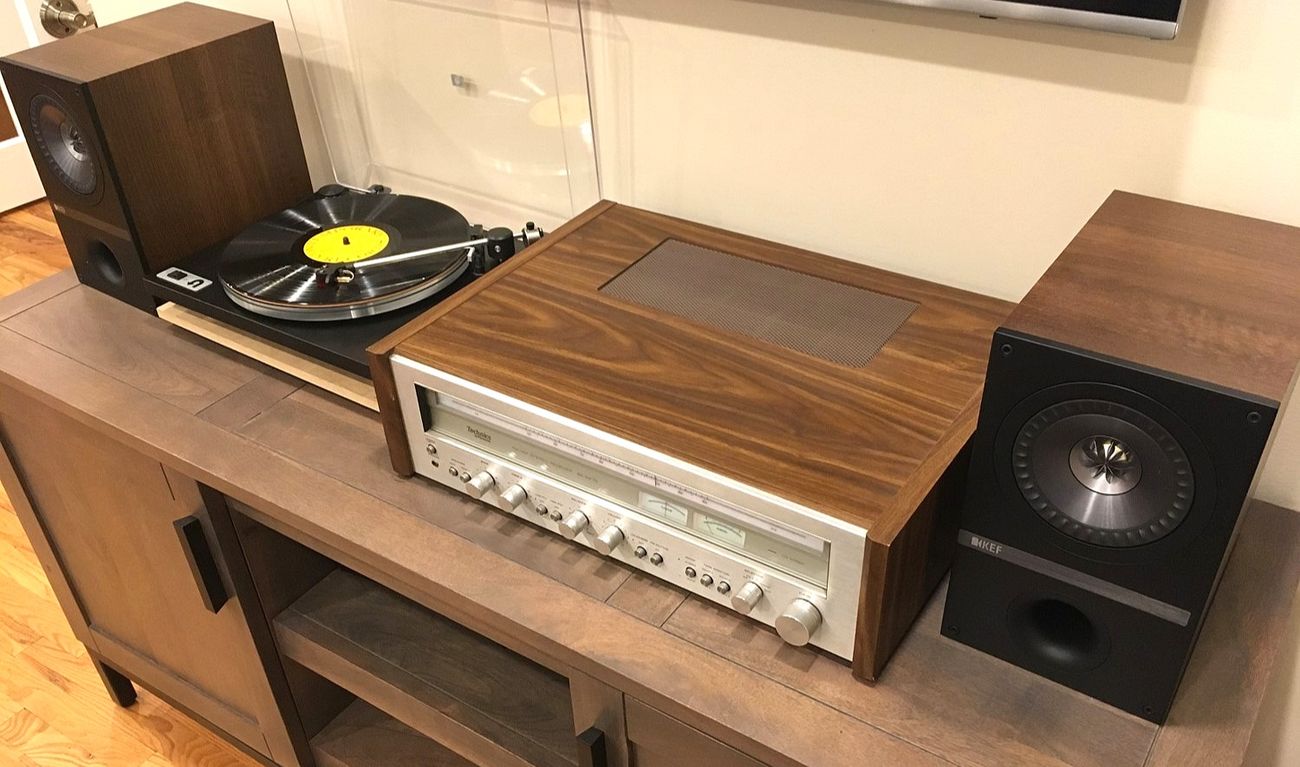
- Amplifier with a phono preamp or a separate phono preamp
- Audio cables (RCA cables)
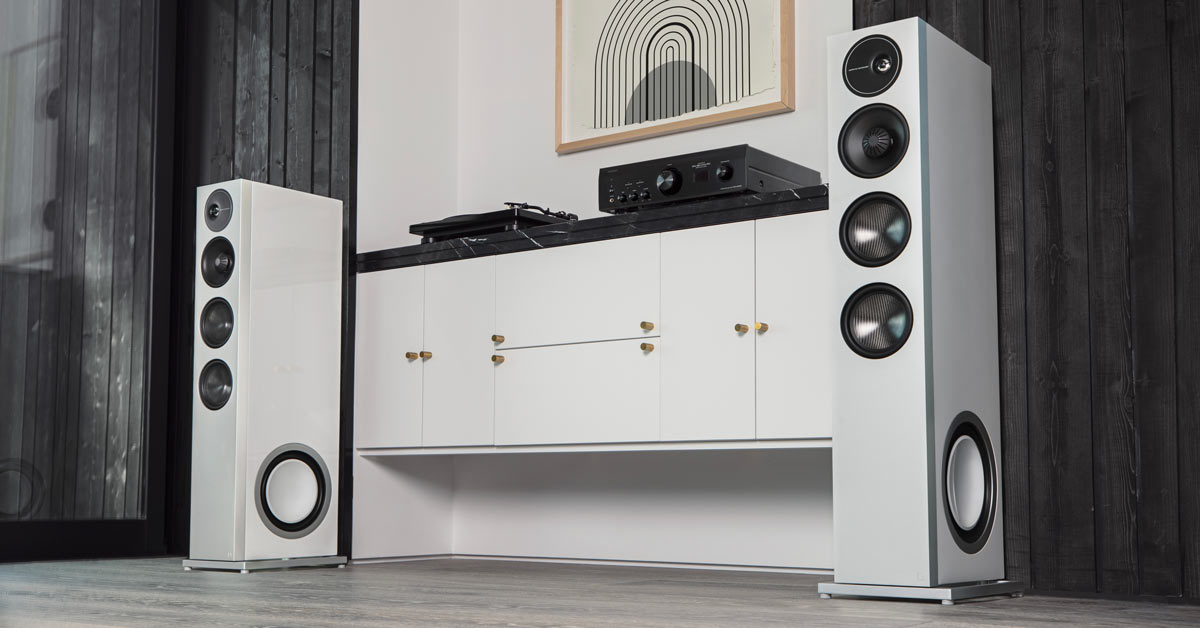
- Stereo speakers
- Speaker cables
- Power cables for the turntable, amplifier, and speakers
Ensure that all the cables are in good condition and the speakers are in working order. It’s also important to have enough length in the cables to comfortably connect the various components.
Once you have gathered all the necessary equipment, let’s move on to the next steps.
Step 2: Connect the JVC turntable to the amplifier
Now that you have all the necessary equipment, it’s time to connect your JVC Al-A158 turntable to the amplifier. Follow these steps to ensure a proper connection:
- Locate the RCA output cables on the back of your JVC turntable. These cables are typically color-coded, with red and white connectors.
- Insert the red RCA cable into the red “Line Out” or “Audio Out” socket on the back of your turntable. Insert the white RCA cable into the white socket. Make sure they are securely plugged in.
- Now, locate the “Phono Input” or “Aux Input” sockets on your amplifier. These are the inputs where you will connect the turntable.
- Take the other end of the RCA cables from your JVC turntable and plug them into the corresponding “Phono Input” or “Aux Input” sockets on the amplifier. Again, refer to the color-coding to ensure you connect the right cables to the correct sockets.
- Ensure that the RCA cables are firmly inserted into the sockets on both the turntable and the amplifier. Loose connections can result in poor audio quality or no sound at all.
That’s it! Your JVC turntable is now connected to the amplifier. Proceed to the next step to connect the amplifier to the speakers for a complete setup.
Step 3: Connect the amplifier to the speakers
Now that your JVC turntable is connected to the amplifier, it’s time to connect the amplifier to your speakers. Follow these steps to ensure a proper connection:
- Identify the speaker outputs on your amplifier. They are usually labeled as “Speaker Out” or “Output”.
- Take the speaker cables and connect one end to the corresponding speaker outputs on the amplifier. Make sure to match the positive (+) and negative (-) terminals correctly.
- Locate the speaker inputs on your speakers. They are typically color-coded as well, with red and black terminals.
- Take the other end of the speaker cables and connect them to the corresponding speaker inputs on your speakers, following the color-coding for positive and negative terminals.
- Ensure that all connections are secure and tight to avoid any audio loss or noise.
Once you have connected the amplifier to the speakers, your setup is almost complete. All that’s left is to power on the turntable, amplifier, and speakers, and adjust the volume accordingly.
Remember to consult the user manuals of your specific equipment if you encounter any difficulties during the setup process. Each turntable, amplifier, and speaker system may have slight variations in terms of input/output placements or features.
With everything properly connected, you can now immerse yourself in the world of vinyl music and enjoy the warm, authentic sound that the JVC Al-A158 turntable and your speakers can produce.
Step 4: Test the connection
After completing the setup of connecting your JVC turntable to the amplifier and then from the amplifier to the speakers, it’s important to test the connection to ensure everything is working properly. Follow these steps to test the connection:
- Power on the turntable, amplifier, and speakers.
- Set the input selector on your amplifier to the source you connected the turntable to, whether it’s labeled as “Phono” or “Aux”.
- Start playing a record on your JVC turntable.
- Gradually increase the volume on the amplifier to the desired level.
- Listen for the sound coming from the speakers. Make sure the audio is clear and without any distortion or noise.
- If you’re not hearing any sound or experiencing any issues, double-check all the connections. Ensure that the RCA cables from the turntable are securely plugged into the amplifier’s input, and the speaker cables are properly connected to both the amplifier and speakers.
- Try adjusting the volume and checking the settings on both the turntable and amplifier to ensure they are configured correctly.
If you’re still having trouble after double-checking the connections and settings, consult the user manuals for your specific equipment or seek assistance from an audio professional.
Once you’ve confirmed that the audio is playing correctly and the connection is functioning properly, you can sit back and enjoy the exceptional sound quality that your JVC turntable and speakers provide.
Conclusion
Connecting your JVC Al-A158 turntable to speakers is a rewarding process that allows you to experience the rich and nostalgic sound of vinyl records. By following the steps outlined in this guide, you can ensure a proper and seamless connection between your turntable, amplifier, and speakers.
Remember to gather all the necessary equipment, including the JVC turntable itself, an amplifier with a phono preamp or a separate phono preamp, audio cables, and stereo speakers. Double-check that all cables and connections are secure before proceeding.
Step by step, you will connect the JVC turntable to the amplifier, making use of RCA cables and identifying the appropriate inputs and outputs for each device. Then, you will connect the amplifier to the speakers, ensuring that the speaker cables are properly connected to the corresponding terminals.
Once everything is connected, don’t forget to test the connection by powering on the devices, selecting the correct input on the amplifier, and playing a record on your turntable. Adjust the volume as desired and listen for clear, distortion-free sound coming from the speakers.
If any issues arise during the setup process, be sure to consult the user manuals of your specific equipment or seek assistance from an audio professional for further guidance.
Now that you have successfully connected your JVC turntable to speakers, you can immerse yourself in the magical world of vinyl music. Enjoy re-discovering your favorite records and relishing in the warm sound that only vinyl can provide.