Home>Events & Info>Podcast>How To Edit Podcast In Audacity
Podcast
How To Edit Podcast In Audacity
Modified: January 22, 2024
Learn how to edit your podcast in Audacity, the popular audio editing software. Enhance sound quality, trim clips, and add effects to make your podcast stand out.
(Many of the links in this article redirect to a specific reviewed product. Your purchase of these products through affiliate links helps to generate commission for AudioLover.com, at no extra cost. Learn more)
Table of Contents
Introduction
Podcasts have become increasingly popular in recent years, with millions of listeners tuning in to their favorite shows on a regular basis. Podcasts provide a unique and immersive experience, allowing listeners to delve into a wide range of topics while multitasking or relaxing.
However, producing a high-quality podcast requires more than just recording a conversation or an interview. Editing plays a crucial role in enhancing the overall audio quality, removing any unwanted noise or mistakes, and creating a seamless and engaging experience for the listeners.
When it comes to editing podcasts, Audacity is one of the most popular and user-friendly software options available. Audacity is a free, open-source audio editing program that offers a wide range of features and tools to help you perfect your podcast’s sound.
In this article, we will guide you through the process of editing a podcast using Audacity. Whether you are a seasoned podcaster or just starting out, these step-by-step instructions will help you navigate the software and make your podcast sound professional.
From importing audio files to cutting and trimming, adjusting volume levels, adding effects and filters, and removing background noise, we will cover all the essential techniques to polish your podcast and ensure a great listening experience.
So, if you’re ready to take your podcast editing skills to the next level, let’s dive right in and explore how to edit a podcast in Audacity!
Getting Started with Audacity
Before we begin editing our podcast in Audacity, let’s first set up the software and familiarize ourselves with its interface.
First, you’ll need to download and install Audacity from the official website (audacityteam.org). It’s available for Windows, Mac, and Linux operating systems, making it accessible to a wide range of users.
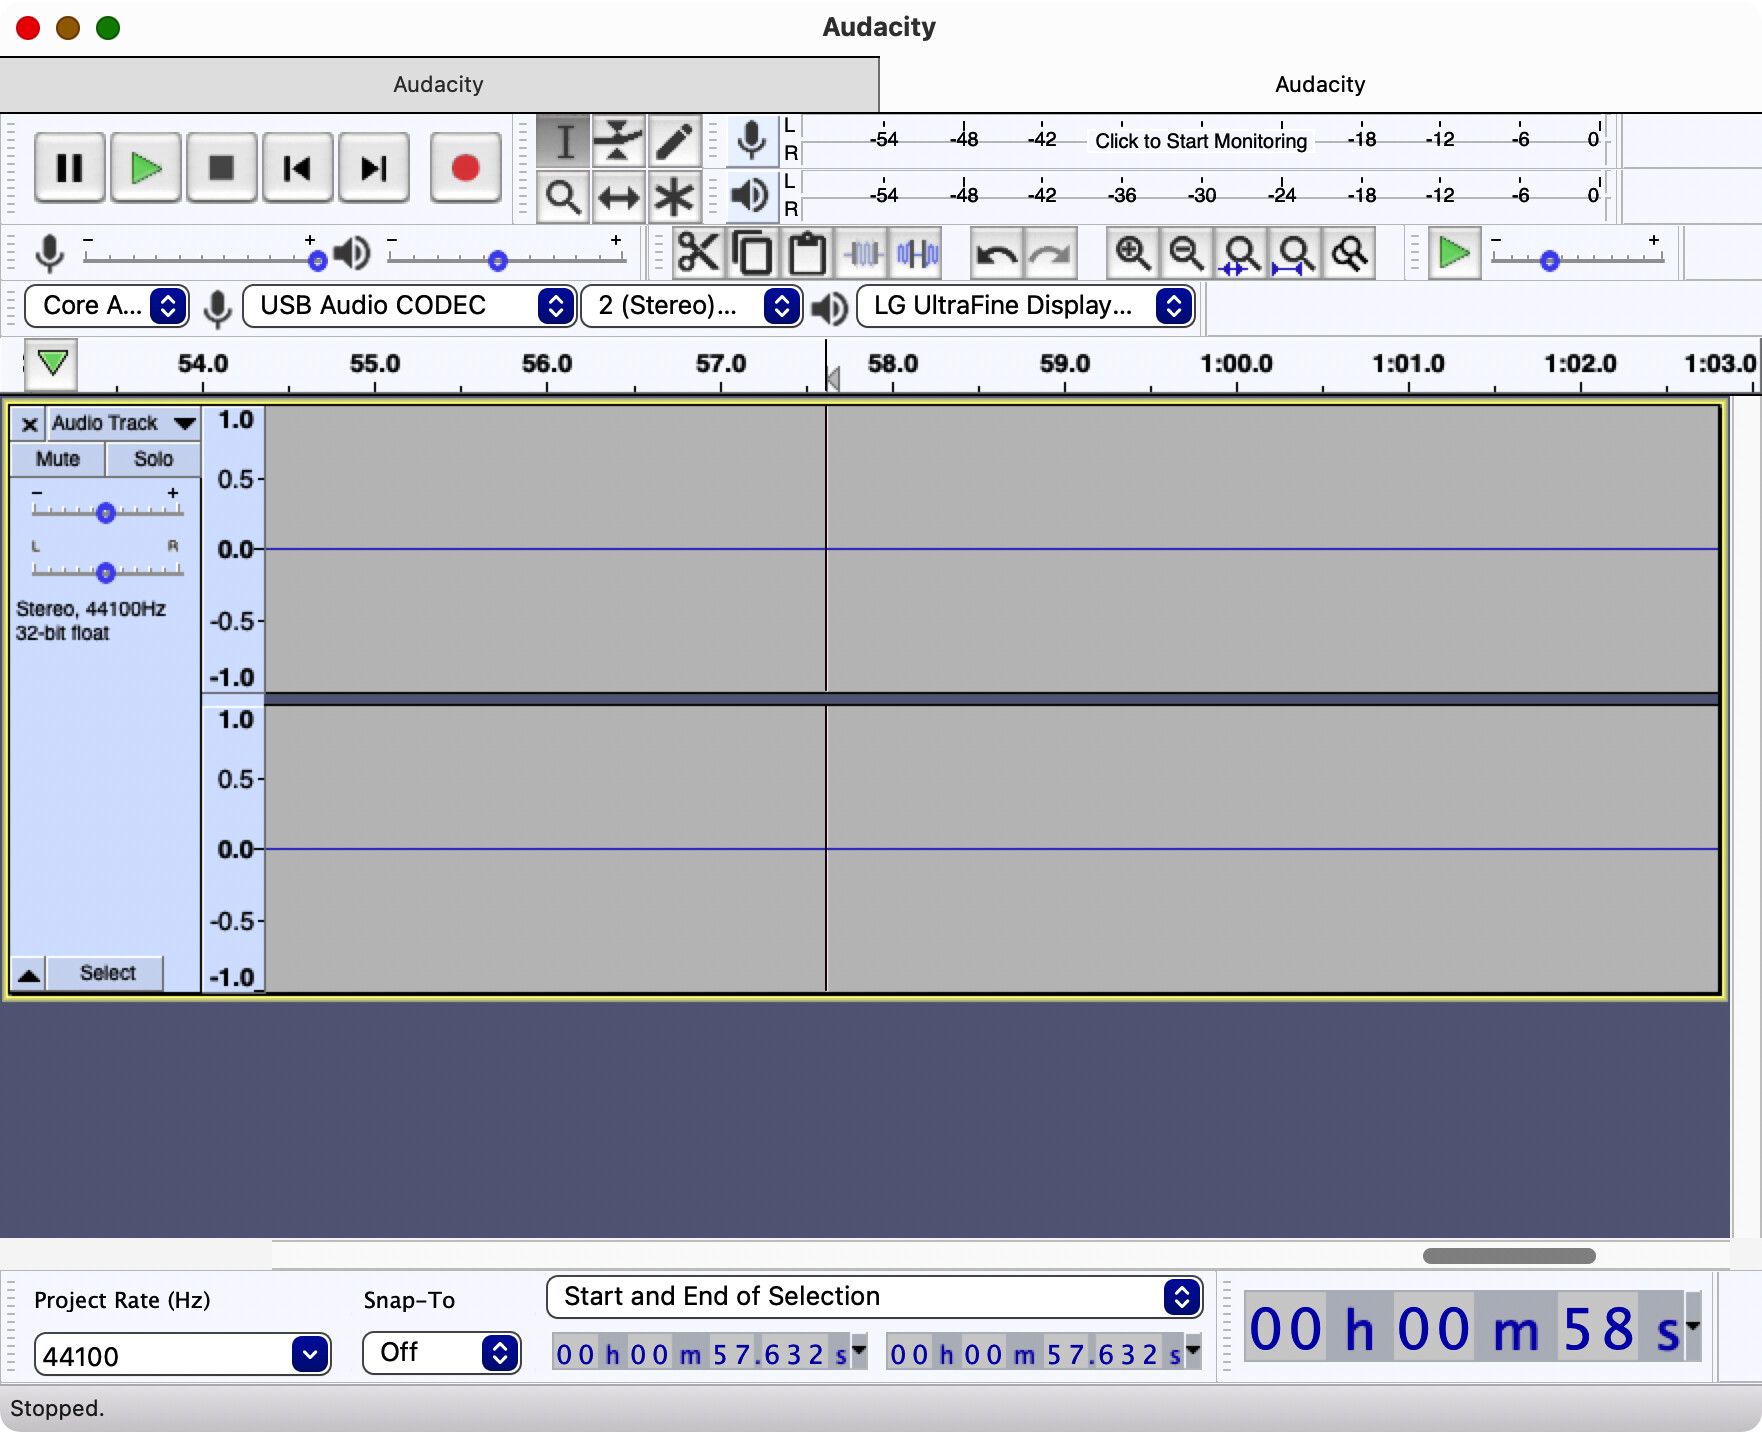
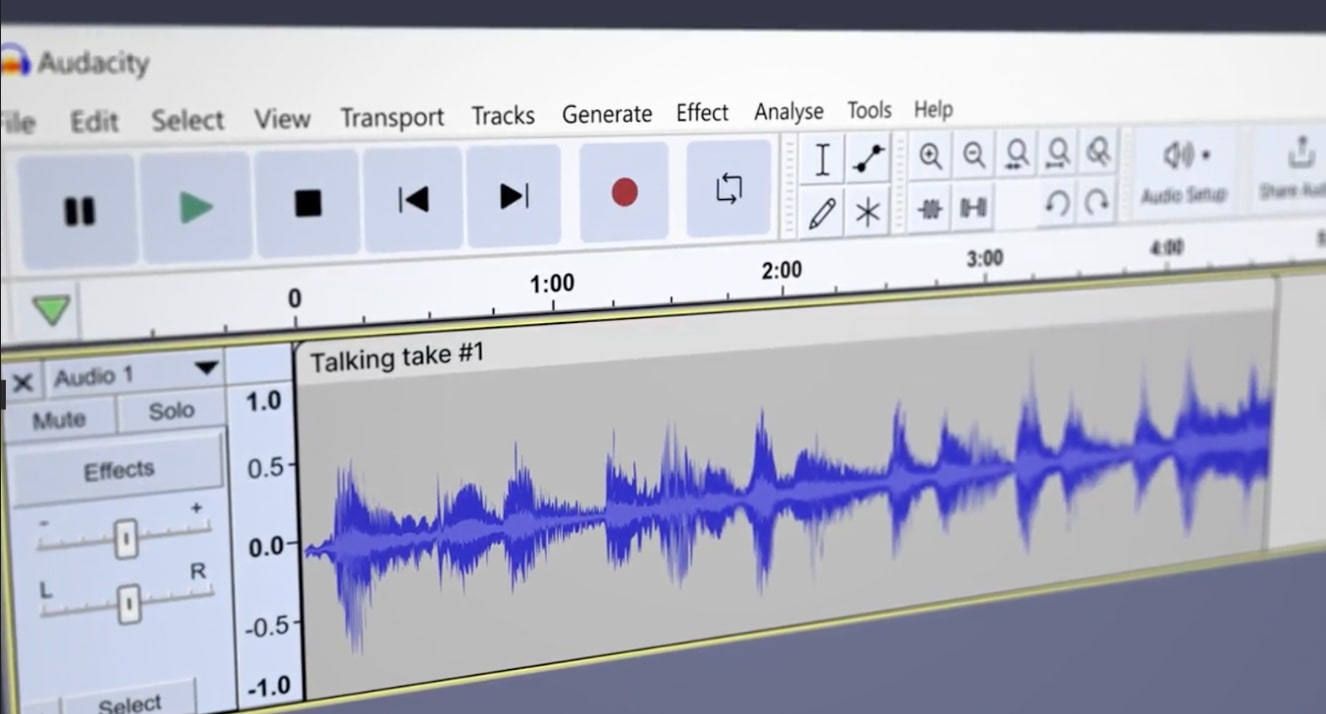
After successfully installing Audacity, open the program and you’ll be greeted with a clean and straightforward interface. The toolbar at the top contains various buttons for frequently used functions such as opening files, saving projects, cutting and copying, and more.
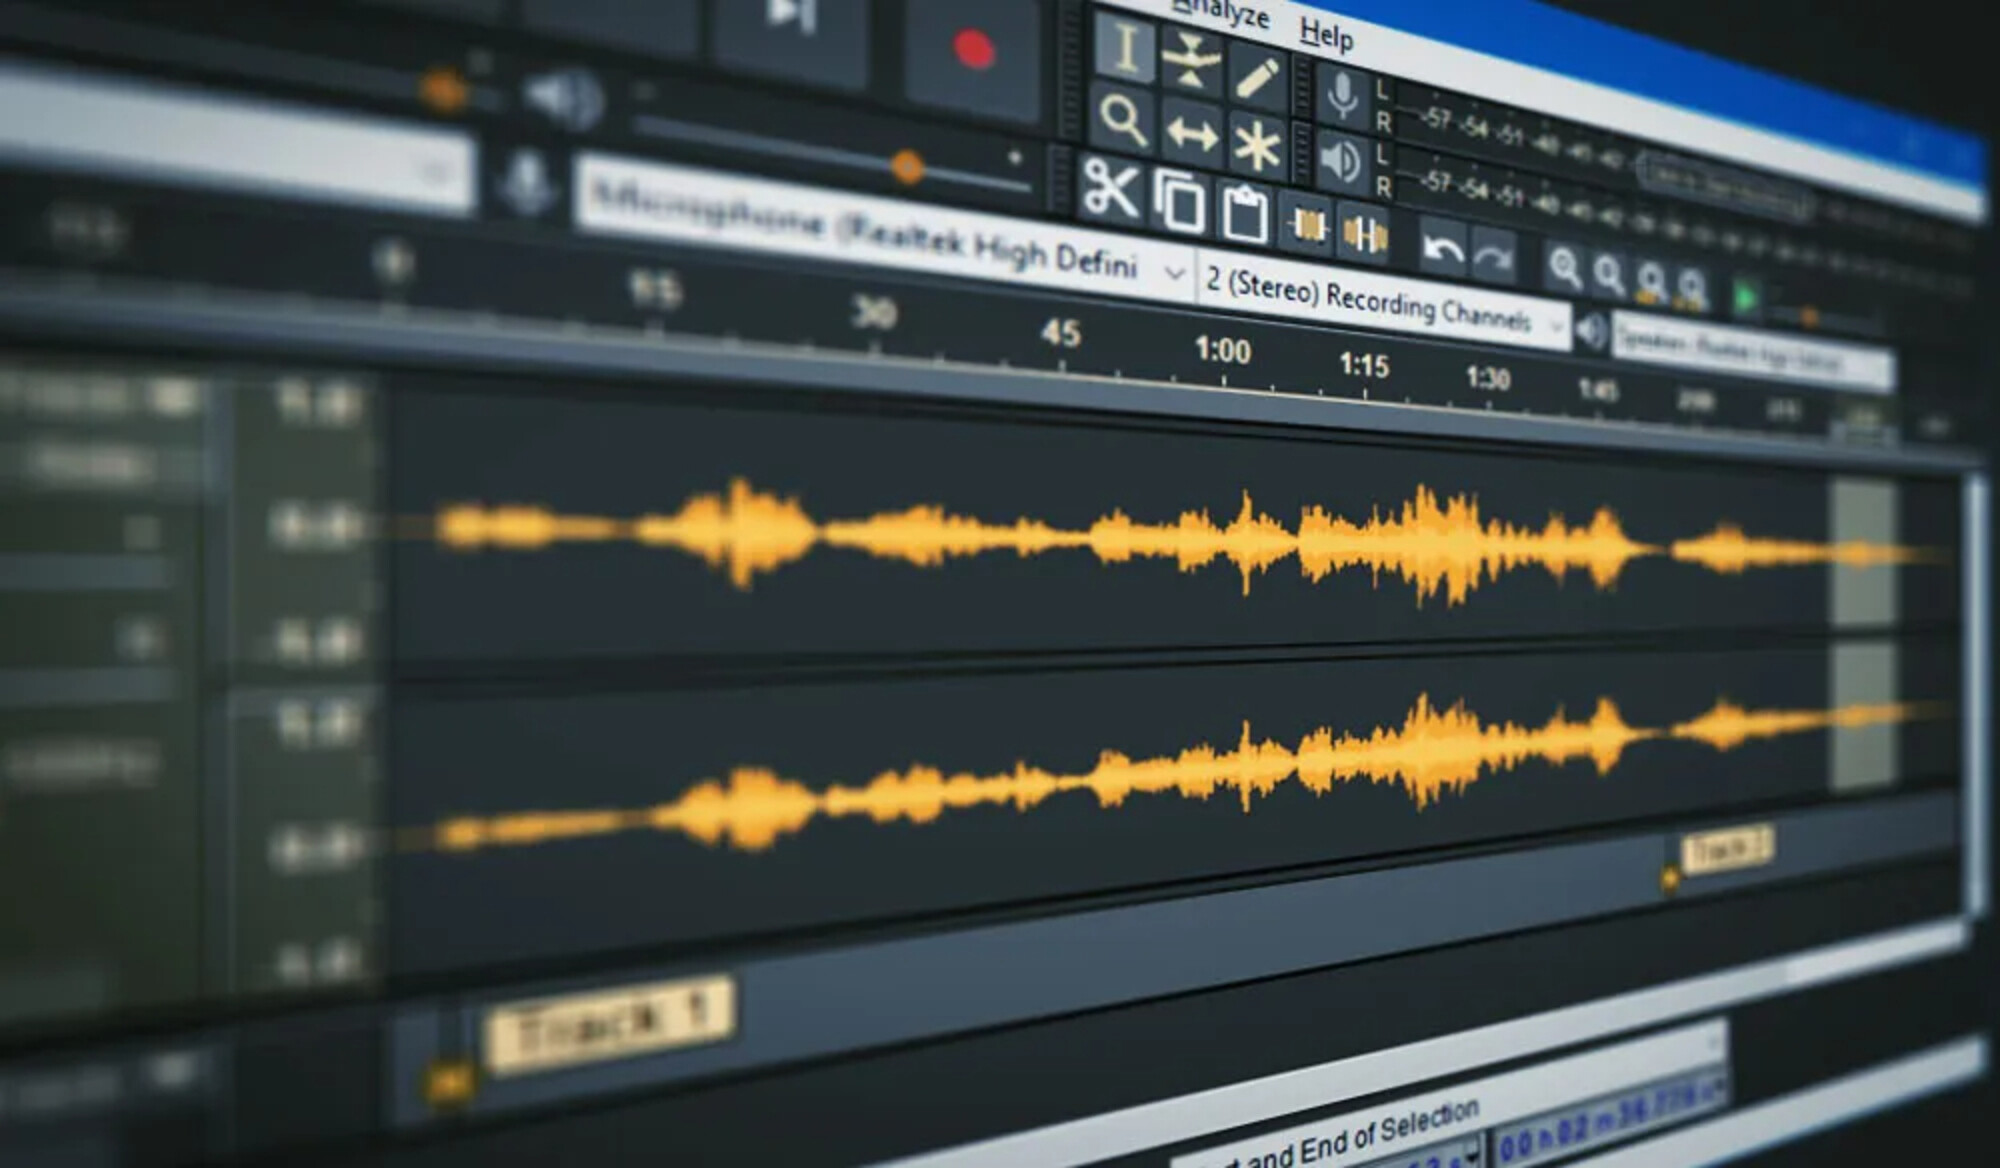
Below the toolbar, you’ll find the main editing area where you’ll be working on your podcast. Here, you can view the waveform of your audio files, navigate through the timeline, and make edits using the available tools.
On the left side of the interface, you’ll see the track controls and the track panel. The track controls allow you to mute or solo individual tracks, adjust the volume, and apply effects. The track panel displays the audio tracks you’re working on, allowing you to easily manage and organize them.
Lastly, on the right side of the interface, you’ll find the selection toolbar, which houses various selection tools for highlighting specific portions of your audio. This is useful for applying audio effects or making precise edits.
Now that you’re familiar with the basic layout of Audacity, it’s time to import your audio files and start editing your podcast. In the next section, we’ll discuss how to import audio files into Audacity.
Importing Audio Files
Before you can start editing your podcast in Audacity, you’ll need to import the audio files you want to work with. Here’s how you can easily import audio files into Audacity:
- Launch Audacity and click on the “File” menu in the toolbar.
- From the dropdown menu, select “Import” and then choose “Audio…”.
- Navigate to the location of your audio files on your computer and select the files you want to import. You can select multiple files at once by holding down the Ctrl or Command key.
- Click the “Open” button, and Audacity will import the selected audio files into the project.
Once the audio files are imported, they will appear as separate tracks in the main editing area of Audacity. Each track represents a different audio file, allowing you to work on them individually or combine them together.
You can easily rearrange the order of the tracks by clicking and dragging them to the desired position. This is useful if you have multiple audio files that need to be rearranged in a specific order for your podcast.
Additionally, you can adjust the volume levels of each track by using the volume control slider in the track controls. This allows you to balance the audio levels and ensure that all tracks blend well together.
Importing audio files into Audacity is a simple and quick process, enabling you to easily bring in all the necessary components of your podcast. Now that your audio files are imported, let’s dive into the various editing tools and techniques Audacity has to offer in the next section.
Basic Editing Tools
When it comes to editing your podcast in Audacity, there are several basic editing tools that you’ll need to familiarize yourself with. These tools will allow you to make precise cuts, deletes, and adjustments to your audio. Here are the essential basic editing tools in Audacity:
- Select Tool: This tool is represented by an “I-beam” icon and is used to select specific portions of your audio. Click and drag with the Select tool to highlight a section that you want to work on.
- Envelope Tool: The Envelope tool, indicated by an icon resembling a mountain range, allows you to adjust the volume levels and create fades in or out within your audio. Click and drag the envelope lines to modify the volume.
- Zoom Tool: With the Zoom tool, shown as a magnifying glass, you can zoom in or out on specific parts of your audio. This is helpful for making precise edits or focusing on detailed sections.
- Time Shift Tool: The Time Shift tool, represented by an arrow, allows you to move entire audio segments along the timeline. Click and drag the waveform to adjust the timing of your audio.
- Draw Tool: The Draw tool, shown as a pencil, enables you to draw or paint specific changes on your audio waveform by hand. This is useful for fixing small glitches or smoothing out audio inconsistencies.
- Trim, Split, and Silence Tools: These tools, accessible through keyboard shortcuts, allow you to perform quick edits such as trimming the beginning or end of a track, splitting a track into smaller sections, or inserting silence.
These basic editing tools form the foundation of your editing process and will help you make precision edits to your podcast. Experiment with each tool to get a feel for their functions and how they can enhance your audio.
Now that you’re familiar with the basic editing tools in Audacity, let’s explore some specific techniques to edit your podcast, such as cutting and trimming audio, adjusting volume levels, and adding effects. We’ll cover these techniques in the upcoming sections.
Cutting and Trimming
One of the fundamental editing techniques in Audacity is cutting and trimming. This allows you to remove any unwanted sections, mistakes, or pauses in your podcast. Here’s how you can effectively cut and trim your audio:
- Select the portion of the audio you want to remove by using the Select tool. Click and drag over the section you want to cut.
- Once the section is selected, go to the “Edit” menu and choose “Cut” or use the keyboard shortcut (Ctrl + X for Windows, Command + X for Mac) to remove the selection.
- If you want to remove a larger section or silence, use the Silence tool. Select the portion to be silenced and go to the “Effect” menu, choose “Silence”, and click “OK”.
- To trim the beginning or end of a track, use the Trim tool. Position the cursor at the desired point, go to the “Edit” menu, and choose “Trim” or use the keyboard shortcut (Ctrl + T for Windows, Command + T for Mac).
- Alternatively, you can also use the Split tool to divide your audio into multiple sections. Position the cursor where you want to split the track, and go to the “Edit” menu and choose “Split” or use the keyboard shortcut (Ctrl + I for Windows, Command + I for Mac).
These cutting and trimming techniques help you remove any unnecessary parts or smooth out transitions in your podcast. It’s important to listen to the audio carefully and make precise cuts to maintain a seamless flow.
Remember, when making cuts or trims, Audacity creates new audio snippets, so you can always undo or redo your edits if needed. Take advantage of the flexibility Audacity offers to experiment and refine your podcast.
Now that you know how to cut and trim your podcast in Audacity, let’s move on to the next section, which covers adjusting volume levels to ensure a balanced audio experience.
Adjusting Volume Levels
Having balanced volume levels in your podcast is crucial to ensure a pleasant listening experience. Adjusting the volume levels in Audacity is a straightforward process that can greatly enhance the quality of your audio. Here’s how you can do it:
- Select the portion of the audio you want to adjust by using the Select tool. You can also select the entire track if you want to make changes to the overall volume.
- In the track controls, locate the volume slider. Drag it up or down to increase or decrease the volume of the selected section.
- If you want to adjust the volume gradually over time, use the Envelope tool. Click on the Envelope button in the track control area to enable the tool.
- With the Envelope tool activated, click and drag a line in the waveform to create an envelope point. You can add multiple points to shape the volume curve over time.
- Adjust the volume of each envelope point by dragging it up or down. This allows you to create fade-ins, fade-outs, or any other volume adjustments within the selected section.
By carefully adjusting the volume levels in your podcast, you can minimize any sudden spikes or drops in audio, ensuring a consistent listening experience for your audience. It’s important to pay attention to the overall volume and make the necessary adjustments to avoid any parts that may be too soft or too loud.
Remember that while enhancing the volume levels, it’s crucial not to sacrifice the audio quality by introducing distortion or clipping. Take the time to listen to the changes you’ve made to ensure a balanced and clear sound.
Now that you know how to adjust the volume levels in Audacity, let’s explore the next section, where we’ll delve into adding effects and filters to further enhance the sound of your podcast.
Adding Effects and Filters
Adding effects and filters to your podcast can elevate the overall audio quality and add a professional touch to your production. Audacity offers a wide range of built-in effects and filters that you can apply to your audio tracks. Here’s how you can add effects and filters in Audacity:
- Select the portion of the audio you want to apply the effect or filter to using the Select tool.
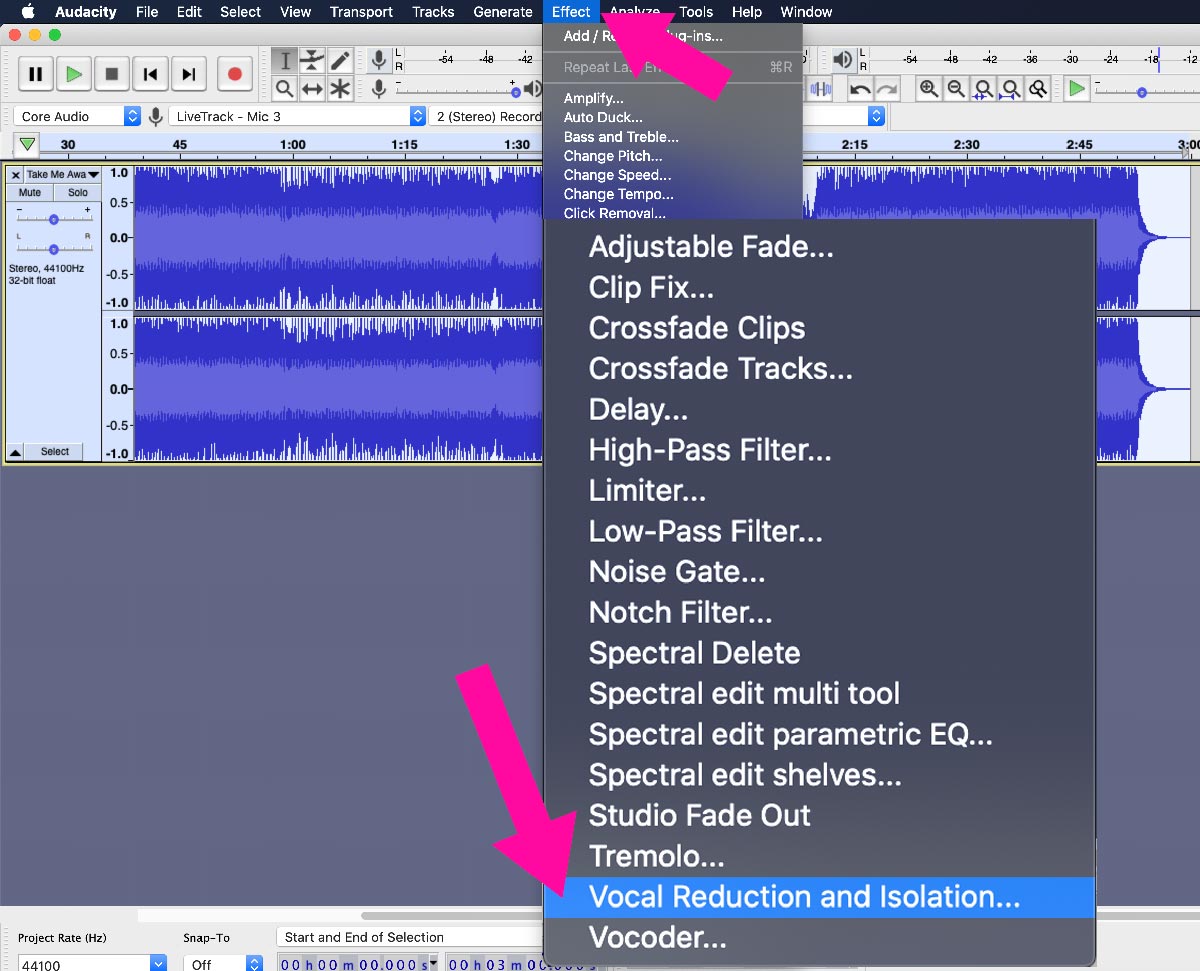
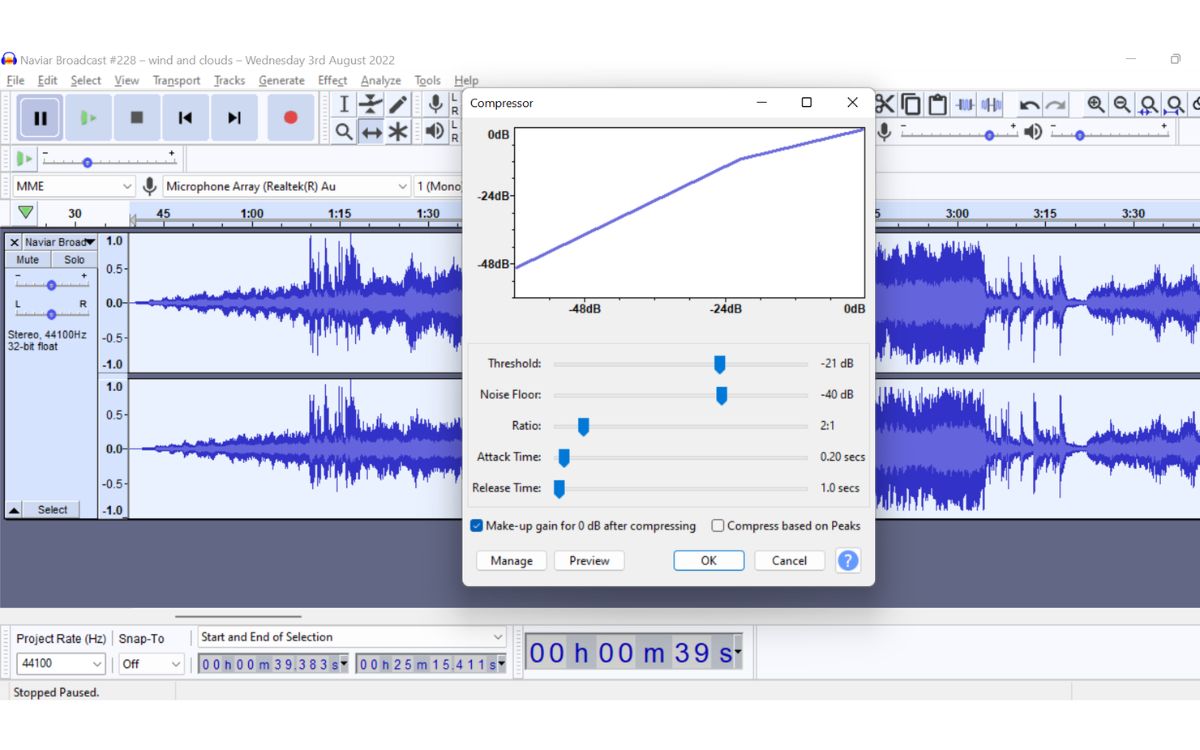
- Go to the “Effect” menu in the toolbar and browse through the available effects and filters. Audacity provides numerous options, including equalization, reverb, noise reduction, compression, and more.
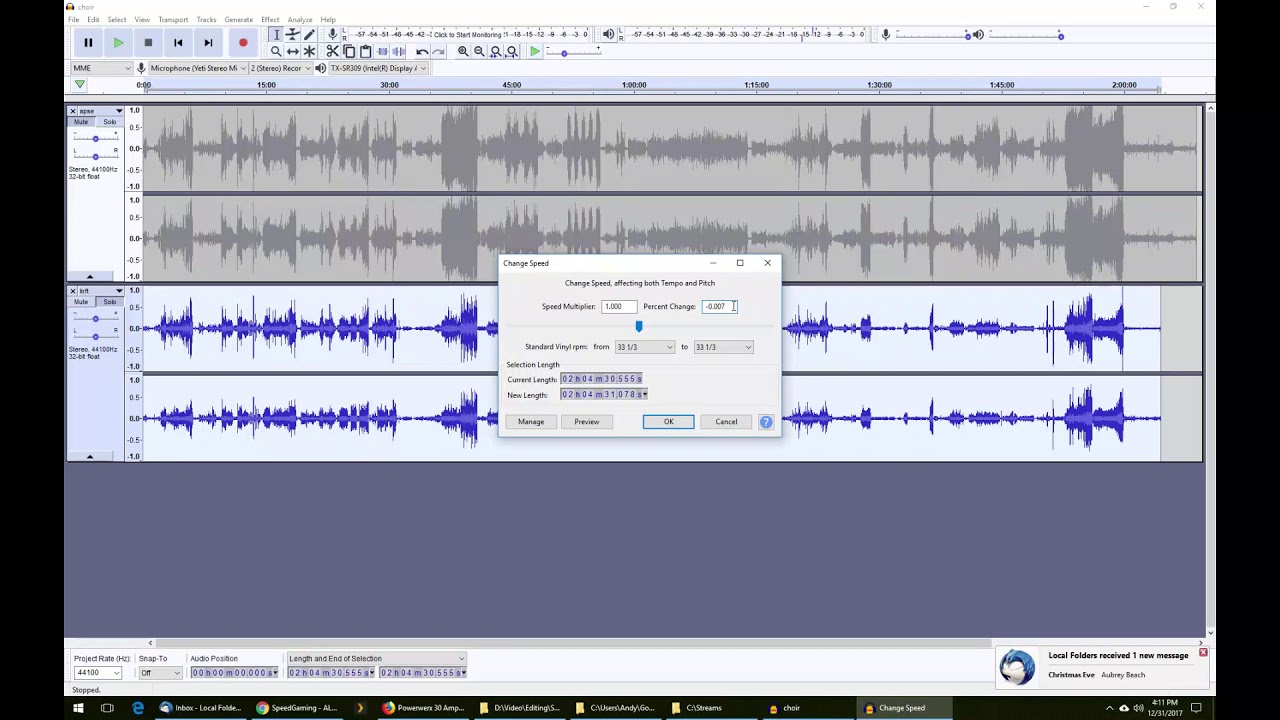
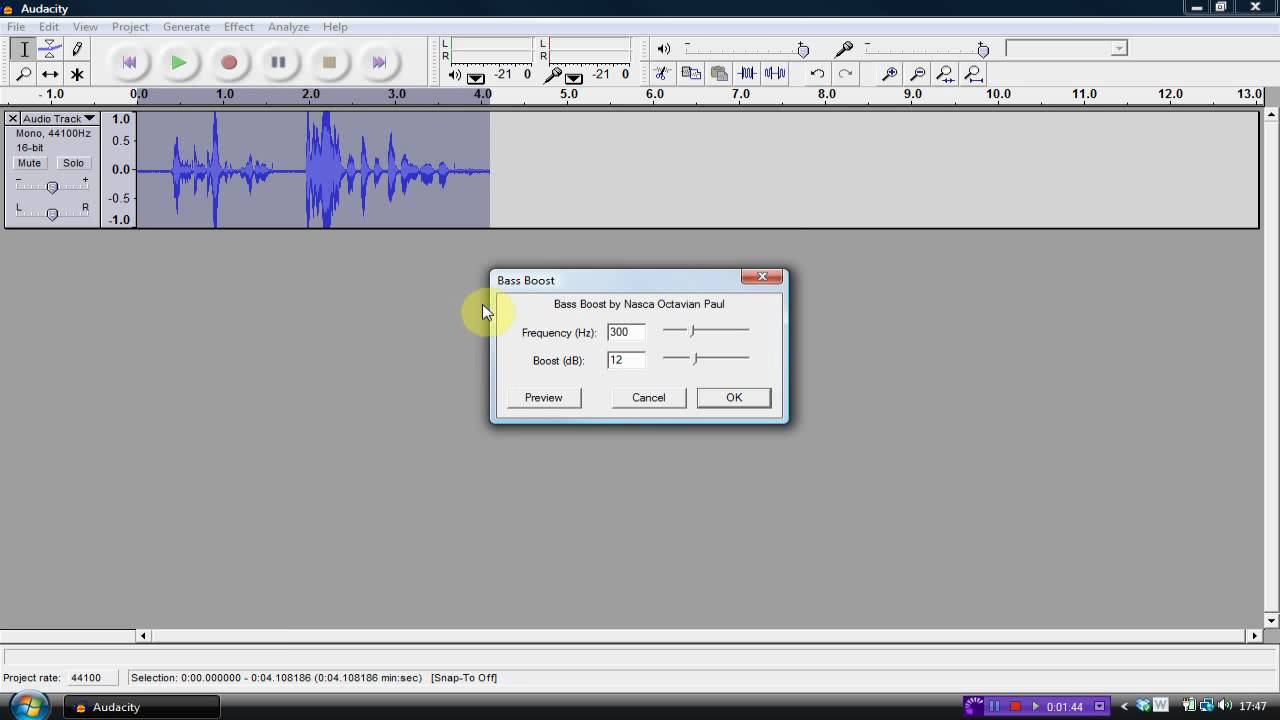
- Select the desired effect or filter from the menu, and a dialog box will appear with various parameters to adjust.
- Experiment with the settings to achieve the desired effect. You can preview the changes in real-time by clicking the “Preview” button before applying the effect permanently.
- Once you’re satisfied with the effect or filter, click the “OK” button to apply it to the selected portion of your audio.
Adding effects and filters can help you enhance the sound quality, reduce background noise, improve clarity, and create a more immersive listening experience for your audience. It’s important to use these tools judiciously and not overdo the effects to avoid making the audio unnatural or distorted.
Remember to always listen to the changes you’ve made to ensure that they enhance the audio without compromising its overall quality. You can adjust the effect settings or use the Undo function if necessary.
Audacity also allows you to stack multiple effects and filters together, giving you even more flexibility to fine-tune the sound of your podcast. Don’t be afraid to experiment and find the perfect combination of effects that suits your podcast’s style and content.
Now that you know how to add effects and filters in Audacity, let’s move on to the next section, which covers the essential technique of removing background noise from your podcast.
Removing Background Noise
Background noise can be a common issue in podcast recordings, causing distractions and reducing the overall quality of the audio. However, with Audacity, you have the tools to effectively remove unwanted background noise and improve the clarity of your podcast. Here’s how you can remove background noise in Audacity:
- Select a small portion of the audio that contains only the background noise you want to remove.
- Go to the “Effect” menu and choose “Noise Reduction”. A dialog box will appear with various parameters to adjust.
- Click on the “Get Noise Profile” button to let Audacity analyze the selected portion and capture the noise profile.
- Select the entire audio track or the parts you want to apply the noise reduction to.
- Go back to the “Effect” menu and choose “Noise Reduction” again. This time, click on the “OK” button to apply the noise reduction based on the analyzed noise profile. You can preview the changes before applying the effect permanently.
By removing background noise using the Noise Reduction effect, you can significantly enhance the audio quality of your podcast. This process helps in reducing common problems such as hissing, buzzing, or hums that can be present in recordings.
It’s important to note that while noise reduction can be effective in improving the audio, it’s essential to strike a balance. Over-applying or using aggressive settings can result in distortion or artifacts in the remaining audio. It’s recommended to preview and fine-tune the effect to achieve the desired outcome.
Remember that removing background noise works best when the noise is consistent throughout the recording. If the noise varies or is intermittent, you may need to employ other techniques such as manually editing or using specialized noise removal plugins.
Now that you know how to remove background noise in Audacity, let’s move on to the next section, where we’ll discuss exporting and saving your edited podcast.
Exporting and Saving Your Edited Podcast
Once you have completed the editing process and are satisfied with the final result of your podcast in Audacity, it’s time to export and save your edited audio as a finished product. Here’s how you can export your podcast in Audacity:
- Go to the “File” menu in the toolbar and select “Export”.
- Choose the desired audio format for your podcast. MP3 is a popular and widely supported format, but you can also select WAV, AIFF, or other formats depending on your needs.
- Specify the location on your computer where you want to save the exported audio file.
- Give the file a suitable name and click the “Save” button to start the export process.
- In the Export Audio dialog box, you may have the option to adjust the quality settings, such as bit rate or sample rate, depending on the chosen audio format. You can fine-tune these settings based on your preferences.
- Click the “OK” button, and Audacity will export and save your edited podcast as the specified file format in the designated location.
It’s essential to choose a suitable file format and quality settings that strike a balance between audio quality and file size. Consider the platforms or hosting services where you’ll be sharing your podcast to ensure compatibility.
Additionally, it’s highly recommended to keep a backup of your Audacity project file (.aup) along with the exported audio file. This allows you to make further edits or modifications later if needed.
With your podcast exported and saved, you can now proceed to share it with the world. Upload it to podcast hosting platforms, share it on your website, or distribute it through various podcast directories to reach your desired audience.
Congratulations! You have successfully completed the process of editing, exporting, and saving your podcast in Audacity. In the final section, we’ll wrap up with some additional tips and thoughts to help you further optimize your podcast editing workflow.
Final Thoughts and Tips
Editing your podcast in Audacity can be a rewarding and creative process. As you continue to refine your skills, here are some final thoughts and tips to keep in mind:
- Save your work regularly: Audacity does not have an auto-save feature, so it’s crucial to save your project frequently to avoid losing any progress.
- Master the keyboard shortcuts: Familiarize yourself with the keyboard shortcuts in Audacity to speed up your editing workflow and perform tasks more efficiently.
- Use the Spectrogram view: Audacity offers a spectrogram view that allows you to visualize the frequency content of your audio. This can be helpful for identifying background noise or other issues that may not be easily distinguishable by ear alone.
- Experiment with different effects: Audacity provides a wide range of effects and filters to enhance your podcast. Don’t be afraid to experiment and find the right combination of effects that works best for your content and style.
- Take breaks and listen with fresh ears: Editing for long periods can lead to fatigue and may affect your perception of audio quality. Take regular breaks and listen to your podcast with fresh ears to ensure a more objective assessment of the final result.
- Seek feedback: Share your edited podcast with a trusted friend or colleague and ask for their constructive feedback. An outside perspective can provide valuable insights and help you further improve your editing skills.
Remember, editing is a creative process, and there are no strict rules. Trust your instincts, listen critically, and continue learning and exploring new techniques to enhance the sound of your podcast.
Now that you have a solid foundation in editing podcasts with Audacity, it’s time to put your knowledge into practice and let your creativity shine! Happy editing!