Home>Production & Technology>Sound Bar>How To Connect Sound Bar To PC
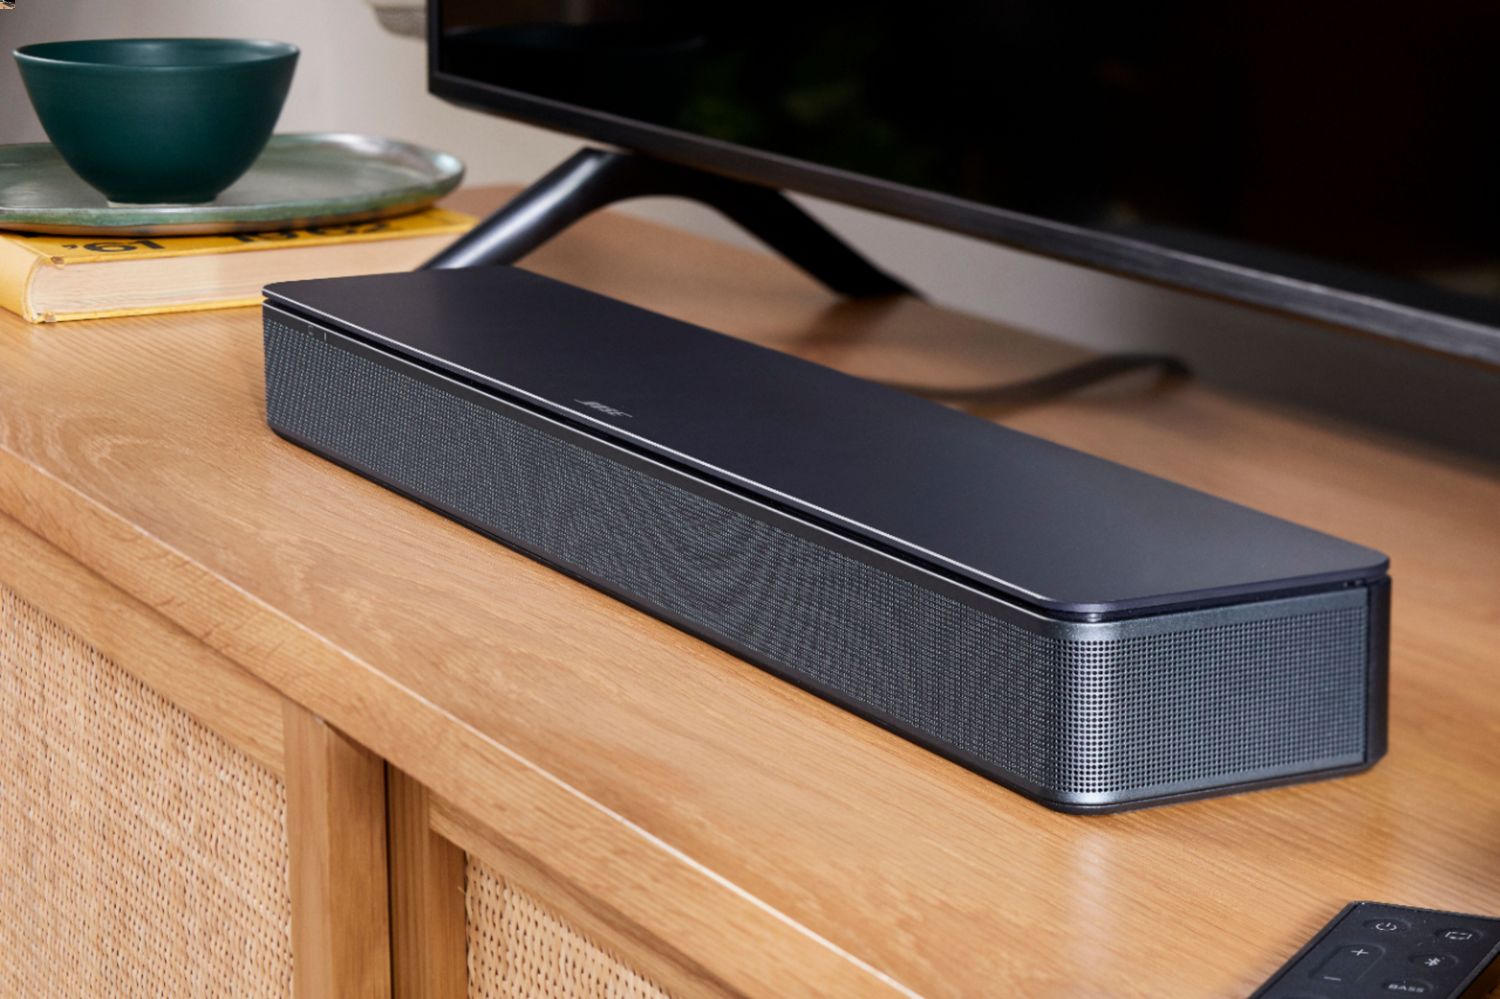
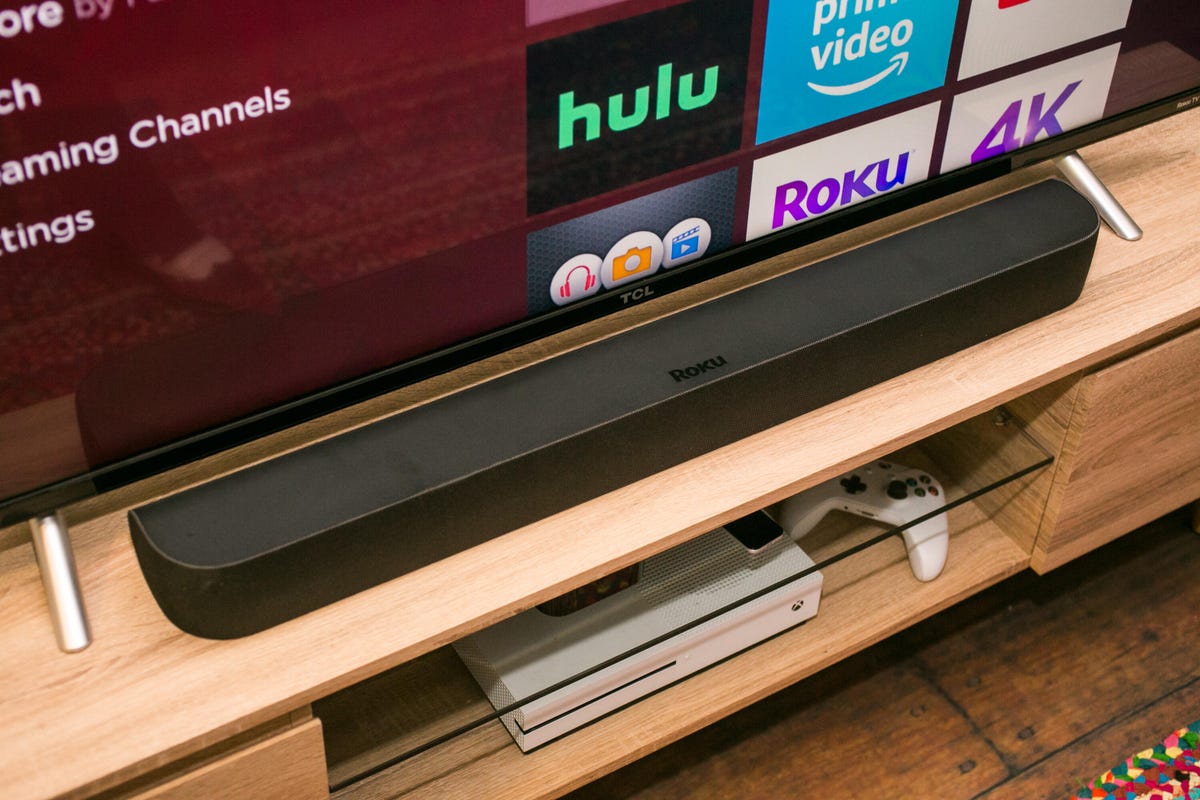
Sound Bar
How To Connect Sound Bar To PC
Modified: January 22, 2024
Learn how to easily connect a sound bar to your PC for an enhanced audio experience. Follow our step-by-step guide and get the most out of your sound bar with your computer.
(Many of the links in this article redirect to a specific reviewed product. Your purchase of these products through affiliate links helps to generate commission for AudioLover.com, at no extra cost. Learn more)
Table of Contents
- Introduction
- Step 1: Check the sound bar and PC compatibility
- Step 2: Gather the necessary cables and connectors
- Step 3: Connect the sound bar to the PC using HDMI
- Step 4: Connect the sound bar to the PC using optical cable
- Step 5: Connect the sound bar to the PC using Bluetooth
- Step 6: Adjust PC audio settings
- Step 7: Test the sound bar connection
- Conclusion
Introduction
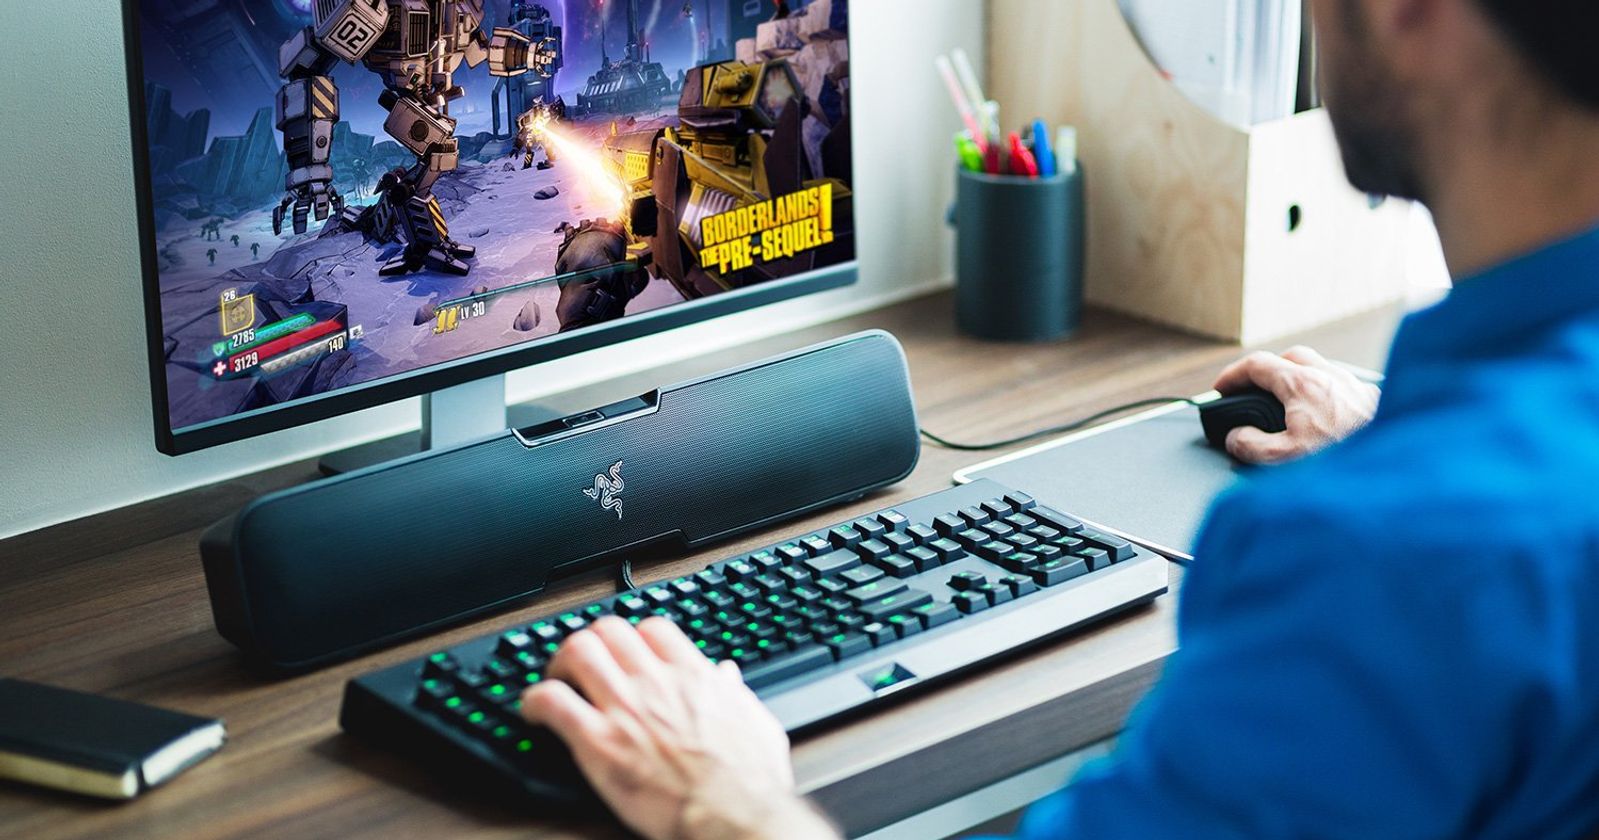
Welcome to the world of sound bars! If you’re looking to enhance your audio experience while using your PC, connecting a sound bar is a fantastic option. Sound bars are sleek, compact, and powerful audio devices that can greatly improve the sound quality of your PC. In this article, we will guide you through the process of connecting a sound bar to your PC, whether it be through HDMI, optical cable, or Bluetooth.
Before we dive into the steps, let’s understand why you might want to connect a sound bar to your PC. Most PCs come with built-in speakers, but they often lack the power and audio quality you desire, especially when it comes to enjoying movies, music, or gaming. A sound bar can provide a more immersive experience, delivering rich and clear audio that will make you feel like you’re at the center of the action.
Whether you’re a gaming enthusiast, a movie lover, or simply someone who enjoys listening to music on your PC, a sound bar can make a world of difference. Not only do they deliver superior sound, but they also offer convenience and ease of use. So, without further ado, let’s jump into the step-by-step process of connecting your sound bar to your PC and elevate your audio experience to new heights.
Step 1: Check the sound bar and PC compatibility
Before you begin connecting your sound bar to your PC, it’s important to ensure that they are compatible with each other. Here are a few things to check:
- Audio Output on PC: Determine the audio output ports available on your PC. Look for HDMI, optical, or Bluetooth connectivity options. This will help you choose the appropriate method to connect your sound bar.
- Sound Bar Inputs: Take a look at the input options available on your sound bar. It should have the corresponding ports for the connection method you plan to use. For example, if you want to use an HDMI connection, ensure that the sound bar has an HDMI input port.
- PC Operating System: Check if your PC’s operating system supports the desired connection method. Certain operating systems might have limitations or compatibility issues, so it’s important to verify this beforehand.
- Sound Bar Features: Familiarize yourself with the features and specifications of your sound bar. Some sound bars may have specific requirements or settings to enable certain connection methods like Bluetooth.
By ensuring that your sound bar and PC are compatible, you can avoid any potential issues during the connection process. Now that you have verified compatibility, you’re ready to move on to gathering the necessary cables and connectors.
Step 2: Gather the necessary cables and connectors
Now that you’ve verified the compatibility between your sound bar and PC, it’s time to gather the necessary cables and connectors for the connection. The specific cables required will depend on the connection method you choose to use. Here are the most common options:
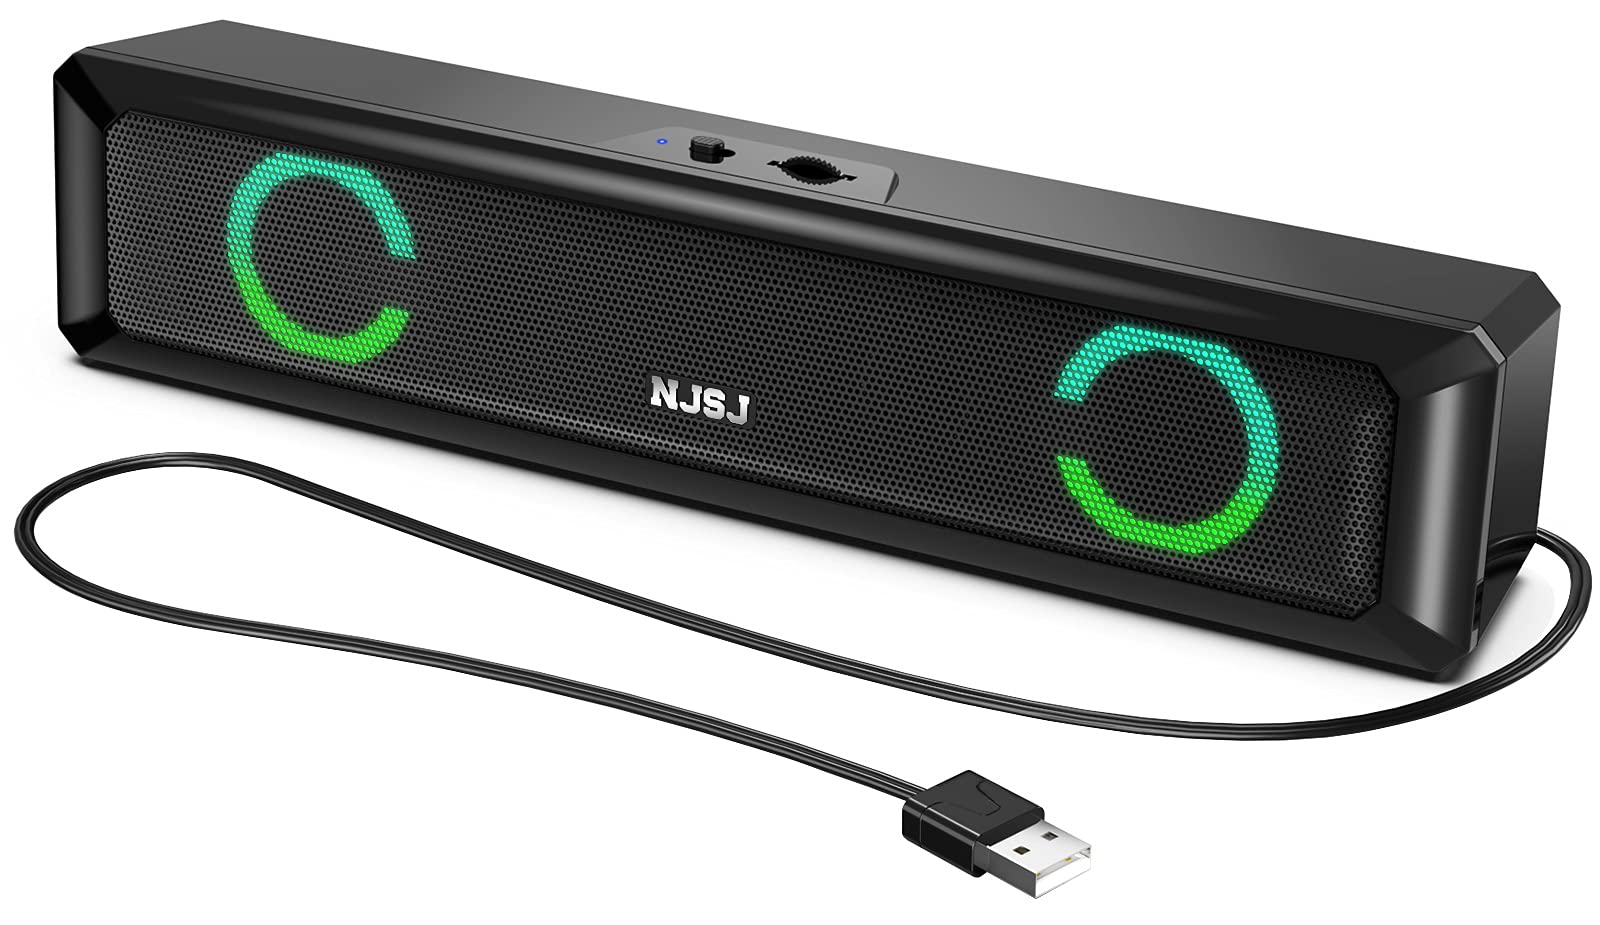
- HDMI cable: If your sound bar and PC both have HDMI ports, an HDMI cable is a convenient and straightforward option. Make sure to get an HDMI cable that is long enough to reach between your PC and the sound bar.
- Optical cable: An optical cable, also known as a TOSLINK cable, is another popular choice for connecting a sound bar to a PC. This cable transmits audio signals via light, providing high-quality digital audio. Check if your sound bar and PC have optical input and output ports respectively.
- Bluetooth: If both your sound bar and PC have Bluetooth capabilities, you can connect them wirelessly. Ensure that Bluetooth is enabled on both devices before attempting to pair them.
Additionally, you may need adapters or converters depending on the specific ports available on your PC and sound bar. For example, if your PC has a DisplayPort output but your sound bar only has HDMI input, you may need a DisplayPort to HDMI adapter.
It’s recommended to use high-quality cables and connectors to ensure optimal audio performance. Once you have gathered the necessary cables and connectors, you’re all set to move on to the next step, which is connecting the sound bar to your PC using the chosen method.
Step 3: Connect the sound bar to the PC using HDMI
If you’ve chosen to connect your sound bar to your PC using an HDMI cable, follow these steps:
- Locate the HDMI output port on your PC. It is usually labeled as “HDMI Out” or with a similar designation.
- Connect one end of the HDMI cable to the HDMI output port on your PC.
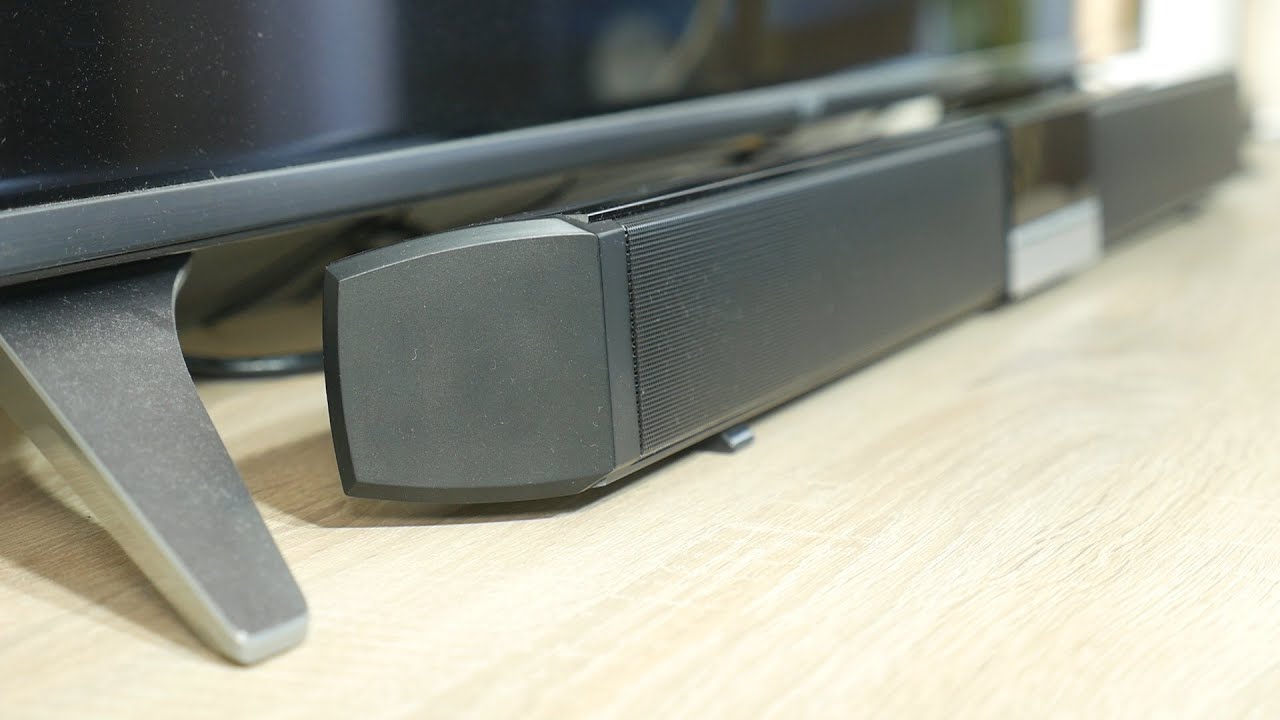
- Next, locate the HDMI input port on your sound bar. It is typically labeled as “HDMI In” or something similar.
- Connect the other end of the HDMI cable to the HDMI input port on your sound bar.
- Once the HDMI cable is securely connected to both your PC and sound bar, power on both devices.
- On your PC, navigate to the audio settings. Depending on your operating system, this can usually be done by right-clicking the volume icon in the system tray and selecting “Playback devices” or similar.
- In the audio settings, select the sound bar as the default playback device. This directs the audio output from your PC to the sound bar.
- Test the connection by playing some audio or video on your PC. The sound should now come through the sound bar.
With the HDMI connection established, your PC’s audio will be transmitted to the sound bar, providing an immersive audio experience. If you encounter any issues with the HDMI connection, double-check the cable connections, ensure that both devices are powered on, and verify the audio settings on your PC.
If HDMI connectivity is not available on your sound bar or PC, don’t worry – there are other methods you can use to connect them. Next, we’ll explore how to connect the sound bar to your PC using an optical cable.
Step 4: Connect the sound bar to the PC using optical cable
If you prefer to connect your sound bar to your PC using an optical cable, follow these steps:
- Locate the optical output port on your PC. It is usually labeled as “Optical Out” or with a similar designation.
- Connect one end of the optical cable to the optical output port on your PC. Make sure to remove the protective caps from both ends of the cable before connecting.
- Next, locate the optical input port on your sound bar. It is typically labeled as “Optical In” or something similar.
- Connect the other end of the optical cable to the optical input port on your sound bar. Again, remember to remove the protective caps before connecting.
- Once the optical cable is securely connected to both your PC and sound bar, power on both devices.
- On your PC, access the audio settings. This can usually be done by right-clicking the volume icon in the system tray and selecting “Playback devices” or similar.
- In the audio settings, select the sound bar as the default playback device. This ensures that the audio output from your PC is directed to the sound bar.
- Test the connection by playing audio or video on your PC. The sound should now be emitted through the sound bar.
With the optical cable connection established, your PC’s audio will be transmitted digitally to the sound bar, offering high-quality sound reproduction. If you encounter any issues with the optical connection, double-check the cable connections, ensure that both devices are powered on, and verify the audio settings on your PC.
If neither HDMI nor optical connectivity options are available on your sound bar or PC, don’t worry – there is still another option for connecting them. In the next step, we’ll explore how to connect the sound bar to your PC using Bluetooth.
Step 5: Connect the sound bar to the PC using Bluetooth
If you prefer a wireless connection, you can connect your sound bar to your PC using Bluetooth. Follow these steps:
- Ensure that Bluetooth is enabled on both your PC and sound bar. Refer to their respective user manuals or settings to enable Bluetooth functionality.
- On your PC, go to the Bluetooth settings. This can usually be accessed through the system tray or the settings menu.
- Put your sound bar in pairing mode. Consult the sound bar’s user manual for instructions on how to initiate the pairing process.
- In the Bluetooth settings on your PC, click on the option to “Add a device” or “Pair a device”. Your PC will start scanning for nearby Bluetooth devices.
- Select your sound bar from the list of available devices. This will initiate the pairing process between your PC and sound bar.
- Follow any on-screen prompts to complete the pairing process. This may include entering a passcode or confirming a connection on both your PC and sound bar.
- Once the pairing is successful, your PC will recognize the sound bar as an audio playback device.
- Access the audio settings on your PC and select the sound bar as the default playback device.
- Test the connection by playing audio or video on your PC. The sound should now be transmitted wirelessly to the sound bar via Bluetooth.
Connecting your sound bar to your PC using Bluetooth offers the convenience of wire-free audio transmission. However, it’s important to note that the range of Bluetooth may vary, so ensure that your PC and sound bar are within close proximity for optimal performance.
If you encounter any difficulties during the Bluetooth pairing process, refer to the user manuals for both your PC and sound bar, or consult the manufacturer’s website for troubleshooting assistance.
Now that you’ve successfully connected your sound bar to your PC, it’s time to move on to the next step – adjusting the audio settings on your PC for optimal sound performance.
Step 6: Adjust PC audio settings
After successfully connecting your sound bar to your PC, it’s important to adjust the audio settings on your PC to ensure optimal sound performance. Follow these steps:
- Access the audio settings on your PC. This can typically be done by right-clicking the volume icon in the system tray and selecting “Playback devices” or a similar option.
- Select the sound bar as the default playback device. This directs all audio output from your PC to the connected sound bar.
- Adjust the volume levels on both your PC and sound bar to a comfortable level. It’s a good idea to start with lower volume levels and gradually increase to avoid sudden loud noises.
- Explore any additional audio settings or equalizer options available on your PC. These settings allow you to customize the sound according to your preferences, enhancing the audio experience based on your needs.
- Test the audio output by playing various types of audio, such as movies, music, or games. This allows you to gauge the sound quality and make further adjustments if required.
By adjusting the audio settings on your PC, you can fine-tune the sound output to match your preferences and optimize your audio experience with the connected sound bar.
It’s worth noting that the specific steps and options for adjusting audio settings may vary based on the operating system of your PC. If you’re uncertain about the steps or can’t find the necessary settings, consult your PC’s user manual or visit the support page of the manufacturer’s website for guidance.
Now that you have adjusted the audio settings on your PC, it’s time to move on to the final step – testing the connection between your sound bar and PC to ensure everything is working correctly.
Step 7: Test the sound bar connection
Once you have completed the previous steps and adjusted the audio settings on your PC, it’s essential to test the sound bar connection to ensure that everything is working correctly. Follow these steps to perform a quick test:
- Play some audio or video content on your PC, such as a music track or a video with sound.
- Listen carefully to the audio output. If the sound is coming through the sound bar and you can clearly hear the desired audio, then the connection is successful.
- Ensure that the volume levels are appropriate for your listening preference. Adjust the volume on your PC or sound bar if necessary.
- If you notice any issues with the sound quality or no sound at all, double-check the connections between your PC and sound bar. Ensure that all cables are securely plugged in and that both devices are powered on.
- If the issue persists, review the audio settings on your PC to ensure that the sound bar is selected as the default playback device. Additionally, you may want to update your sound card drivers on your PC to ensure compatibility and proper functioning.
- If you are using a Bluetooth connection, ensure that both your PC and sound bar are within range and that Bluetooth is enabled on both devices.
By testing the sound bar connection, you can confirm that the audio is being transmitted to the sound bar successfully and enjoy your favorite content with enhanced sound quality.
If you encounter any persistent issues, consult the user manuals for both your PC and sound bar for troubleshooting steps. Additionally, you can reach out to the manufacturer’s customer support for further assistance.
Congratulations! You have successfully connected your sound bar to your PC and have tested the connection. Now you can sit back, relax, and enjoy an immersive audio experience while using your PC.
Conclusion
Connecting a sound bar to your PC can greatly enhance your audio experience, whether you’re gaming, watching movies, or simply listening to music. In this comprehensive guide, we have covered the step-by-step process of connecting a sound bar to your PC using HDMI, optical cable, or Bluetooth.
We started by checking the compatibility between your sound bar and PC, ensuring that they have the necessary ports and features for the desired connection method. Then, we discussed gathering the required cables and connectors, such as HDMI, optical cables, or Bluetooth functionality.
We walked you through the specific steps for connecting your sound bar to your PC using each method, including HDMI, optical cable, and Bluetooth. We emphasized the importance of adjusting the audio settings on your PC to ensure optimal sound performance and provided guidance on testing the sound bar connection to verify its functionality.
With the connection successfully established and tested, you can now enjoy a richer and more immersive audio experience on your PC. Whether you’re immersing yourself in the world of gaming, indulging in your favorite movies, or simply enjoying your music collection, the sound bar will elevate the audio quality and provide a more enjoyable experience.
Remember, if you encounter any challenges during the process, consult the user manuals for your PC and sound bar, or reach out to the manufacturer’s customer support for assistance.
Now that you’re armed with the knowledge of connecting a sound bar to your PC, go ahead and elevate your audio experience to new heights! Enjoy the amazing sound quality that your sound bar brings and immerse yourself in a whole new dimension of audio bliss on your PC.