Home>Production & Technology>Audio Interface>How To Connect Piano To Audio Interface
Audio Interface
How To Connect Piano To Audio Interface
Modified: February 22, 2024
Learn how to connect your piano to an audio interface for high-quality sound recording and playback. Enhance your music production with the power of an audio interface.
(Many of the links in this article redirect to a specific reviewed product. Your purchase of these products through affiliate links helps to generate commission for AudioLover.com, at no extra cost. Learn more)
Table of Contents
Introduction
Welcome to the world of music production and recording! If you’re looking to connect your piano to an audio interface, you’ve come to the right place. An audio interface acts as the bridge between your instrument and your computer, allowing you to capture and record high-quality audio.
Whether you’re a professional musician, a hobbyist, or someone who loves creating music at home, connecting your piano to an audio interface opens up a plethora of possibilities. You can record your performances, create intricate compositions, and even experiment with different sounds and effects.
Before we dive into the step-by-step process, let’s briefly discuss what an audio interface is. An audio interface is an external device that connects to your computer via USB, Thunderbolt, or another connection type. It typically features inputs for microphones, instruments, and other audio sources, as well as outputs for speakers, headphones, and studio monitors.
Audio interfaces are designed to provide high-quality audio conversion and low-latency performance. They capture the nuances of your piano’s sound while minimizing any delay, resulting in a seamless and immersive recording experience.
Now that we have a basic understanding of what an audio interface is, let’s move on to the step-by-step process of connecting your piano to an audio interface. Don’t worry if you’re new to this – we’ll guide you through each stage, ensuring that you have a smooth and successful connection.
Step 1: Gather the necessary equipment
Before you can connect your piano to an audio interface, you’ll need to gather a few essential pieces of equipment. Here’s what you’ll need:
- Piano: Make sure you have a piano or a digital keyboard with MIDI capabilities. The type of piano you have will determine the specific cables and connections you’ll need.
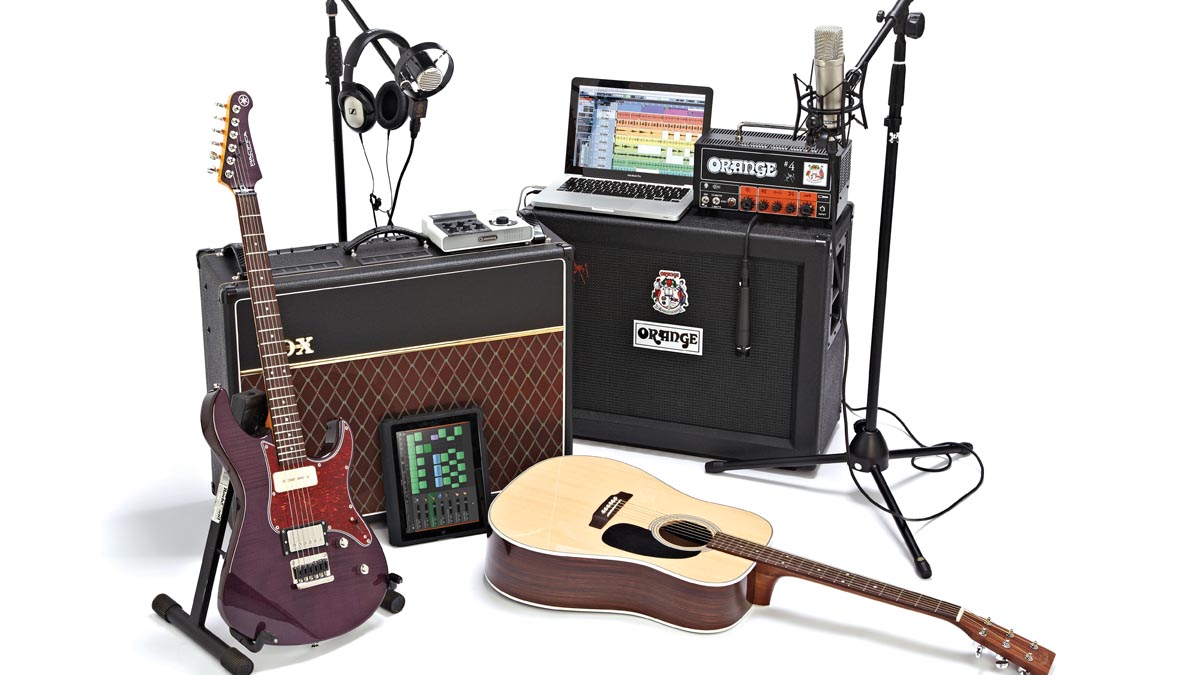
- Audio Interface: Invest in a reliable audio interface that suits your needs. Consider factors such as the number of inputs and outputs, sample rate, and compatibility with your computer.
- Cables: Depending on your piano and audio interface, you may require specific cables and adapters. The most common cables used for this connection include MIDI cables, USB cables, and instrument cables.
- Computer: Ensure that you have a computer or laptop with compatible ports for connecting the audio interface. Most modern computers have USB ports, but it’s always a good idea to check for compatibility.
- Headphones or speakers: To monitor your piano’s audio output, you’ll need a pair of headphones or speakers connected to the audio interface.
Once you have gathered all the necessary equipment, you’re ready to move on to the next step. Double-check that you have the correct cables and ensure that everything is functioning properly before proceeding.
Keep in mind that the specific equipment required may vary based on the type and model of your piano and audio interface. Always refer to the user manuals and specifications provided by the manufacturers for any specific setup requirements.
Step 2: Check compatibility between piano and audio interface
Before connecting your piano to an audio interface, it’s crucial to ensure compatibility between the two devices. Compatibility not only affects the physical connection but also determines how effectively they communicate, enabling you to achieve the best audio quality and performance.
Here are a few key points to consider when checking compatibility:
- MIDI or USB connectivity: Determine if your piano supports MIDI or USB connectivity. Most digital pianos come with MIDI ports or USB ports for connecting to audio interfaces. If your piano has a USB port, you can directly connect it to the audio interface using a USB cable. If your piano only has MIDI ports, you’ll need to use a MIDI-to-USB adapter, or ensure that your audio interface has MIDI inputs.
- Software compatibility: Confirm that the audio interface is compatible with your computer’s operating system. Check the manufacturer’s website for any specific driver requirements or software compatibility instructions. This step ensures that your audio interface can communicate seamlessly with your computer, allowing you to record and playback audio without any compatibility issues.
- Compatibility with recording software: If you plan to use specific recording software or digital audio workstations (DAWs), ensure that they are compatible with both your audio interface and piano. Supported formats and MIDI capabilities may vary across different recording software, so it’s important to confirm compatibility to avoid any compatibility issues.
Once you have checked the compatibility between your piano and audio interface, you can proceed with confidence to the next step. Keep in mind that different piano models and audio interfaces may have specific compatibility requirements, so always refer to the manufacturer’s guidelines and documentation for detailed information.
Step 3: Connect the audio interface to your computer
Now that you have ensured compatibility between your piano and audio interface, it’s time to connect the audio interface to your computer. This step establishes the crucial link that allows your computer to recognize and communicate with the audio interface.
- Choose the appropriate connection type: Depending on the audio interface and your computer’s ports, you’ll need to select the appropriate connection type. The most common options include USB, Thunderbolt, Firewire, or PCI. Check the ports available on your computer and the corresponding ports on your audio interface to match the appropriate connection type.
- Connect the audio interface to your computer: Once you have identified the right connection type, connect one end of the cable to the appropriate port on the audio interface and the other end to the corresponding port on your computer. Ensure the connection is secure to avoid any audio dropouts or connection issues.
- Install necessary drivers: In some cases, you may need to install specific drivers provided by the audio interface manufacturer. These drivers enable the proper functioning and communication between the audio interface and your computer. Visit the manufacturer’s website and download the latest driver software, following the installation instructions provided.
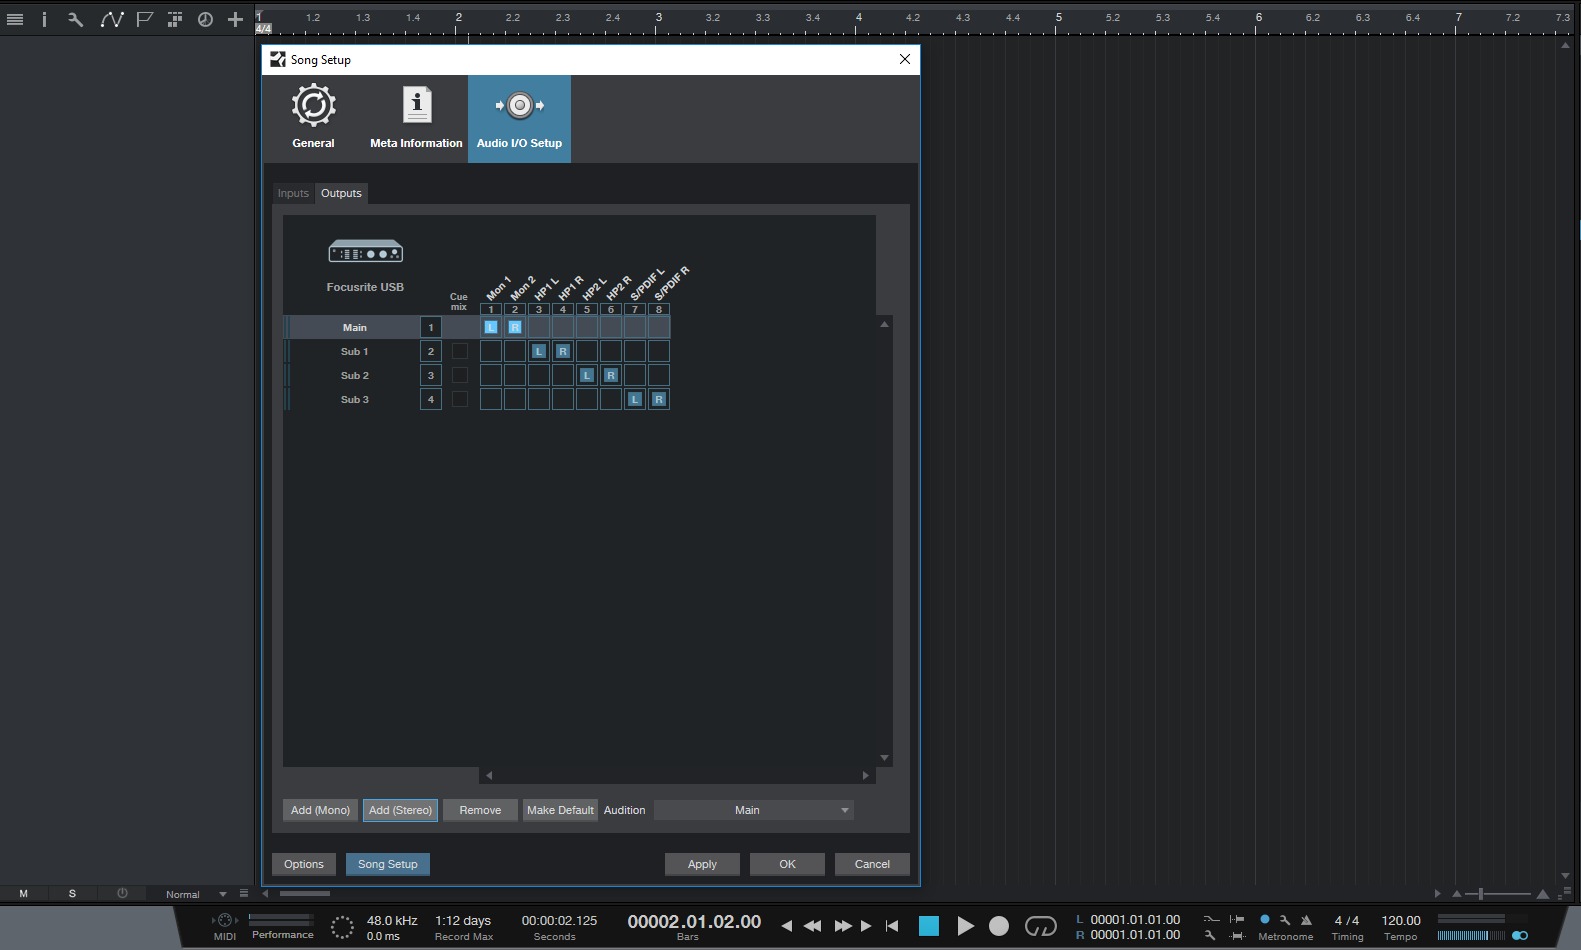
- Configure audio settings: Once the audio interface is connected and the drivers are installed, configure the audio settings on your computer. Access the “Sound” or “Audio” settings in your operating system preferences and select the audio interface as the default input and output device. This step ensures that the audio signals from your piano are routed through the audio interface for recording and playback.
After completing these steps, your audio interface should be successfully connected to your computer. You’re now ready to proceed to the next step of connecting your piano to the audio interface and start recording your musical creations.
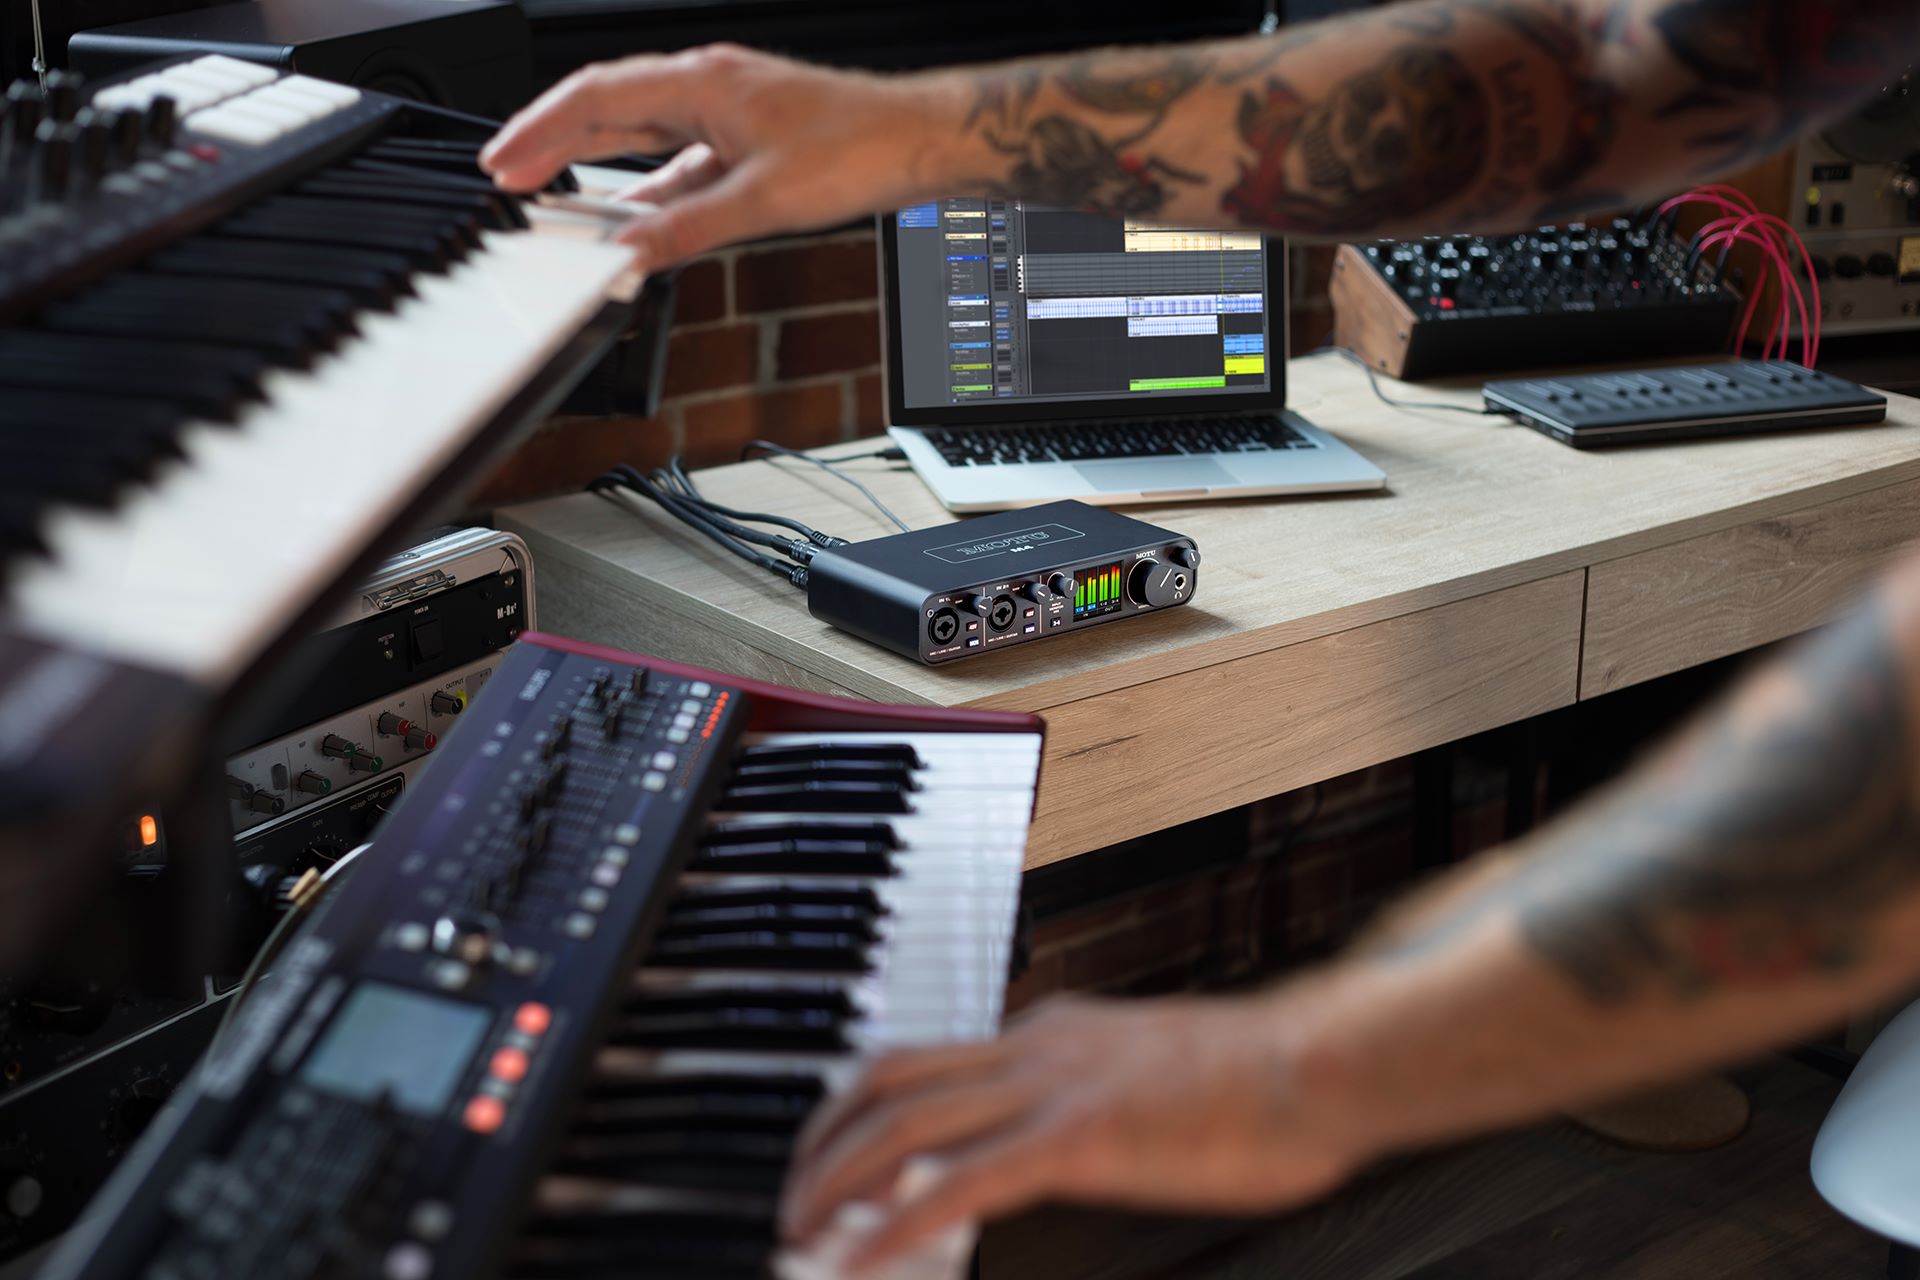
Step 4: Connect your piano to the audio interface
With the audio interface connected to your computer, it’s time to establish the connection between your piano and the audio interface. This step allows your piano’s audio signals to be captured and processed by the audio interface, ensuring high-quality recording and playback.
- Identify the appropriate ports: Depending on your piano model and audio interface, locate the corresponding input ports on both devices. Common input ports include MIDI, line input, or instrument input. Refer to the user manuals of your piano and audio interface to identify the specific ports.
- Choose the right cables: Select the appropriate cables based on the ports available on your piano and the audio interface. For MIDI connectivity, use MIDI cables. For line input or instrument input, use the appropriate cables such as TRS or TS cables. Ensure the cables are in good condition and securely connected to avoid signal loss or interference.
- Connect your piano to the audio interface: Take one end of the cable and plug it into the appropriate output ports on your piano. Then, connect the other end of the cable to the corresponding input ports on the audio interface. Double-check to ensure the cables are inserted securely to establish a strong and stable connection.
- Configure piano settings: Depending on your piano’s features, you may need to adjust certain settings to enable MIDI output or optimize the audio signal. Refer to your piano’s user manual for instructions on configuring the MIDI settings or any other relevant settings.
Once your piano is connected to the audio interface, your audio interface will receive the audio signals from your piano, allowing you to record and monitor the sound through your computer. At this stage, it’s a good idea to perform a test to ensure that the connection is functioning correctly.
Now that your piano is successfully connected to the audio interface, you’re ready to move on to the next step and adjust the audio settings to ensure optimal recording and playback.
Step 5: Adjust audio settings
After connecting your piano to the audio interface, it’s essential to adjust the audio settings to optimize your recording and playback experience. These settings will ensure that you capture the best possible sound quality while minimizing any issues or distortions.
- Sample rate and bit depth: Set the sample rate and bit depth in your recording software or audio interface control panel. Common sample rates are 44.1kHz or 48kHz, while bit depths are typically 16-bit or 24-bit. Higher sample rates and bit depths offer better audio quality but also require more disk space.
- Buffer size: Adjust the buffer size in your audio interface control panel or recording software. A smaller buffer size reduces latency but may put more strain on your computer’s processing power. Experiment with different buffer sizes to find the optimal balance between latency and performance.
- Gain levels: Set the input gain levels on your audio interface to ensure that the signal from your piano is neither too soft nor too loud. Avoid overloading the input and causing clipping, which results in distorted audio. Monitor the level meters in your recording software or audio interface to keep the signal within a healthy range.
- Monitoring options: Configure your monitoring options to hear the audio playback in real-time. This can be done through headphones connected to the audio interface or connected speakers. Ensure that the audio output is set to the correct device and adjust the volume levels accordingly.
- MIDI settings: If you’re using MIDI connectivity, configure the MIDI settings in your recording software or audio interface control panel. Assign MIDI channels, select the appropriate input source, and configure any other MIDI preferences to match your piano’s specifications.
Take your time to experiment with these audio settings and make adjustments as needed. It’s important to find the right balance that suits your recording environment and personal preferences. Keep in mind that different recording software and audio interfaces may have slightly different settings and terminology, so refer to their respective documentation for detailed instructions.
Once you have adjusted the audio settings, it’s time to move on to the next and final step – testing the connection between your piano and the audio interface.
Step 6: Test the connection
Testing the connection between your piano and the audio interface is an important final step to ensure that everything is working as expected. By conducting a thorough test, you can identify any potential issues and make necessary adjustments before starting your recording or performance. Here’s how to test the connection:
- Play your piano: Start by playing your piano and monitor the audio output. Listen for any abnormalities, such as distorted sound, latency, or low volume. Adjust the gain levels on the audio interface if necessary to achieve a balanced and clear audio signal.
- Record a sample: Use your recording software to record a short sample while playing the piano. This allows you to check the recording quality and verify that the audio signals are being captured properly. Play back the recorded sample and listen for any issues, such as audio dropouts or artifacts.
- Test MIDI functionality: If you are using MIDI connectivity, test the MIDI functionality by playing notes on your piano and verifying that they are being transmitted and received correctly by the recording software or virtual instruments. Ensure that the MIDI channels and settings are accurately configured to match your piano’s specifications.
- Check latency: Pay attention to the latency, which is the delay between when you play a note on your piano and when you hear it through your audio interface. If the latency is noticeable and affecting your performance, you may need to adjust the buffer size in your audio interface settings to reduce the delay.
- Re-adjust settings if necessary: If you encounter any issues during the test, such as distorted sound, latency problems, or poor recording quality, re-adjust the audio settings and repeat the test. Make incremental changes to find the optimal settings that deliver the best audio quality and performance.
By thoroughly testing the connection between your piano and the audio interface, you can ensure a smooth and hassle-free recording or performance experience. Take the time to make any necessary adjustments and verify that the audio signals are being captured accurately and transmitted without any issues.
Once you’re satisfied with the results of your test, you’re all set to embark on your musical journey with your piano connected to the audio interface. Enjoy exploring new possibilities, recording your performances, and unleashing your creativity!
Conclusion
Connecting your piano to an audio interface opens up a world of possibilities for recording, composing, and exploring new musical avenues. By following the step-by-step process outlined in this guide, you can successfully connect your piano to an audio interface and enjoy high-quality audio recording and playback.
We began by gathering the necessary equipment, including your piano, audio interface, cables, and computer. Checking the compatibility between your piano and audio interface was the crucial next step, ensuring that they can communicate effectively.
Once compatibility was confirmed, we proceeded to connect the audio interface to your computer, installing any necessary drivers and configuring the audio settings to optimize performance. We then moved on to establishing the connection between your piano and the audio interface, selecting the appropriate ports and cables.
After connecting the devices, adjusting the audio settings was essential to ensure optimal recording and playback. We discussed sample rates, bit depths, buffer sizes, gain levels, and monitoring options, all of which contribute to achieving the best audio quality and performance.
Finally, we emphasized the importance of testing the connection, playing your piano, recording samples, and checking MIDI functionality to ensure everything is working as expected. Adjustments may be necessary during this step, allowing you to fine-tune the settings and address any issues that arise.
Now that you have successfully connected your piano to an audio interface and completed the testing phase, you’re ready to embark on your musical journey. Whether you’re a professional musician capturing performances or a passionate hobbyist exploring new creative possibilities, this connection opens up a world of opportunities for you to unleash your musicality.
Remember to refer to the user manuals and documentation provided by your piano and audio interface manufacturers for specific instructions and compatibility information. Continually experiment with different settings, explore recording software features, and let your creativity thrive with your piano connected to an audio interface.
Enjoy the endless possibilities of capturing and producing music with your piano and audio interface setup. Happy recording!