Home>Production & Technology>Audio Cable>How To Connect Red White Audio Cable To Insignia 42 Inch TV
Audio Cable
How To Connect Red White Audio Cable To Insignia 42 Inch TV
Modified: January 22, 2024
Learn how to connect a red white audio cable to your Insignia 42 inch TV for enhanced sound quality. Step-by-step guide for easy setup.
(Many of the links in this article redirect to a specific reviewed product. Your purchase of these products through affiliate links helps to generate commission for AudioLover.com, at no extra cost. Learn more)
Table of Contents
- Introduction
- Step 1: Identify the audio outputs on your Insignia 42 Inch TV
- Step 2: Locate the red and white audio inputs on your audio device
- Step 3: Connect the red and white audio cables to the respective outputs and inputs
- Step 4: Adjust the audio settings on your Insignia TV
- Step 5: Test the audio connection
- Conclusion
Introduction
Welcome to our guide on how to connect a red and white audio cable to an Insignia 42 Inch TV. If you’re looking to enhance your audio experience while enjoying your favorite movies, TV shows, or games on your Insignia TV, connecting external audio devices can significantly improve the sound quality. Whether you want to connect a soundbar, home theater system, or other audio device, the red and white audio cables, also known as RCA cables or composite cables, are commonly used for audio connections.
Insignia 42 Inch TVs are equipped with various input and output ports, including the red and white audio outputs, which provide a simple and effective way to connect external audio devices. By following a few simple steps, you can easily connect your TV to your desired audio equipment.
Before we begin, it’s important to note that the steps outlined in this guide are specific to Insignia 42 Inch TVs and may vary slightly depending on the model or type of audio equipment you are connecting. However, the basic principles and concepts remain the same, making this guide a useful starting point for most setups.
Now, let’s dive into the step-by-step process to connect your Insignia 42 Inch TV to an audio device using a red and white audio cable.
Step 1: Identify the audio outputs on your Insignia 42 Inch TV
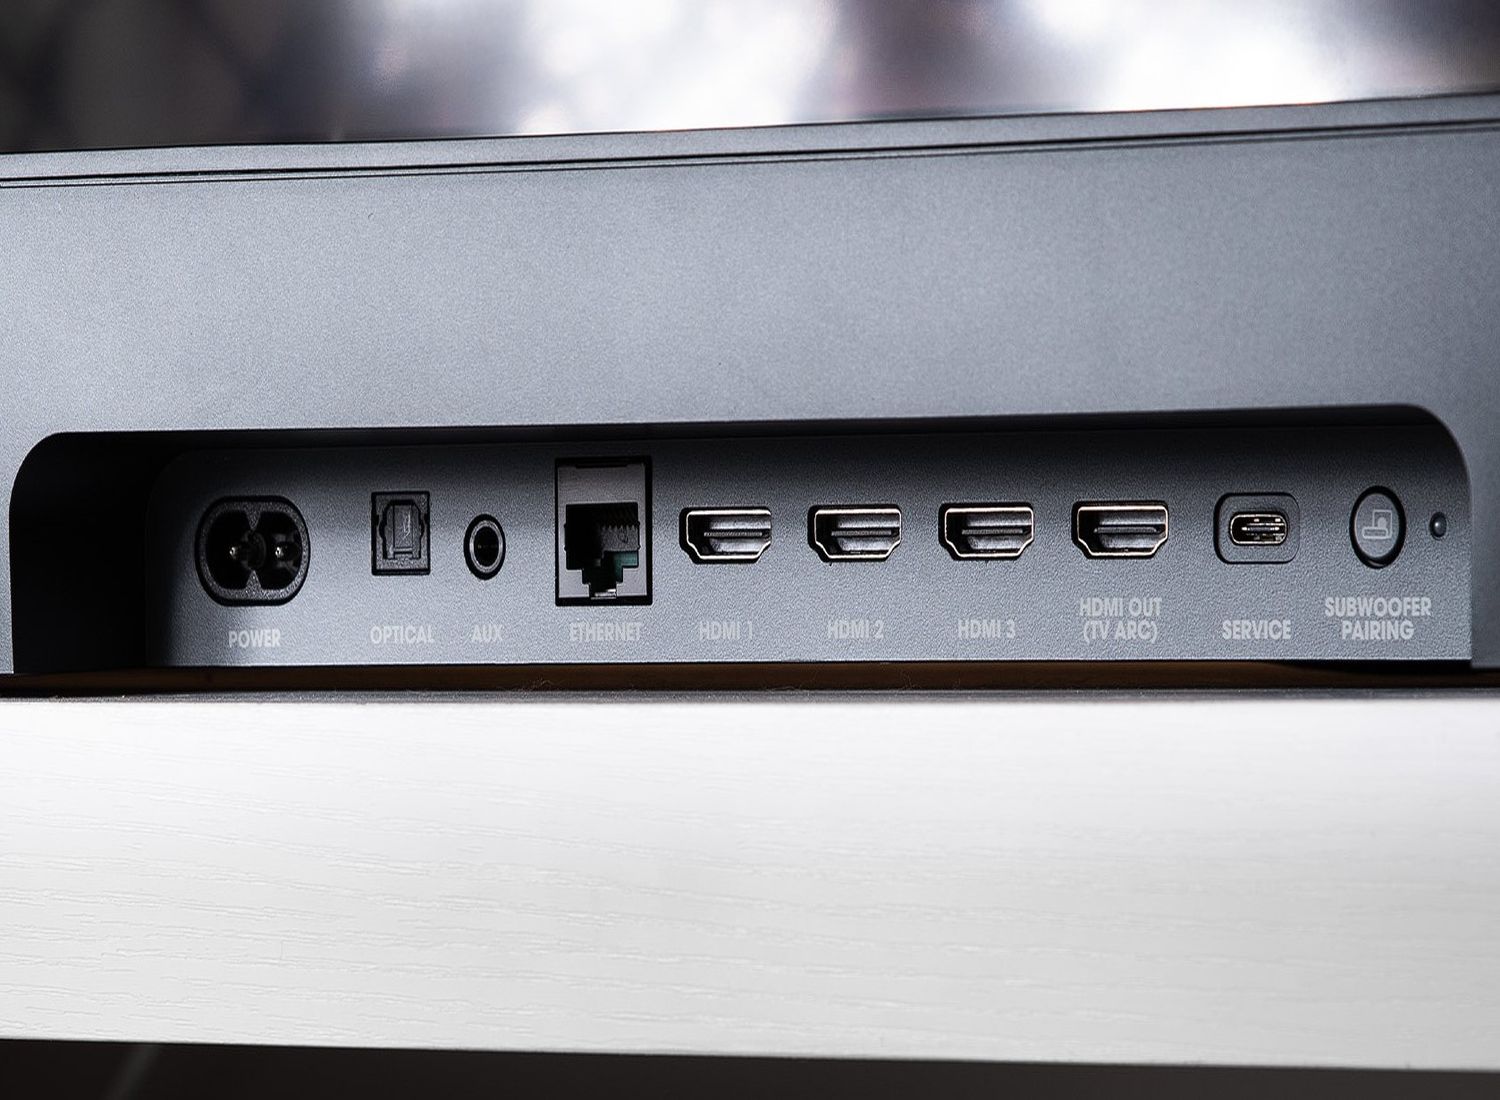
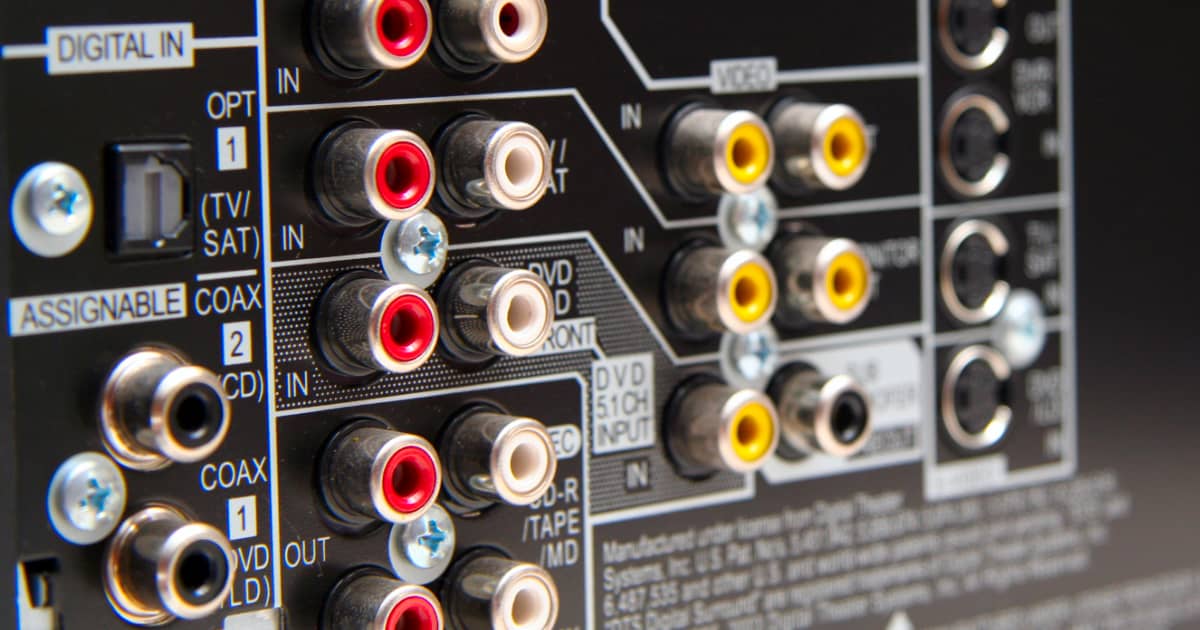
The first step in connecting a red and white audio cable to your Insignia 42 Inch TV is to locate the audio outputs. These outputs are typically located on the back or side of the TV and allow you to connect external audio devices.
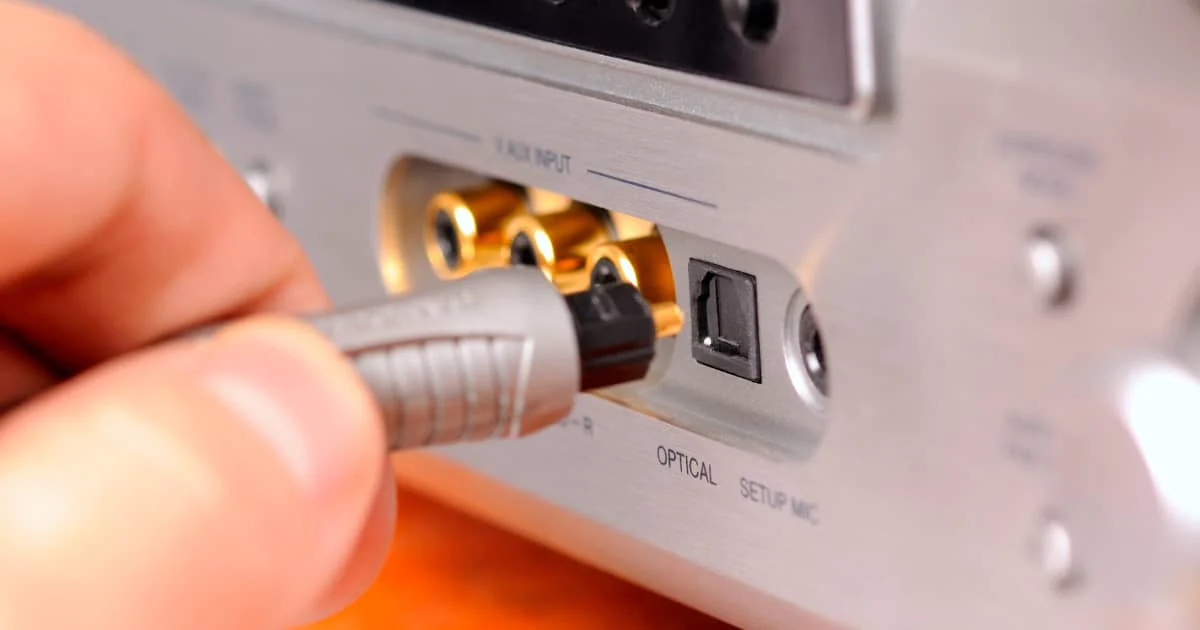
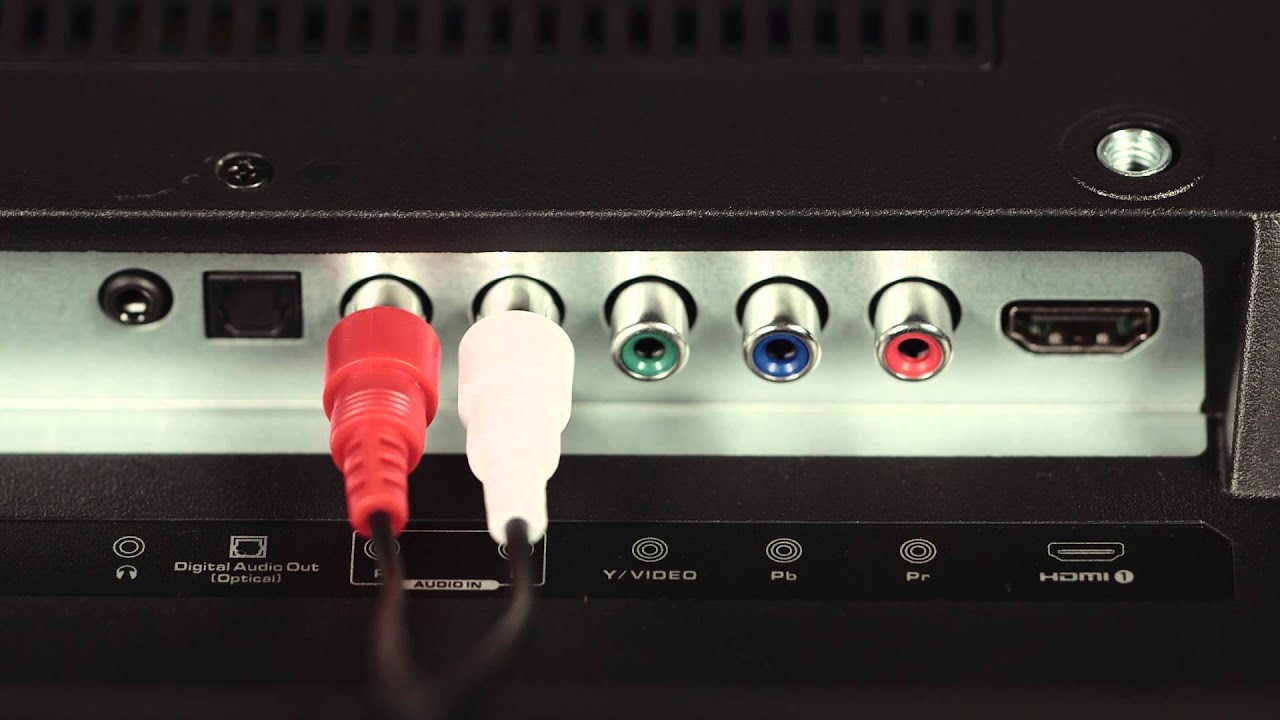
Take a look at the back panel or the side of your TV and look for the audio output ports. In most cases, you will find the red and white audio outputs labeled as ‘Audio Out’ or ‘RCA Out.’ These ports are color-coded for easy identification, with the red port representing the right audio channel and the white port representing the left audio channel.
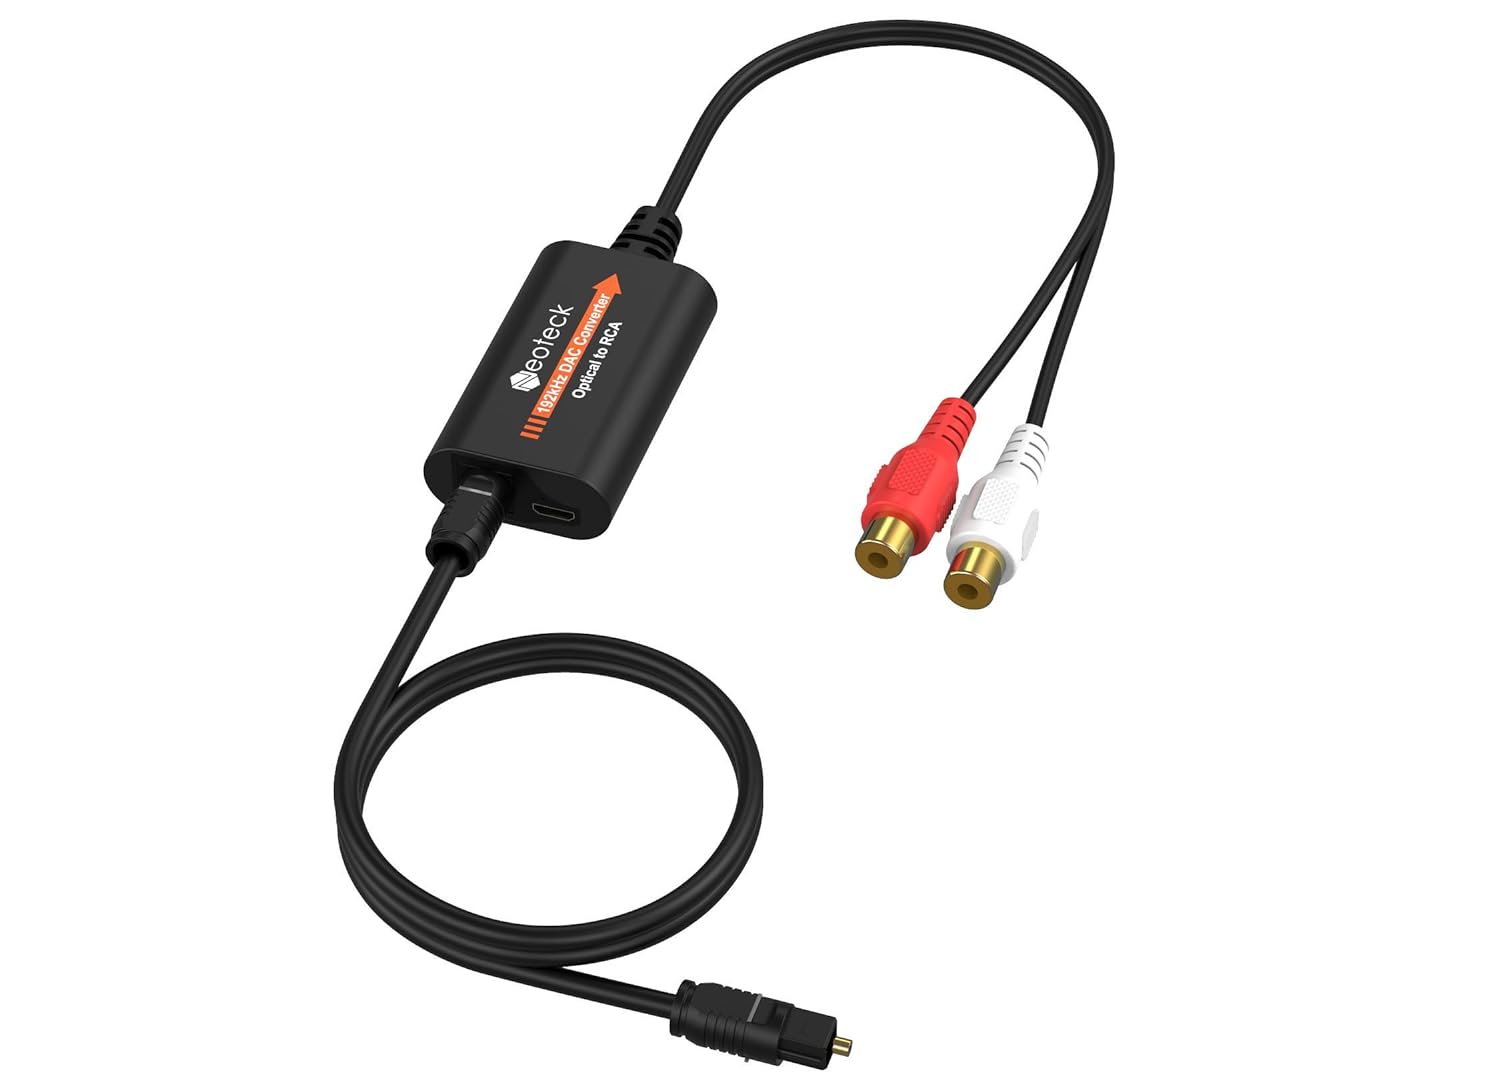
If your Insignia 42 Inch TV has multiple audio outputs, make sure to identify the correct pair of red and white ports. Some TVs may have additional audio output options like optical or HDMI ARC (Audio Return Channel). However, for this guide, we will focus specifically on connecting audio devices using the red and white audio cable.
Once you have located the audio outputs, keep in mind their position and make a mental note or take a picture for reference. This will help you easily identify the correct ports when connecting the audio cables later on.
Now that you have identified the audio outputs on your Insignia 42 Inch TV, let’s move on to the next step, where we will locate the red and white audio inputs on your chosen audio device.
Step 2: Locate the red and white audio inputs on your audio device
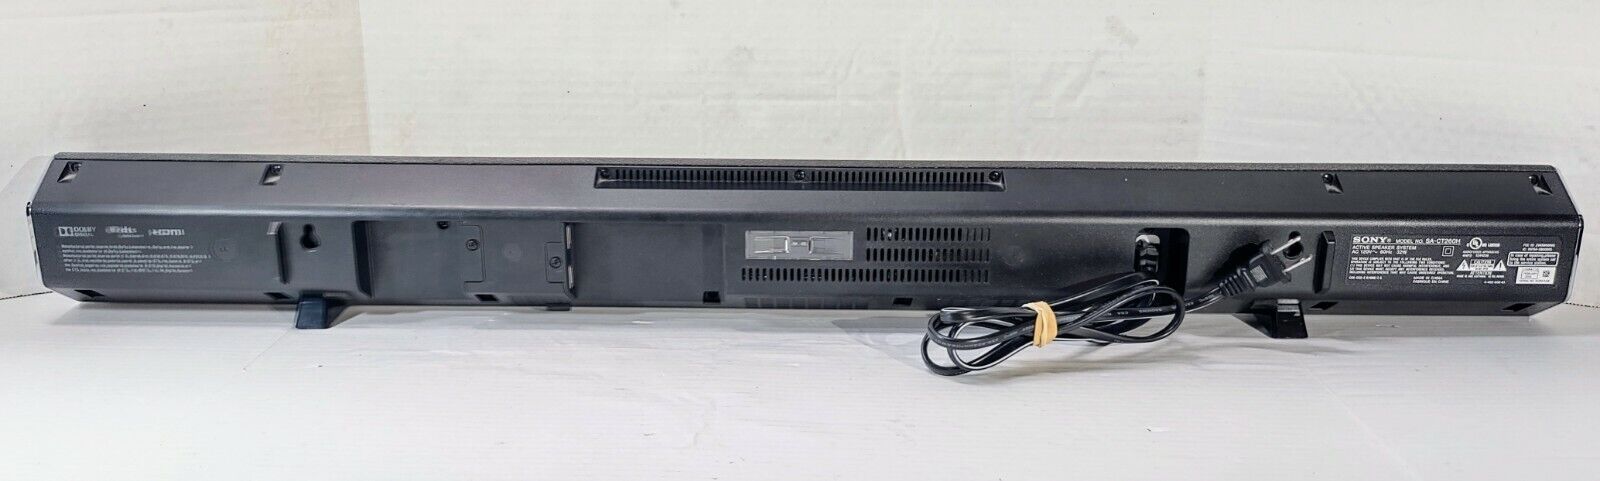
Now that you have identified the audio outputs on your Insignia 42 Inch TV, the next step is to locate the red and white audio inputs on your audio device. Whether you are connecting a soundbar, home theater system, or other audio equipment, these inputs are where you will connect the other end of the red and white audio cable.
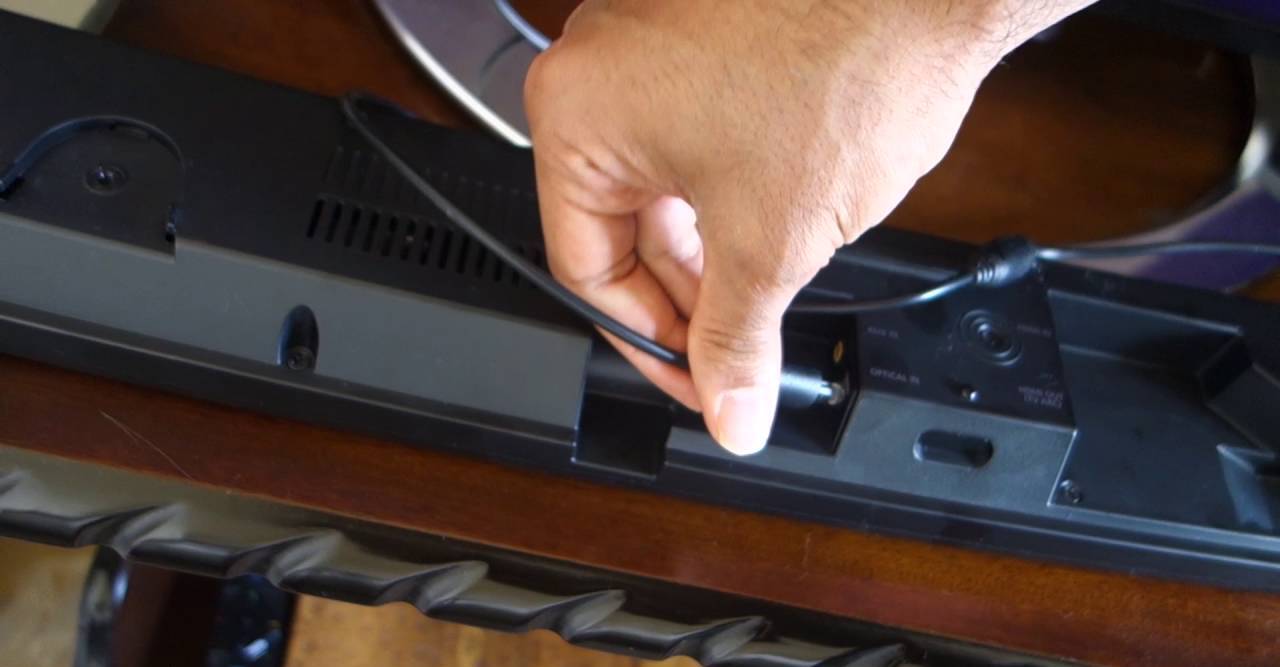
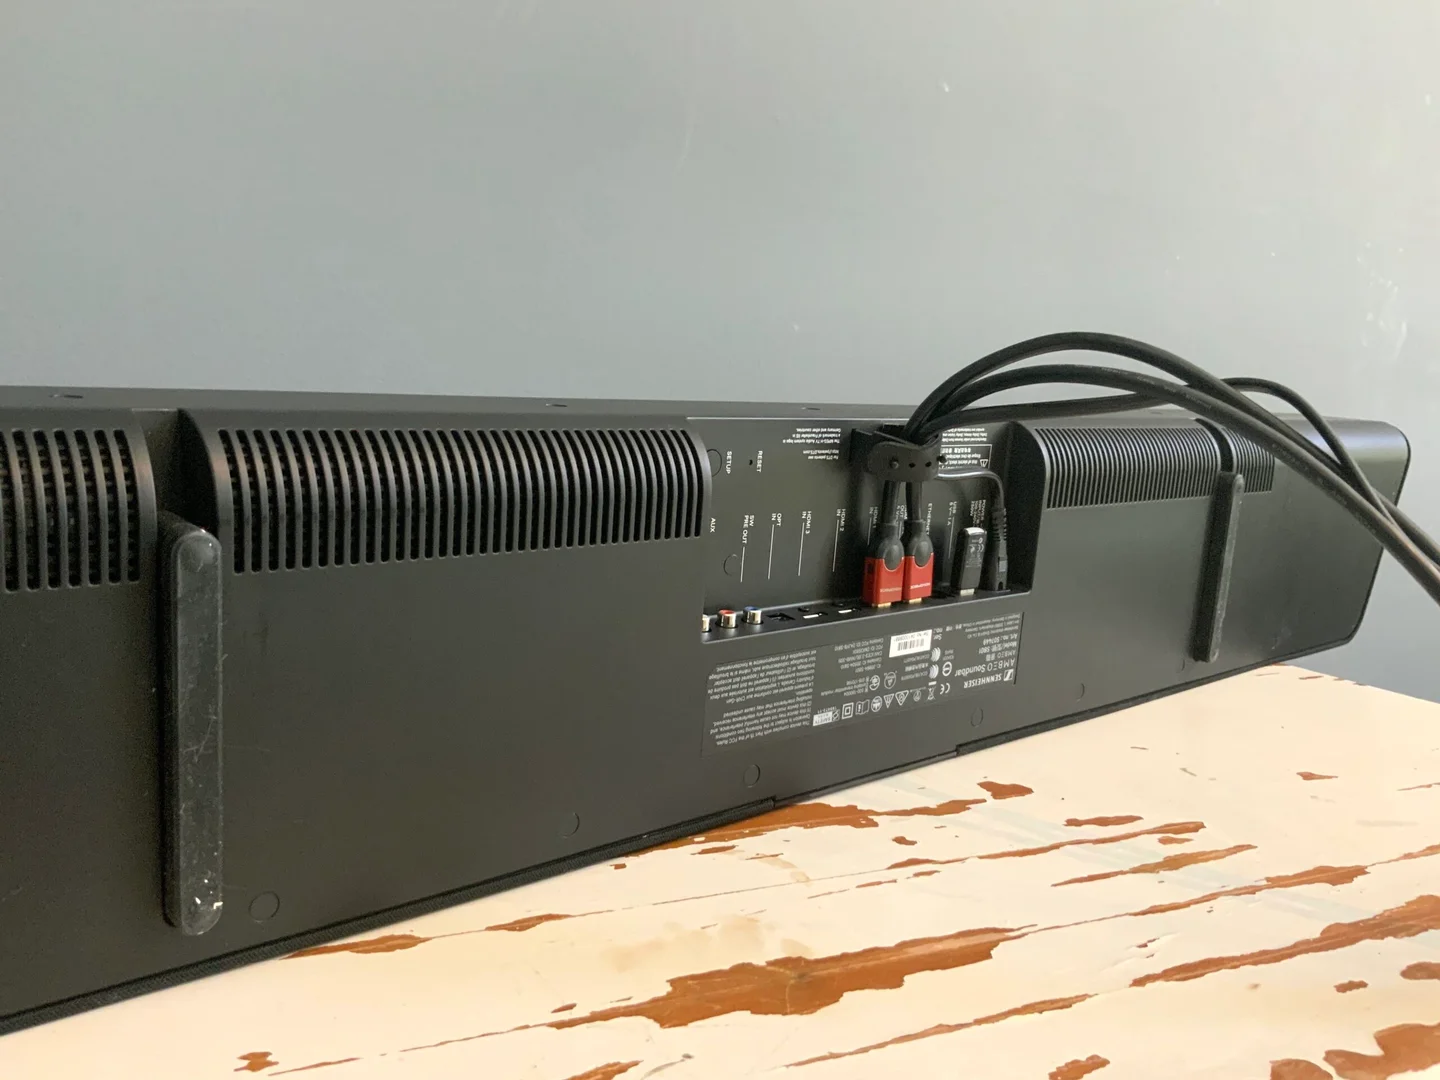
Check the back or side of your audio device for the audio input ports. They are often labeled as ‘Audio In’ or ‘RCA In,’ and like the TV’s audio outputs, they will also be color-coded with red and white for the right and left audio channels respectively.
If your audio device has multiple audio inputs, it’s important to identify the correct pair of red and white ports that correspond to the component you want to connect. Take note of their locations or take a picture for reference, just as you did with the TV’s audio outputs.
It’s worth mentioning that some audio devices may have alternative audio input options, such as optical or HDMI inputs. However, in this guide, we are focusing on connecting using the red and white audio cable. If your audio device only has alternative inputs, you may need to use an adapter or consider alternative connection methods.
After locating the red and white audio inputs on your audio device, you are ready to proceed to the next step where we will connect the red and white audio cables between your TV and audio device.
Step 3: Connect the red and white audio cables to the respective outputs and inputs
With the audio outputs on your Insignia 42 Inch TV and the red and white audio inputs on your audio device identified, it’s time to connect the red and white audio cables.
Take one end of the red and white audio cable and plug the red connector into the red audio output port on your TV. Make sure it fits securely, ensuring a stable connection.
Next, take the other end of the red and white audio cable and plug the white connector into the white audio output port on your TV. Just like with the red connector, ensure that it is securely plugged in.
Now, take the opposite end of the red and white audio cable and connect the red connector to the red audio input port on your audio device. Again, ensure a snug and secure connection.
Lastly, plug in the white connector into the white audio input port on your audio device, matching the color-coded connections.
Once both ends of the red and white audio cables are connected to the respective outputs and inputs, you have successfully established the audio connection between your Insignia 42 Inch TV and your audio device.
Properly connecting the red and white audio cables ensures that the audio signal from your TV is transmitted to the external audio device, providing improved sound quality and a more immersive audio experience.
Now that the cables are connected, let’s move on to the next step where we will adjust the audio settings on your Insignia TV.
Step 4: Adjust the audio settings on your Insignia TV
Now that you have connected the red and white audio cables between your Insignia 42 Inch TV and your audio device, it’s important to adjust the audio settings on your TV to ensure optimal audio output.
Using your TV remote, navigate to the settings menu on your Insignia TV. Look for the audio or sound settings and access them.
Within the audio or sound settings, you may find various options to customize your audio experience. Here are a few common settings to consider:
- Audio Output: Select the correct audio output option that corresponds to the audio connectors you have used (red and white in this case). If available, choose ‘RCA’ or ‘Analog’ as the audio output option.
- Audio Mode: Depending on your personal preference and the audio capabilities of your connected audio device, you may have the option to select the audio mode. Options like ‘Stereo’ or ‘Surround Sound‘ are typically available. Choose the mode that suits your audio setup.
- Equalizer: Some Insignia TVs offer an equalizer or sound enhancement settings. Use these settings to adjust the bass, treble, or other audio frequencies according to your preference.
- Volume Leveling: Enable volume leveling if your TV has this feature. It helps to normalize the audio level across different content, preventing sudden volume fluctuations.
Explore the available audio settings and make adjustments based on your specific preferences and audio equipment. Remember to refer to your TV’s user manual or online resources for more detailed instructions on accessing and adjusting these settings.
Once you have made the necessary audio adjustments, save the settings and exit the menu.
Now that you have adjusted the audio settings on your Insignia TV, it’s time to test the audio connection using the red and white audio cables. This will ensure that everything is working properly and that you are getting the desired audio output.
Next up, we will cover how to test the audio connection on your Insignia 42 Inch TV.
Step 5: Test the audio connection
After connecting the red and white audio cables and adjusting the audio settings on your Insignia 42 Inch TV, it’s essential to test the audio connection to ensure that everything is working correctly.
Start by turning on your Insignia TV and the connected audio device. Ensure that both the TV and the audio device are set to an appropriate audio source, such as the input or channel you want to use.
Play a piece of audio or video content on your Insignia TV, such as a movie or a TV show, and listen for the audio output. If the audio is coming from the external audio device, you have successfully established the audio connection.
If you don’t hear any sound or if the sound seems distorted or not coming from the connected audio device, double-check the following:
- Verify that the red and white audio cables are securely plugged into both the TV and the audio device.
- Ensure that the audio settings on both the TV and the audio device are correctly configured.
- Confirm that the audio device is powered on and set to the correct input or channel.
If everything seems to be correctly connected and set up, but you’re still experiencing audio issues, it may be worth trying a different set of red and white audio cables or consulting the user manuals for both your TV and audio device for troubleshooting tips.
Once you have confirmed that the audio connection is working correctly, you can fully enjoy the enhanced audio experience while watching your favorite content on your Insignia 42 Inch TV.
Now that you have successfully tested the audio connection, let’s wrap up this guide.
Conclusion
Connecting a red and white audio cable to your Insignia 42 Inch TV is a simple and effective way to enhance the audio experience when using external audio devices. By following the steps outlined in this guide, you can easily establish an audio connection and enjoy improved sound quality while watching your favorite movies, TV shows, or playing games.
We started by identifying the audio outputs on your Insignia TV and locating the red and white audio inputs on your audio device. Then, we connected the red and white audio cables to the respective outputs and inputs, ensuring a secure connection.
Next, we adjusted the audio settings on your Insignia TV, allowing you to customize your audio experience based on your preferences and audio equipment capabilities.
Finally, we tested the audio connection to ensure that everything is working correctly. By playing audio or video content and listening for the sound output from your connected audio device, you can confirm that the audio connection is established successfully.
Remember, this guide is specific to connecting audio devices using the red and white audio cables. If your audio equipment or TV has alternative connection options, you may need to refer to the relevant user manuals or seek additional guidance.
Now that you have successfully connected your Insignia 42 Inch TV to an audio device using a red and white audio cable, you can sit back, relax, and enjoy an enhanced audio experience with your favorite content.
Thank you for choosing our guide, and happy watching!