Home>Production & Technology>Audio Cable>How To Connect Optical Audio Cable To RCA
Audio Cable
How To Connect Optical Audio Cable To RCA
Modified: January 22, 2024
Learn how to connect an optical audio cable to an RCA connection. Enhance your audio experience with this step-by-step guide.
(Many of the links in this article redirect to a specific reviewed product. Your purchase of these products through affiliate links helps to generate commission for AudioLover.com, at no extra cost. Learn more)
Table of Contents
- Introduction
- Understanding Optical Audio and RCA Cables
- Equipment Needed
- Step 1: Identify the Optical and RCA Ports
- Step 2: Prepare the Optical Audio Cable
- Step 3: Connect the Optical Audio Cable to the Source Device
- Step 4: Connect the RCA Cable to the Receiving Device
- Step 5: Test the Connection
- Conclusion
Introduction
Welcome to our guide on how to connect an optical audio cable to an RCA cable. If you’re looking to enhance your audio experience, understanding how to connect these two types of cables is essential. Whether you want to connect your TV to a sound system, a gaming console to a stereo, or any other audio setup that requires the conversion of optical audio signals to RCA, this guide will walk you through the process.
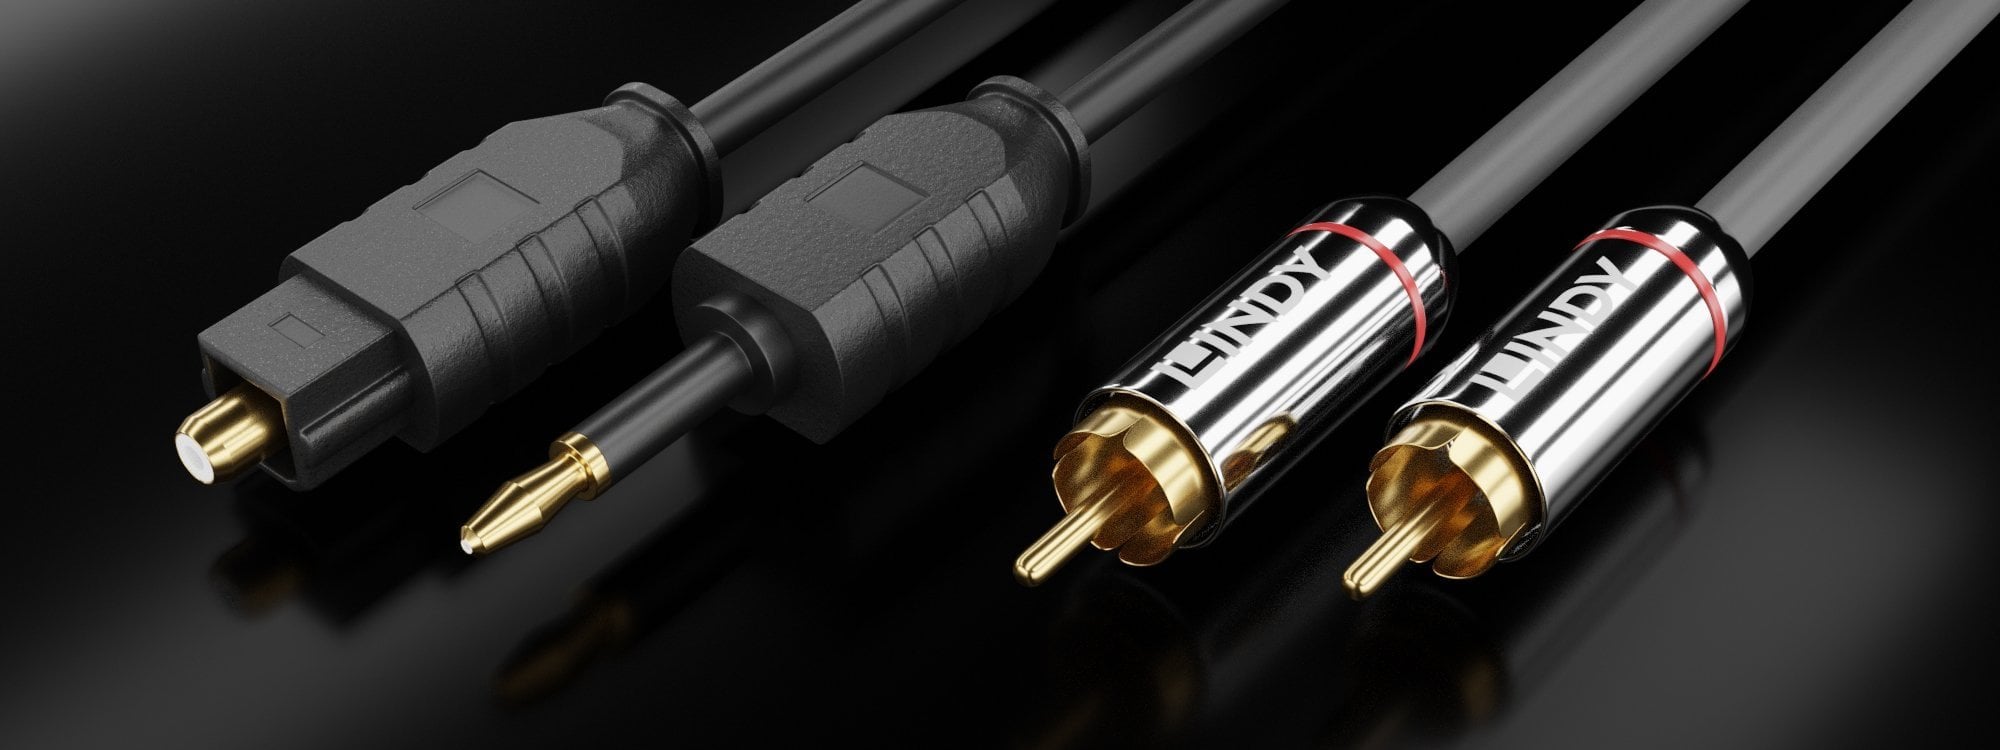
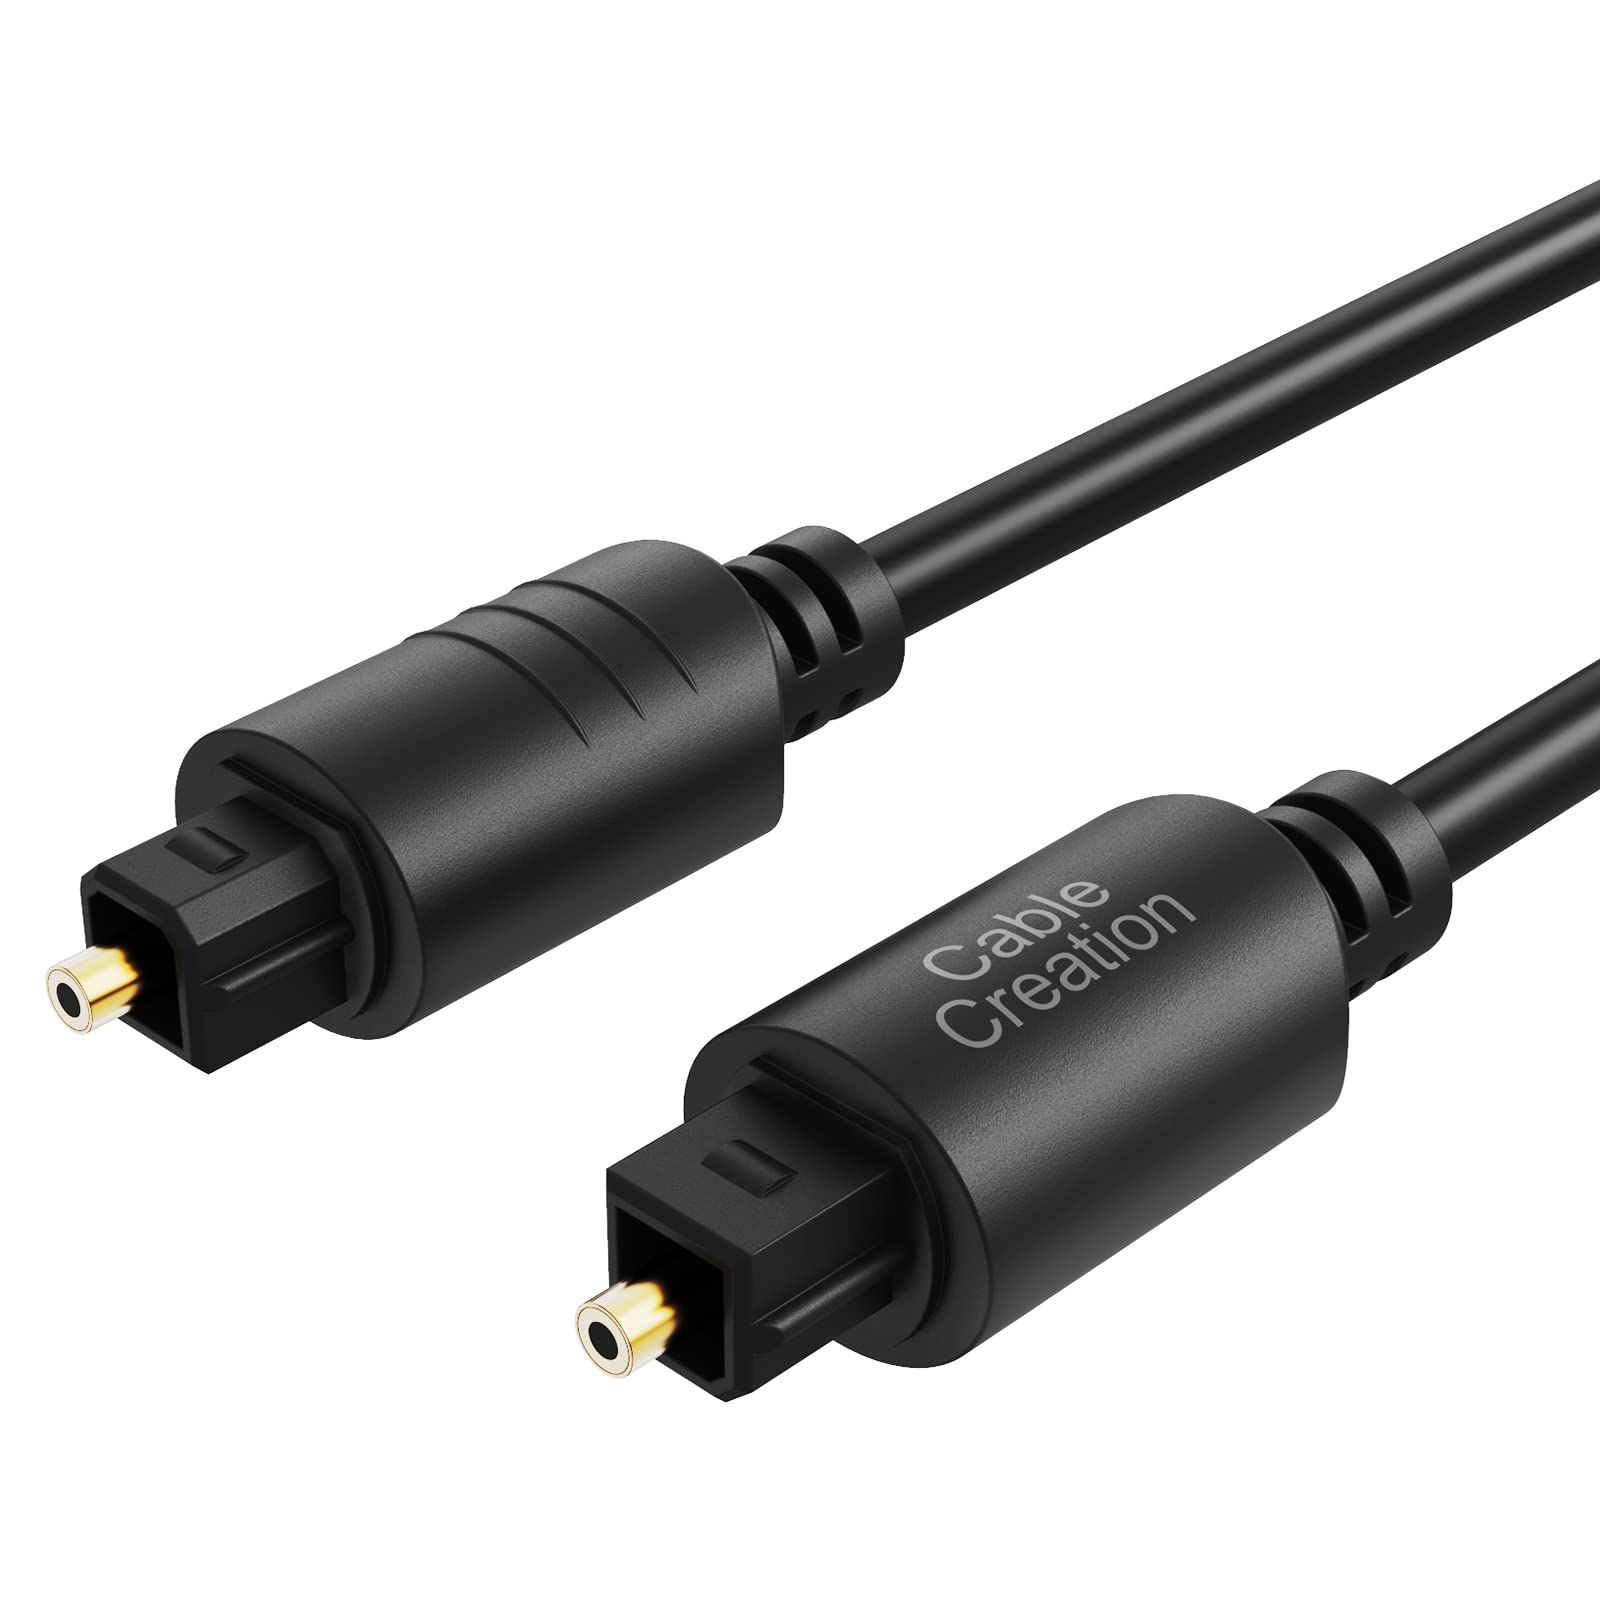
Optical audio cables, also known as TOSLINK or SPDIF cables, use light signals to transmit audio data. They are commonly used in home theater systems, gaming consoles, and multimedia devices to deliver high-quality digital audio. On the other hand, RCA cables, known for their red and white connectors, are analog audio cables widely used in older audio systems, amplifiers, and speakers.
While optical audio cables and RCA cables use different technologies to transmit audio signals, it’s possible to connect them with the right equipment and adapters. By doing so, you can enjoy the benefits of digital audio signals from your optical source device and convert them into analog signals for RCA-enabled receiving devices.
In this guide, we’ll provide a step-by-step tutorial on how to connect an optical audio cable to an RCA cable. We’ll cover the equipment needed, the identification of ports, the preparation of cables, and the connection process. With our detailed instructions, you’ll be able to seamlessly connect your devices and enjoy high-quality audio output.
Before we dive into the process, make sure you have the necessary cables and adapters on hand. You’ll need an optical audio cable with the appropriate connectors, as well as an RCA cable. Additionally, depending on your specific setup, you may require an optical to RCA converter or a digital audio converter. These devices will help facilitate the connection between the optical and RCA cables.
Understanding Optical Audio and RCA Cables
Before we proceed with the step-by-step instructions on connecting an optical audio cable to an RCA cable, let’s take a closer look at these two types of cables and their capabilities.
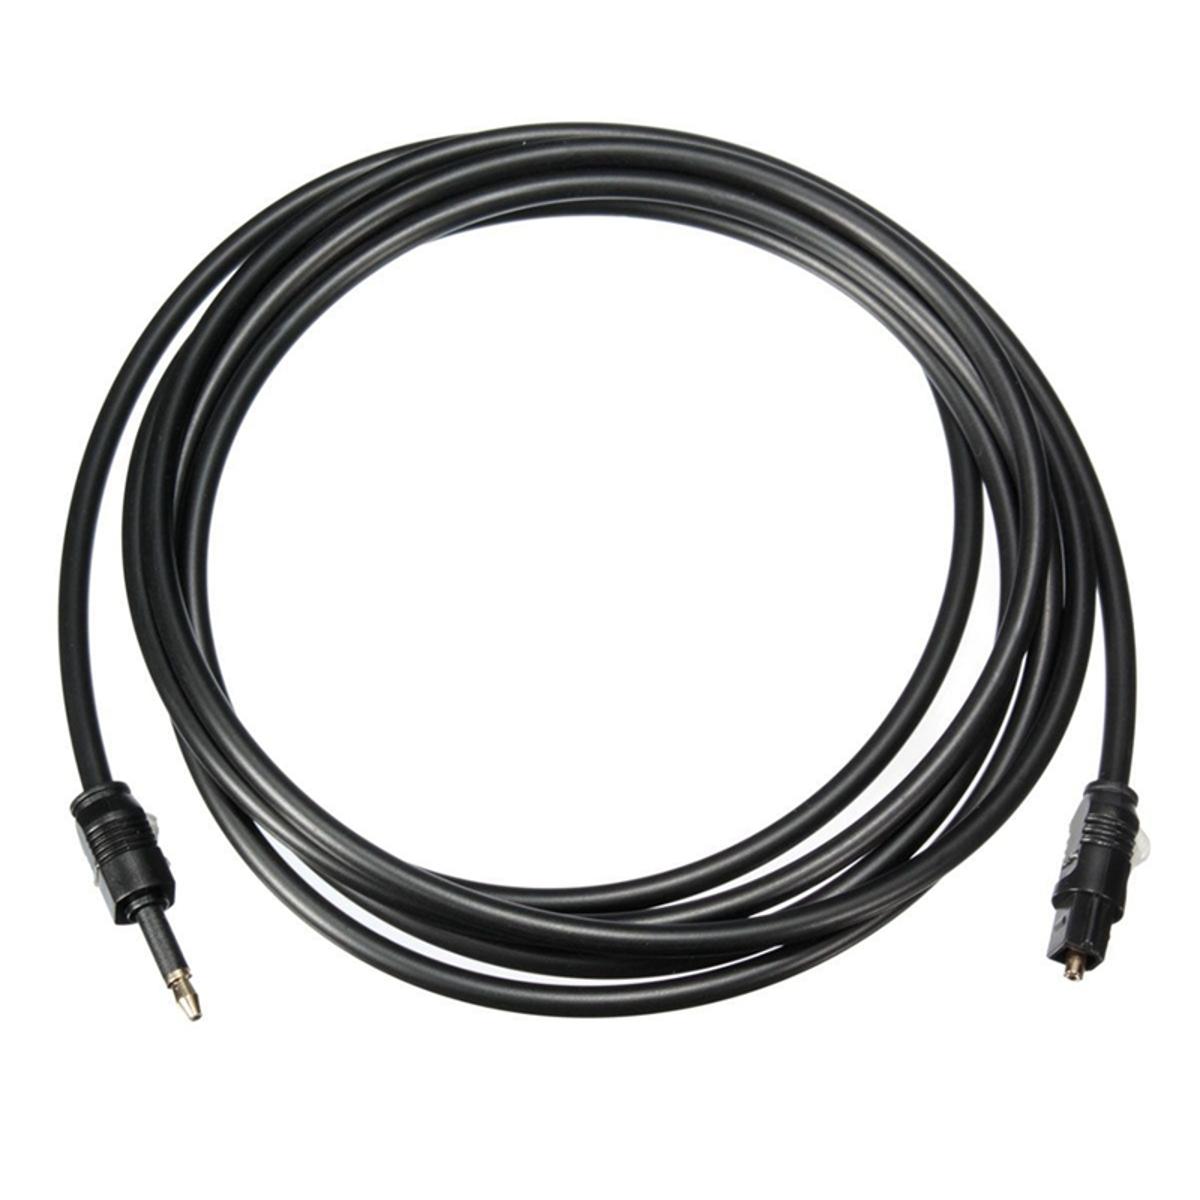
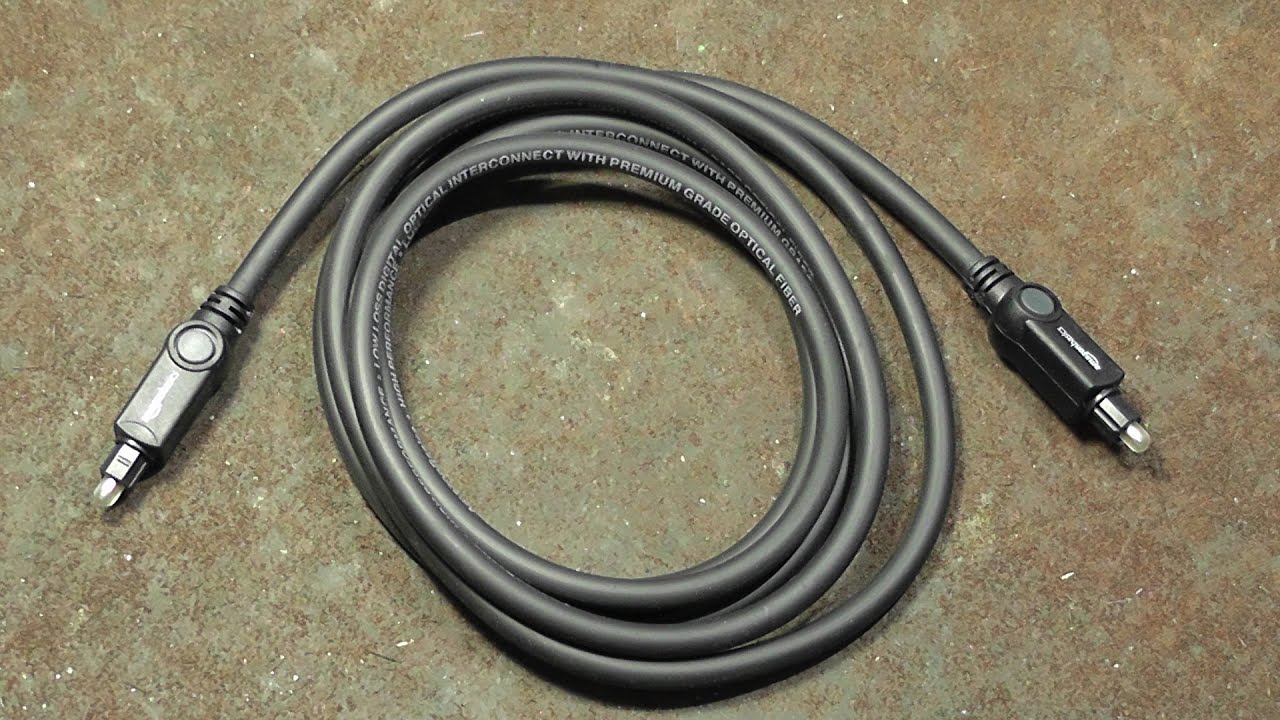
Optical audio cables:
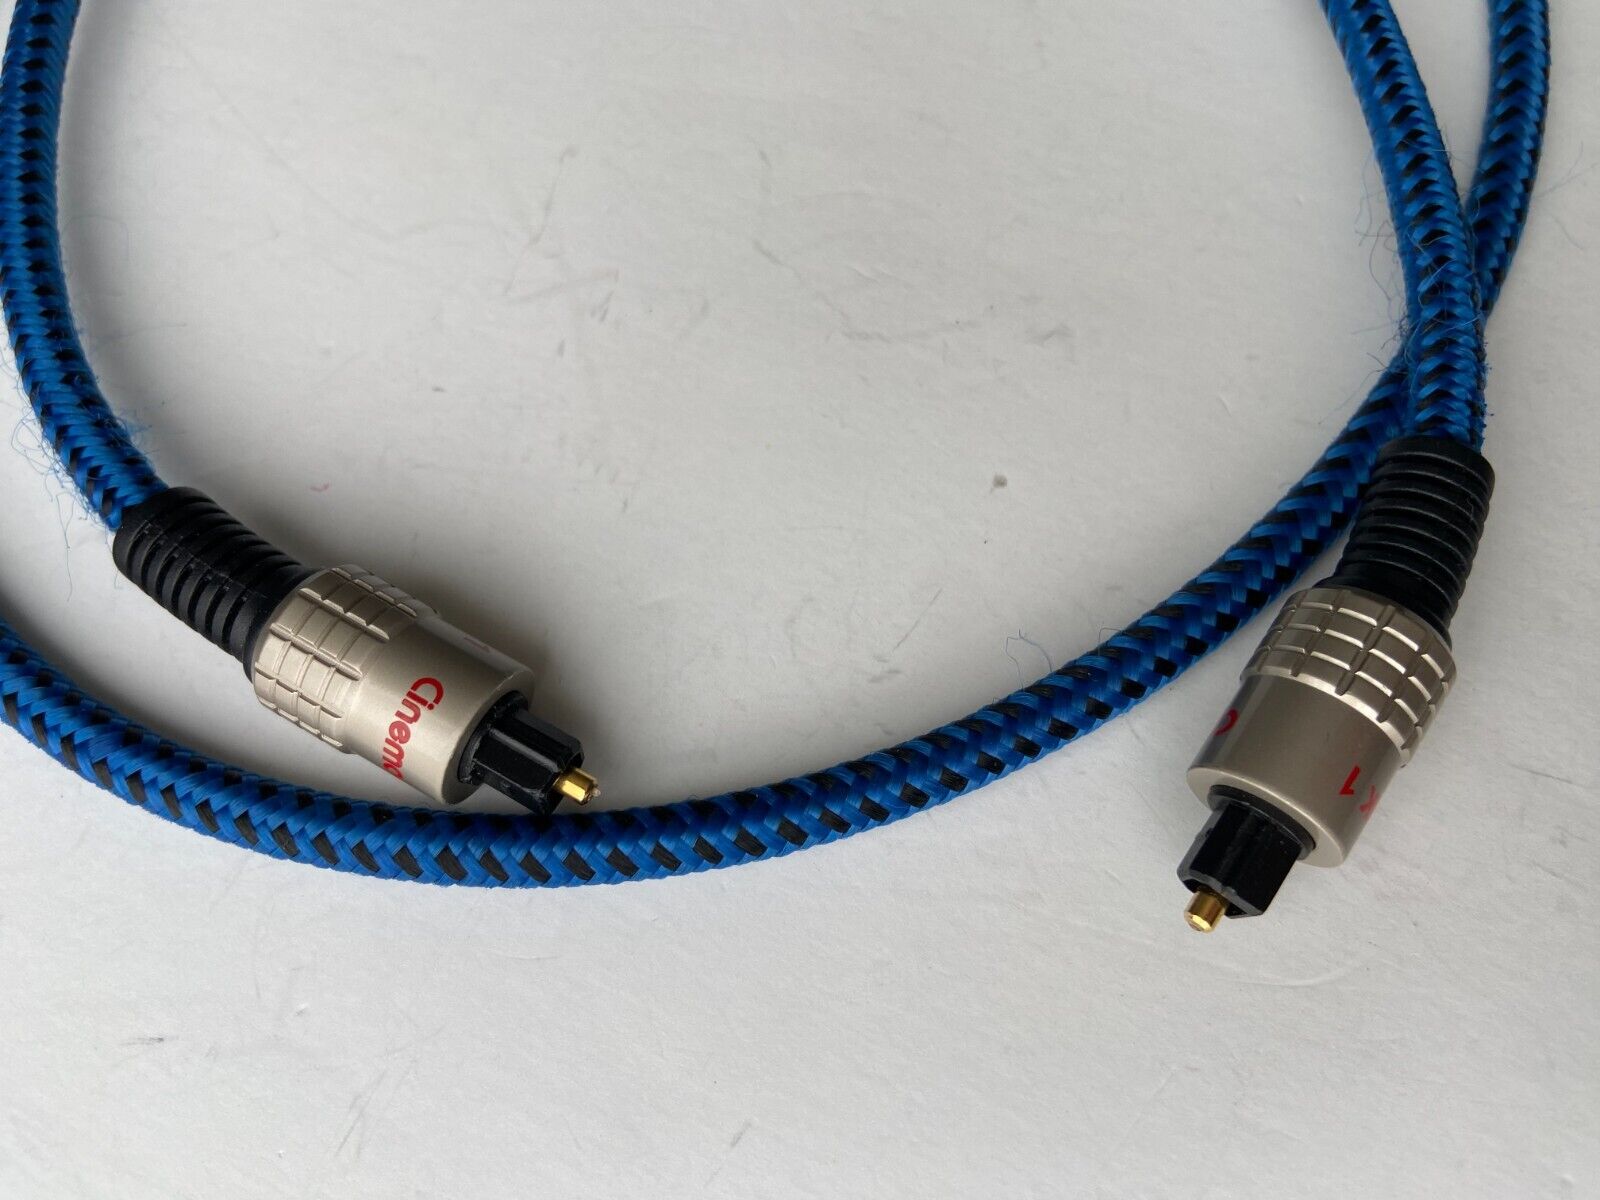
Also known as TOSLINK or SPDIF cables, optical audio cables use light signals to transmit audio data. They feature a unique optical connector that carries digital audio information from the source device, such as a TV, gaming console, or DVD player, to the receiving device, such as a soundbar or an AV receiver. Optical audio cables are capable of transmitting high-quality digital audio signals, including Dolby Digital and DTS surround sound.
The main advantage of optical audio cables is their immunity to electromagnetic interference. Since optical cables transmit audio signals in the form of light, they are not affected by nearby electronic devices or power cables, resulting in a clean and uninterrupted audio signal. Additionally, these cables can transmit audio over longer distances without any signal degradation.
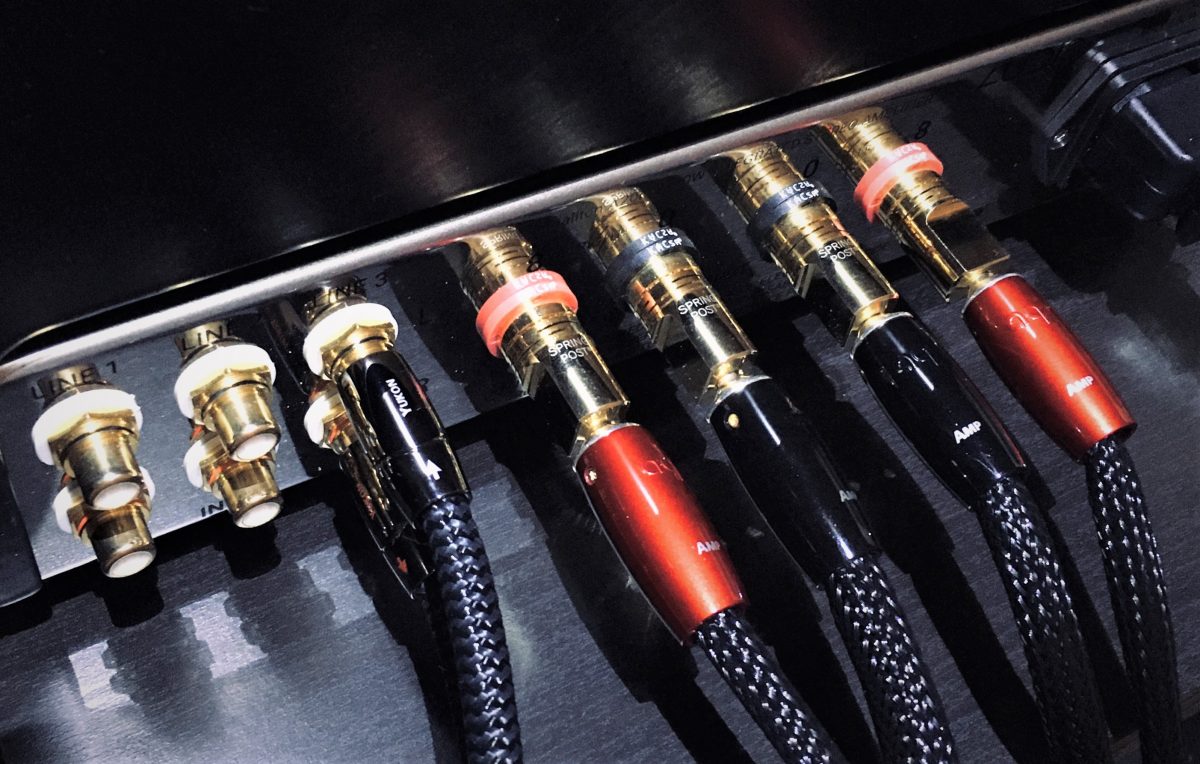
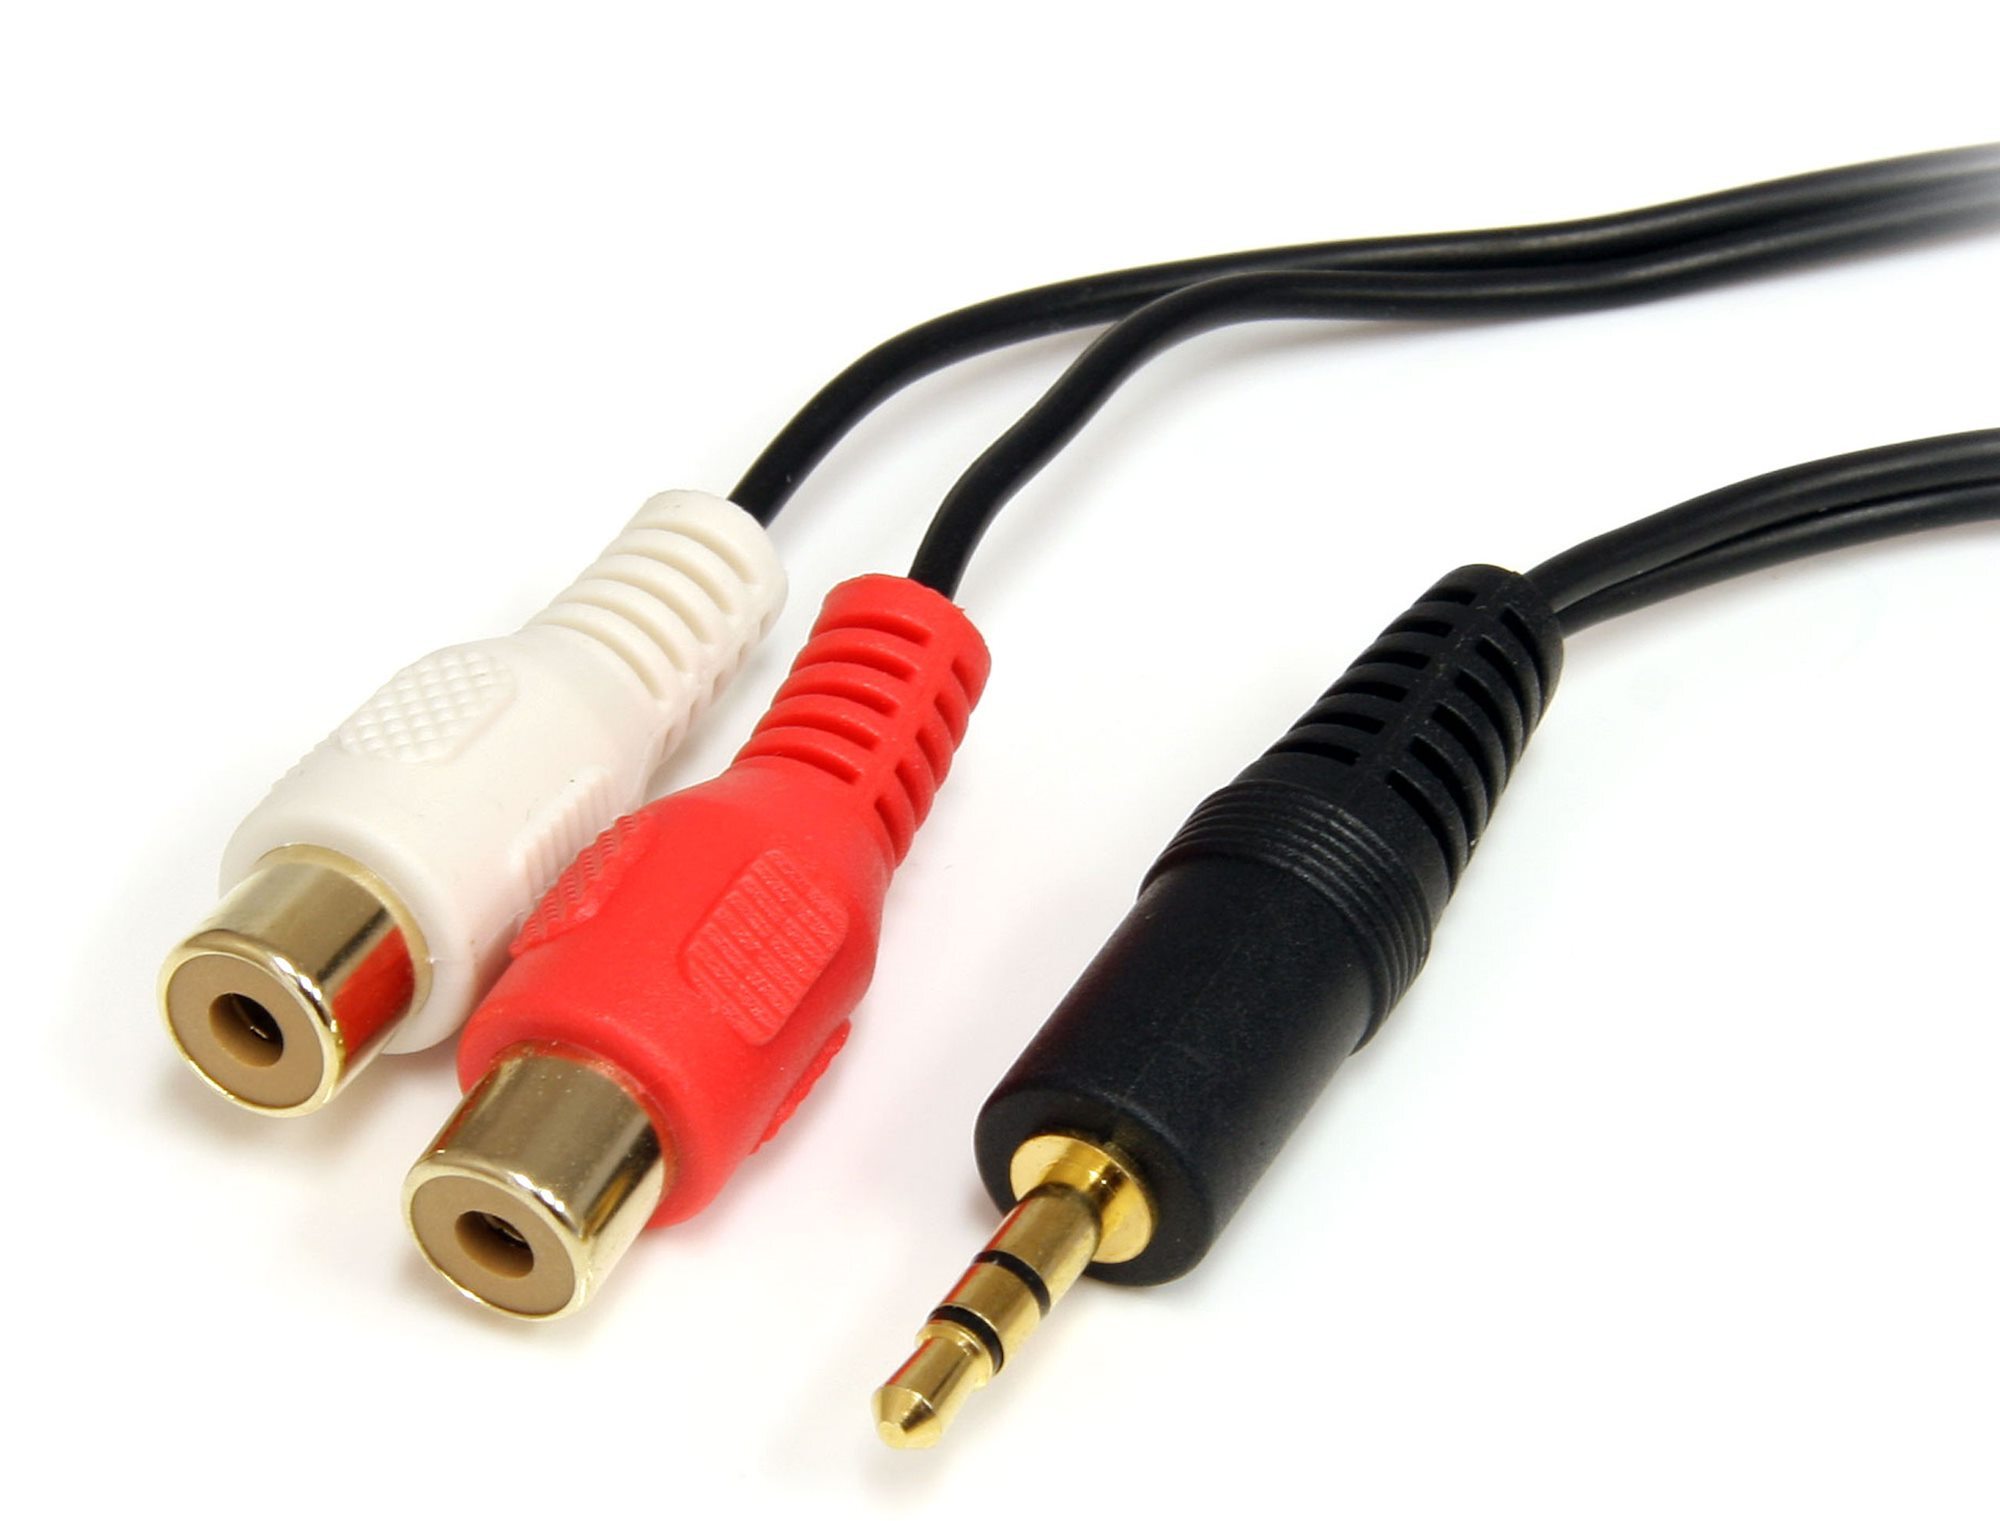
RCA cables:
RCA cables, also known as composite cables, consist of two or three separate cables with color-coded connectors. The most common configuration includes red and white connectors, where the red connector carries the right audio channel, and the white connector carries the left audio channel. RCA cables are widely used in older audio systems, amplifiers, and speakers.
RCA cables transmit analog audio signals, which means the audio information is converted into electrical impulses. While they may not offer the same level of audio quality as optical cables (which transmit digital audio), RCA cables are compatible with a wide range of audio devices and can still deliver satisfying sound quality in many setups.
It’s important to note that when converting audio from an optical source to RCA cables, the audio signal gets converted from digital to analog. This conversion may result in a slight loss of audio quality, but it is often imperceptible to the average listener. However, if you’re looking for the best audio quality, using an optical audio connection is recommended, especially for devices that support surround sound formats like Dolby Digital or DTS.
Now that we have a good understanding of optical audio and RCA cables, as well as their respective capabilities, it’s time to move on to the practical steps of connecting an optical audio cable to an RCA cable.
Equipment Needed
Before we begin connecting an optical audio cable to an RCA cable, let’s gather all the necessary equipment to ensure a smooth setup process:
- Optical Audio Cable: Obtain an optical audio cable with the appropriate connectors for your devices. Make sure the cable length is sufficient to reach from the source device to the receiving device.
- RCA Cable: You’ll need an RCA cable with red and white connectors. The length of the RCA cable should be suitable for your setup.
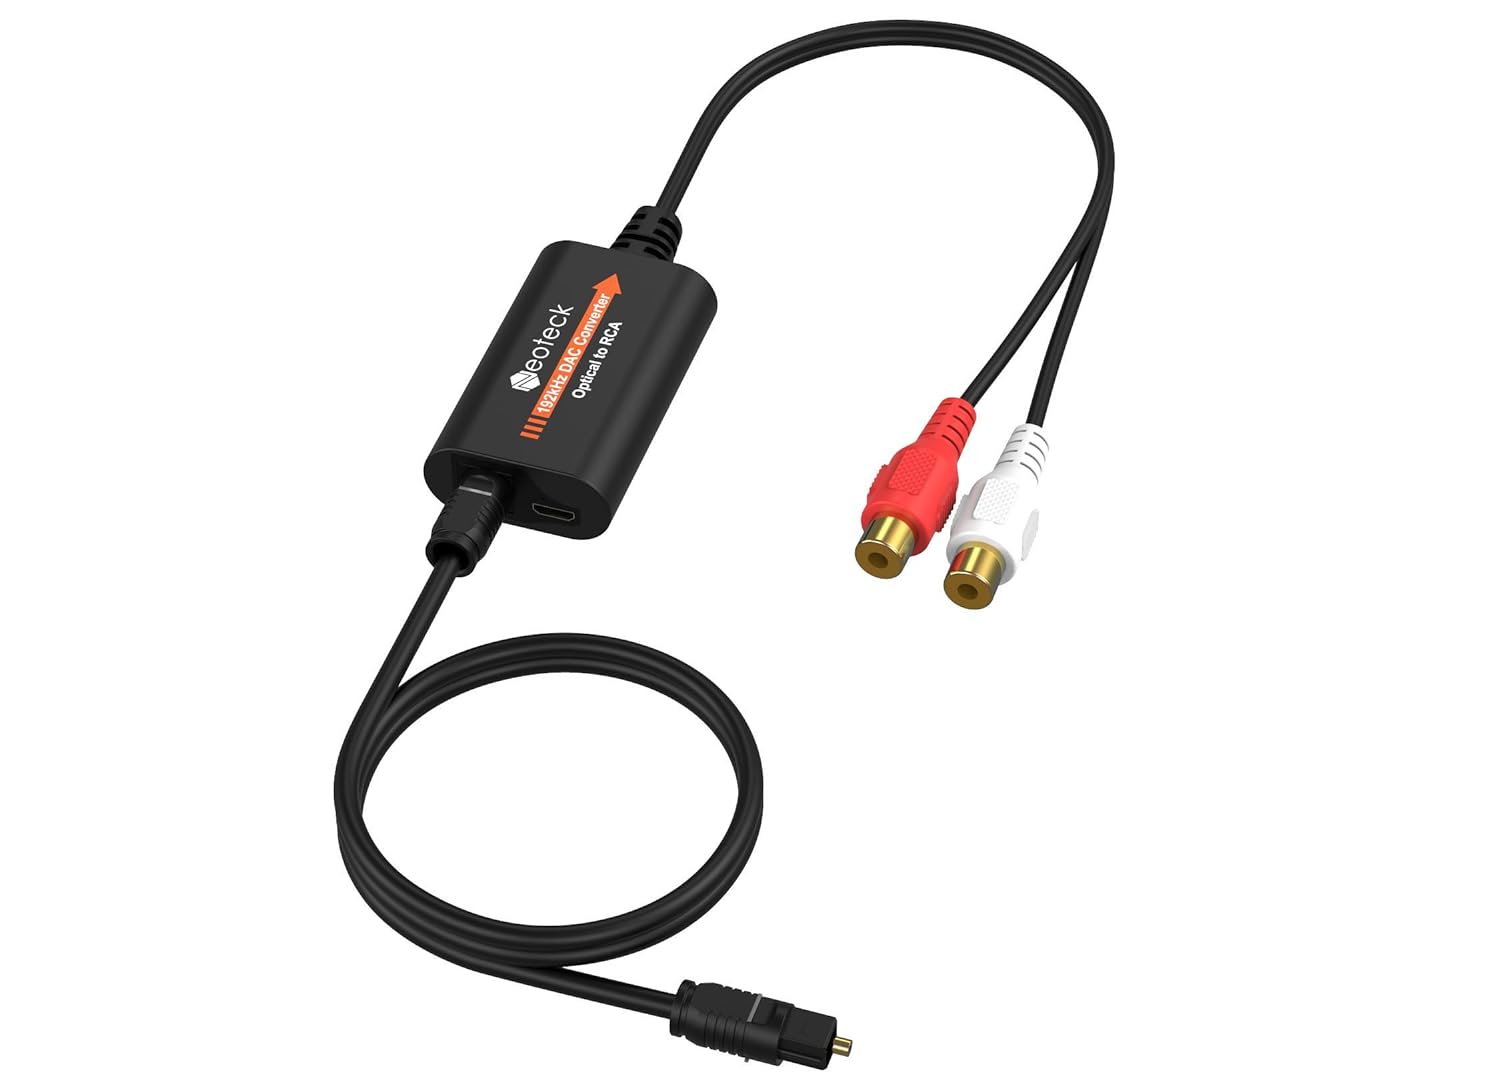
- Optical to RCA Converter (if needed): Depending on your source and receiving devices, you may need an optical to RCA converter. This device will enable you to connect the optical output of your source device to the RCA input of your receiving device.
- Digital Audio Converter (if needed): In some cases, if your receiving device only supports digital audio input and lacks an RCA input, you’ll need a digital audio converter. This device will convert the analog RCA signal to a digital format compatible with your receiving device.
- Source Device and Receiving Device: Ensure you have the source device (e.g., TV, gaming console, DVD player) and the receiving device (e.g., soundbar, AV receiver, amplifier) ready for the connection.
Once you have gathered all the necessary equipment, you’ll be fully prepared to connect your optical audio cable to an RCA cable. Keep in mind that it’s essential to choose high-quality cables and adapters to ensure optimal audio performance and signal integrity.
Now that we have everything we need, let’s move on to the step-by-step process of connecting an optical audio cable to an RCA cable.
Step 1: Identify the Optical and RCA Ports
Before we can connect the optical audio cable to the RCA cable, we need to identify the appropriate ports on both the source device and the receiving device. Here’s what you need to do:
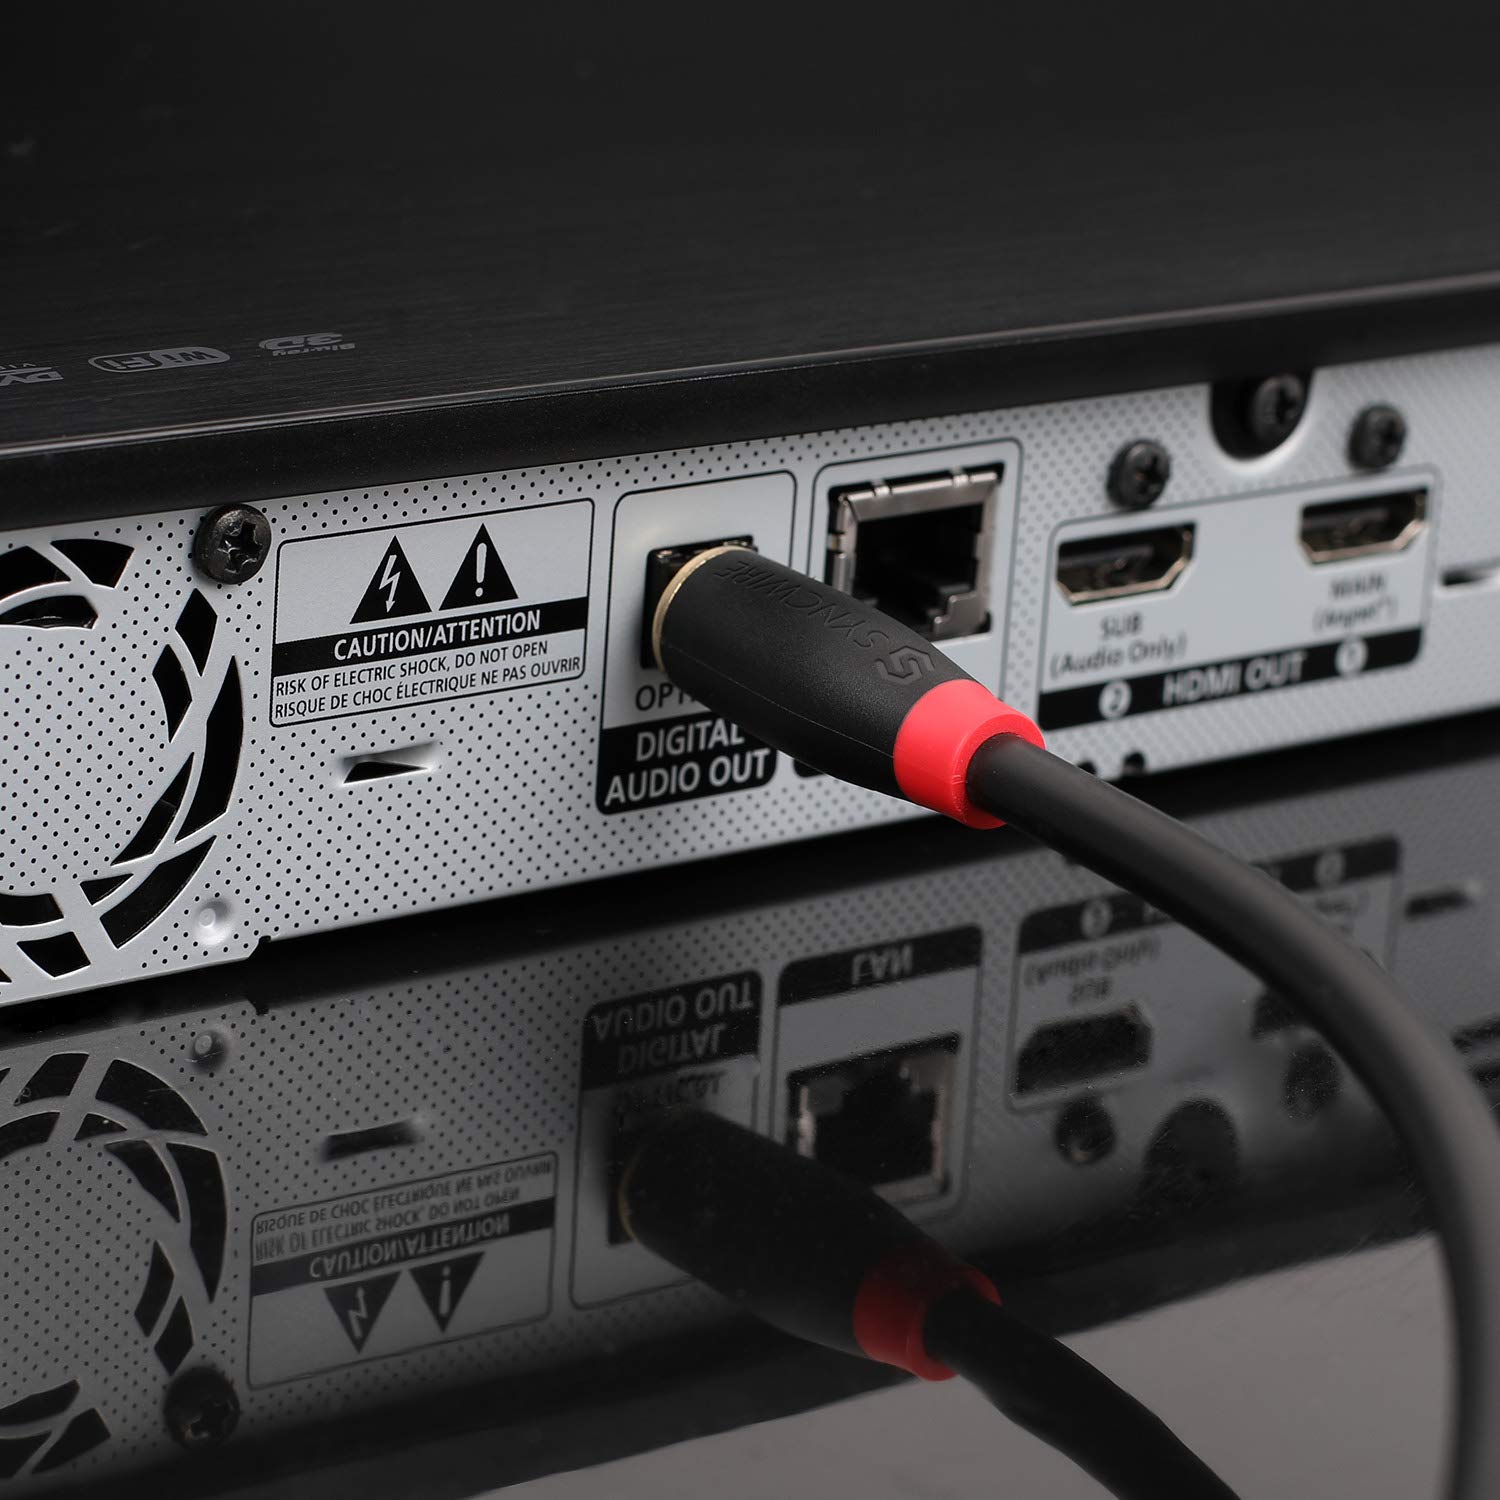
- Inspect the back or side panels of your source device, such as a TV, gaming console, or DVD player. Look for a port labeled “Optical Out” or “Digital Audio Out.” This is where you will connect one end of the optical audio cable.
- Inspect the back or side panels of your receiving device, such as a soundbar, AV receiver, or amplifier. Look for a port labeled “RCA Input” or “Analog Audio Input.” This is where you will connect one end of the RCA cable.
- If you are using an optical to RCA converter, locate the optical input on the converter and connect the other end of the optical audio cable to it. Also, find the RCA output on the converter and connect one end of the RCA cable to it.
It’s important to note that the exact location and labeling of the ports may vary depending on the make and model of your devices. Refer to the user manuals or consult the manufacturer’s website for assistance if you’re having trouble locating the optical and RCA ports.
Once you have identified the optical and RCA ports on both the source and receiving devices, move on to the next step: preparing the optical audio cable.
Step 2: Prepare the Optical Audio Cable
After identifying the optical and RCA ports on your source and receiving devices, it’s time to prepare the optical audio cable for connection. Follow these steps:
- Inspect the optical audio cable to ensure it is in good condition with no visible damage or frayed ends. If you notice any issues, it is recommended to use a new cable for optimal performance.
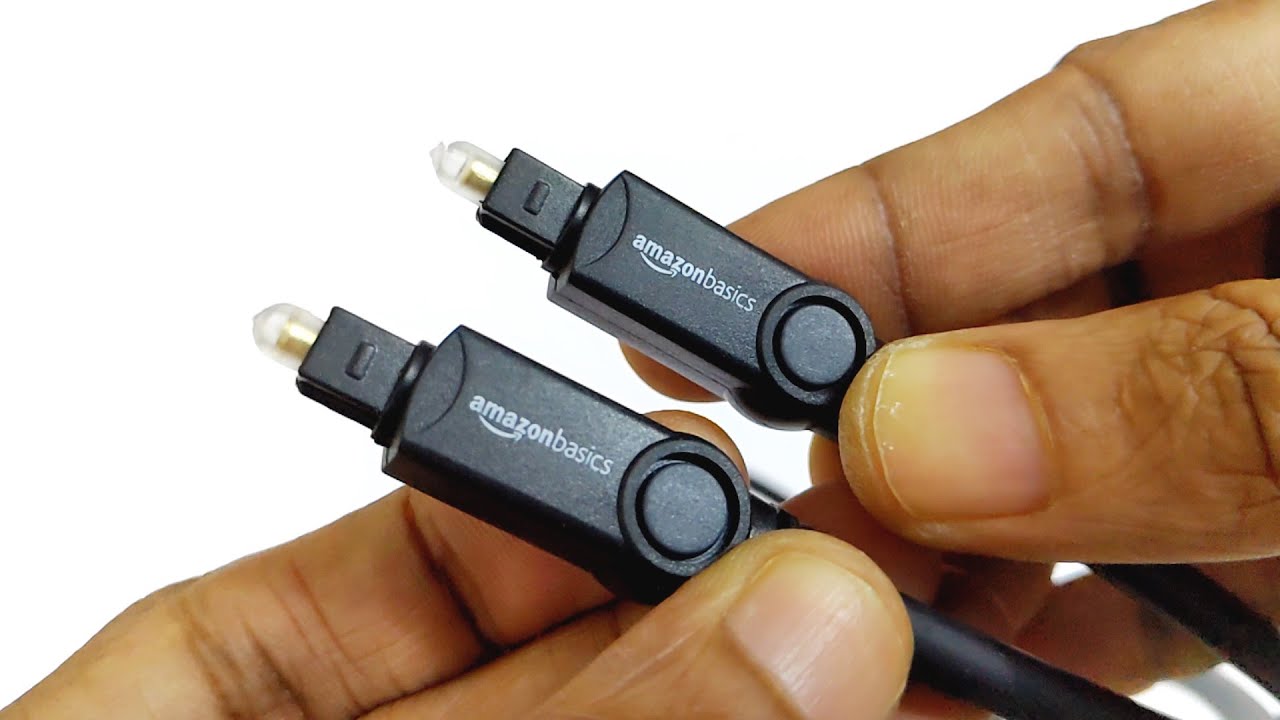
- Remove any protective caps or covers from the optical connectors on both ends of the cable. Be careful not to touch the exposed ends, as this can affect signal transmission.
- Align the square-shaped optical connector on one end of the cable with the corresponding optical port on your source device. Insert the connector firmly and gently twist it clockwise to secure the connection.
- If using an optical to RCA converter, connect the other end of the optical audio cable to the optical input on the converter. Again, ensure a secure connection by twisting the connector clockwise.
It’s important to handle the optical audio cable with care, as the delicate nature of the connectors can result in damage if mishandled. Avoid bending or pulling the cable excessively, and keep it away from sharp objects or tight spaces that can cause strain on the connectors.
With the optical audio cable properly prepared, move on to the next step: connecting the optical audio cable to the source device.
Step 3: Connect the Optical Audio Cable to the Source Device
Now that the optical audio cable is prepared, it’s time to connect it to the source device. Follow these steps:
- Locate the “Optical Out” or “Digital Audio Out” port on your source device, such as a TV, gaming console, or DVD player.
- Gently insert the optical audio cable’s square-shaped connector into the corresponding port on the source device. Make sure it is aligned properly and insert it firmly.
- If you are using an optical to RCA converter, connect the optical output of the source device to the optical input on the converter. Follow the same process of aligning the connectors and securing the connection.
- Ensure that the optical audio cable is connected securely without any loose connections. A properly connected cable will provide a stable audio signal.
Once the optical audio cable is successfully connected to the source device, proceed to the next step: connecting the RCA cable to the receiving device.
Step 4: Connect the RCA Cable to the Receiving Device
After connecting the optical audio cable to the source device, it’s time to connect the RCA cable to the receiving device. Follow these steps:
- Locate the “RCA Input” or “Analog Audio Input” port on your receiving device, such as a soundbar, AV receiver, or amplifier. It is often color-coded, with the red connector representing the right audio channel and the white connector representing the left audio channel.
- Take the RCA cable and identify the red and white connectors. Align the red connector with the red RCA input on the receiving device, and the white connector with the white RCA input.
- Once properly aligned, insert the RCA connectors into the corresponding color-coded ports on the receiving device. Make sure they are inserted firmly to ensure a secure connection.
- If you are using a digital audio converter, connect the RCA output of the converter to the appropriate input on your receiving device using the same process of aligning and inserting the connectors.
- Double-check that all connections are secure and properly aligned. Loose connections can result in audio interruptions or poor sound quality.
With the RCA cable successfully connected to the receiving device, you now have a complete audio connection between the source device and the receiving device. The final step is to test the connection and ensure everything is working as expected.
Step 5: Test the Connection
After connecting the optical audio cable to the source device and the RCA cable to the receiving device, it’s important to test the connection to ensure proper audio transmission. Follow these steps:
- Turn on both the source device (e.g., TV, gaming console) and the receiving device (e.g., soundbar, AV receiver).
- Using the remote or control panel of the receiving device, select the appropriate input source or mode. This will vary depending on the device, so refer to the user manual if necessary.
- Play an audio source on the source device, such as a movie, music, or a game, that you know produces sound. Adjust the volume on the receiving device to a comfortable level.
- Listen for the audio coming through the speakers connected to the receiving device. Check for clear and balanced sound from both the left and right channels.
- If you’re experiencing any issues with the sound, such as a complete absence of audio or imbalanced channels, double-check all the connections. Ensure that the optical audio cable is securely connected to both the source and receiving devices, and the RCA cable is properly connected to the receiving device.
- If the sound is still not functioning as expected, consider trying a different optical audio cable or RCA cable to rule out any possible cable defects.
Once you have confirmed that the connection is working properly and the audio is being transmitted successfully, congratulations! You have successfully connected an optical audio cable to an RCA cable.
Now, sit back, relax, and enjoy your enhanced audio experience. Whether you’re watching movies, playing games, or listening to music, the connection between your source and receiving devices will provide you with high-quality audio.
Remember, if you encounter any difficulties during the connection process or have specific questions about your devices, consult the user manuals or reach out to the manufacturers for further assistance.
We hope this guide has been helpful in guiding you through the process of connecting an optical audio cable to an RCA cable. Thank you for choosing our comprehensive guide, and enjoy your audio setup!
Conclusion
Connecting an optical audio cable to an RCA cable may seem daunting at first, but with the right equipment and a bit of guidance, it can be a straightforward process. By understanding the capabilities of optical and RCA cables, identifying the necessary ports on your devices, and following the step-by-step instructions provided in this guide, you can easily establish a connection and enjoy high-quality audio.
Optical audio cables offer the convenience of transmitting digital audio signals, while RCA cables provide compatibility with a wide range of audio devices. By connecting these two types of cables, you can bridge the gap between digital and analog audio and enhance your audio experience.
Remember to handle the cables and connectors with care, ensuring they are securely inserted and aligned. Loose connections can lead to signal interruptions or poor audio quality. Additionally, testing the connection after the setup is crucial to confirm proper audio transmission and address any potential issues.
If you encounter any difficulties during the connection process or have specific questions about your devices, consult the user manuals or contact the manufacturers for assistance. They will be able to provide tailored advice and solutions to meet your needs.
We hope this guide has been helpful in providing you with a comprehensive understanding of how to connect an optical audio cable to an RCA cable. By following these steps, you can unlock the full potential of your audio setup and enjoy immersive, high-quality sound.
Thank you for choosing our guide, and we wish you the best in your audio endeavors!