Home>Production & Technology>Audio Interface>How To Control Inputs Outputs In Linux USB Audio Interface
Audio Interface
How To Control Inputs Outputs In Linux USB Audio Interface
Published: February 5, 2024
Learn how to control inputs and outputs in your Linux USB Audio Interface. Discover the essential techniques to maximize the performance of your Audio Interface.
(Many of the links in this article redirect to a specific reviewed product. Your purchase of these products through affiliate links helps to generate commission for AudioLover.com, at no extra cost. Learn more)
Table of Contents
- Introduction:
- Overview of Linux USB Audio Interface:
- Controlling Input in Linux USB Audio Interface:
- Controlling Output in Linux USB Audio Interface:
- Managing Volume Levels in Linux USB Audio Interface:
- Configuring Sample Rates and Bit Depths in Linux USB Audio Interface:
- Setting up USB Audio Interface as Default Input/Output Device in Linux:
- Troubleshooting Common Issues in Linux USB Audio Interface:
- Conclusion:
Introduction:
Audio interfaces play a crucial role in the world of music production, podcasting, streaming, and other audio-related activities. Whether you are a professional musician or an aspiring content creator, having a high-quality audio interface can greatly enhance the clarity and fidelity of your recordings or live performances.
Linux, known for its robustness and versatility, is increasingly gaining popularity among audio enthusiasts. With the right hardware setup, Linux offers a seamless environment for audio production. One key component of this setup is the Linux USB Audio Interface, which allows you to connect various audio devices to your computer.
In this article, we will dive into the world of Linux USB Audio Interfaces, exploring their functionality, control options, and configuration in a Linux environment. We will discuss how to manage input and output, control volume levels, configure sample rates and bit depths, set up your USB Audio Interface as the default device, and troubleshoot common issues you may encounter. By the end of this article, you will have a solid understanding of how to harness the power of a Linux USB Audio Interface.
Overview of Linux USB Audio Interface:
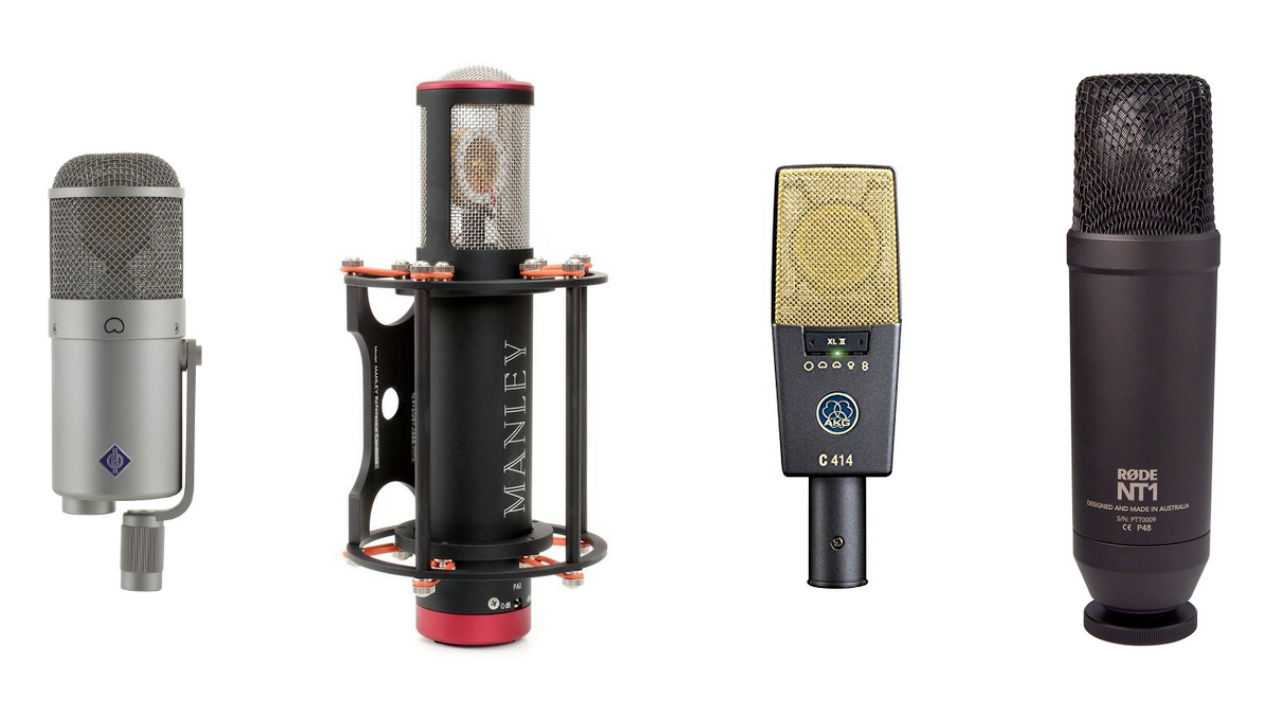
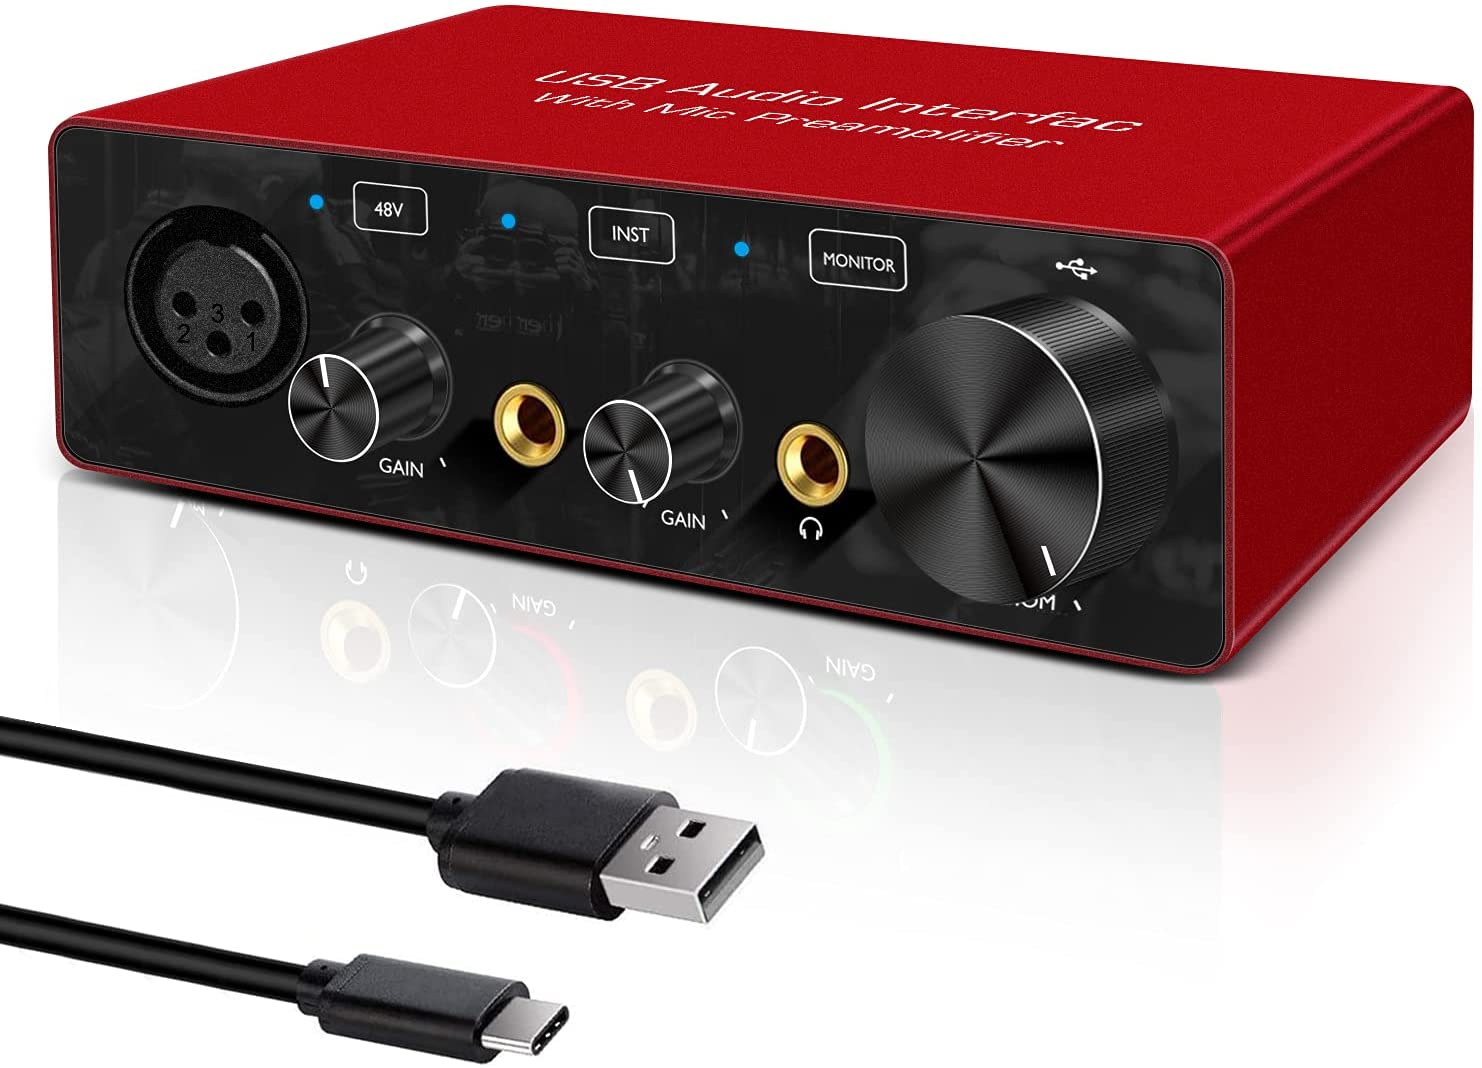
A Linux USB Audio Interface is a hardware device that allows you to connect audio equipment, such as microphones, instruments, or speakers, to your Linux computer via a USB connection. It acts as a bridge between your computer’s operating system and the audio devices, enabling you to input and output audio signals.
Linux provides native support for USB Audio Interfaces, which means that most USB audio devices are automatically recognized and configured when connected to a Linux system. This ease of use makes Linux an attractive platform for audio professionals and enthusiasts.
A typical Linux USB Audio Interface consists of several components. It includes analog-to-digital converters (ADCs) for converting analog signals, such as sounds from a microphone or instrument, into digital data that can be processed by your computer. It also features digital-to-analog converters (DACs) for converting digital audio data back into analog signals for playback through speakers or headphones.
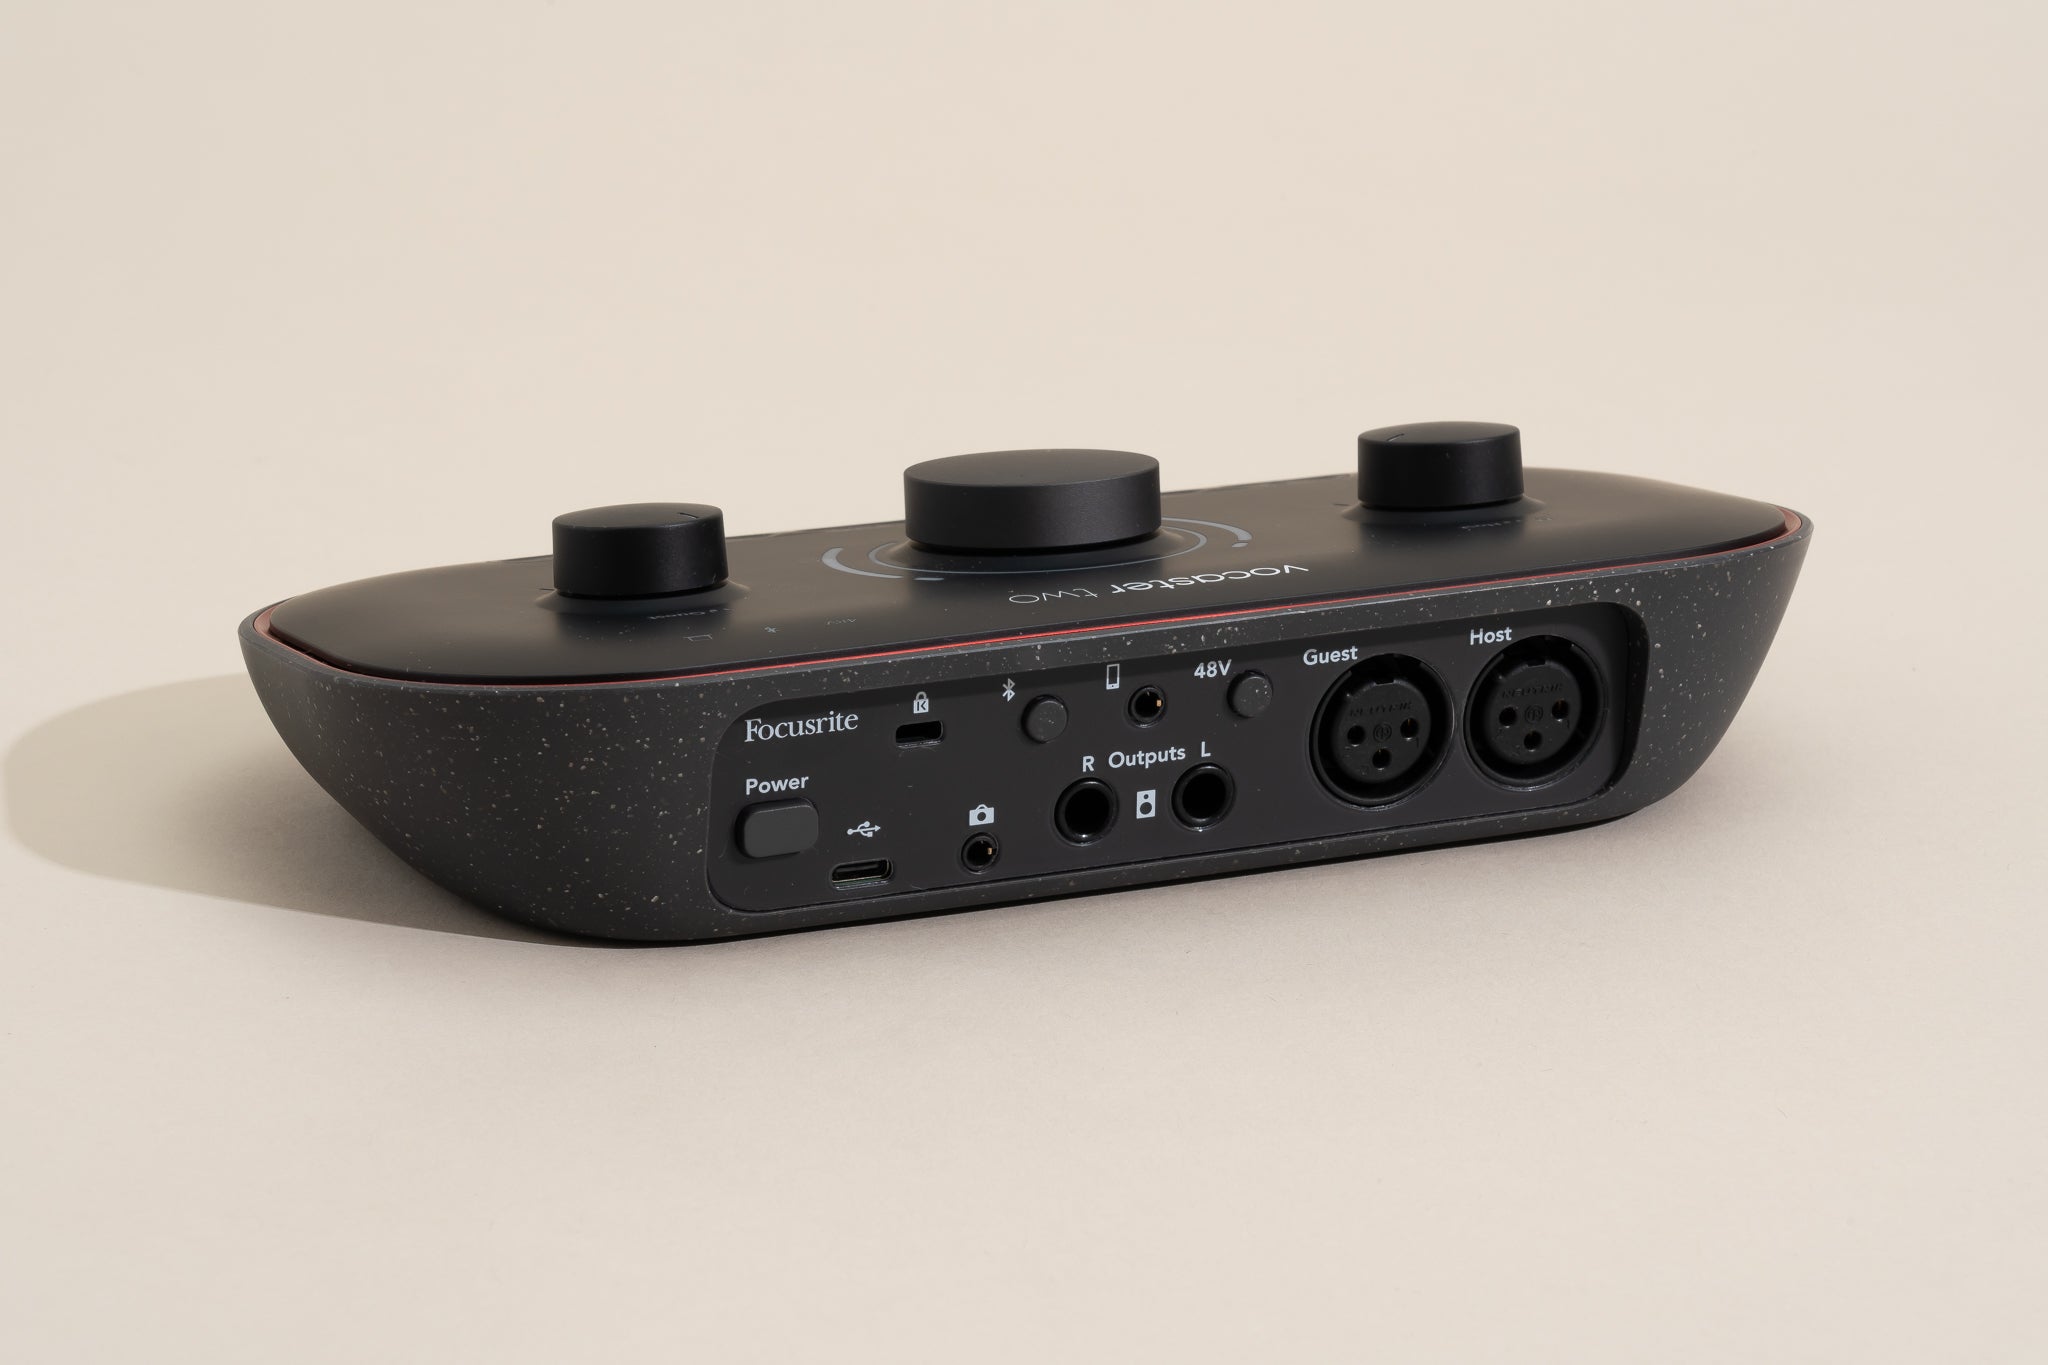
USB Audio Interfaces often have multiple input and output channels, allowing you to connect multiple audio devices simultaneously. This is particularly useful for recording multiple sources or creating complex audio setups. The number of channels can vary depending on the specific model and brand of the interface.
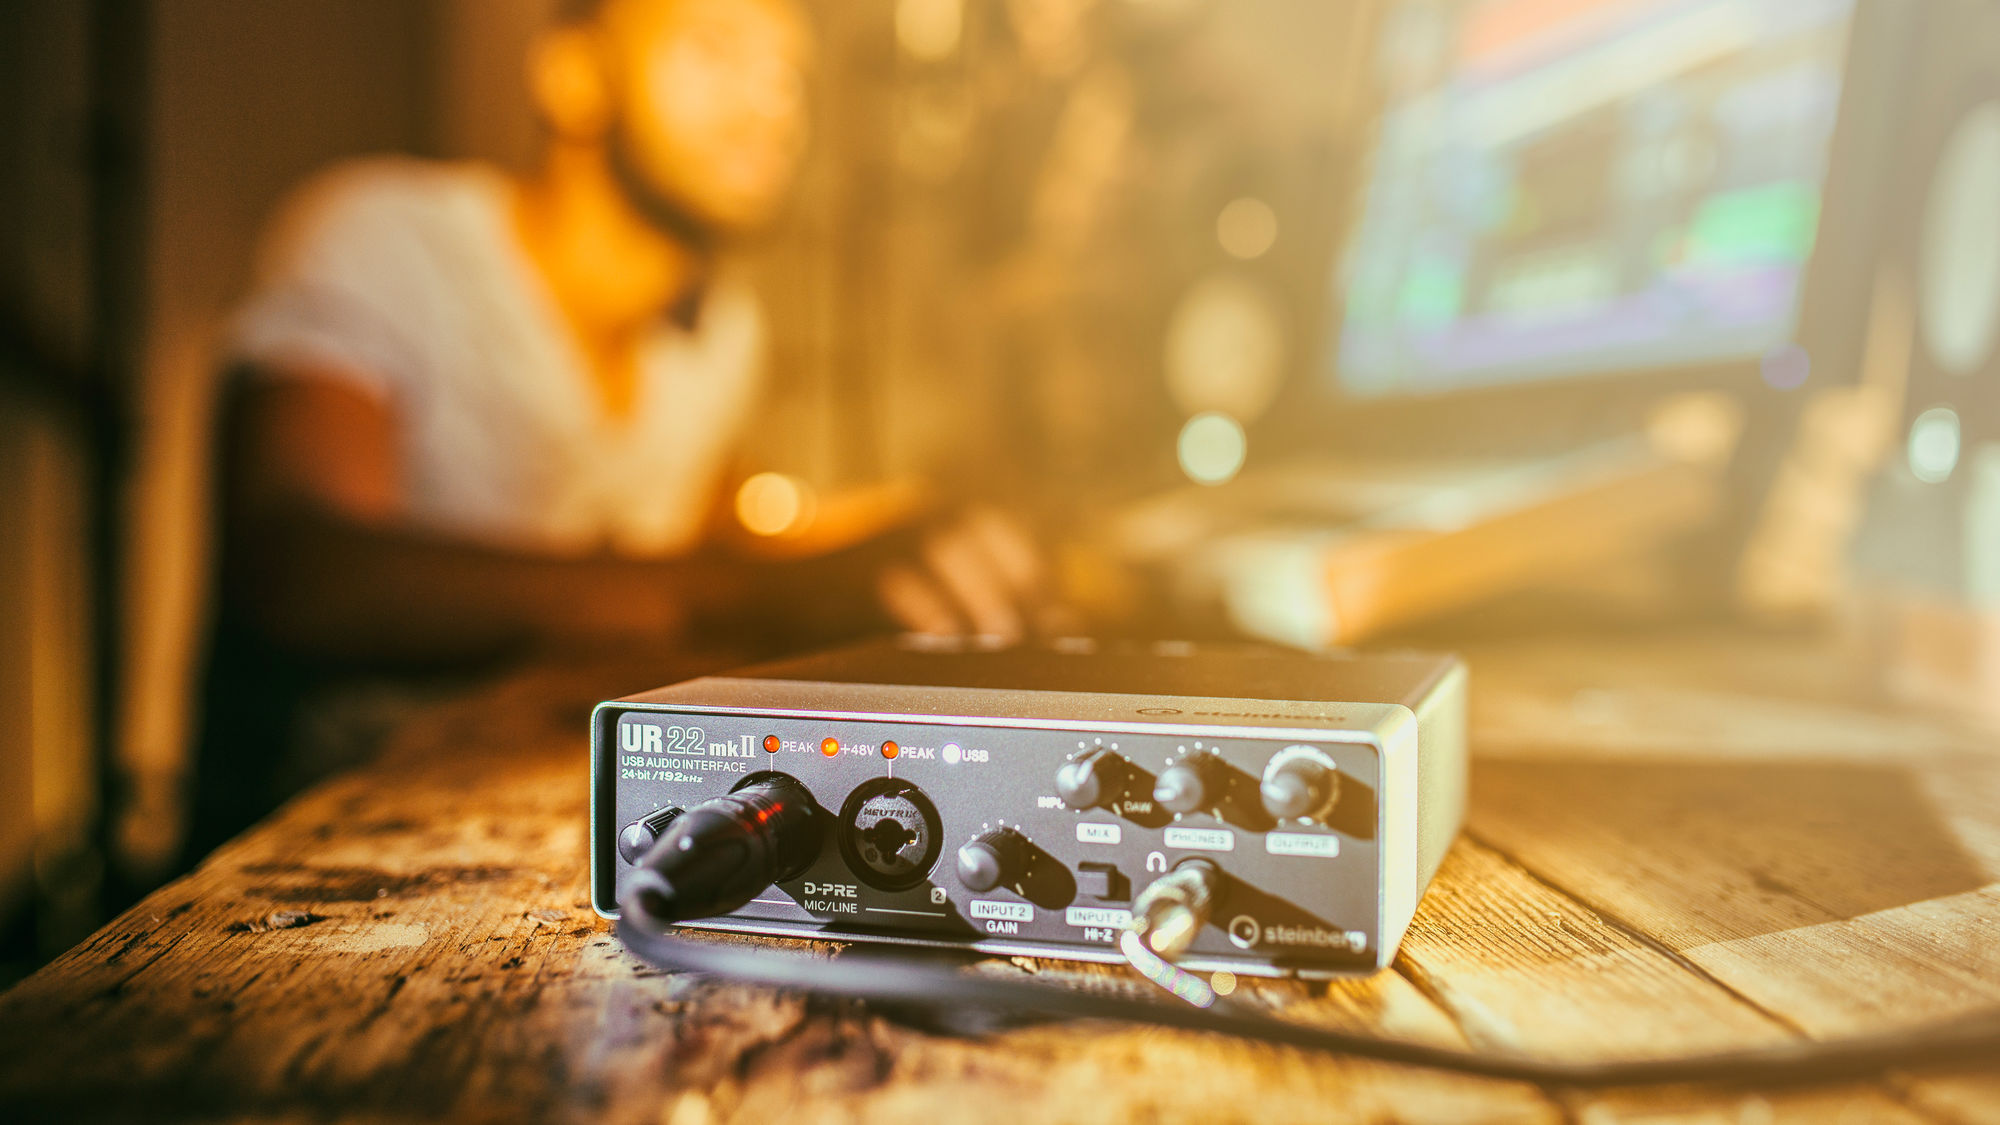
Furthermore, Linux USB Audio Interfaces support various audio formats, including different sample rates and bit depths. Sample rate refers to the number of audio samples captured or played back per second, while bit depth determines the resolution and dynamic range of the audio data. These parameters can be adjusted to meet your specific requirements, ensuring optimal audio quality.
Overall, Linux USB Audio Interfaces provide a convenient and reliable solution for audio professionals, musicians, and content creators. With their support for multiple channels, high-quality conversion, and flexible configuration options, they offer a solid foundation for creating and capturing exceptional audio in a Linux environment.
Controlling Input in Linux USB Audio Interface:
When working with a Linux USB Audio Interface, it is important to have control over the input options to ensure optimal recording quality. Linux provides various tools and settings to manage and manipulate the input signals. Let’s explore some of these options:
- Device Selection: In Linux, you can select the USB Audio Interface device as the default input source for your system. This can be done through the system sound settings or with command-line tools like ALSA (Advanced Linux Sound Architecture). By selecting the USB Audio Interface device as the input source, you ensure that all audio input is directed through the interface.
- Channel Configuration: USB Audio Interfaces offer multiple input channels, allowing you to connect different audio sources simultaneously. Linux provides the capability to select and configure individual input channels. This means you can choose which channels you want to use for recording and adjust their respective input levels. You can use programs like ALSA Mixer or PulseAudio to manage the channel configuration.
- Input Gain Control: Controlling the input gain is crucial to prevent audio clipping or distortion. Linux offers tools to adjust the input gain levels of your USB Audio Interface. These tools allow you to increase or decrease the input gain to achieve the desired volume level. ALSA Mixer and other audio control applications provide easy-to-use interfaces for adjusting the input gain on Linux.
- Monitoring Input: Monitoring your input signals is essential during recording or live performances. Linux allows you to monitor the input signals in real-time, ensuring that you are capturing the desired audio. This can be done through software applications or audio control panels that provide monitoring options. Additionally, some USB Audio Interfaces have built-in monitoring capabilities that enable direct monitoring of the input signals without any noticeable latency.
By utilizing these input control options in Linux, you have the flexibility to fine-tune your recordings and ensure that the audio input is optimized for your specific requirements. Whether you are recording vocals, instruments, or any other audio source, having control over the input settings is essential for achieving professional-quality results.
Controlling Output in Linux USB Audio Interface:
Controlling the output settings of your Linux USB Audio Interface is crucial to ensure optimal audio playback. Linux provides various tools and settings to manage and manipulate the output signals. Let’s explore some of these options:
- Device Selection: In Linux, you can select the USB Audio Interface as the default output device for your system. This can be done through the system sound settings or with command-line tools like ALSA. By choosing the USB Audio Interface as the default output device, all audio output will be directed through the interface, ensuring that you hear audio playback from your connected speakers or headphones.
- Channel Configuration: USB Audio Interfaces offer multiple output channels, allowing you to connect different audio output devices simultaneously. Linux provides the capability to select and configure individual output channels. This means you can choose which channels you want to use for playback and adjust their respective output levels. Tools like ALSA Mixer or PulseAudio can be used to manage the channel configuration.
- Output Volume Control: Controlling the output volume is essential to ensure that the audio playback is at the desired level. Linux offers various tools to adjust the output volume on your USB Audio Interface. These tools allow you to increase or decrease the volume of the output channels to achieve the desired playback level. ALSA Mixer and other audio control applications provide easy-to-use interfaces for adjusting the output volume in Linux.
- Software Equalization: Linux provides software-based equalization options, allowing you to customize the audio output according to your preferences. You can use tools like PulseAudio Equalizer or system-wide equalization settings to adjust the frequency response and tone of the audio playback. This can be particularly useful for fine-tuning the audio output to match specific genres or personal preferences.
- Effects and Processing: Linux also supports various audio effects and processing plugins that can be applied to the audio output of your USB Audio Interface. These plugins allow you to add reverb, delay, compression, and other effects to enhance the audio playback. With the right plugins and configurations, you can achieve professional-quality audio processing directly within Linux.
By utilizing these output control options in Linux, you have the power to tailor the audio playback to your specific requirements. Whether you are listening to music, editing audio recordings, or engaging in multimedia activities, having control over the output settings is essential for a satisfactory audio experience.
Managing Volume Levels in Linux USB Audio Interface:
Properly managing volume levels is crucial for achieving optimal audio quality in your Linux USB Audio Interface setup. Whether you’re recording audio or listening to playback, controlling volume levels ensures that the audio is clear, balanced, and free from distortion. Linux provides several tools and techniques to help you manage volume levels effectively:
- Input Gain Control: Adjusting the input gain of your USB Audio Interface is essential to prevent audio distortion or clipping during recording. Linux offers various tools and applications, such as ALSA Mixer or PulseAudio, that allow you to control the input gain of your audio interface. By lowering or raising the input gain levels, you can achieve the desired volume while maintaining audio integrity.
- Output Volume Control: Controlling the output volume of your USB Audio Interface is equally important to ensure that playback is at the desired level. Linux provides options for adjusting the output volume, including built-in volume controls and third-party applications like PulseAudio Volume Control. These tools enable you to control the output volume of your USB Audio Interface, ensuring a comfortable listening experience.
- System-wide Volume Control: Linux allows you to control the volume levels of your USB Audio Interface system-wide. This means that you can adjust the volume not only for individual applications but also for the overall system output. Tools like PulseAudio provide a unified volume control interface where you can adjust the volume levels across all applications and devices, including your USB Audio Interface.
- Dynamic Range Compression: Linux also offers dynamic range compression (DRC) options that help balance volume levels across different audio sources. DRC reduces the difference between the softest and loudest parts of audio, resulting in a more consistent volume output. This feature can be particularly useful when listening to content with a wide dynamic range, such as music or movies.
- Automation and Presets: Some Linux audio management tools allow you to automate volume control or create presets for different audio scenarios. This can be particularly useful if you frequently switch between different audio sources or need specific volume settings for different activities. With automation and presets, you can streamline your workflow and ensure consistent volume levels across various use cases.
By utilizing these volume management techniques in Linux, you can maintain optimal audio quality in your USB Audio Interface setup. Whether you’re recording, editing, or simply listening to audio, having control over volume levels is essential for an enjoyable and accurate audio experience.
Configuring Sample Rates and Bit Depths in Linux USB Audio Interface:
Sample rates and bit depths are important parameters that determine the quality and fidelity of audio in your Linux USB Audio Interface. Sample rate refers to the number of audio samples captured or played back per second, while bit depth represents the resolution and dynamic range of the audio data. Configuring these settings correctly is essential for achieving optimal audio performance. Here’s how you can configure sample rates and bit depths in Linux:
- Device Compatibility: Before configuring sample rates and bit depths, it’s important to ensure that your USB Audio Interface supports the specific rates and depths you desire. You can check the documentation or specifications of your device to determine its supported sample rates and bit depths.
- System-wide Configuration: Linux provides system-wide configuration options for sample rates and bit depths. You can use tools such as ALSA (Advanced Linux Sound Architecture), PulseAudio, or JACK (JACK Audio Connection Kit) to set the default sample rate and bit depth for your USB Audio Interface. These settings determine the default configuration used by all applications and can typically be adjusted through configuration files or control interfaces provided by the respective tools.
- Application-specific Configuration: Some applications, especially audio recording or production software, allow you to configure sample rates and bit depths at the application level. This gives you more flexibility to set specific parameters for individual projects or recordings. When using such applications, make sure to match the sample rate and bit depth settings with your USB Audio Interface’s supported capabilities.
- Testing and Adjusting: After configuring the sample rates and bit depths, it’s important to test the audio output and verify that the settings are accurately implemented. You can play audio files or generate test tones at different sample rates and bit depths to ensure that your USB Audio Interface is correctly processing the audio data. If you notice any issues or inconsistencies, revisit the configuration steps and double-check your settings.
- Considerations for Recording and Playback: Keep in mind that higher sample rates and bit depths can result in higher-quality audio but may also require more processing power and storage space. Consider the requirements of your specific projects or use cases when configuring sample rates and bit depths. It’s essential to find the right balance between audio quality and practicality.
By configuring the sample rates and bit depths correctly in your Linux USB Audio Interface setup, you ensure that your audio recordings and playback meet your desired standards. Experiment with different settings to find the optimal configuration for your specific needs, whether you’re recording music, creating podcasts, or engaging in any audio-related activities.
Setting up USB Audio Interface as Default Input/Output Device in Linux:
When using a Linux USB Audio Interface, it’s important to set it as the default input and output device in order to ensure that all audio signals are properly routed through the interface. By doing so, you can ensure that your USB Audio Interface is the primary device for recording and playback. Here’s how you can set up your USB Audio Interface as the default input/output device in Linux:
- System Sound Settings: Many Linux distributions provide graphical interfaces for managing sound settings. You can access these settings by navigating to the sound or audio section in your system settings. Look for an option to select the default input and output device, and choose your USB Audio Interface from the available list of devices. Apply the changes, and your USB Audio Interface will now be set as the default device for both input and output.
- Command-Line Tools: Linux also provides command-line tools that allow you to manage audio settings. ALSA (Advanced Linux Sound Architecture) is one such tool that provides extensive control over sound devices. Using ALSA, you can set your USB Audio Interface as the default input/output device by modifying the configuration file. Consult the ALSA documentation or online resources for specific instructions on how to configure ALSA for your USB Audio Interface.
- PulseAudio Configuration: PulseAudio is a sound server that provides a high-level interface for managing audio on Linux. It offers more advanced control options and features than the built-in sound settings. You can configure PulseAudio to make your USB Audio Interface the default input/output device by editing the PulseAudio configuration file. Look for the default-sink and default-source options, and set them to the appropriate device name of your USB Audio Interface.
- Testing and Verification: After setting up your USB Audio Interface as the default input/output device, it’s important to test and verify that the changes have been successfully applied. You can do this by playing audio or recording a sound to ensure that the audio is being routed through your USB Audio Interface. Use a waveform visualization tool or the system’s audio settings to confirm that the input and output levels are responding to the audio signal.
- Persistence: To ensure that your USB Audio Interface remains the default input/output device even after a system restart, you may need to make the configuration changes persistent. This can be achieved by modifying configuration files or using specialized tools to save and apply your sound settings each time your system boots up. Consult the documentation for your specific Linux distribution or audio configuration tool for information on making the changes persistent.
By properly setting up your USB Audio Interface as the default input/output device in Linux, you can ensure seamless integration and efficient audio routing. Whether you’re recording, editing, or enjoying multimedia content, having your USB Audio Interface as the default device ensures that you’re harnessing its full potential.
Troubleshooting Common Issues in Linux USB Audio Interface:
While Linux provides excellent support for USB Audio Interfaces, you may encounter some common issues when using these devices. Understanding how to troubleshoot these problems can help you resolve them effectively. Here are some common issues you may encounter with their respective troubleshooting steps:
- No Sound or Input/Output Not Recognized: If your USB Audio Interface is not producing any sound or not being recognized by the system, first ensure that it is properly connected to your computer. Check the cable connections and make sure the device is powered on. You can also try unplugging and reconnecting the interface to trigger the recognition process. If the issue persists, check your system sound settings or audio control panel to ensure that the device is selected as the default input/output device.
- Crackling or Distorted Audio: If you’re experiencing crackling or distorted audio, it may be due to incorrect sample rates or buffer settings. Verify that the sample rate and bit depth configured in your Linux system match the supported rates of your USB Audio Interface. You can also try adjusting the buffer size in your audio control panel or software to reduce latency and improve audio performance.
- Muted or Low Input Volume: If your input volume is muted or too low, check the input gain settings on your USB Audio Interface and in your audio control panel. Ensure that the input channels are not muted or set too low. Additionally, verify that any physical input volume knobs or switches on the interface are properly configured.
- USB Power Issues: Some USB Audio Interfaces require a sufficient power supply to operate correctly. If you’re experiencing intermittent connectivity or device disconnections, try connecting your interface to a different USB port. Alternatively, you may need to use a powered USB hub or connect the interface directly to a power source to ensure it receives adequate power.
- Compatibility and Driver Issues: It’s crucial to ensure that your USB Audio Interface is compatible with your Linux distribution and kernel version. Some interfaces may require specific drivers or firmware to work properly. Check the manufacturer’s website or relevant forums to see if any drivers or firmware updates are available. Additionally, make sure that your Linux system is up to date with the latest updates and kernel patches.
If you encounter any issues with your Linux USB Audio Interface, it can be helpful to consult online forums, user documentation, or the manufacturer’s support resources for additional troubleshooting steps. Remember to provide as much specific information as possible when seeking assistance, such as the model and brand of your interface, the Linux distribution and version you are using, and any error messages or symptoms you are experiencing.
By understanding and addressing these common issues, you can ensure a smooth and trouble-free experience with your Linux USB Audio Interface.
Conclusion:
A Linux USB Audio Interface opens up a world of possibilities for audio enthusiasts, musicians, and content creators. With the right hardware and software configuration, you can achieve professional-quality audio recordings, playback, and production in a Linux environment.
In this article, we have explored the various aspects of Linux USB Audio Interfaces, including their functionality, control options, and troubleshooting. We have learned how to control input and output, manage volume levels, configure sample rates and bit depths, and set up the interface as the default device in Linux. These insights empower you to optimize your audio setup and unleash your creative potential.
While using a Linux USB Audio Interface, it’s important to keep in mind that every system and setup may have unique characteristics and requirements. It’s always a good idea to consult the documentation provided by your interface’s manufacturer, leverage online resources and user forums, and experiment with different settings to find the best configuration for your specific needs.
By harnessing the power of a Linux USB Audio Interface, you can elevate your audio production to new heights. Whether you’re recording music, creating podcasts, or engaging in any audio-related activities, the right interface, combined with Linux’s versatility and flexibility, can help you achieve outstanding results.
So, go ahead and explore the possibilities. Embrace the incredible world of Linux USB Audio Interfaces, and let your creativity soar!