Home>Production & Technology>Audio Interface>How To Input Several Mics Into An Audio Interface
Audio Interface
How To Input Several Mics Into An Audio Interface
Modified: March 7, 2024
Learn how to connect multiple microphones to an audio interface and enhance your recording quality. Get expert tips on setting up your audio interface for optimal performance.
(Many of the links in this article redirect to a specific reviewed product. Your purchase of these products through affiliate links helps to generate commission for AudioLover.com, at no extra cost. Learn more)
Table of Contents
Introduction
An audio interface is a crucial component in any home recording studio or professional audio setup. It acts as the bridge between your digital audio workstation (DAW) and the outside world, allowing you to connect various audio sources such as microphones, instruments, and speakers to your computer for recording and playback.
One common scenario in recording is the need to input several microphones simultaneously into an audio interface. This is often the case in podcasting, live recordings, or situations where you want to capture multiple sources individually.
However, connecting multiple mics to an audio interface can be a bit challenging if you’re not familiar with the process. In this article, we’ll provide you with a comprehensive guide on how to input several mics into an audio interface, covering everything from different types of audio interfaces to troubleshooting common issues.
Whether you’re a musician, podcaster, vlogger, or content creator, understanding how to connect and utilize multiple microphones will greatly enhance the quality and flexibility of your recordings.
So, let’s dive in and explore the world of audio interfaces and multiple mic inputs!
Overview of an Audio Interface
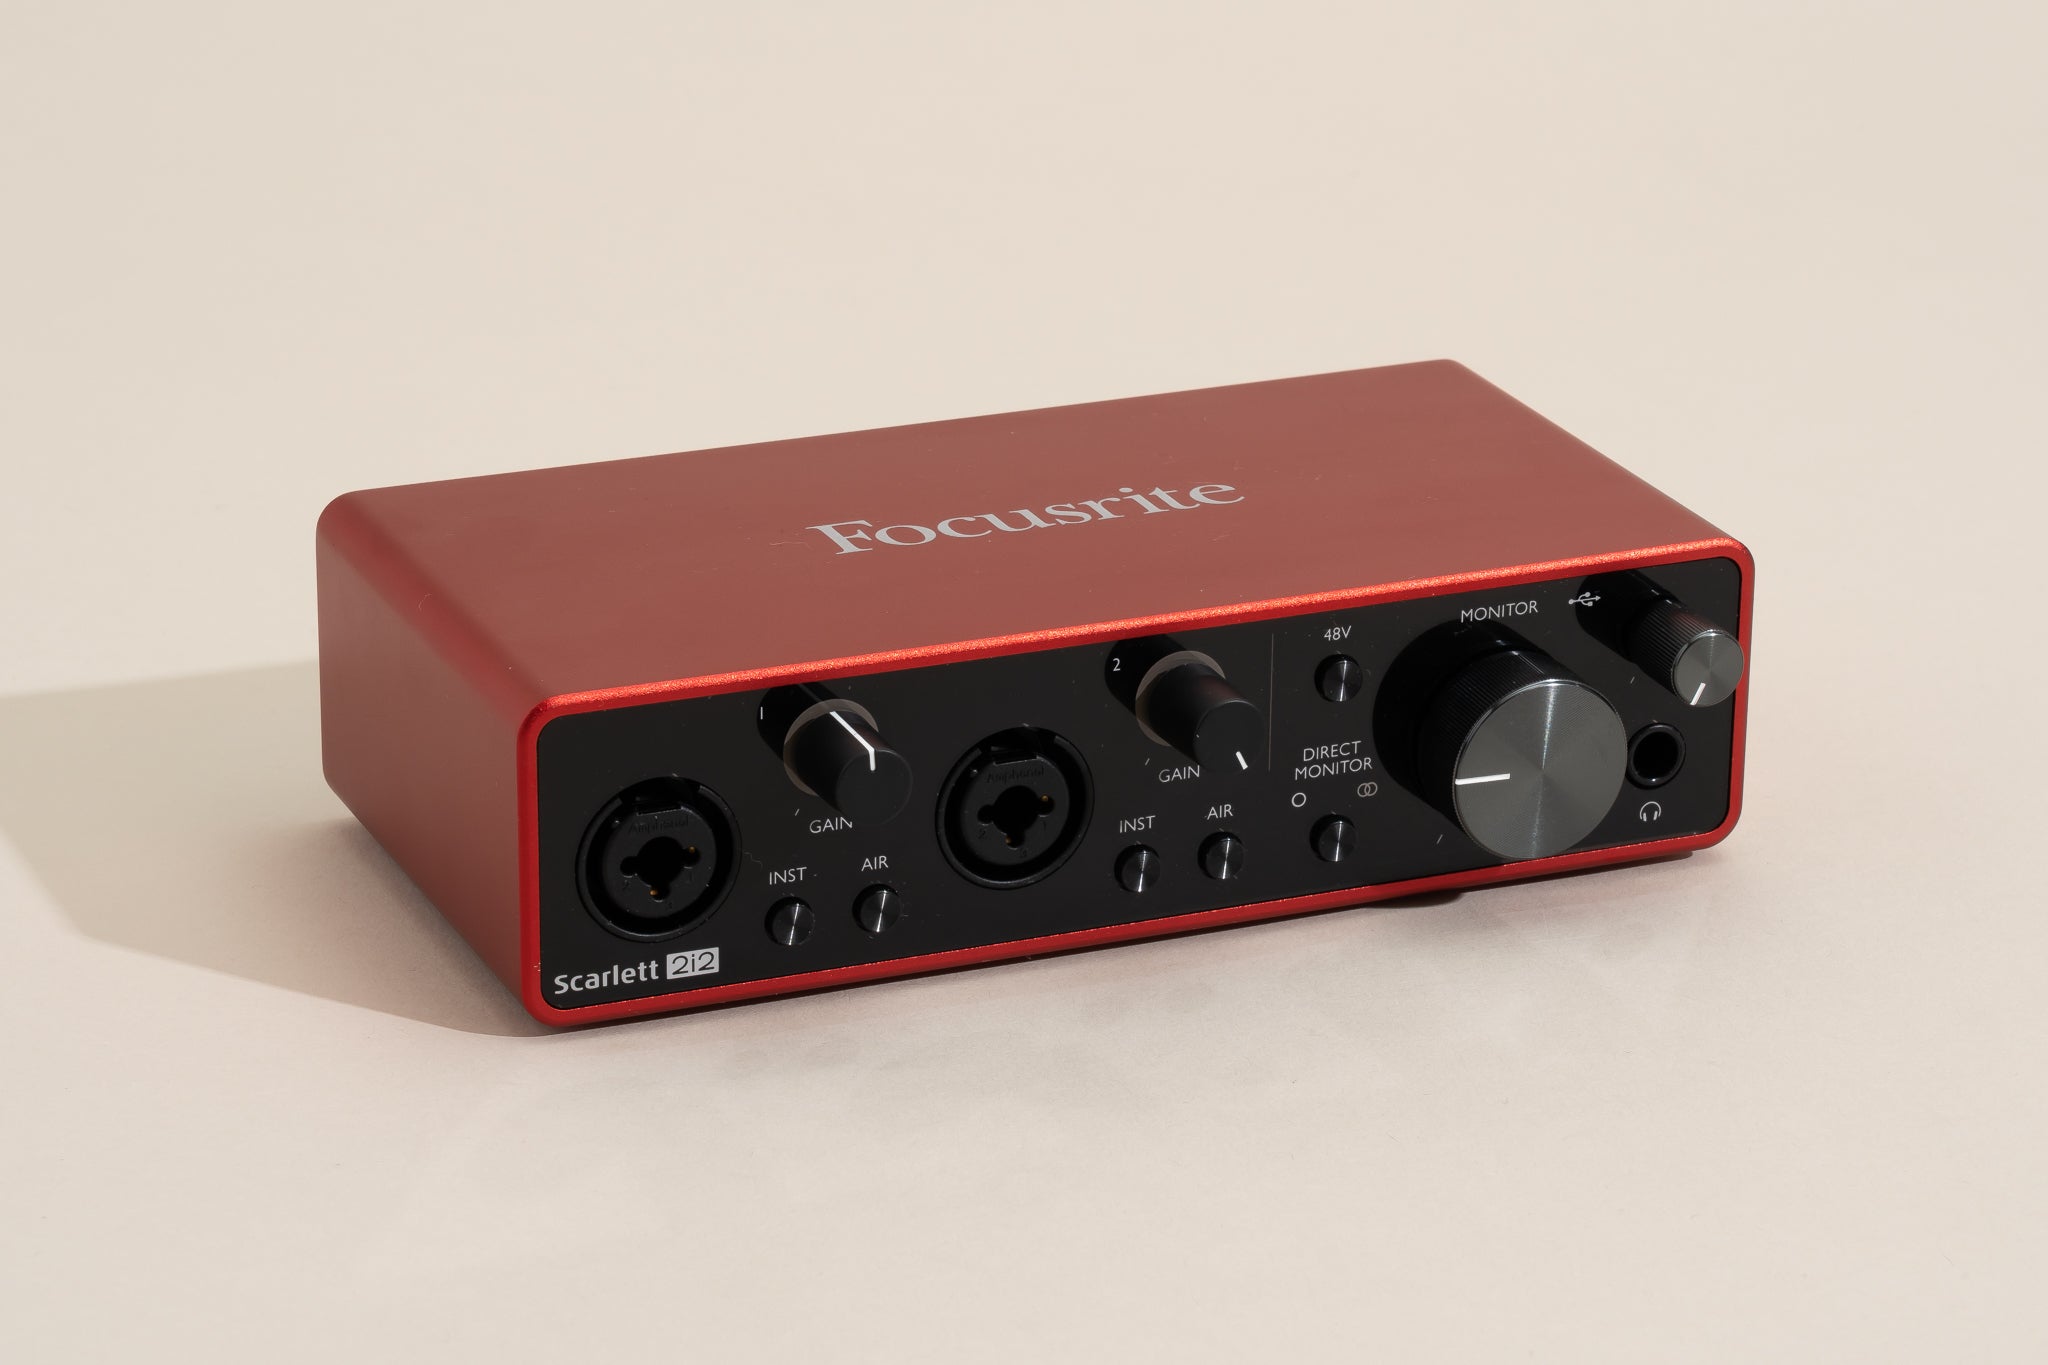
An audio interface is an external device that connects to your computer or mobile device and allows you to record and play back audio. It serves as the central hub for all your audio equipment, providing the necessary inputs and outputs for connecting microphones, instruments, and speakers.
At its core, an audio interface converts analog audio signals into digital data that can be processed by your computer. The quality of the audio interface greatly affects the overall sound quality of your recordings, making it an essential investment for anyone serious about audio production.
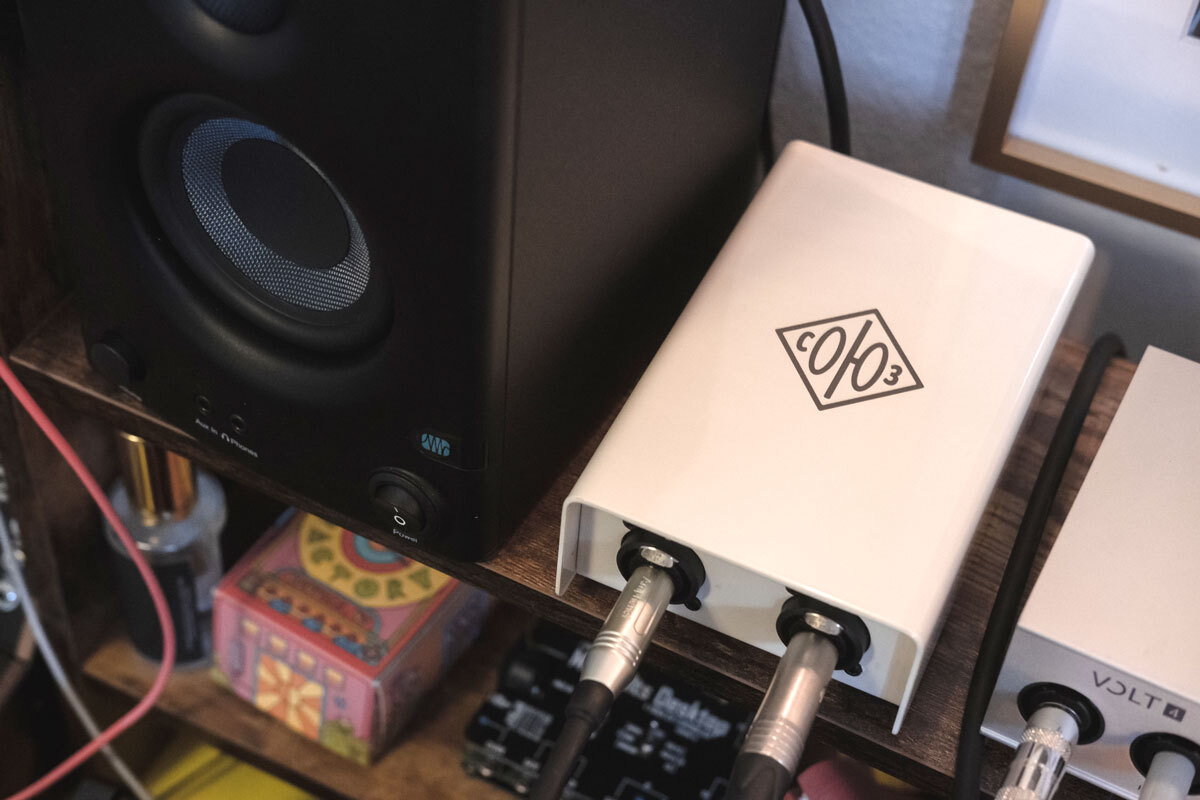
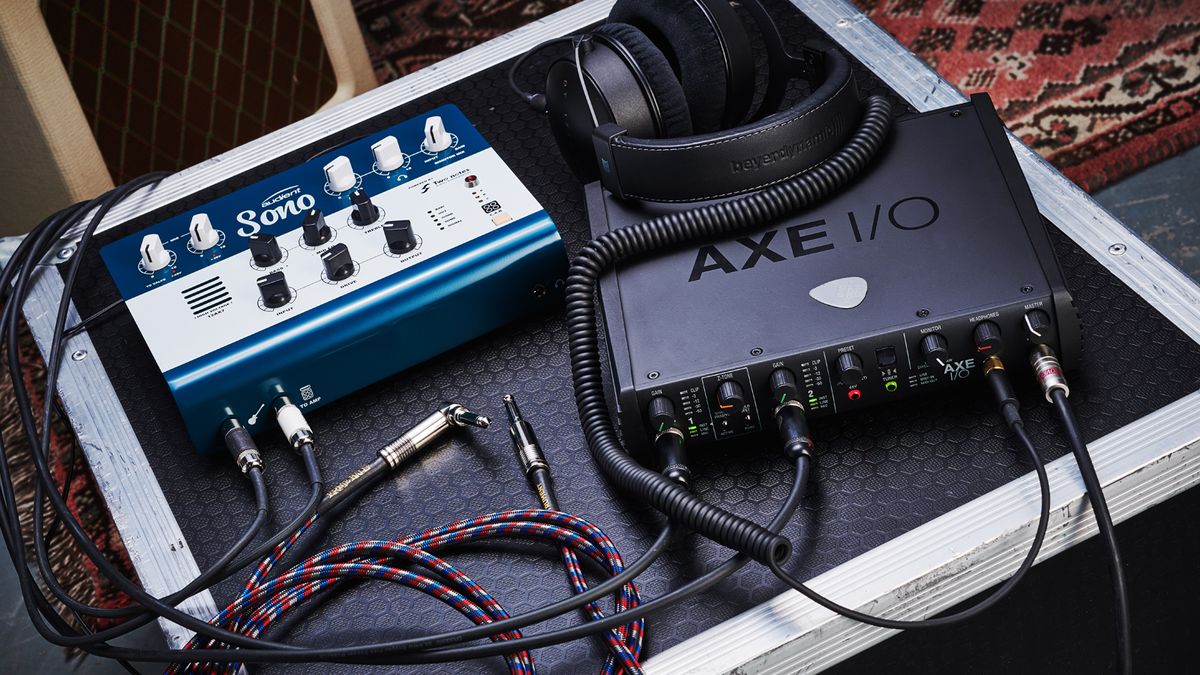
Most audio interfaces offer a range of inputs and outputs, with the number and type varying depending on the model. The most common types of inputs on audio interfaces include XLR inputs for microphones, 1/4″ instrument inputs for guitars and keyboards, and line inputs for connecting external devices such as mixers or synthesizers.
On the output side, you’ll typically find 1/4″ or XLR outputs for connecting studio monitors or headphones. Some audio interfaces also provide additional digital outputs, such as S/PDIF or ADAT, for connection to external devices.
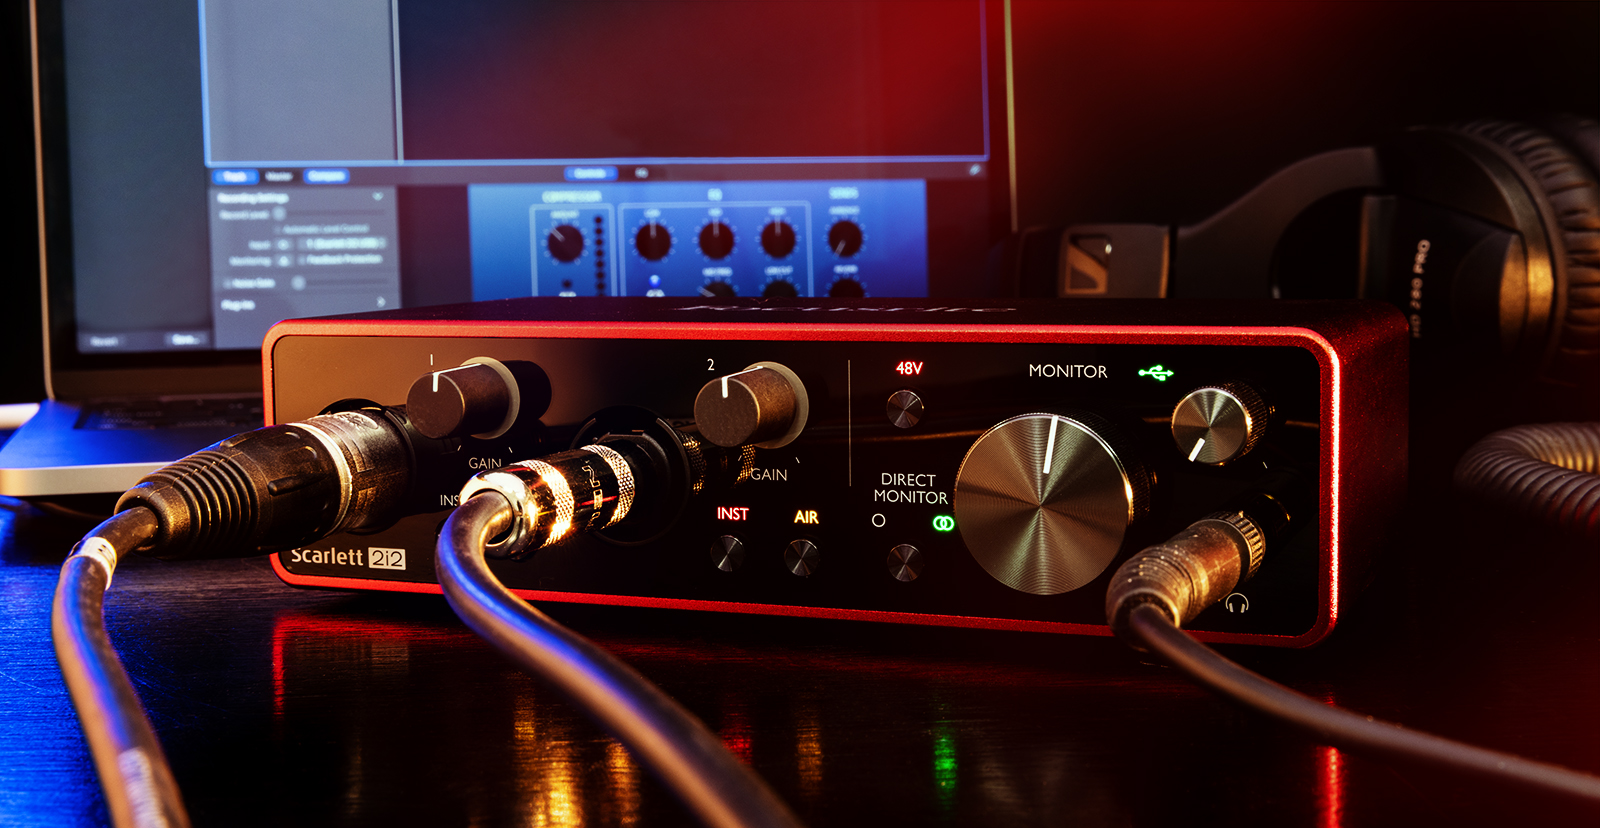
Audio interfaces also offer features like gain control, phantom power, and headphone monitoring. Gain control allows you to adjust the input level of each microphone or instrument, ensuring optimal signal levels without clipping or distortion. Phantom power is required for condenser microphones, providing the necessary voltage for their operation. Headphone monitoring allows you to listen to your recordings in real-time, without any latency from your computer.
Additionally, audio interfaces may come with built-in preamps, which amplify weak microphone signals to line level. High-quality preamps are essential for capturing clean and professional-sounding recordings, especially with microphones that have low output levels.
Now that we have a basic understanding of what an audio interface is, let’s move on to the different types of audio interfaces available.
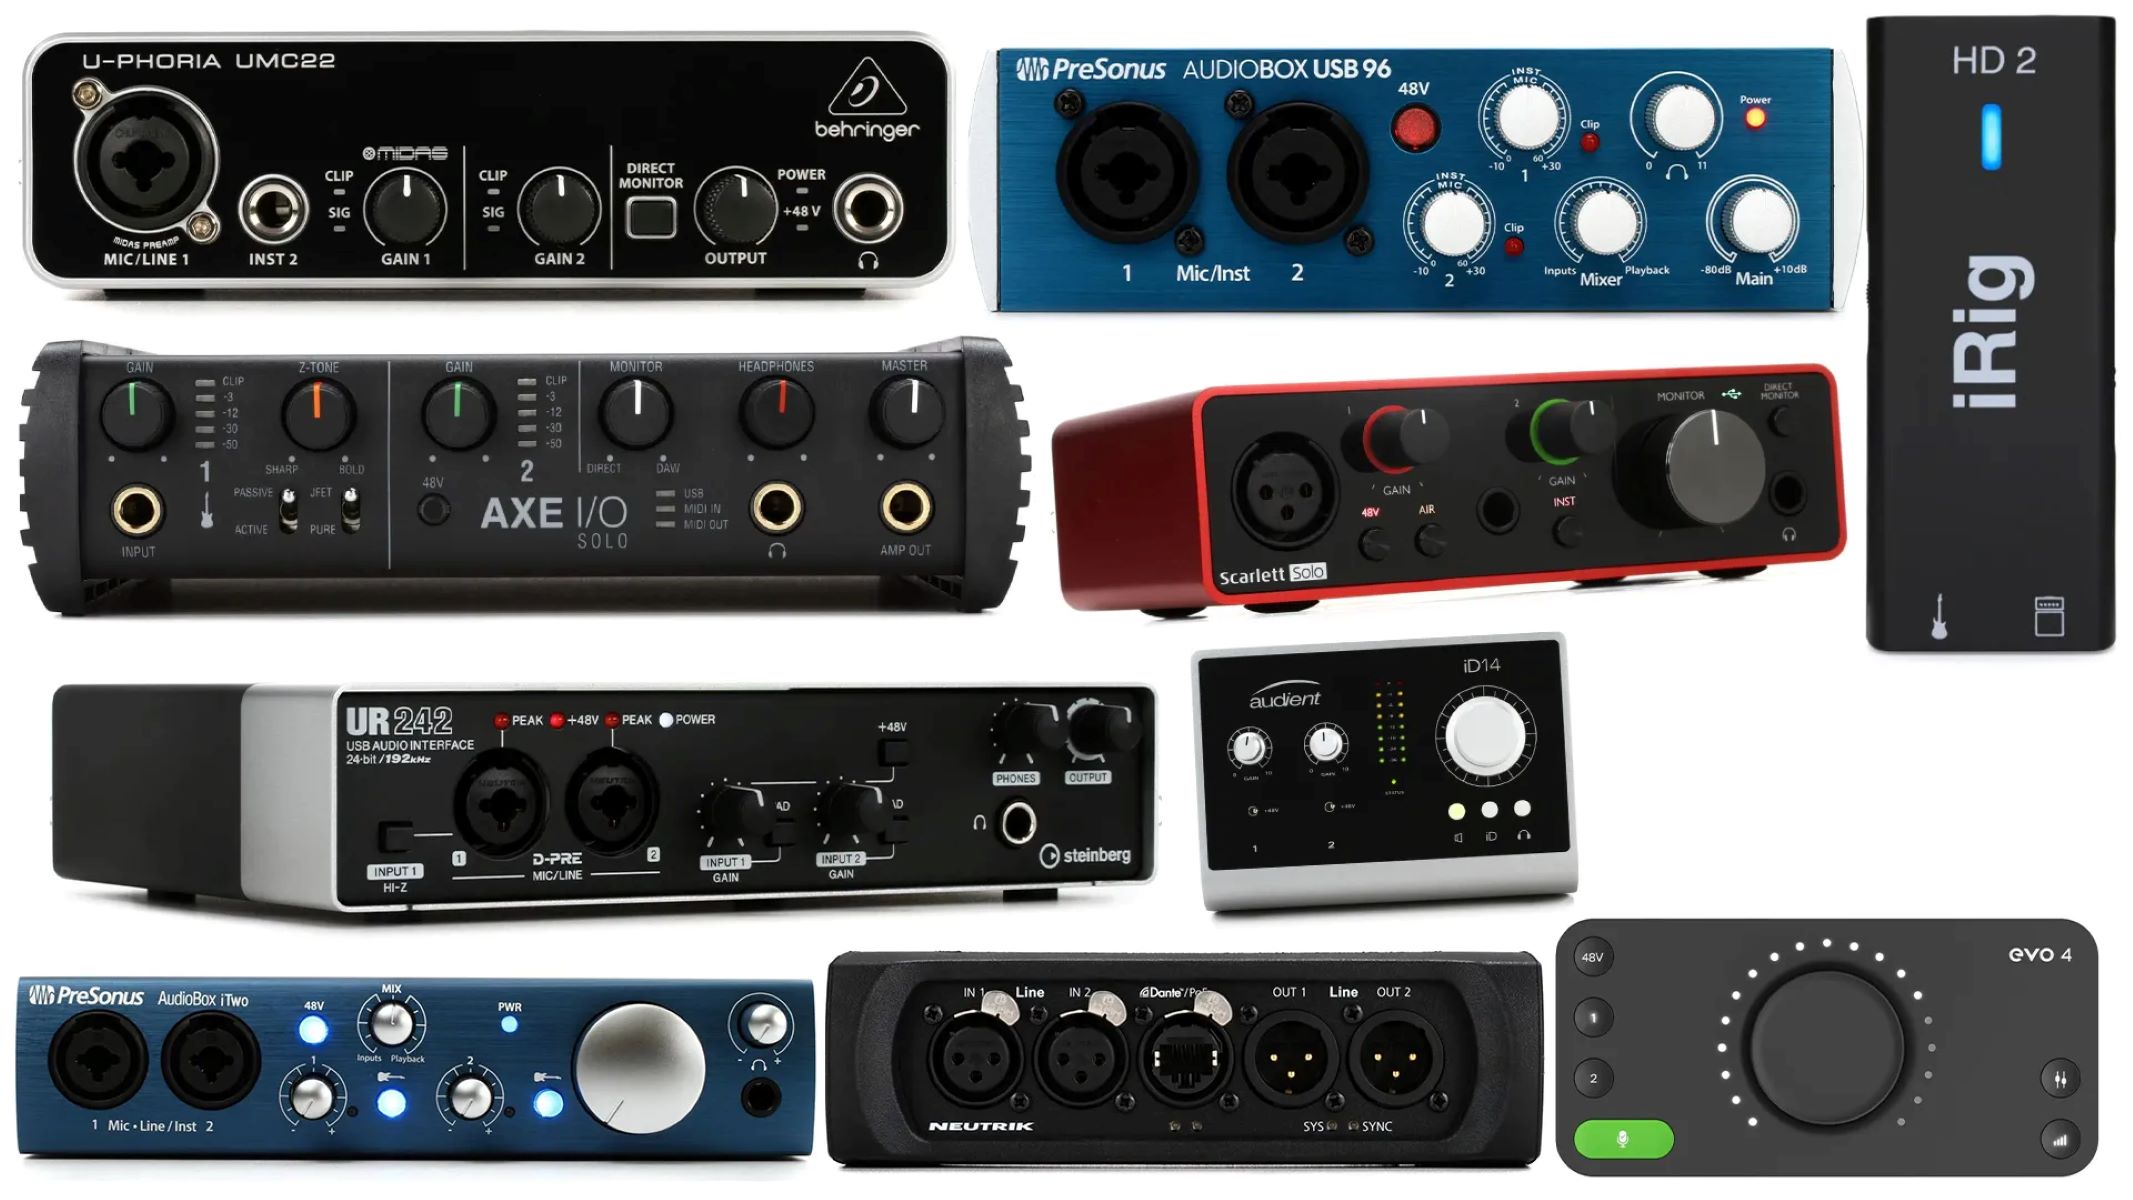
Types of Audio Interfaces
There are various types of audio interfaces available, each catering to different needs and requirements. Let’s take a closer look at the most common types:
- USB Audio Interfaces: USB audio interfaces are the most popular and widely used. They connect to your computer via a USB port and provide a simple and affordable solution for recording and playback. USB interfaces are suitable for most home studios and are compatible with both Mac and PC systems.
- Thunderbolt Audio Interfaces: Thunderbolt interfaces offer lightning-fast data transfer speeds and low latency, making them ideal for professional recording studios and demanding audio production tasks. Thunderbolt interfaces are commonly used by audio engineers and musicians who require high-performance and low-latency solutions.
- PCIe Audio Interfaces: PCIe interfaces are internal audio cards that connect to your computer’s PCIe slot. They provide extremely low latency and high bandwidth, making them a powerful choice for specialized recording and production needs. However, PCIe interfaces require installation inside your computer and may not be as portable as USB or Thunderbolt options.
- FireWire Audio Interfaces: FireWire interfaces were popular in the past but have been largely replaced by USB and Thunderbolt interfaces. While FireWire offers high-speed data transfer and low latency, it is not as widely supported by modern computers and operating systems. If you have an older computer with FireWire ports, you may still find FireWire interfaces available.
- Ethernet Audio Interfaces: Ethernet interfaces utilize network connectivity to transmit audio data between your computer and the interface. This type of interface is commonly used in live sound and audio networking setups, where multiple interfaces need to be connected across long distances.
When choosing an audio interface, consider factors such as your recording needs, budget, and compatibility with your computer system. It’s important to select an interface that provides the necessary inputs and outputs for your specific recording setup.
Now that we understand the different types of audio interfaces, let’s move on to selecting the right interface for multiple mic inputs.
Choosing the Right Audio Interface for Multiple Mics
When it comes to connecting multiple microphones to an audio interface, it’s essential to choose an interface that can accommodate the number of mics you want to use simultaneously. Here are some considerations to keep in mind:
- Number of Mic Inputs: Look for an audio interface that offers enough XLR inputs to accommodate all the microphones you plan to connect. Keep in mind that some interfaces may have combo inputs that accept XLR and 1/4″ inputs, providing flexibility for connecting a variety of microphones or instruments. Consider your current needs and potential future expansion when deciding on the number of mic inputs you require.
- Preamp Quality: High-quality preamps are crucial for capturing clean and accurate recordings. When choosing an interface for multiple mics, ensure that each preamp can handle the input levels and provide a low-noise signal. Look for interfaces that have a reputation for excellent preamp quality to ensure optimal sound reproduction.
- Phantom Power: If you plan to use condenser microphones, make sure that the audio interface provides phantom power. This feature is necessary for powering condenser mics and is usually selectable on a per-channel basis. Check the specifications of the interface to confirm that it offers phantom power for each mic input.
- Compatibility: Ensure that the audio interface is compatible with your computer system. Check the system requirements provided by the manufacturer to confirm compatibility with your operating system. Also, consider whether you require a USB, Thunderbolt, or PCIe interface, depending on the available ports on your computer.
- Budget: Set a budget for your audio interface purchase. Prices can vary greatly depending on the number of inputs, preamp quality, and additional features. Determine your budget range and prioritize the features that are most important for your recording setup.
Research different audio interface models, read reviews, and compare specifications to find the best option for your needs. Don’t forget to consider factors like build quality, brand reputation, and customer support when making your decision.
Now that you have an audio interface that suits your multiple mic requirements, let’s move on to connecting those microphones to the interface.
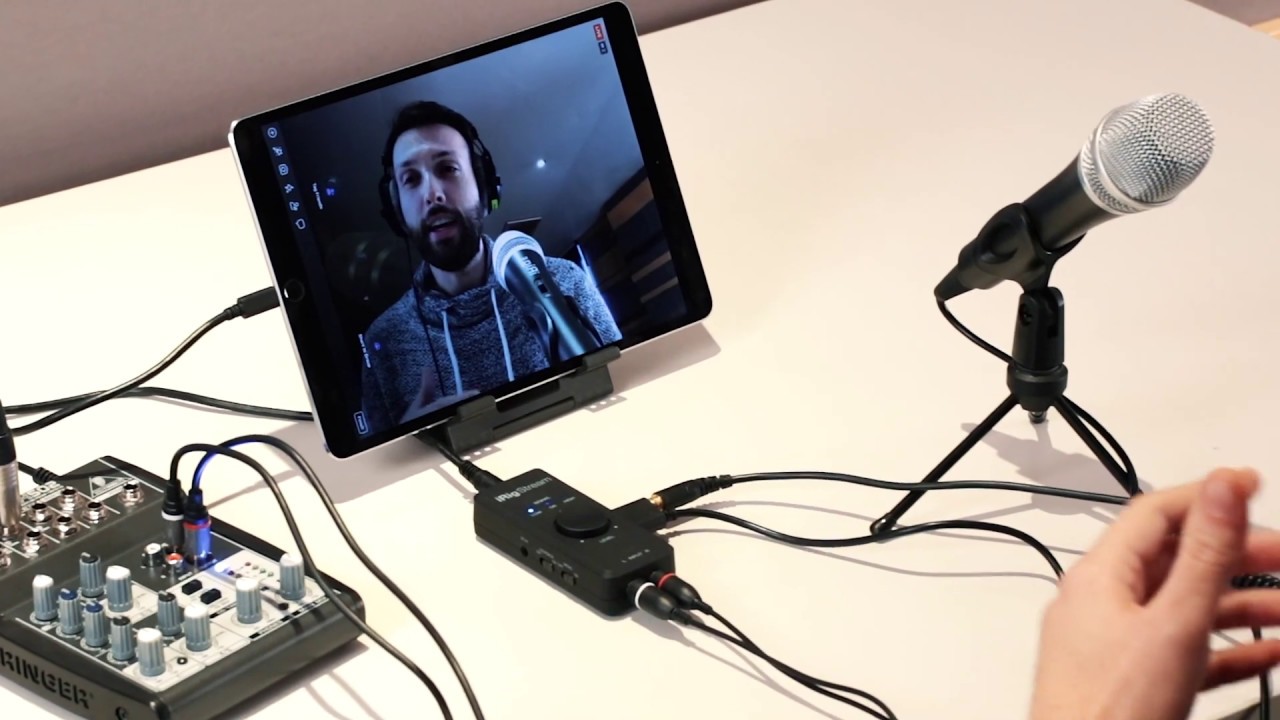
Connecting Multiple Mics to an Audio Interface
Connecting multiple microphones to an audio interface requires careful planning and proper cable management. Here’s a step-by-step guide to help you connect your microphones:
- Select the appropriate cables: Depending on the type of microphones you’re using, you’ll need XLR cables or TRS cables. XLR cables are commonly used for dynamic and condenser microphones, while TRS cables are suitable for connecting line-level signals from mixers or preamps.
- Identify the inputs on the audio interface: Take a look at your audio interface and locate the XLR inputs or combo jacks labeled for microphone input. Depending on the interface, these may be on the front or back panel.
- Set the gain levels: Before connecting the microphones, set the gain levels on the interface or the individual preamp knobs. It’s best to start with the gain knobs turned down to avoid any sudden loud audio signals. Gradually increase the gain until you achieve a healthy signal level without clipping.
- Connect the microphones: Plug one end of the XLR cables into the microphones, making sure they are securely connected. Then, plug the other end of the cables into the corresponding XLR inputs on the audio interface.
- Configure the audio settings: Open your recording software or DAW and configure the audio settings to recognize the audio interface and the connected microphones. Set the input source for each microphone track to match the corresponding input on the interface.
- Test and monitor the audio: Once the microphones are connected and the settings are configured, start recording and monitor the audio through headphones or studio monitors connected to the audio interface. Make sure all the microphones are picking up sound properly and adjust levels as needed.
It’s important to note that the specific process may vary depending on your audio interface model and recording software. Always refer to the manufacturer’s instructions and software documentation for detailed guidance.
By following these steps, you can successfully connect multiple microphones to your audio interface and start capturing high-quality audio from different sources simultaneously.
In the next section, we’ll discuss setting up levels and gain staging to ensure optimal signal quality and prevent any issues during the recording process.
Setting Up Levels and Gain Staging
Setting up proper levels and gain staging is crucial for achieving clean and professional audio recordings. Here are some essential steps to follow:
- Start with low gain: Begin by setting the gain on each microphone input to the lowest possible level. This will prevent any clipping or distortion when you start recording.
- Send test signals: Before recording, send a test signal to each microphone to check their levels. Speak or sing into each mic, and monitor the levels on your audio interface or in your recording software. Adjust the gain knobs to ensure the levels are strong without clipping.
- Use headphones for monitoring: Monitor the audio through headphones connected to the audio interface. This will allow you to hear the individual microphone signals and make adjustments as needed.
- Avoid excessive gain: Be cautious of setting the gain too high, as it can introduce unwanted noise or distortion. It’s best to find the optimal gain level where the audio is clear and without any noise artifacts.
- Utilize the gain reduction feature: Some audio interfaces offer a gain reduction feature, which helps control levels by automatically attenuating signals that are too loud. This can be helpful in preventing clipping and maintaining a consistent signal level across multiple microphones.
- Check for proper balance: Listen to the recorded audio or monitor the levels during a recording session to ensure that all the microphones have a balanced level. Adjust the gain if any one microphone is significantly louder or softer than the others.
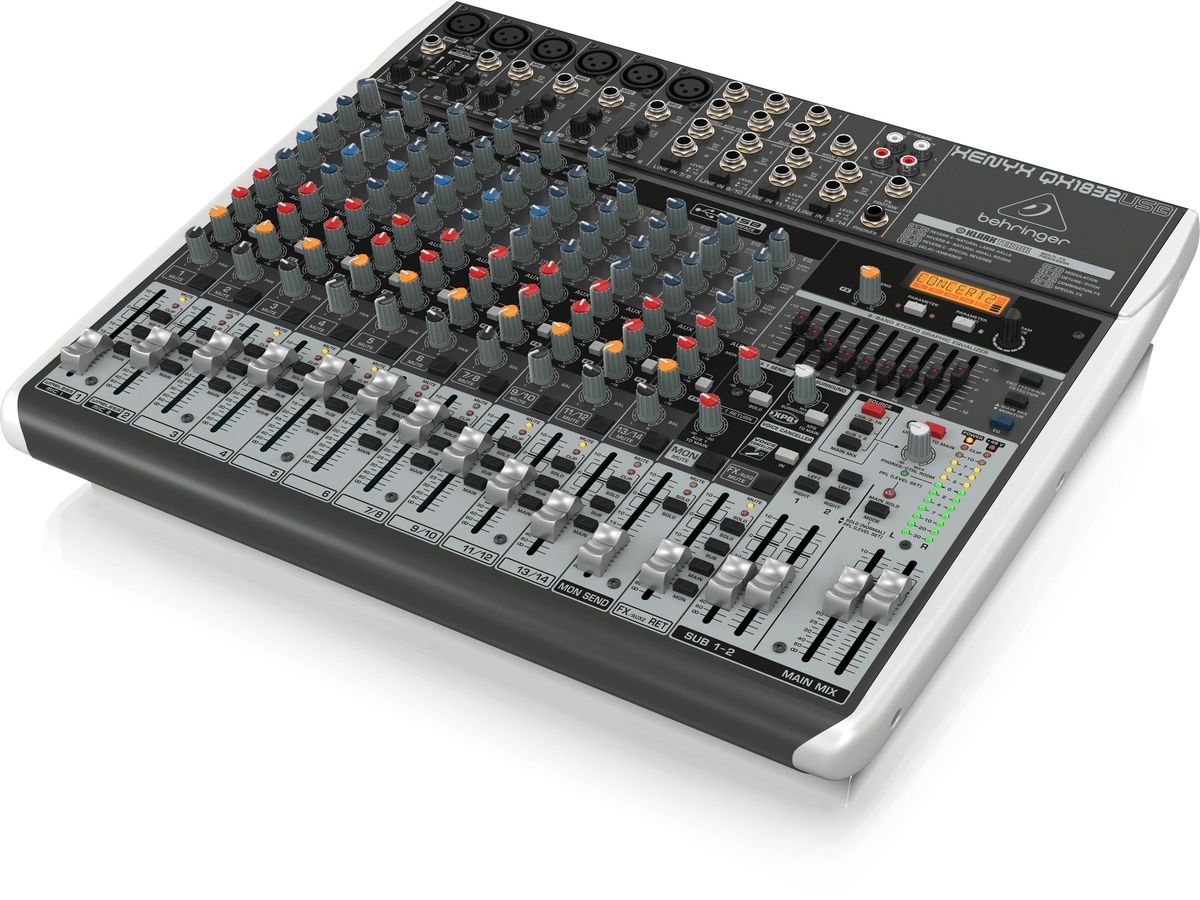
- Consider using a mixer: If you are dealing with a large number of microphones, you may benefit from using an external mixer to adjust the levels and balance the inputs before sending them to the audio interface. This can give you more control over the individual microphone signals.
By carefully setting up levels and gain staging, you can ensure that each microphone is capturing a clean and balanced signal, resulting in professional-quality recordings.
However, even with the best setup, you may encounter some common issues along the way. Let’s explore troubleshooting tips in the next section.
Troubleshooting Common Issues
While connecting multiple microphones to an audio interface may seem straightforward, you may encounter some common issues along the way. Here are some troubleshooting tips to help you overcome these challenges:
- No signal from a microphone: If you’re not getting any output from a microphone, check the cable connections on both ends. Ensure that the microphone is turned on (if applicable) and that the gain or volume knob on the audio interface is turned up. Also, check if the microphone requires phantom power and make sure it is enabled if necessary.
- Excessive noise or distortion: If you notice excessive noise or distortion in your recordings, check the gain levels. Adjust them to strike a balance between capturing a strong signal and avoiding clipping. Additionally, check for any sources of interference, such as electrical devices or cables near the microphones or audio interface.
- Uneven volume levels: If you have multiple microphones connected, and some have significantly louder or softer volumes, check the gain levels on each channel. Adjust them accordingly to achieve a balanced volume across all microphones. If the discrepancy persists, check the microphone placement and make sure they are equidistant from the sound source.
- Latency issues: Latency refers to the delay between the time you make a sound and when you hear it back through your headphones or monitors. If you experience noticeable latency, adjust the buffer size in your recording software or DAW to reduce the delay. Additionally, make sure you have the latest drivers installed for your audio interface.
- Crackling or popping sounds: If you hear crackling or popping sounds in your recordings, it could be due to a poor connection or faulty cable. Try substituting different cables to rule out any cable-related issues. Additionally, make sure all your equipment is properly grounded to minimize electrical interference.
If you encounter persistent issues that you can’t resolve, refer to the user manual or contact the manufacturer’s customer support for assistance. They can provide specific troubleshooting steps tailored to your audio interface model.
By troubleshooting common issues, you can ensure smooth and problem-free recording sessions with your multiple microphones and audio interface.
Let’s conclude our guide on connecting multiple microphones to an audio interface in the next section.
Conclusion
Connecting multiple microphones to an audio interface opens up a world of possibilities for capturing high-quality recordings. By following the steps outlined in this guide, you can effectively connect and utilize multiple microphones, enhancing the flexibility and depth of your audio productions.
Start by selecting the right audio interface that offers an adequate number of mic inputs, high-quality preamps, and compatibility with your computer system. Consider factors like budget, preamp quality, and future expansion when making your decision.
Once you have your audio interface, connect the microphones using the appropriate cables and set up levels and gain staging to ensure optimal signal quality. Monitoring the audio through headphones and maintaining balanced levels across all microphones will contribute to clean and professional recordings.
In the event of common issues, troubleshoot by checking cable connections, adjusting gain levels, addressing noise or latency problems, and ensuring proper grounding. If needed, refer to the user manual or reach out to customer support for assistance.
Remember, practice and experimentation are key to mastering the art of using multiple microphones with an audio interface. With time, you’ll develop a better understanding of your equipment and refine your recording techniques.
So go ahead, unleash your creativity, and enjoy the benefits of capturing high-quality audio from multiple sources. Whether you’re a musician, podcaster, content creator, or live sound engineer, the ability to input several mics into an audio interface will elevate your recordings to new heights.