Home>Production & Technology>Metronome>How To Change Cubase Metronome


Metronome
How To Change Cubase Metronome
Published: January 14, 2024
Looking to change the metronome in Cubase? Check out our step-by-step guide on how to easily customize the metronome settings in Cubase for a more personalized and efficient music production experience.
(Many of the links in this article redirect to a specific reviewed product. Your purchase of these products through affiliate links helps to generate commission for AudioLover.com, at no extra cost. Learn more)
Table of Contents
Introduction
Welcome to the world of Cubase, a powerful digital audio workstation beloved by musicians, producers, and audio engineers. One essential tool that every musician needs during recording and editing sessions is the metronome, which helps to keep a steady rhythm and maintain a consistent tempo.
The metronome in Cubase is not only functional but also highly customizable, allowing you to tailor it to your specific needs and preferences. Whether you want to change the click sound, adjust the metronome pattern, or fine-tune the settings, Cubase gives you the flexibility to make it your own. In this article, we will walk you through the steps to change the metronome settings in Cubase, so you can create the perfect rhythmic foundation for your music.
Before we dive into the process, make sure you have Cubase installed on your computer and ready to go. Whether you’re a seasoned Cubase user or just starting out, changing the metronome settings is a straightforward process that can greatly enhance your recording and editing experience. So let’s get started and unlock the full potential of the Cubase metronome!
Step 1: Launching Cubase
The first step in changing the metronome settings in Cubase is launching the application. Locate the Cubase shortcut on your desktop or search for it in your computer’s applications folder. Once you’ve found it, double-click to open the program and wait for it to load.
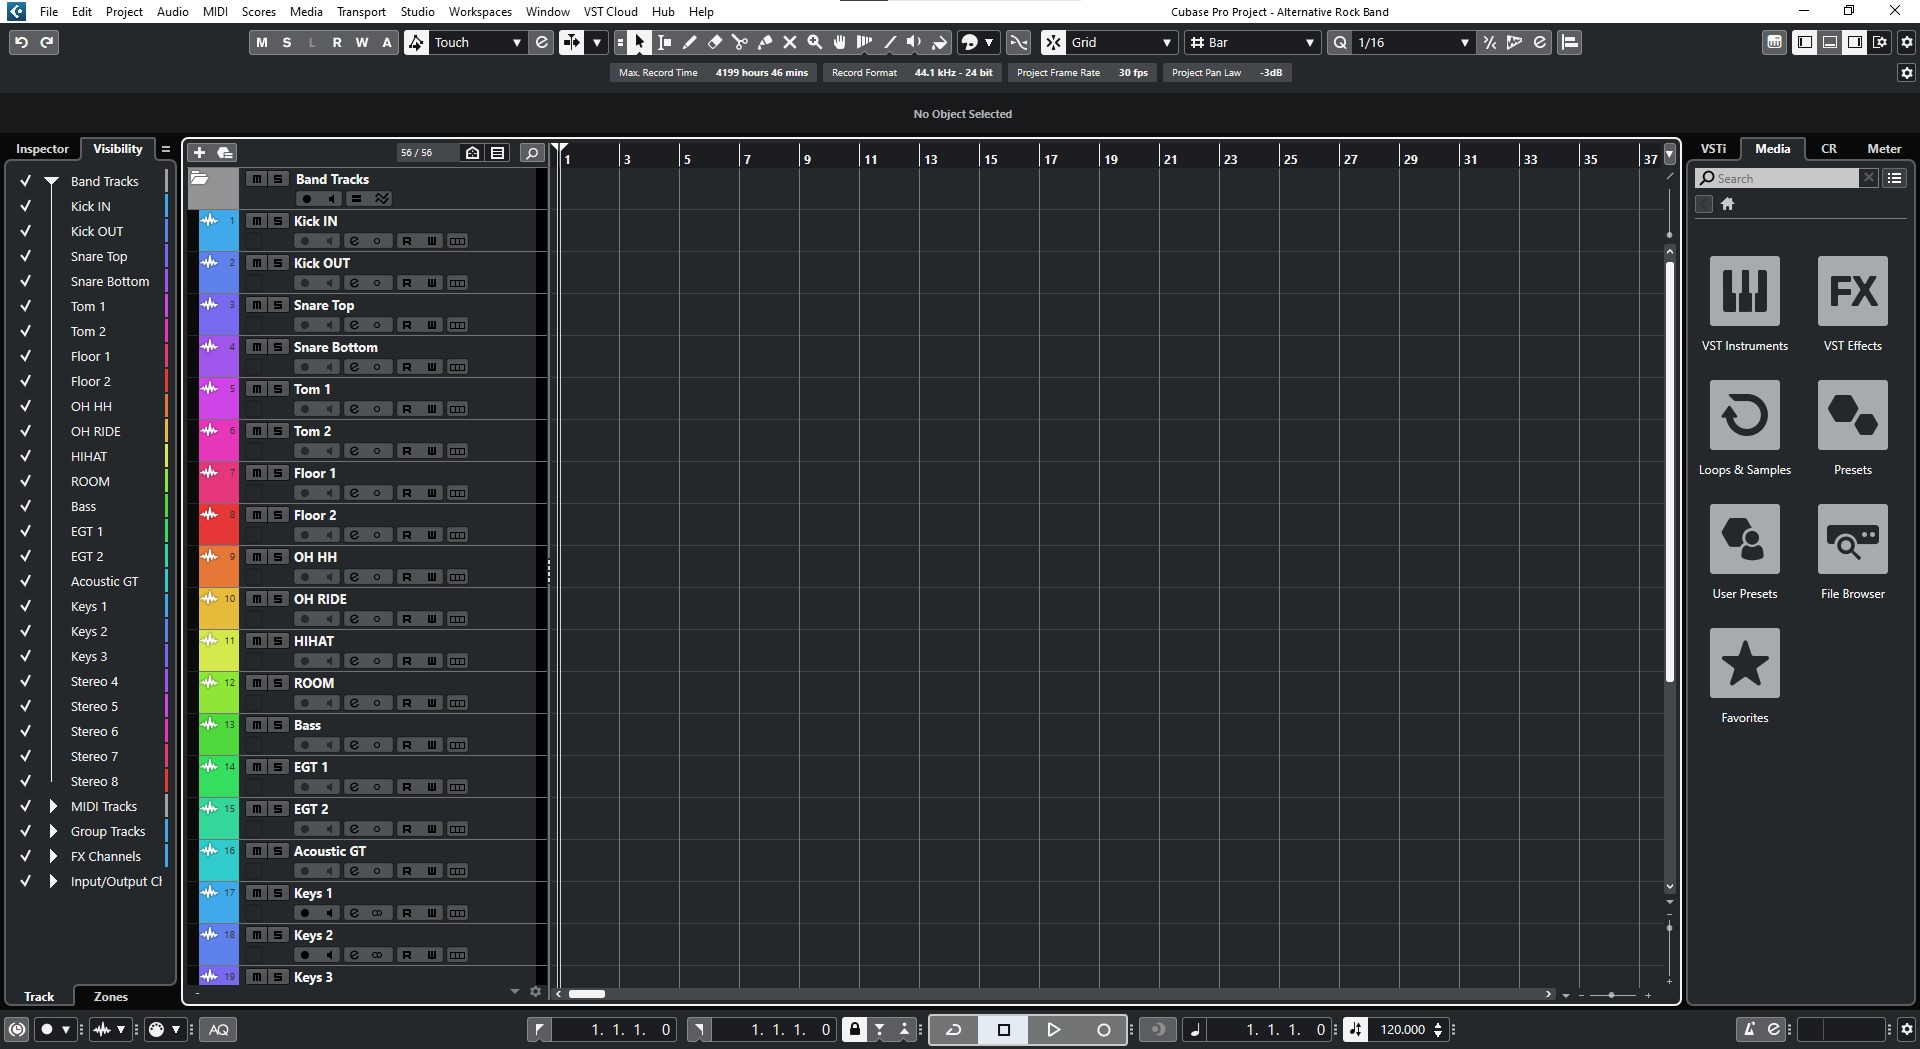
After Cubase has launched, you will be greeted with the main interface, which consists of various sections such as the project window, toolbar, and inspector. Take a moment to familiarize yourself with the different elements as they will come in handy during the metronome setup process.
If you already have a project open, you can proceed to the next step. However, if you’re starting a new project, click on “File” in the toolbar and select “New Project” from the drop-down menu. This will create a blank project for you to work with. Give your project a name, select the desired settings, and click “OK” to create the project.
Now that Cubase is up and running, and your project is prepared, we can move on to the next step: opening the metronome setup.
Step 2: Opening the Metronome Setup
Once you have Cubase open and your project ready, it’s time to access the metronome setup. The metronome setup allows you to make changes to various aspects of the metronome, including click sound, click pattern, and tempo accuracy.
To open the metronome setup, navigate to the top menu bar and click on “Transport”. A drop-down menu will appear, and from there, select “Metronome Setup”. Alternatively, you can use the shortcut by pressing the “Ctrl+M” keys on your keyboard.
A dialog box will appear on your screen, presenting you with all the available options and settings for the Cubase metronome. This is where the magic happens! Take a moment to explore the different tabs and options in the dialog box, as we will be making changes to these settings in the upcoming steps.
In addition to the main metronome setup dialog, you can also access the click pattern presets and the metronome click sound editor. These additional options provide even more customization possibilities for your metronome. Feel free to explore these options as well if you want to dive deeper into customizing your metronome experience.
Once you’re familiar with the metronome setup and the available options, we can move on to the next step: adjusting the metronome click sound.
Step 3: Adjusting the Metronome Click Sound
One of the key elements of the metronome is the click sound. Cubase offers a variety of click sound options for you to choose from, allowing you to find the one that fits your musical style and preference.
To adjust the metronome click sound, go back to the metronome setup dialog box that we opened in the previous step. Look for the “Click Sound” section, which is usually located at the top or in a separate tab. Here, you will find different click sound options such as woodblock, cowbell, and even synthetic drum sounds.
To change the click sound, simply click on the dropdown menu next to the “Click Sound” option and browse through the available options. Click on the desired sound to select it, and you will hear a preview of the sound. This allows you to audition different click sound options and choose the one that suits your needs.
Once you have selected your preferred click sound, you can further fine-tune it by adjusting the volume level. The volume control is usually located near the click sound dropdown menu, and it allows you to increase or decrease the volume of the metronome click. Adjust the volume to a level that is comfortable for you, ensuring that it is audible but not overpowering.
Feel free to experiment with different click sounds and volume settings to find the combination that works best for your specific musical context. Remember, the metronome click sound is an essential guide for keeping time and staying on rhythm, so finding the right sound is crucial for a productive and enjoyable recording or practice session.
Now that you have adjusted the metronome click sound to your liking, we can move on to the next step: changing the metronome click pattern.
Step 4: Changing the Metronome Click Pattern
The metronome click pattern is another aspect of the metronome that you can customize in Cubase. The click pattern dictates the rhythmic pattern of the metronome, allowing you to adapt it to different musical genres and playing styles.
To change the metronome click pattern, go back to the metronome setup dialog box. Look for the “Click Pattern” section, which is typically located below or next to the click sound options. Here, you will find various predefined click patterns, such as quarter notes, eighth notes, or even more complex patterns like dotted or triplet rhythms.
Selecting a different click pattern is as simple as clicking on the dropdown menu next to the “Click Pattern” option and choosing the desired pattern. Similar to the click sound, you can preview the selected click pattern to hear how it sounds before applying it to your metronome.
Additionally, Cubase also allows you to adjust the accent pattern. The accent pattern emphasizes specific beats in the metronome click sequence. For instance, if you’re playing a song with a strong emphasis on the downbeat, you can set the accent pattern accordingly to give more prominence to those beats.
Experiment with different click patterns and accent settings to find the rhythm that suits your musical style and preference. Whether you’re playing in a band, recording a solo project, or practicing your instrument, having a metronome click pattern that resonates with you can greatly enhance your performance and overall musical experience.
Now that you have customized the metronome click pattern, it’s time to move on to the next step: customizing metronome settings.
Step 5: Customizing Metronome Settings
In addition to changing the click sound and click pattern, Cubase offers a range of customizable settings to further enhance your metronome experience. These settings allow you to fine-tune the behavior and functionality of the metronome according to your specific needs and workflow.
To customize the metronome settings, return to the metronome setup dialog box. Look for the “Settings” or “Advanced Settings” section, which is usually located in a separate tab or below the click sound and click pattern options. Here, you will find a variety of parameters that you can adjust to tailor the metronome to your preferences.
One important setting is the tempo accuracy. The tempo accuracy determines how precise the metronome is in maintaining the desired tempo. Cubase provides different options, such as “Internal”, “MIDI Clock”, or “Audio Clock”, which vary in terms of accuracy and synchronization with the project tempo. Experiment with these options and choose the one that suits your needs.
Another important setting is the precount option. The precount allows you to have a brief count-off before the metronome starts clicking, giving you a moment to prepare before recording or playing. Enable or disable the precount option based on your preference and workflow.
Furthermore, you can adjust the metronome volume relative to the project or master volume, or even specify a separate volume level for each individual track. This can be useful when you need to adjust the metronome volume to be more audible or blend well with other elements in your projects.
Take your time to explore and experiment with the different metronome settings. Each setting provides an opportunity to tailor the metronome to your unique workflow and musical needs, ensuring a seamless and effective recording or practice session.
Once you have customized the metronome settings to your liking, it’s time to move on to the final step: saving and applying the changes.
Step 6: Saving and Applying the Changes
After making all the desired adjustments to the metronome settings in Cubase, it’s important to save and apply the changes. This ensures that your customized metronome settings are saved and ready to use for future projects.
To save the changes, locate the “Save” or “Apply” button within the metronome setup dialog box. Click on it to confirm and save the modifications you made to the metronome settings. Cubase will then store these settings, making them readily available whenever you open the program or start a new project.
Once you have saved the changes, you can start using the customized metronome in your current project or any future projects. Activate the metronome by clicking on the metronome icon in the toolbar or using the shortcut key (usually the “M” key).
As you play or record, you will hear the metronome clicking according to your chosen click sound, click pattern, and customized settings. The metronome will help you maintain a steady rhythm and play in time, providing a reliable and consistent guide for your musical performances.
Remember, the metronome is a powerful tool that can greatly improve your musical skills and performances. Practice with the metronome regularly to develop a strong sense of timing, improve your rhythm, and enhance your overall musicality.
By customizing the metronome settings in Cubase, you have taken control of this essential tool and tailored it to your unique preferences and requirements. With a customized metronome at your disposal, you are well-equipped to embark on your musical journey with confidence and precision.
Congratulations! You have successfully changed the metronome settings in Cubase. Now go ahead and create music with a steady and reliable rhythmic foundation!
Conclusion
Customizing the metronome settings in Cubase opens up a world of possibilities for musicians and producers. By changing the click sound, click pattern, and various other settings, you can tailor the metronome to suit your musical style, preferences, and workflow.
Throughout this article, we have guided you through the steps to change the metronome settings in Cubase. We started by launching Cubase and opening the metronome setup. We then explored adjusting the metronome click sound, changing the click pattern, customizing metronome settings, and saving the changes.
Remember, the metronome is a valuable tool in music production and practice. It helps maintain a steady rhythm, improves timing, and ensures synchronization in recordings. By customizing the metronome settings in Cubase, you can enhance your musical experience and achieve greater precision in your performances.
Feel free to experiment with different click sounds, click patterns, and settings to find the combination that best suits your musical projects. As you become more comfortable with the customization options in Cubase, you will discover how the metronome can serve as a versatile tool to elevate your musical creations.
So, whether you’re a musician, producer, or audio engineer, take advantage of Cubase’s metronome customization features and make the most of your recording and practice sessions. With a personalized metronome, you’ll be able to unlock your true potential and create music that is solidly grounded in rhythm.
Now that you have a comprehensive understanding of how to change the metronome settings in Cubase, it’s time to put your knowledge into action. Start exploring different sounds, patterns, and settings that align with your musical goals, and let the metronome guide you towards musical excellence.
Happy music-making with your customized Cubase metronome!

