Home>Production & Technology>Metronome>How To Use Metronome In Studio One
Metronome
How To Use Metronome In Studio One
Modified: February 20, 2024
Learn how to effectively use the Metronome feature in Studio One for precise timing and rhythmic control. Enhance your music production with this essential tool.
(Many of the links in this article redirect to a specific reviewed product. Your purchase of these products through affiliate links helps to generate commission for AudioLover.com, at no extra cost. Learn more)
Table of Contents
Introduction
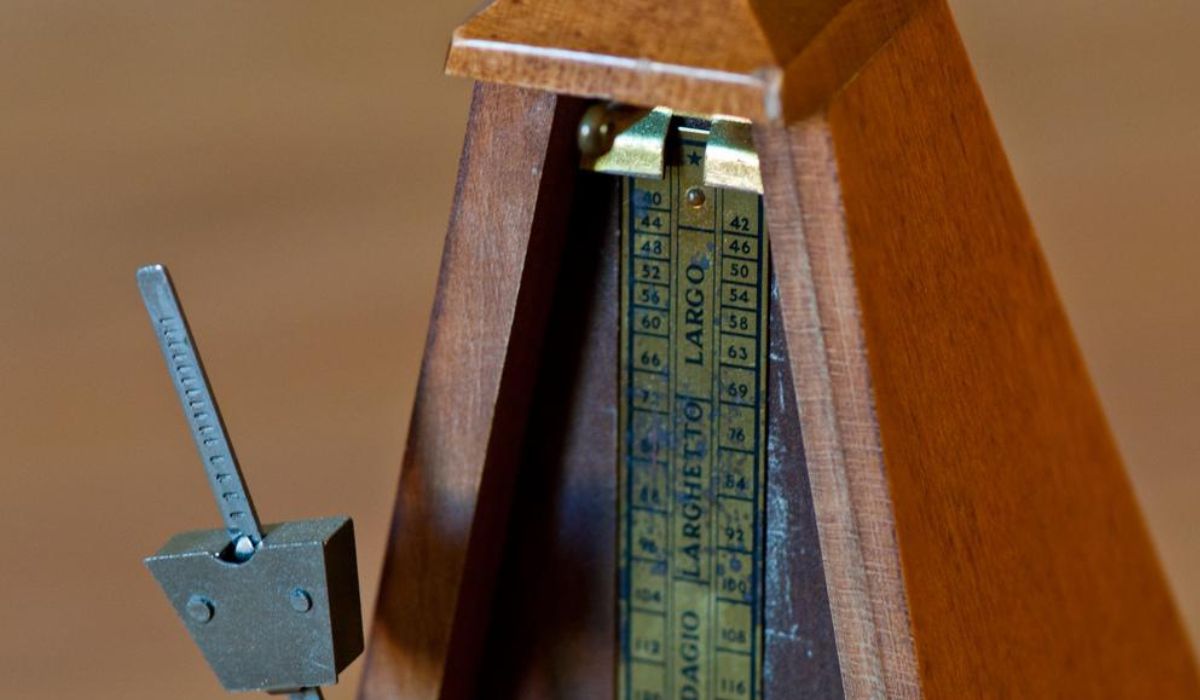
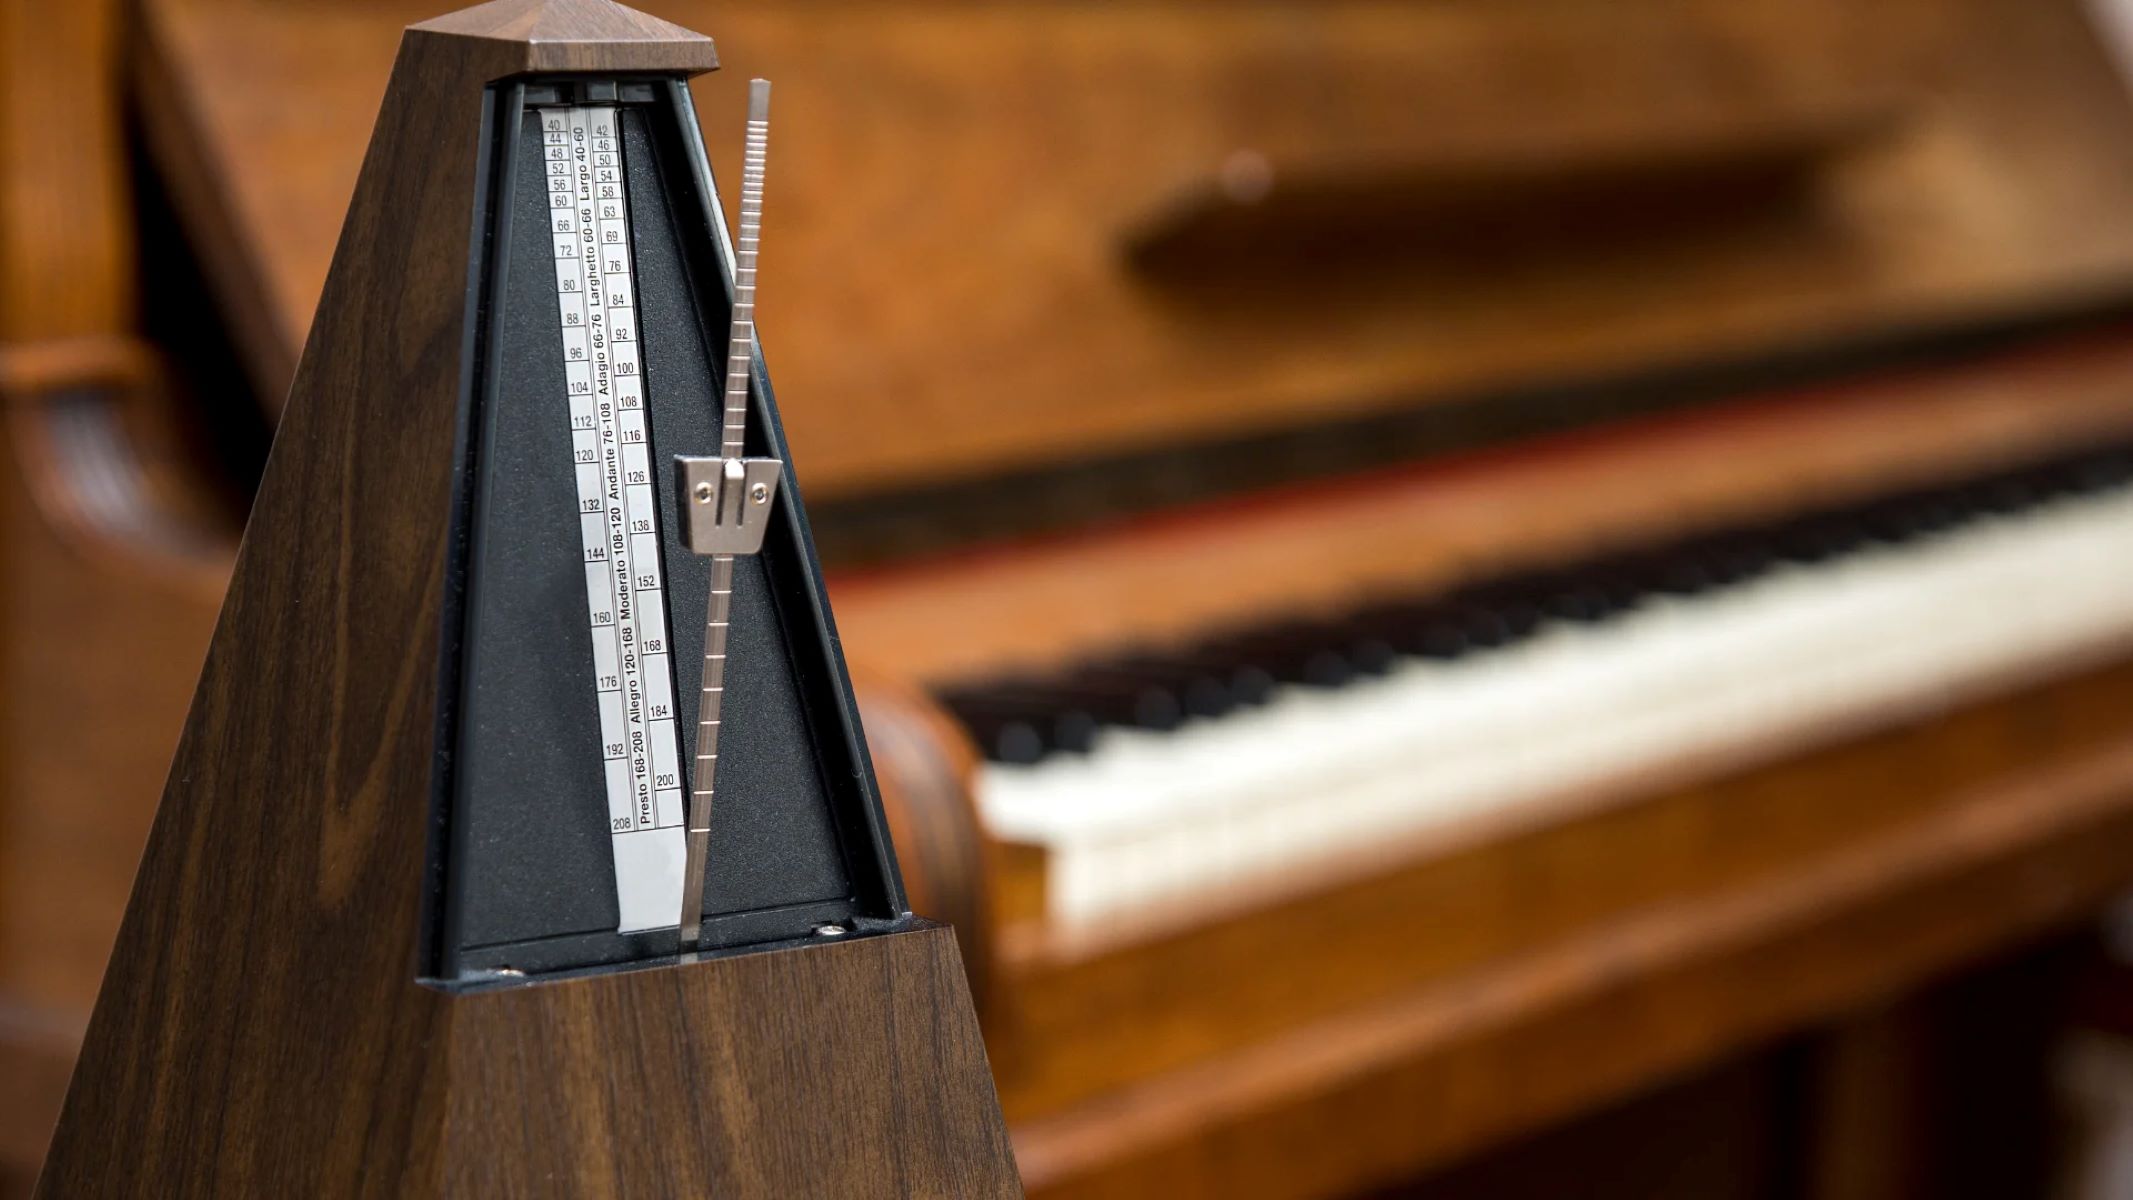
When it comes to music production, timing is everything. Whether you’re recording a band or creating electronic melodies, having a solid sense of rhythm is crucial. That’s where a metronome comes in. A metronome is a device used to keep a steady beat, helping musicians stay in time and maintain a consistent tempo.
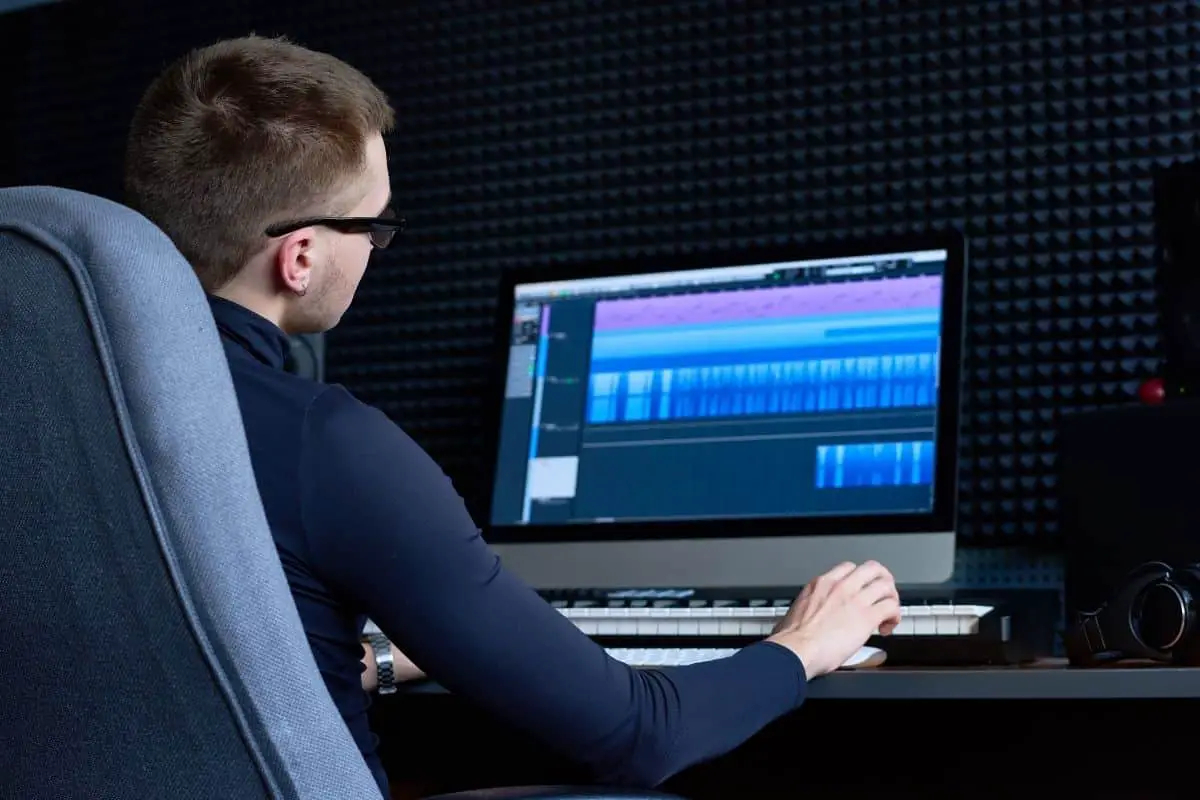
In this article, we will explore how to effectively use a metronome in Studio One, a popular digital audio workstation (DAW) used by many music producers and artists. Studying and mastering the metronome can significantly improve your timing and overall musicality, helping you create more professional-sounding tracks.
Setting up your metronome properly is the first step towards utilizing it effectively. By understanding how to adjust the tempo, sync external devices, and customize the sounds, you can tailor the metronome to suit your specific needs and preferences.
So, whether you’re a beginner just starting to use a metronome or an experienced producer looking to improve your timing, join us as we delve into the world of the metronome in Studio One.
Setting Up Your Metronome
Before you start using the metronome in Studio One, you need to make sure it is set up correctly. Here are the steps to follow:
- Open your Studio One project and navigate to the toolbar at the top of the screen.
- Click on the ‘Transport’ menu to open the transport options.
- In the transport options, you will find the metronome settings. Click on the metronome icon to enable it.
- Once enabled, you can select the metronome mode. The two common modes are ‘Precount’ and ‘Click during Record’.
- The ‘Precount’ mode plays a few beats before the recording starts, giving you a count-in to prepare. The ‘Click during Record’ mode plays the metronome throughout the recording.
- Choose the mode that suits your workflow and musical style.
- Next, you can specify the metronome volume. Adjust the volume slider to your desired level.
- If you want to hear the metronome only in your headphones while recording, make sure to enable the ‘Click’ option under your audio device settings.
Once you have set up your metronome preferences, you are ready to start using it. Remember to always check that the metronome is enabled before you begin recording or playing along.
Having a metronome during practice sessions can greatly improve your timing and rhythmic accuracy. It acts as a reliable reference point and helps you build a solid internal sense of timing. As you get comfortable with the metronome, you can gradually increase the tempo to challenge yourself and push your musical abilities.
Adjusting the Metronome Tempo
One of the key features of a metronome is its ability to set the tempo, or speed, of the beat. In Studio One, you have multiple options for adjusting the metronome tempo to match your desired pace:
- Using the Tempo Track: Studio One allows you to create a dedicated Tempo Track, where you can define tempo changes throughout your project. To adjust the metronome tempo, simply add tempo markers on the Tempo Track at the desired points. The metronome will automatically follow these tempo changes as you play or record.
- Using the Transport Bar: The Transport Bar in Studio One provides a quick and easy way to adjust the metronome tempo. You can manually enter the desired tempo value in the BPM (Beats Per Minute) field and hit Enter. The metronome will immediately adjust to the new tempo.
- Using the Tempo Tap: If you’re not sure about the exact tempo value, you can use the Tempo Tap feature in Studio One. Simply click on the ‘Tap Tempo’ button, and tap along with the beat of your music. Studio One will calculate the average tempo based on your taps and adjust the metronome accordingly.
Whether you’re working with a fixed tempo or a dynamic song structure, Studio One’s flexible metronome adjustments make it easy to stay in sync with the desired tempo. Experiment with different tempos to find the perfect groove for your music.
Remember, the tempo setting in the metronome affects not only the speed of the click but also the timing grid and the playback of MIDI and audio tracks. So, when you change the tempo, everything in your project will adjust accordingly.
By mastering the art of adjusting the metronome tempo in Studio One, you can achieve precise timing and create music that grooves with confidence and precision.
Using the Metronome with a Click Track
In addition to the standard click sound, Studio One allows you to use a click track to enhance your metronome experience. A click track is a dedicated audio track that plays a consistent rhythm throughout your recording or performance. Here’s how to use the metronome with a click track in Studio One:
- Create a new audio track in your Studio One project.
- Assign the click sound to the audio track by selecting it from the sound library or importing your custom click sound.
- Make sure the audio track is routed to the main output or the output you are using for monitoring.
- Enable the recording on the click track so that it will be included in your final mix.
- Set the volume level of the click track to your preference, ensuring it is audible but not overpowering.
- Start the metronome and click track by clicking the play button in Studio One’s transport controls.
- Now, when you record or play along with the metronome, you will hear the click sound playing from the click track.
Using a click track can be particularly helpful when recording multiple musical parts or collaborating with other musicians. It provides a consistent reference point for all performers, ensuring that everyone stays in sync and maintains a steady tempo.
With Studio One’s ability to add and customize click tracks, you can experiment with various sound options to find the one that best complements your music. From traditional click sounds to more creative percussion elements, the click track can add a powerful rhythmic foundation to your recordings.
Using the metronome with a click track not only improves your timing but also enhances the overall cohesion and tightness of your music. It is a valuable tool for achieving professional-level recordings and performances.
Syncing External Devices with the Metronome
In addition to using the metronome within Studio One, you can also sync it with external devices, such as a drum machine, synthesizer, or MIDI controller. This allows you to integrate your hardware instruments and gear seamlessly with the metronome in Studio One. Here’s how you can sync external devices with the metronome:
- Connect the external device to your computer via USB or MIDI cables, ensuring that it is properly recognized and configured in Studio One.
- In Studio One, navigate to the ‘Options’ menu and select ‘External Devices’.
- Click on ‘Add’ to add your external device to the list of recognized devices.
- Choose the appropriate MIDI inputs and outputs for your device.
- Once your external device is added, you can now sync it with the metronome by enabling MIDI clock sync.
- In the transport options, find the MIDI settings and enable the ‘Send MIDI Clock’ option.
- Set the desired tempo in Studio One, and your external device will synchronize automatically.
Syncing external devices with the metronome opens up a world of possibilities for live performances, jam sessions, and studio recordings. It ensures that all your instruments and gear play in perfect sync, creating a tight and cohesive sound.
Whether you’re triggering drum beats from a drum machine, controlling synthesizer arpeggios, or recording MIDI sequences, the ability to synchronize your external devices with the metronome expands your creative potential.
Studio One’s seamless integration with external devices allows you to focus on your music without worrying about timing issues. It empowers you to experiment with different sounds and textures while staying locked in with the metronome and maintaining a solid sense of rhythm.
Customizing the Metronome Sounds
Studio One offers a range of options to customize the sound of the metronome, allowing you to tailor it to your personal preferences and musical style. Here’s how you can customize the metronome sounds in Studio One:
- Open your Studio One project and go to the metronome settings in the transport options.
- Locate the ‘Click Sound’ or ‘Metronome Sound’ section.
- In this section, you can choose from a variety of built-in click sound options, such as traditional metronome clicks, woodblocks, cowbells, and more.
- Click on each sound option to preview it and select the one that suits your preferences.
- If you want to use your own custom click sound, you can import it by clicking on the ‘Browse’ or ‘Import’ button in the metronome sound settings.
- Locate the audio file on your computer and select it to replace the default click sound.
- Once you have chosen the desired click sound, you can further adjust its volume using the metronome volume slider in the transport options.
Customizing the metronome sounds allows you to create a personalized and inspiring click to accompany your music. Whether you prefer a traditional metronome tic-toc, a modern electronic beep, or something more unique, Studio One gives you the freedom to experiment and find the right sound for your creative needs.
By customizing the metronome sounds, you can infuse your practice sessions and recordings with a touch of personality and elevate the overall musical experience. It enables you to immerse yourself in your music and stay motivated, making the metronome an enjoyable tool rather than a monotonous ticking sound.
So, unleash your creativity and explore the various metronome sound options in Studio One to find the perfect sonic companion for your musical journey.
Advanced Metronome Features
Beyond the basic functionalities, Studio One offers advanced metronome features that can enhance your rhythm practice and recording sessions. Let’s explore some of these features:
- Precision Timing: Studio One’s metronome can provide more than just a basic click sound. It features a high-resolution sample rate, ensuring accurate timing down to the smallest musical subdivisions. This level of precision allows you to finely tune your sense of rhythm and execute intricate rhythmic patterns with ease.
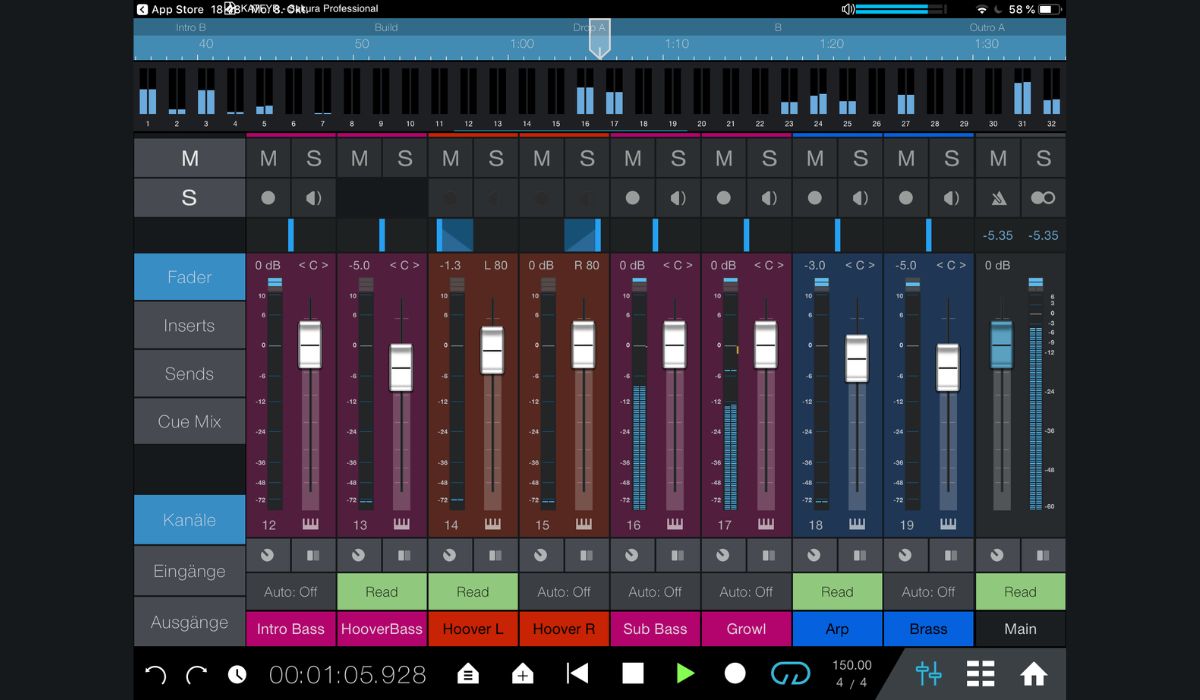
- Cue Mixes: With Studio One, you can create custom cue mixes for different performers in your session. This means you can assign different metronome sounds and volumes to individual musicians, ensuring that everyone hears exactly what they need to stay in sync.
- Time Signature Changes: Studio One supports time signature changes within your project. This means you can switch between different time signatures seamlessly, and the metronome will adjust accordingly. Whether you’re shifting from 4/4 to 6/8 or exploring complex irregular time signatures, Studio One can accommodate your musical ideas.
- Swing and Groove: Studio One allows you to add swing and groove to your metronome. By adjusting the swing percentage, you can infuse your click with a subtle rhythmic swing, mimicking the feel of live musicians. This feature is especially useful for genres like jazz, funk, and hip-hop, where groove and feel are essential.
- Preset Sounds and Patterns: Studio One provides a library of preset metronome sounds and patterns that you can explore and use in your projects. These presets offer a variety of rhythmic styles and genres, inspiring creativity and offering new rhythmic possibilities beyond the standard click sound.
With these advanced metronome features, Studio One goes beyond the traditional concept of a metronome, transforming it into a versatile tool that can adapt to your musical needs and aspirations. It empowers you to explore complex rhythms, experiment with different time signatures, and infuse your music with groove and feel.
By harnessing the power of Studio One’s advanced metronome features, you can take your rhythm practice and recordings to new heights, unlocking your full creative potential and achieving professional-level results.
Conclusion
The metronome is an invaluable tool in the world of music production, and Studio One offers a range of features to help you make the most of it. By setting up the metronome properly, adjusting the tempo to fit your desired pace, and using it with click tracks or external devices, you can improve your timing and create music with precision.
Customizing the metronome sounds in Studio One allows you to personalize your experience and find a click that resonates with your musical style. From traditional metronome sounds to more unique and custom options, Studio One gives you the freedom to create a click that inspires you.
With advanced features such as precision timing, time signature changes, swing and groove, and preset sounds, Studio One takes the metronome to the next level. It enables you to explore complex rhythms, experiment with different styles, and reach new musical heights.
So, whether you’re a beginner honing your timing skills or a seasoned musician looking to elevate your recordings, don’t overlook the power of the metronome in Studio One. Embrace its functionality, get in sync with its rhythm, and let it be your guide as you create music that is tight, professional, and full of groove.
With Studio One and its comprehensive metronome features, you have everything you need to make timing an asset in your musical journey. Embrace the metronome, master your rhythm, and unlock your true musical potential.