Home>Production & Technology>Surround Sound>How To Find A Surround Sound Track In Logic X
Surround Sound
How To Find A Surround Sound Track In Logic X
Modified: January 22, 2024
Discover how to locate and implement a surround sound track in Logic X with our comprehensive guide. Enhance your audio experience with surround sound capabilities.
(Many of the links in this article redirect to a specific reviewed product. Your purchase of these products through affiliate links helps to generate commission for AudioLover.com, at no extra cost. Learn more)
Table of Contents
- Introduction
- Understanding Surround Sound in Logic X
- Step 1: Setting Up Your Project for Surround Sound
- Step 2: Importing Surround Sound Audio Files
- Step 3: Creating a Surround Sound Track
- Step 4: Adjusting Panning and Placement
- Step 5: Applying Surround Sound Effects
- Step 6: Mixing and Exporting Your Surround Sound Track
- Conclusion
Introduction
Surround sound is a game-changer when it comes to audio experiences. It allows you to immerse yourself in the soundscape, bringing movies, music, and games to life. Logic Pro X, the powerful digital audio workstation (DAW) developed by Apple, offers advanced surround sound capabilities to take your audio production to the next level.
Whether you’re a music producer, sound engineer, or a multimedia creator, understanding how to work with surround sound in Logic X is essential. In this article, we will dive deep into the world of surround sound and explore the step-by-step process to find a surround sound track in Logic X.
Unlock a new dimension of audio by harnessing the power of Logic X’s surround sound features. With the right techniques and tools, you’ll be able to create immersive and realistic audio experiences that captivate your audience.
Throughout this article, we’ll take you on a journey from setting up your project for surround sound to mixing and exporting your final track. So, let’s get started and discover the exciting possibilities of surround sound in Logic X!
Understanding Surround Sound in Logic X
Before we delve into the process of finding a surround sound track in Logic X, it’s important to have a solid understanding of what surround sound is and how it works within the context of this powerful DAW.
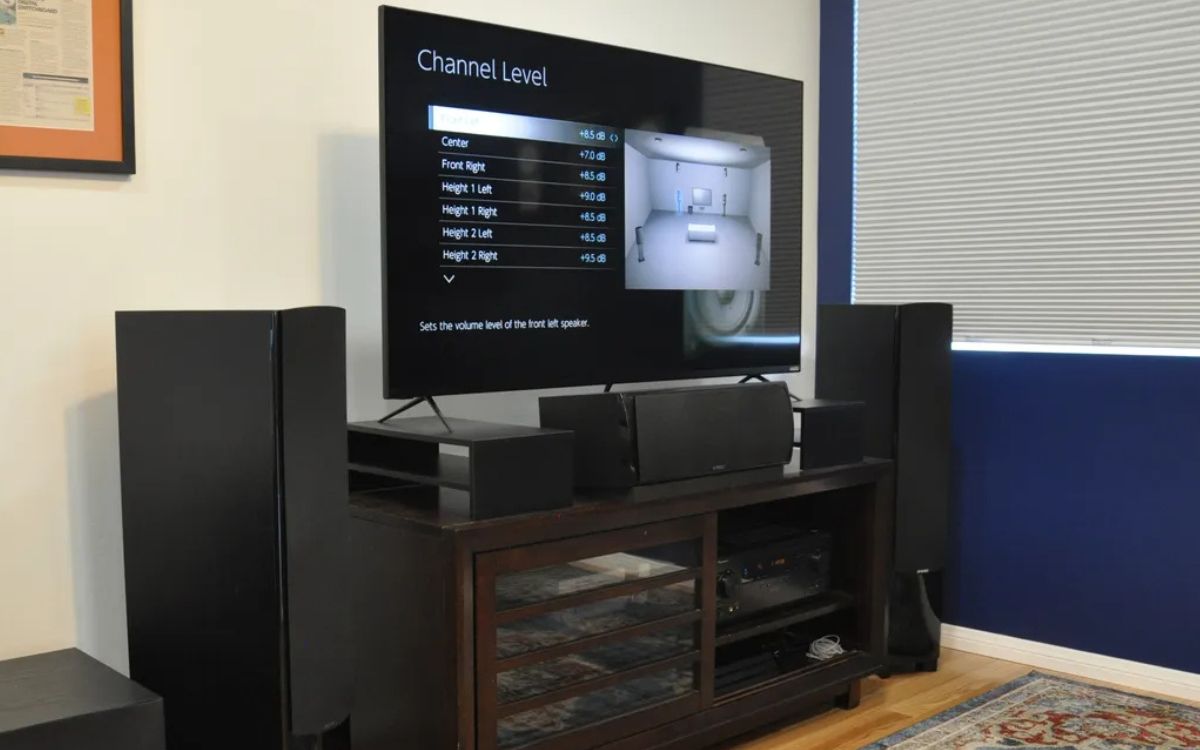
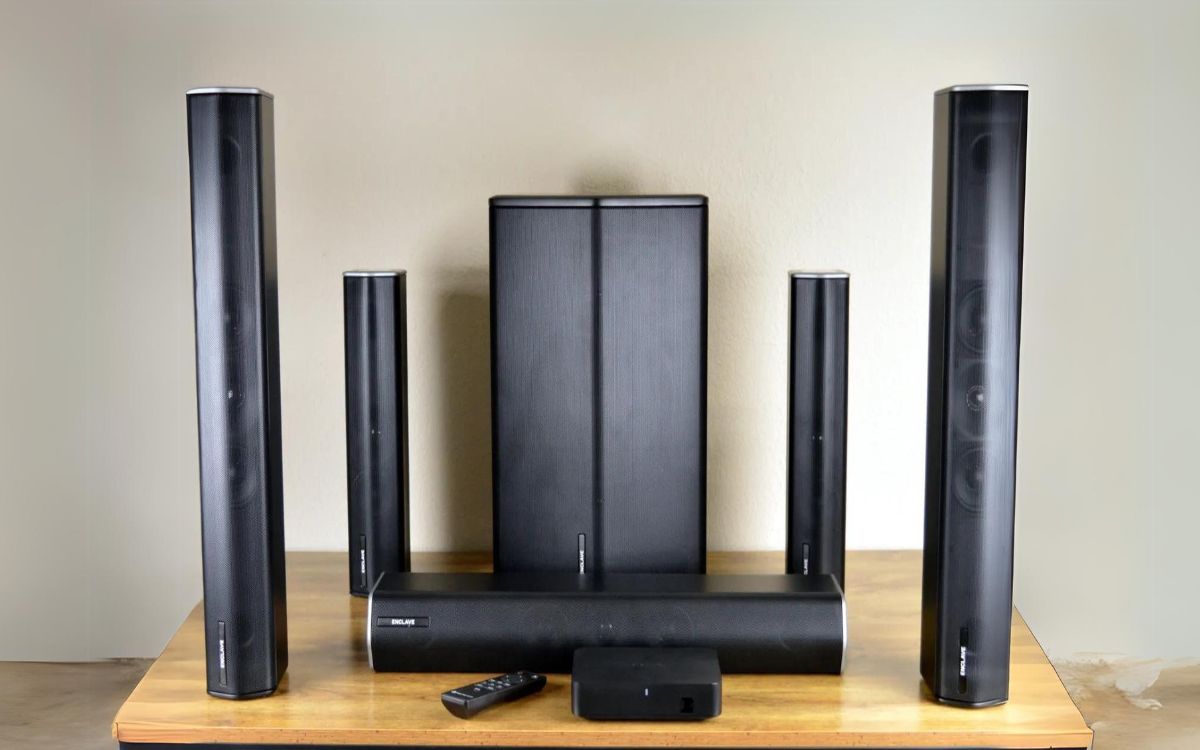
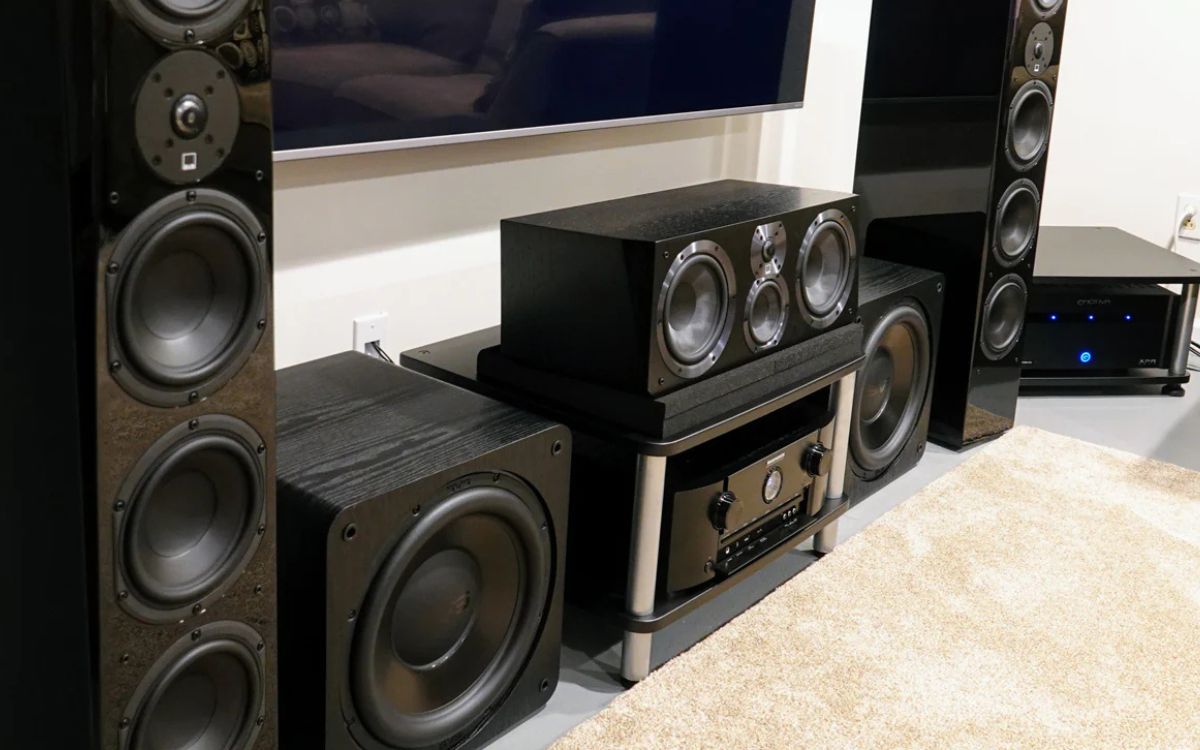
Surround sound is a technology that creates a three-dimensional audio environment by utilizing multiple speakers placed strategically around the listening area. The most common setup is the 5.1 system, which consists of five speakers (front left, front center, front right, rear left, and rear right) and a subwoofer.
Logic X allows you to not only work with stereo (two-channel) audio but also with multichannel audio formats, such as 5.1 and 7.1. This means you can position sounds within the surround sound field, enveloping the listener and creating a more immersive experience.
When working with surround sound in Logic X, it’s important to pay attention to the different elements that make up a surround sound mix:
- Channels: Each speaker in the surround sound system represents a specific channel, and Logic X supports routing audio to these individual channels.
- Panning: Panning techniques allow you to position sounds in different channels, controlling the spatial placement within the surround sound field.
- Surround Sound Effects: Logic X offers a variety of surround sound effects, such as reverb and delay, designed to enhance the spatial qualities of your audio.
- Control Surfaces: Logic X is compatible with various control surfaces that allow you to have hands-on control over your surround sound mixes, making the workflow even more intuitive and efficient.
By understanding these key components, you’ll be ready to explore the intricate world of surround sound in Logic X and create dynamic audio mixes that transport your listeners to a whole new auditory realm.
Step 1: Setting Up Your Project for Surround Sound
Before you can start working with surround sound in Logic X, you need to properly set up your project to accommodate the multichannel audio format. Here’s how you can do it:
1. Start by creating a new project in Logic X or open an existing one that you want to convert to a surround sound project.
2. Go to the “File” menu and select “Project Settings.”
3. In the project settings window, click on the “Audio” tab.
4. Under the “Format” section, select the desired surround sound format, such as 5.1 or 7.1.
5. Adjust the sample rate and bit depth according to your project requirements.
6. Ensure that the “Output” is set to the appropriate speaker configuration for your surround sound system.
7. Click “Apply” and then “OK” to save the changes.
By following these steps, you have now configured your project to work with the specified surround sound format. Logic X will now handle the routing and processing of audio based on the selected configuration.
It’s important to note that if you’re starting a new project, you have the flexibility to choose the surround sound format that best suits your needs. However, if you’re converting an existing stereo project to surround sound, consider how the additional channels will affect the overall mix and make any necessary adjustments to ensure a seamless transition.
With your project set up for surround sound, you’re ready to proceed to the next step: importing surround sound audio files.
Step 2: Importing Surround Sound Audio Files
Now that your project is configured for surround sound in Logic X, it’s time to import the surround sound audio files that you’ll be working with. Here’s how to do it:
1. Go to the “File” menu and select “Import.”
2. Choose the option to import audio files.
3. Select the surround sound audio files you want to import from your computer or external storage device.
4. Click “Open” to import the files into the Logic X project.
5. Logic X will automatically detect the surround sound format of the imported audio files based on their channel configuration.
Once the surround sound audio files are imported, they will appear in the tracks area of Logic X. Each audio file will be represented by a track, and you’ll be able to see the channel configuration of each file displayed in the track headers.
It’s important to ensure that the audio files you import are formatted correctly for surround sound. They should have the necessary channel configuration that matches the setup of your project (e.g., 5.1 or 7.1).
If you’re working with individual audio stems, make sure to import each stem into its respective channel to maintain the spatial placement of the sounds within the surround sound field.
By successfully importing surround sound audio files into your Logic X project, you’re now ready to move on to the next step: creating a surround sound track and routing the audio.
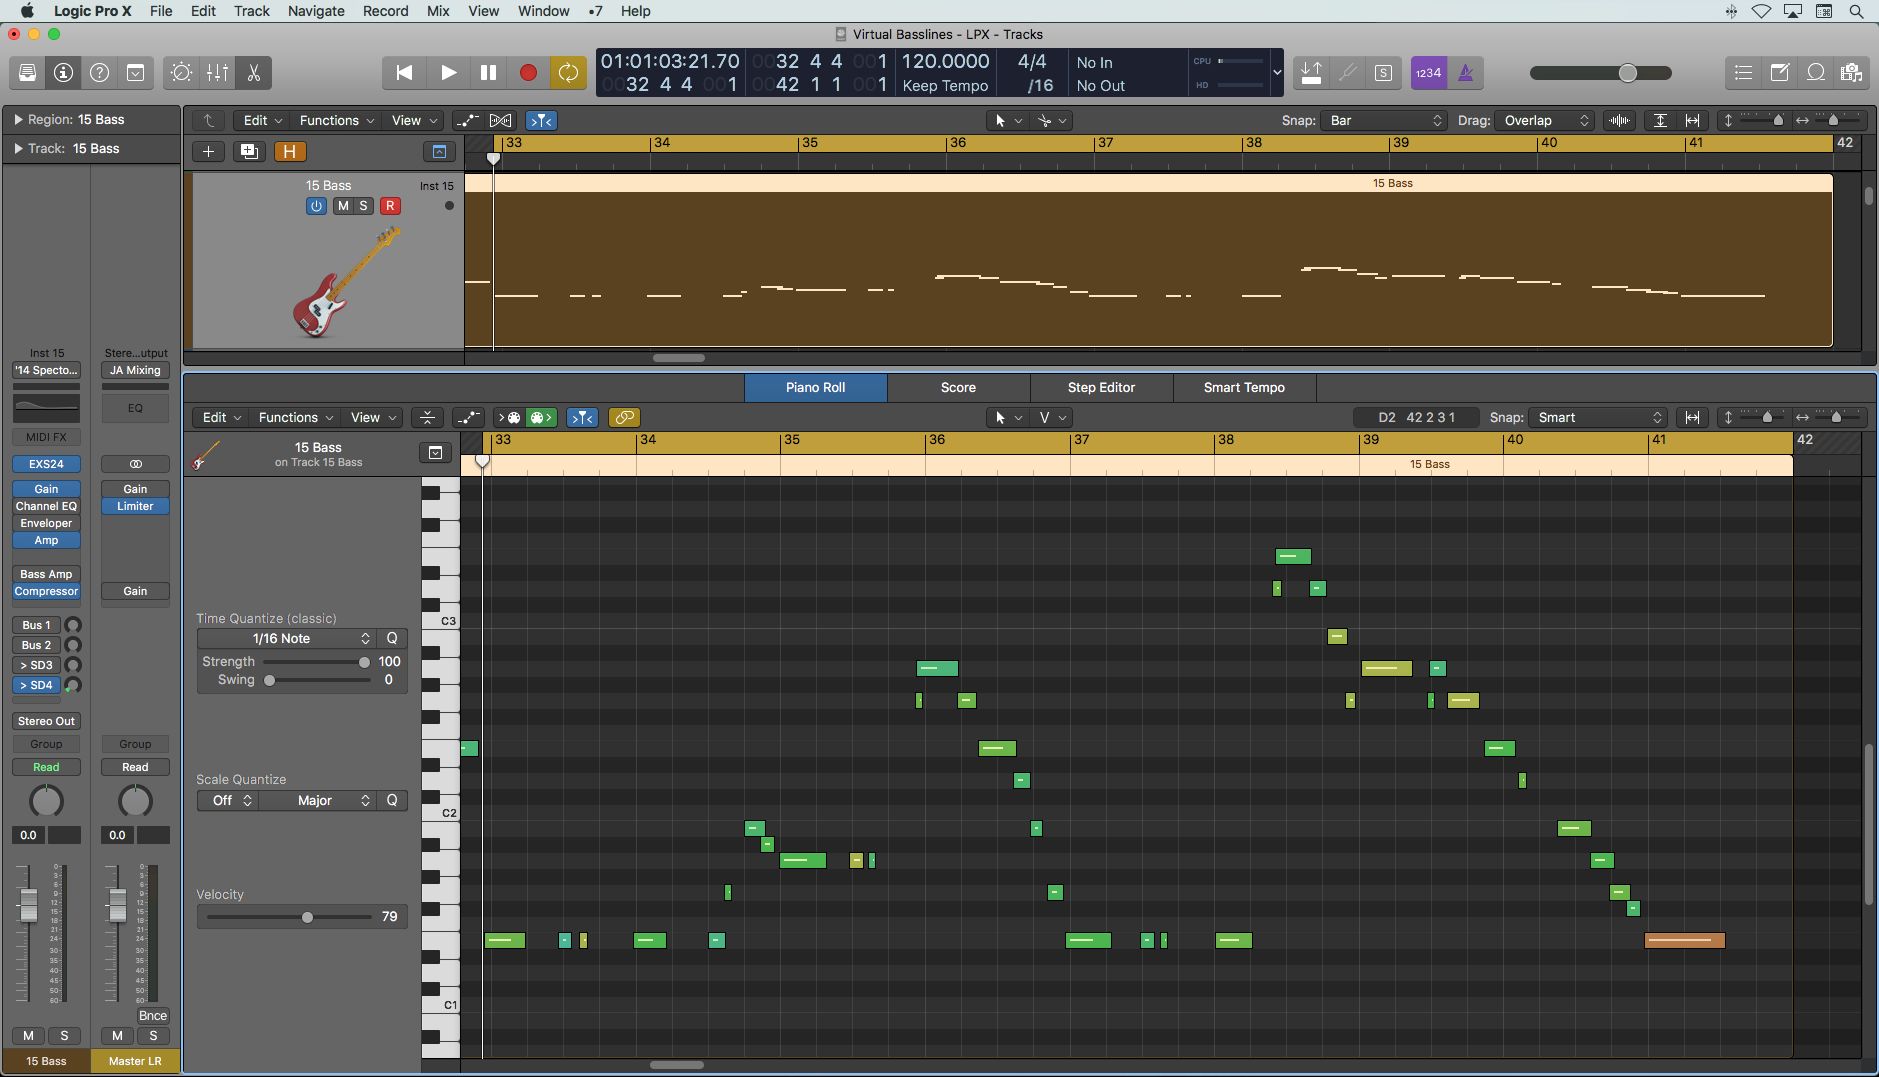
Step 3: Creating a Surround Sound Track
With your surround sound audio files imported into Logic X, it’s time to create a dedicated surround sound track to organize and manipulate the audio. Follow these steps to create a surround sound track:
1. Make sure the track area is visible in Logic X. If not, go to “View” in the menu bar and enable the track area.
2. Right-click (or Control-click) in the empty space of the track area to open a context menu.
3. From the context menu, select “Create Track” and choose “Audio Track.”
4. In the track inspector on the left side of the Logic X interface, locate the “Format” section.
5. Click on the drop-down menu in the “Format” section and select the desired surround sound format for the track.
6. Give your track a name and adjust any other settings, such as input source and recording options, as needed.
7. Click “Create” to add the surround sound track to your project.
Once you have created the surround sound track, it will appear in the track area alongside the previously imported audio files. You can now begin routing the audio from the imported files to the surround sound track for further manipulation.
Having a dedicated surround sound track allows you to have precise control over the spatial placement and processing of your audio. You can manipulate individual channels of the surround sound track to adjust the panning, apply effects, and create a dynamic and immersive audio mix.
With your surround sound track in place, you’re ready to move on to the next step: adjusting panning and placement to create a realistic surround sound experience.
Step 4: Adjusting Panning and Placement
One of the key aspects of working with surround sound in Logic X is adjusting the panning and placement of audio to create an immersive and realistic surround sound experience. Follow these steps to fine-tune the panning and placement:
1. Select the surround sound track that contains the imported audio files you want to adjust.
2. Locate the channel strip of the selected track in the mixer area of Logic X.
3. Each channel of the surround sound track represents a specific speaker in the surround system. You can control the panning of the audio within each channel by dragging the panner in the channel strip left or right.
4. Experiment with panning the audio elements across the surround sound field to achieve the desired spatial placement and balance.
5. You can also adjust the overall level of each channel by dragging the fader up or down in the channel strip.
6. Consider the position of each speaker in the surround system and the effect you want to achieve. For example, you may want to place certain sounds in the front speakers for a more forward and focused effect, while utilizing the rear speakers for ambient or background elements.
7. Use your ears and listen carefully to how the audio elements interact with each other and the space. Make any necessary adjustments to ensure a cohesive and immersive surround sound experience.
Remember, the panning and placement of audio in surround sound plays a crucial role in creating depth, dimension, and realism. Take your time to experiment with different panning techniques and find the sweet spot that enhances the overall audio mix.
Once you’re satisfied with the panning and placement, you’re ready to move on to the next step: applying surround sound effects to further enhance the immersive experience.
Step 5: Applying Surround Sound Effects
Applying surround sound effects in Logic X can take your audio mix to the next level, adding depth and dimension to the surround sound field. Follow these steps to apply surround sound effects:
1. Select the surround sound track that you want to apply the effects to.
2. In the channel strip of the selected track, locate the “Inserts” section.
3. Click on an empty insert slot to open the plug-in menu.
4. From the plug-in menu, navigate to the “Surround” category and choose an effect that suits your needs. Examples of surround sound effects include surround reverb, surround delay, and chorus.
5. Once you’ve selected the desired effect, adjust the parameters within the plug-in to achieve the desired surround sound effect. This may include adjusting the decay time of the reverb or the delay time and feedback of the surround delay.
6. Experiment with different surround sound effects and their settings to create the desired spatial characteristics and enhance the overall listening experience.
7. Consider the placement of the audio in the surround sound field and how the effects can complement and enhance the spatial qualities. For example, applying a surround reverb to sounds located in the rear speakers can create a sense of depth and envelopment.
By adding surround sound effects to your audio mix, you can create a more immersive and engaging experience for your listeners. These effects can simulate different acoustic environments, add spatial movement, or enhance specific elements within the surround sound field.
After applying the desired surround sound effects, take the time to listen and make any necessary adjustments to ensure a balanced and cohesive mix. Trust your ears and use your creativity to make the most out of the surround sound capabilities in Logic X.
Once you’re satisfied with the application of surround sound effects, you’re ready to move on to the final step: mixing and exporting your surround sound track.
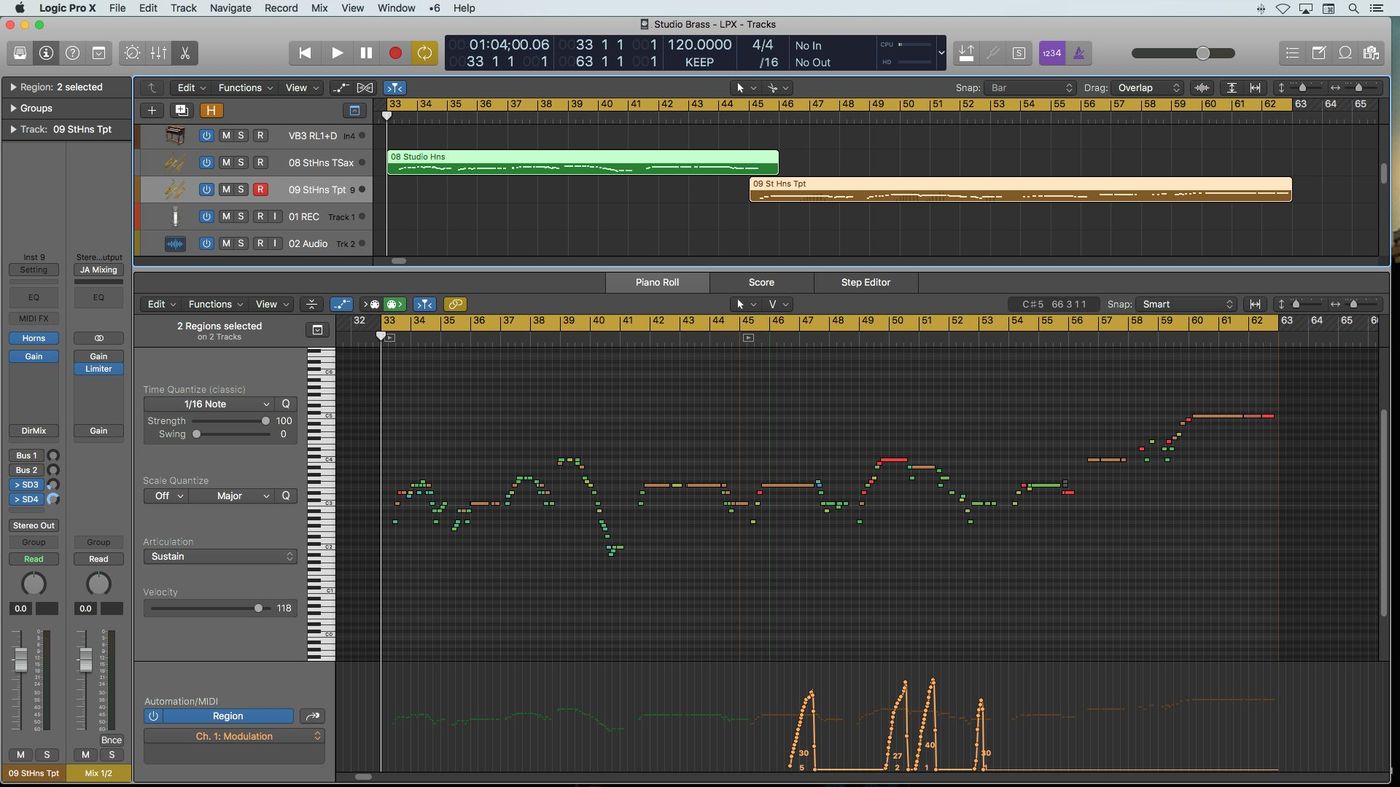
Step 6: Mixing and Exporting Your Surround Sound Track
After creating an immersive surround sound mix in Logic X, it’s time to fine-tune the balance and levels of your audio elements. This step is crucial to ensure a well-rounded and polished surround sound track. Here’s how you can mix and export your surround sound track:
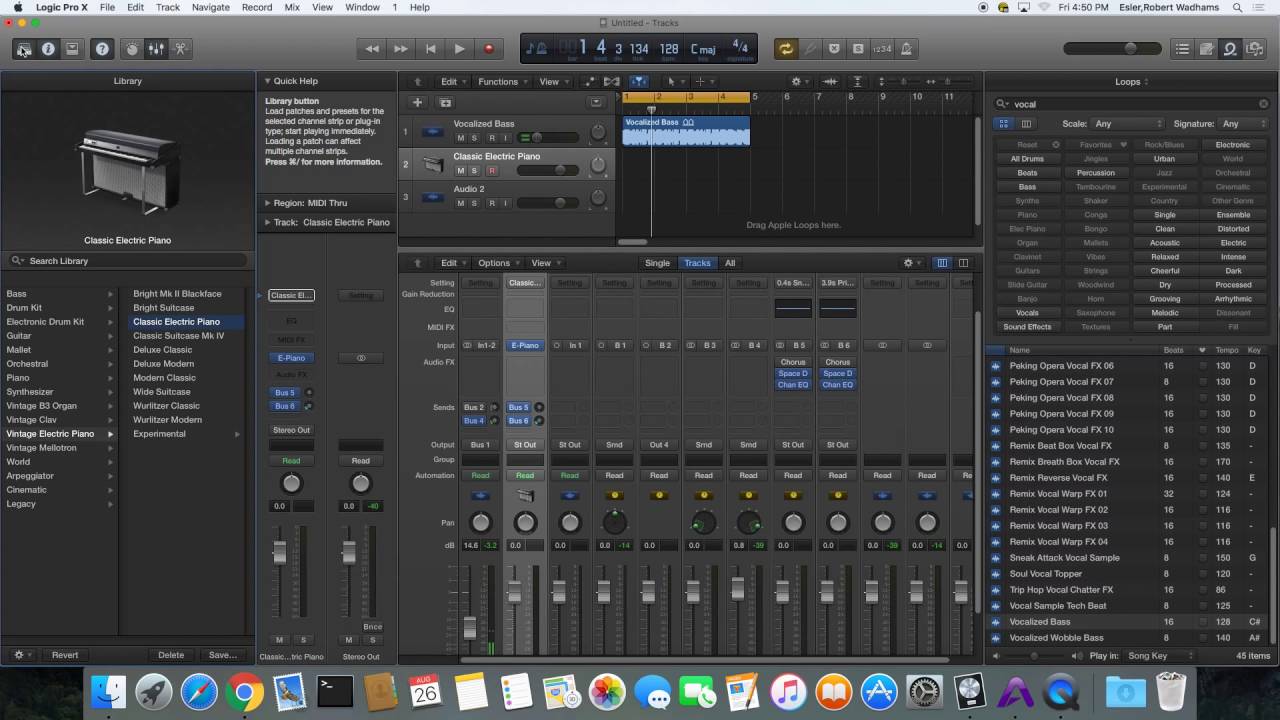
1. Open the mixer in Logic X by selecting “Window” in the menu bar and choosing “Show Mixer.”
2. In the mixer, you’ll see all the tracks in your project, including the surround sound track and any imported audio tracks.
3. Adjust the volume faders of each track to achieve the desired balance between the different audio elements. Take into consideration the relative levels of the various channels in your surround sound setup.
4. Use EQ, compression, and other mixing tools to refine the individual audio elements and ensure that they blend together seamlessly within the surround sound mix. Pay attention to the frequency balance and dynamics of each channel.
5. Consider using automation to create dynamic movement within the surround sound field. Automate panning, volume, and effect parameters to add life and variation to your mix.
6. Take breaks and listen to your mix in different listening environments and through different speakers to ensure it translates well across various playback systems.
7. Once you’re satisfied with the mix, it’s time to export your surround sound track. Go to the “File” menu and choose “Export.”
8. Select the desired audio format and quality settings for your export. Logic X supports various surround sound audio formats, such as WAV and AIFF.
9. Specify the export range, file name, and destination folder. Choose whether to export the entire project or just the selected tracks.
10. Click “Export” to export your surround sound track.
By following these mixing and exporting steps, you’ll be able to create a professional-quality surround sound track ready for distribution or further post-production editing.
Remember, mixing is both an art and a science, so trust your ears and listen critically. Don’t be afraid to experiment and make adjustments until you achieve your desired sonic vision.
Congratulations! You have successfully completed all the steps to find, create, mix, and export a surround sound track in Logic X. Now it’s time to share your masterpiece with the world and let the immersive audio experience captivate your audience.
Conclusion
Working with surround sound in Logic X opens up a whole new world of audio possibilities. With the ability to create immersive and realistic audio experiences, you can truly captivate and engage your audience. Throughout this article, we have explored the step-by-step process of finding a surround sound track in Logic X.
We began by understanding the fundamentals of surround sound and its integration within Logic X. We learned about channels, panning techniques, surround sound effects, and control surfaces, all of which are essential components of working with surround sound.
We then walked through each step, from setting up your project and importing surround sound audio files, to creating a surround sound track, adjusting panning and placement, applying surround sound effects, and finally, mixing and exporting your surround sound track.
By following these steps, you can harness the power of Logic X to create immersive, dynamic, and professional-quality surround sound mixes. Whether you’re working on music production, sound design for movies and games, or any other multimedia creation, Logic X provides the tools and capabilities to bring your audio to life.
Remember to take the time to experiment, trust your ears, and have fun while working with surround sound in Logic X. Don’t be afraid to explore different techniques, effects, and creative ideas to push the boundaries of your audio productions.
With your newfound knowledge of how to find a surround sound track in Logic X, you are ready to embark on your own audio journey. So, fire up Logic X, unleash your creativity, and create breathtaking surround sound experiences that will leave a lasting impact.
Happy surround sound mixing!