Home>Instruments>Piano>How To Install Piano One In FL Studio
Piano
How To Install Piano One In FL Studio
Published: February 10, 2024
Learn how to easily install Piano One in FL Studio and start creating beautiful melodies today. Follow our step-by-step guide for seamless integration.
(Many of the links in this article redirect to a specific reviewed product. Your purchase of these products through affiliate links helps to generate commission for AudioLover.com, at no extra cost. Learn more)
Table of Contents
Introduction
So, you’ve decided to take your music production to the next level by incorporating the timeless sound of a piano into your compositions. Whether you’re a seasoned musician or just starting out, the piano is a versatile and expressive instrument that can add depth and emotion to your music. One of the most popular ways to integrate the piano into your digital audio workstation (DAW) is by using a virtual instrument plugin. In this guide, we’ll walk through the process of installing and using Piano One, a high-quality virtual piano plugin, in FL Studio.
Piano One is a fantastic choice for musicians and producers looking to add the rich, authentic sound of a piano to their tracks. Developed by Sound Magic, Piano One is renowned for its detailed sound and responsive playability, making it a favorite among music creators worldwide. By following the steps outlined in this guide, you’ll be well on your way to incorporating the beautiful tones of Piano One into your FL Studio projects.
In the next sections, we’ll cover everything you need to know to get Piano One up and running in FL Studio. From downloading the plugin to loading it into your project, we’ll provide clear and concise instructions to ensure a seamless installation process. Whether you’re a classical pianist, a pop music enthusiast, or anything in between, adding Piano One to your musical toolkit can elevate your compositions and inspire your creativity. Let’s dive in and bring the captivating sound of the piano to your FL Studio projects.
Step 1: Downloading Piano One
Before we can start enjoying the melodic charm of Piano One in FL Studio, we need to obtain the plugin. Thankfully, the process is straightforward and easily accessible. Here’s a step-by-step guide to downloading Piano One:
- Visit the Sound Magic website: Head to the official Sound Magic website to access the Piano One plugin. You can easily find it by navigating to the download section or using the search feature on the website. Once you’ve located the Piano One page, you’ll be able to proceed with the download process.
- Select the appropriate version: As you explore the download options, ensure that you select the version of Piano One that is compatible with your operating system and DAW. Whether you’re using a Windows PC or a Mac, there’s a version of Piano One designed to seamlessly integrate with your setup.
- Download the plugin: Once you’ve identified the correct version for your system, click on the download link to initiate the process. Depending on your internet connection speed, the download should complete relatively quickly, allowing you to move on to the installation phase without delay.
By following these simple steps, you’ll have Piano One ready and waiting to bring its enchanting piano sounds to your FL Studio projects. With the plugin safely downloaded to your computer, we can now proceed to the next step: installing Piano One in FL Studio.
Step 2: Installing Piano One in FL Studio
Now that we have Piano One successfully downloaded, the next crucial step is to install it in FL Studio. This process is essential for integrating the plugin seamlessly into your digital audio workstation, allowing you to access its captivating piano sounds with ease. Here’s a detailed guide to installing Piano One in FL Studio:
- Locate the downloaded file: After the download is complete, navigate to the folder on your computer where the Piano One installation file is saved. It’s often found in the default download directory unless you specified a different location during the download process.
- Launch FL Studio: Open FL Studio on your computer to prepare for the installation of Piano One. Ensure that you have the latest version of FL Studio installed to guarantee compatibility and optimal performance with the plugin.
- Access the plugin manager: Once FL Studio is up and running, access the plugin manager or plugin settings within the DAW. This is typically found in the settings or options menu, allowing you to manage and organize your installed plugins.
- Specify the plugin location: Within the plugin manager, designate the folder where you want to install Piano One. This step is crucial for ensuring that FL Studio can locate the plugin and make it available for use in your projects.
- Scan for new plugins: After specifying the plugin location, initiate a scan for new plugins within FL Studio. This process prompts the DAW to recognize and incorporate any newly installed plugins, including Piano One, into its library of available instruments and effects.
- Verify successful installation: Once the scan is complete, verify that Piano One appears in the list of available plugins within FL Studio. You should be able to locate it among your instrument plugins, ready to be added to your projects and bring its beautiful piano sounds to life.
Following these steps will ensure that Piano One is seamlessly integrated into FL Studio, ready to enhance your musical creations with its expressive piano tones. With the installation process complete, we can now move on to the exciting step of loading Piano One into FL Studio and exploring its versatile range of sounds.
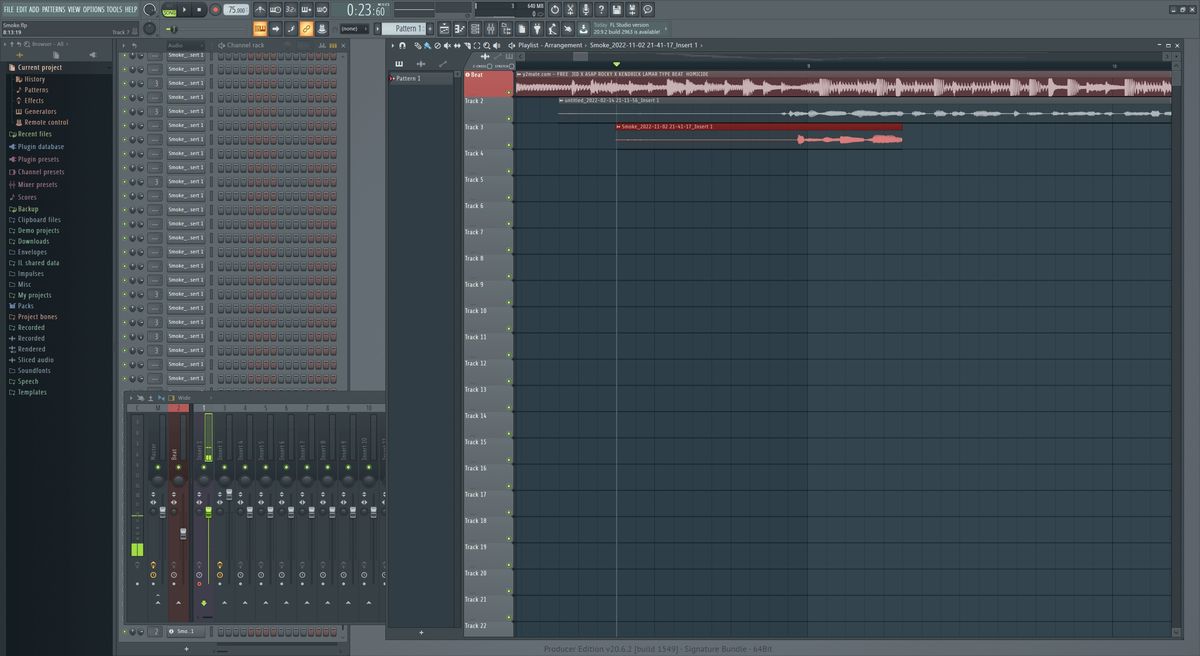
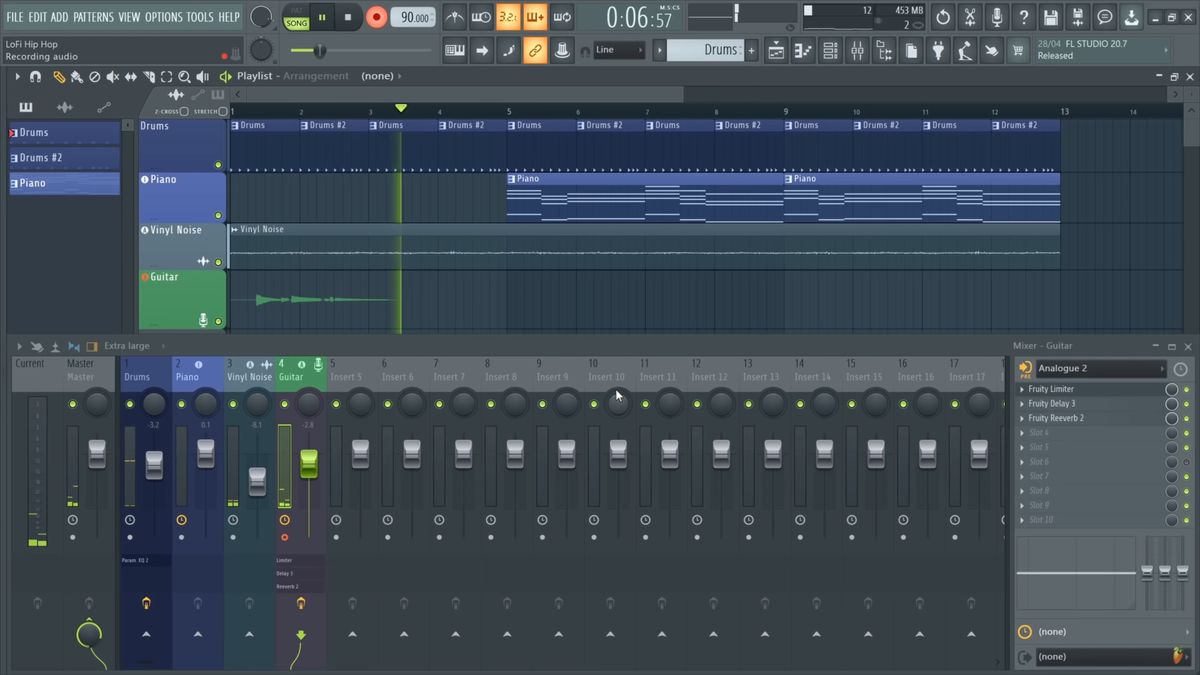
Step 3: Loading Piano One in FL Studio
With Piano One successfully installed in FL Studio, it’s time to explore how to load this captivating virtual piano into your projects. By following these steps, you’ll be able to harness the expressive and authentic piano sounds of Piano One within FL Studio:
- Open a new or existing project: Launch FL Studio and open a project where you’d like to incorporate the enchanting sounds of Piano One. Whether you’re starting a new composition or enhancing an existing track, Piano One can add depth and emotion to your music.
- Access the plugin browser: Within FL Studio, navigate to the plugin browser or instrument selector to access your installed plugins. This is where you’ll be able to locate and load Piano One into your project.
- Locate Piano One in the plugin list: As you browse through your available instruments, look for Piano One in the list of installed plugins. You should be able to find it among your instrument options, ready to be added to your project.
- Drag and drop Piano One onto a track: Once you’ve located Piano One in the plugin list, simply drag and drop it onto a track within your FL Studio project. This action will add Piano One as an instrument within the selected track, allowing you to start playing and recording its captivating piano sounds.
- Explore the piano sounds: With Piano One loaded into your project, take some time to explore its range of piano sounds and presets. Experiment with different tones and textures to find the perfect piano sound that complements your musical vision.
- Record and play with Piano One: Whether you’re recording MIDI performances or playing live, Piano One offers a responsive and expressive playing experience. Capture your musical ideas and performances with the rich, detailed sound of Piano One in FL Studio.
By following these steps, you’ll be able to seamlessly integrate Piano One into your FL Studio projects, unlocking the timeless beauty and versatility of a high-quality virtual piano. Whether you’re composing classical pieces, pop ballads, or cinematic soundtracks, Piano One can elevate your music with its evocative piano sounds.
Conclusion
Congratulations! You’ve successfully learned how to install and incorporate the captivating sounds of Piano One into your FL Studio projects. By following the steps outlined in this guide, you’ve gained the ability to infuse your music with the timeless charm and expressive qualities of a high-quality virtual piano. Whether you’re a seasoned producer, a budding musician, or an aspiring composer, Piano One offers a versatile and inspiring tool to enhance your musical creations.
With its detailed sound and responsive playability, Piano One opens up a world of creative possibilities within FL Studio. From delicate melodies to powerful chords, the expressive range of this virtual piano allows you to convey emotion and depth in your compositions. Whether you’re crafting intimate solo piano pieces or layering piano textures into larger arrangements, Piano One can enrich your music with its authentic and evocative tones.
As you continue your musical journey with FL Studio, remember that Piano One is just one of the many tools at your disposal for creating captivating and memorable music. Its integration into your projects can elevate your compositions and inspire new musical directions, whether you’re working on solo projects, collaborations, or soundtracks for visual media.
By mastering the installation, loading, and utilization of Piano One in FL Studio, you’ve expanded your creative toolkit and added a touch of timeless elegance to your music. Embrace the expressive potential of Piano One as you compose, arrange, and produce your musical visions within FL Studio. Let the enchanting sounds of Piano One inspire your creativity and bring your musical ideas to life.
So, go ahead and immerse yourself in the captivating world of Piano One, and let its resonant piano tones enrich your musical journey within FL Studio.