
Home>Production & Technology>Microphones and Noise Cancellation Guides
Production & Technology
Microphones and Noise Cancellation Guides
Modified: 3 October 2026
Table of Contents
Start here: noise cancellation setup fundamentals
A successful noise cancellation setup starts with physical positioning, because even the best processing cannot compensate for a poor physical setup. Before you troubleshoot echo or constant background hum, it helps to understand the noise cancellation basics that dictate what the technology can and cannot fix. Active noise cancellation relies on outward-facing mics that detect external sound, and the system instantly plays an inverted anti-noise signal to cancel it before it reaches your ear.
On AirPods Pro and AirPods 4 (ANC), you can switch modes by pressing and holding the force sensor until you hear a chime, while AirPods Max use a dedicated Noise Control button. Deepening your grasp of active noise cancellation reveals that it only works when both earbuds form a proper seal. Samsung explicitly notes that on most compatible models, ANC is unavailable unless both earbuds are inserted in your ears, meaning a loose fit often mimics a hardware failure. No amount of software adjustment will restore the effect if the seal is broken.
Setting up noise cancellation on your devices
Apple bakes headphone noise cancellation controls directly into iOS, letting you switch modes by opening Control Centre, touching and holding the volume slider, then tapping the listening mode you need. The process for AirPods noise cancellation is equally straightforward from the Settings app: with your earbuds connected, tap their name and choose your preferred mode, or visit Accessibility to enable Noise Cancellation with One AirPod on supported models like AirPods 4 (ANC), AirPods Pro, and AirPods 5. If you own AirPods 4 (ANC), AirPods 5, AirPods Pro, or AirPods Max, you can customise exactly which modes the force sensor or noise control button cycles through. Beyond the earbuds themselves, device noise cancellation settings also matter for phone calls. On iPhone 12 and earlier, Phone Noise Cancellation is on by default, reducing ambient background sound when you hold the receiver to your ear, and you can toggle it under Accessibility, Audio & Visual if you ever need to turn it off for comfort.
Connecting and configuring your microphone
Before you buy a new interface or explore software fixes, a quick physical check often solves more than you expect. The single biggest culprit in poor recordings is usually gain staging: your preamp level is set so high that the quiet hum of the room becomes a roar, or so low that boosting the signal later amplifies every bit of electrical noise with it. If you are using microphones for music or calls, start by positioning the capsule at a consistent distance and speak across it, not directly into it, to avoid plosives that no software can fully remove.
On the software side, computer microphone settings often hide a mismatch between system defaults and your actual hardware. Before joining an important call, check that your operating system has not silently switched input to a built-in webcam mic instead of your external condenser. For mobile recording, a phone microphone connection can be fussy about power, and many phones may not recognise an XLR adapter unless it is self-powered or plugged in before you open the recording app. If you are going truly cable-free, a wireless microphone setup demands careful gain adjustment at the transmitter pack itself, where the level you set helps prevent digital clipping before the signal even reaches your receiver.
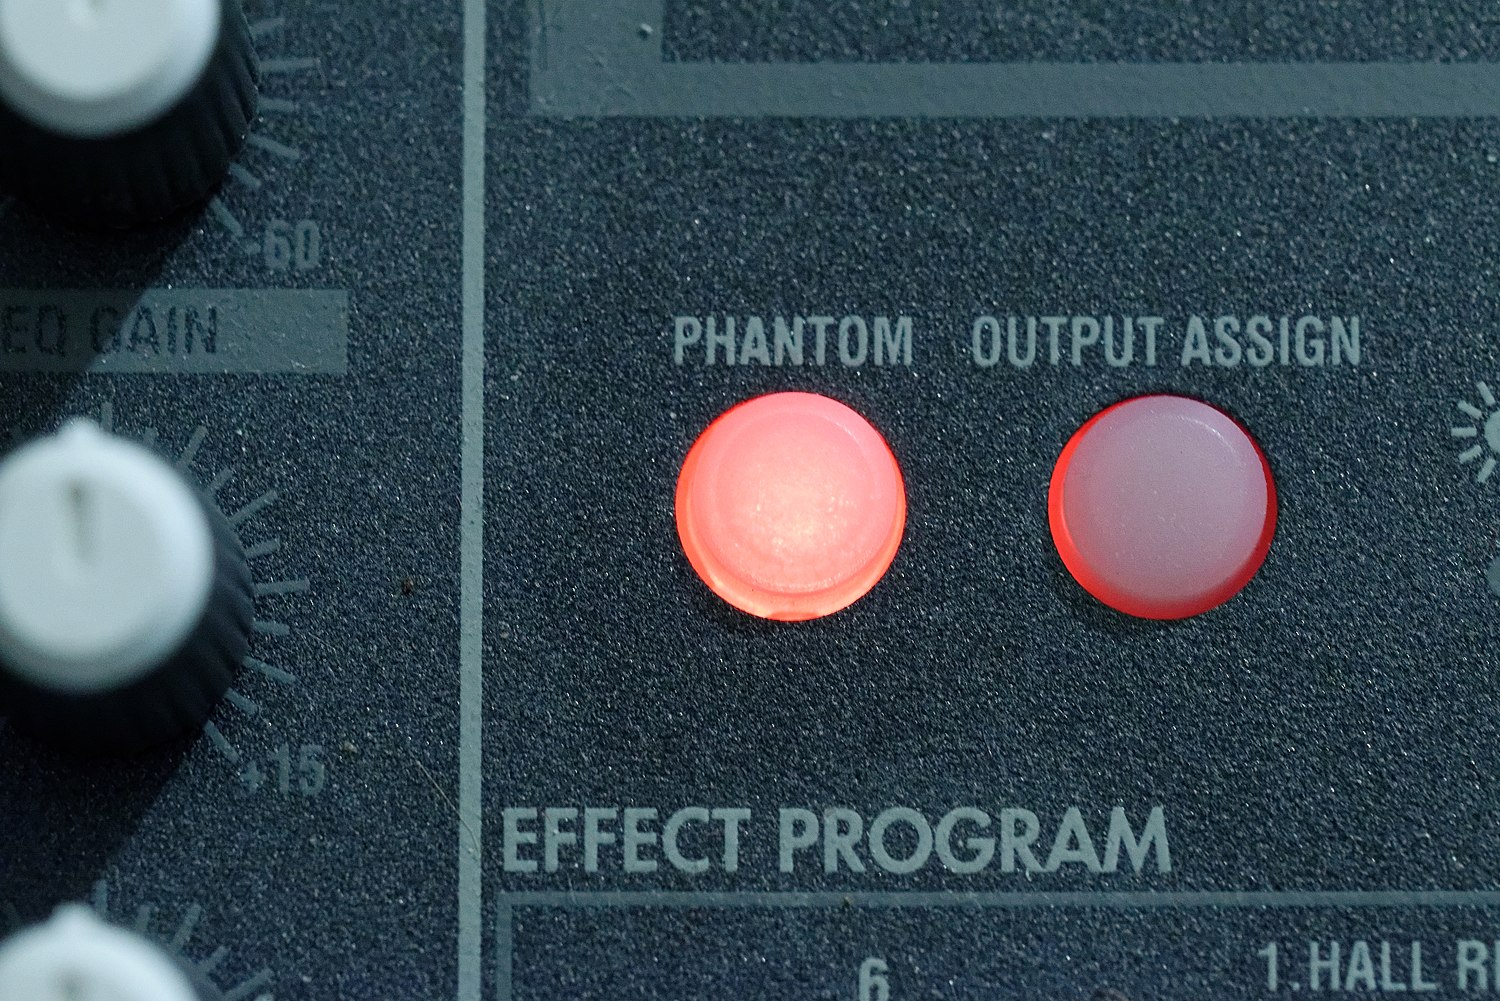
Finally, a habit that quietly degrades many home studios is leaving phantom power left on after shutdown. While modern dynamic mics are usually safe, some ribbon microphones can be damaged if an interface powers back on with phantom power left on after shutdown, and some active monitors will emit a loud pop that stresses your speakers. Make it muscle memory to turn off phantom power at the interface before you power down your whole rig for the night.
Choosing the right microphone for your needs
Understanding the landscape of microphone types and uses will help you avoid mismatches, because the ideal choice for a podcast is often a poor fit for a live conference call. A large-diaphragm condenser captures every nuance in a treated room but also picks up the refrigerator hum you have stopped noticing, while a dynamic mic naturally rejects more background noise at the cost of needing a stronger preamp. Once you have a sense of what suits your space, finding the best microphones and setup becomes a matter of matching the polar pattern to your room’s acoustics rather than chasing the highest price tag. If you are troubleshooting call quality on the go, earbud microphones present their own quirks; the tiny capsule often sits along the cable or stem, and simply pinning it closer to your mouth with a shirt clip can prevent the hollow, distant sound that colleagues complain about. On an iPhone, you can also refine what your mic captures by tapping the Mic Mode control inside a compatible app and selecting Voice Isolation, provided you are using an iPhone XR or later; in audio or video recording apps such as Voice Memos, or in certain third-party apps, Voice Isolation requires iOS 26 or later. Before you change any of these settings, however, confirm that your current audio input is positioned correctly and that its gain is not amplifying noise a new purchase would capture just as loudly.
Fixing unwanted noise and playback issues
Many persistent irritations like audio static and crackling trace back to a loose XLR connector, a failing USB cable, or a gain knob pushed just past the point where your preamp’s self-noise becomes audible. Work through the signal chain with the gear already on your desk before you reach for a new interface or noise gate plugin.
If you use a Blue Yeti and suddenly hear your own voice echoing back through headphones plugged into the mic itself, you need to turn off yeti playback by muting the microphone's output. Check your system sound settings for a way to mute the Yeti's playback without affecting the recording input. This stops the direct monitoring loop without affecting your recording input.
A hum that only appears when your laptop is charging often points to a ground loop, not a defect in the recording device. The fix can be as simple as running the machine on battery for the duration of the session. Similarly, crackling that worsens as you move the cable is almost always a physical connection issue. Swap the lead before you touch a single software setting.
On the mobile side, a common frustration during calls is struggling to hear a message clearly. If you need to change the volume of the voicemail playback on iPhone 8, press the volume buttons on the side of the phone while the message is playing through the earpiece or speaker. No separate software slider exists for that specific function.
Soundproofing a room: materials and methods
Heavy, dense construction blocks sound from leaving the room, while surface treatments tame the reflections that make recordings muddy. Filling wall cavities with insulation and adding a second layer of drywall on resilient channels is far more effective than any surface treatment. When treating the room you already have, the shape of the material matters. Pyramid foam helps absorb sound so it does not reflect straight back into the mic, and egg crate foam for soundproofing can reduce a bit of flutter echo but was never designed to stop noise bleeding through a wall. Choosing the best foam for soundproofing means choosing a material for absorption, and a wedge or pyramid profile usually outperforms flat sheets in a home studio. If you are trying to decide which soundproofing shape works the best for a voice booth, a deep pyramid or convoluted wedge will scatter and trap more energy than a shallow grid. When the project expands to a full wall assembly, you might wonder which insulation is better for soundproofing roxul vs cellulose. Builders also look at the R-value for soundproofing. For a lighter treatment on a door or a shared wall, cork's soundproofing effectiveness can dampen echoes and take the edge off higher frequencies, yet it will not block a neighbor’s subwoofer.
Silencing specific gadgets
Sound controls for a handful of gadgets live entirely outside your phone’s settings, and a perfect example is the way you turn off sound on tamagotchi. On an Original model, hold A + C together, then switch sound OFF, while the Connection version uses the same button combination to open a sound set screen where you pick ON or OFF. If your virtual pet is a Tamagotchi Paradise, holding the zoom dial opens Lab Mode, then go to SETTINGS and select SOUND to adjust volume settings. None of this is handled through an iPhone or Android menu because the hardware controls are built into the toy itself, and Apple warns that flipping an iPhone into Silent mode does not stop sounds from clock alarms, audio apps, and many games anyway. Before you assume a noisy toy needs a repair or a return, walk through its own button shortcuts first, since the fix is often a two-finger press rather than a software deep-dive. The same principle applies to other dedicated audio gadgets, where a faint hum or an unexpected beep usually points to a local volume or mute setting on the device, not a fault in the mic or speaker you are pairing it with.











