Home>Devices & Equipment>Connecting and Using Microphones Correctly
Devices & Equipment
Connecting and Using Microphones Correctly
Modified: 3 October 2026
Table of Contents
How to use a microphone: before you plug anything in
Learning how to use a microphone properly shapes your sound significantly, so keep a consistent distance of about four to six inches and speak across the mesh rather than directly into it to avoid harsh plosives. The way you physically talk into a microphone starts long before you press record or join a call.
If you hold microphone while singing, grip it by the body, not the grille. To set up a microphone properly, place it on a stable stand and route cables where nobody will trip.
You can get a radio voice by slowing down, breathing from your diaphragm, and keeping your chin level so your airway stays open.
Connecting to a computer or mobile device
Before you try to hook up a microphone to a computer, identify the plug on your cable. A standard XLR connector requires an audio interface to convert the signal. A USB mic handles that conversion internally and appears as its own sound device as soon as it is plugged in. If your goal is to connect microphone to FL Studio on macOS, you may need to combine multiple devices into an Aggregate Audio Device through the Audio MIDI Setup utility. Pick that aggregate in Options > Audio Settings > Device before opening the Mixer to assign the input on an Insert track. When you use podcast microphone hardware that connects over USB, the same principle applies across most audio applications. The operating system sees it as a simple input. You still need to grant permission for the software to access it. On a Mac, that means checking the Microphone list in Security & Privacy preferences. To set up microphone headphones for monitoring while you capture a take, route the headphone output from your interface or USB mic body rather than the computer's own jack. That direct path eliminates the slight delay that makes it hard to stay on beat. From there, the quickest path to capturing a performance in FL Studio is clicking the One click recording icon in the Toolbar. Choose to drop the performance into the playlist as an audio clip.
Connecting to home entertainment gear
Most living-room gear is not designed to accept a microphone directly, so you almost always need a mixer or karaoke machine sitting between the mic and your entertainment system. When you want to connect microphone to TV, the documented path runs from the mic into a mixer, and from there the signal travels out to the television over HDMI ARC, or through an optical or AUX cable if that port is missing. The logic is similar when you connect microphone to sound bar; many models, including the JBL Bar 5.1, 7.1, and 9.1 series, lack a dedicated mic input, so you feed the mixer’s output into the sound bar’s AUX or RCA jacks rather than plugging the mic straight in. You can connect microphone to receiver only when the AV unit has a clearly labeled “mic” or “Microphone” jack on the back panel, in which case you plug in with the system powered off and test it after turning everything back on; if that input is absent, the reliable workaround is routing through a karaoke mixer into a standard stereo input. To use microphone and speakers, look for powered karaoke speakers that combine the mixer and amplification in one cabinet, or run a traditional mixer’s output into any powered speaker system over AUX or RCA.
Recording and playback
Once you have your microphone connected correctly, the next step is to capture audio and hear it back. To simply record with a microphone on an iPhone, open Voice Memos. It will capture through the built-in mic, a supported headset, or an external mic. On recent models the capture automatically uses Spatial Audio. Older iPhones default to Mono unless you switch on Stereo Recording in Settings.
When you need to record my voice and playback in Audacity, start by plugging in the mic. Select it under Recording device in the Audio Setup Toolbar. Choose your headphones as the Playback device. Then hit the red Record button. If you want to record microphone and speakers with Audacity at the same time, pick the loopback input for your playback device. On Windows this appears as Speakers (loopback). It captures whatever your computer is sending to the speakers alongside the mic signal.
The idea that you can play music through microphone is a common misunderstanding. These transducers are input-only devices. Audacity can monitor your mic through headphones or capture system audio via loopback. It does not route music out through the mic itself. To hear yourself in real time while tracking, left-click the microphone icon in Audacity to start monitoring. Alternatively, turn on Transport > Transport Options > Enable audible input monitoring if your system cannot send input to output on its own.
Making your microphone sound better
Once your microphone is plugged into the correct input, the first thing most people want to do is make microphone louder without pushing the signal into harsh distortion, and you can read the article on how to make microphone louder for a deeper guide. You can adjust this on an iPhone running iOS 26.1 during a call or recording by opening Control Center, tapping [App] Controls, then dragging the Audio Input slider to raise gain for supported wired microphones and devices such as EarPods with a USB-C connector.
The same principle applies anywhere: increase the input level at the source before it reaches your software, because amplifying a weak digital signal later only lifts the noise floor along with the voice.
When the tone feels muddy or thin, the fix is to EQ microphone with a gentle high-pass filter around 80-100 Hz to cut rumble and a small presence boost around 3-5 kHz to bring out consonant clarity, and the guide on how to EQ microphone shows you exactly how to dial this in. Just remember that no EQ curve can rescue a mic plugged into the wrong jack, so confirm your connection type first.
Live performance and singing
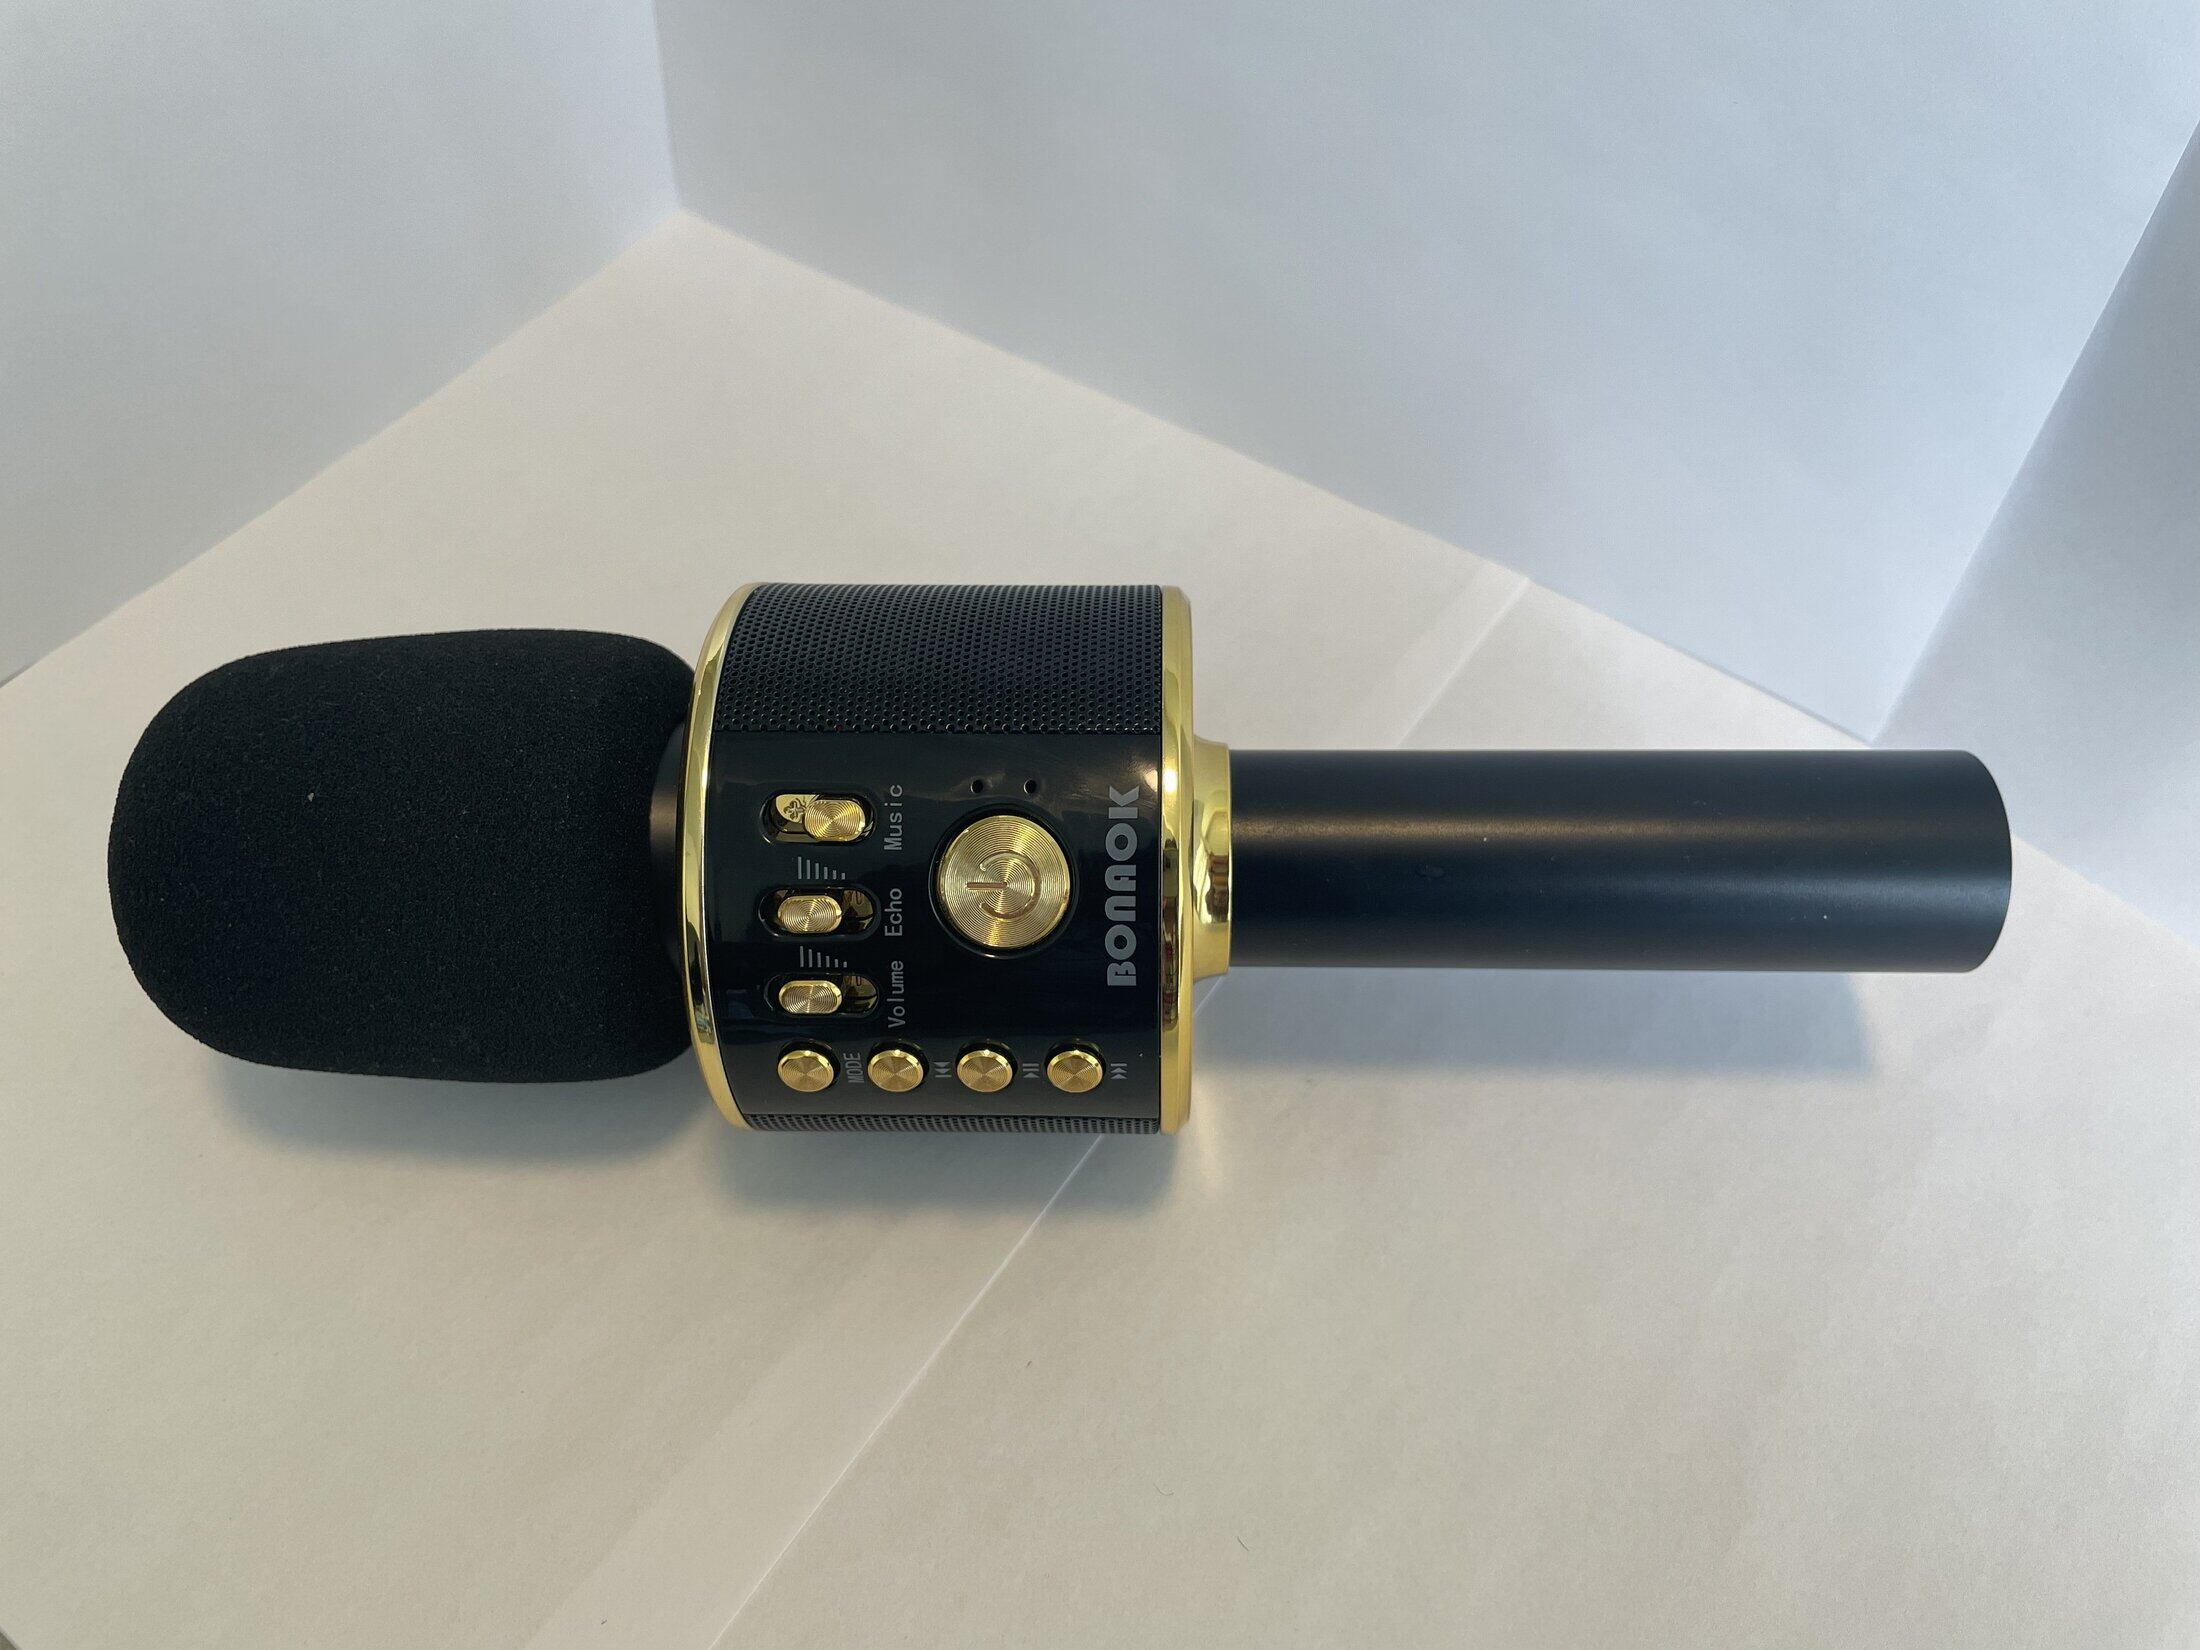
When you set up a microphone for singing live, the first thing that determines whether your voice comes through clean or distorted is matching the output to the mixer or PA input. Most handheld stage mics use an XLR connector, which carries a balanced signal that resists noise over long cable runs, while many portable PA systems and powered speakers also accept a ¼-inch TS plug. If you want to use karaoke microphone hardware that came with a home machine, check the plug carefully to determine whether it is a standard size or a proprietary multi-pin connector before assuming it will fit a generic mixer channel. A singing machine microphone often uses a fixed cable with a ¼-inch or 3.5mm TS plug, and plugging it directly into a line-level input instead of a mic-level jack causes a thin, weak signal that is often mistaken for a broken device. You can use the carpool karaoke microphone with a phone by pairing it over Bluetooth and opening any karaoke app, then use the app or device controls to keep your voice balanced against the backing track. Before a long session, you need to charge bonaok microphone fully by connecting the included USB-C cable to a compatible USB power adapter or computer USB port, and the charging indicator stays lit until the battery is full, which takes roughly two hours.
Instrument and camera miking
Capturing an acoustic instrument well starts with treating the entire body as the sound source, not just a single point. To mic an upright piano, place two microphones spaced about six to eighteen inches behind the sound board, then pan the outputs slightly left and right at the console for a natural stereo image. When isolation from a noisy room matters more, remove the lower front cover below the keyboard and position a single microphone facing slightly upward, angled away from the pedals and nearer the high strings. The approach shifts completely when you mic grand piano. Attach a contact pickup about halfway down the soundboard, roughly 15 to 20 cm from the outer edge on the treble side, and pair this with an aerial microphone resting on a frame bar in the first third of the piano from the keyboard, also on the treble side.
For video work, the challenge is routing that clean signal into a device that prioritizes a tiny built-in preamp. To connect microphone to camera for standard camera hookup, attach the receiver to the camera’s cold shoe, run the DJI Mic Camera Audio Cable (3.5 mm TRS) from the receiver output into the camera’s microphone jack, and confirm on the camera screen that the microphone is connected. To connect the receiver to a camera’s USB-C port, use a Type-C phone adapter, which bypasses the analog input entirely.