Home>Production & Technology>MIDI and Metronomes

Production & Technology
MIDI and Metronomes
Modified: 3 October 2026
Table of Contents
Understanding tempo and time in MIDI and metronomes
Before you adjust a single slider, it helps to start with a solid grasp of what you are actually controlling when working with MIDI and metronomes. Understanding tempo in music means recognizing it as the steady pulse that drives a piece forward, measured in beats per minute. That number shapes whether a track feels relaxed or urgent. In GarageBand for iPhone and iPad, the tempo you set applies to the entire song. If you are working from a written score, reading tempo markings on sheet music gives you the traditional Italian terms and precise click values a composer intended, though Apple's support page does not cover these notation details. The song’s core speed remains the same concept Apple describes. Once you move into your DAW, changing tempo in music software works differently than on paper because it can instantly alter how every software instrument and loop behaves. In GarageBand, you can tap the up or down arrow next to the tempo number in Song Settings, tap the tempo bar repeatedly, or swipe vertically for larger changes to shift the playback speed. Any Apple Loops you have added will stretch to match the new tempo automatically.
Getting started with metronomes
Getting a steady pulse into your practice or recording begins with metronome basics and setup, which you will want to read to ensure your foundation is solid before diving into more advanced features. Before you worry about tempos, decide whether a physical unit that sits on your music stand or a phone app fits your workflow, since a dedicated device gives you a single-purpose tool that never interrupts you with notifications while an app travels with you everywhere. Once you have chosen, you will also want to think about types of metronomes and their uses beyond the standard click, because understanding the full range of options helps you pick the right tool for any musical situation. A clip-on tuner-metronome combo can sense vibration directly from a guitar headstock, and a studio-oriented app can trigger a flashing light visible across a live room.
Inside your recording software, metronome settings in DAWs live in the Transport section, where clicking the Metronome button or pressing C engages the click and the Metronome Setup button next to it lets you assign entirely different sounds, like a rim shot or clave, to Beats, Accents, and Offbeats, knowledge that is essential for tailoring your click to the track you are producing. In the Andronome app, swiping up or down changes the BPM, tapping the screen starts or stops the pulse, and the phone’s own volume buttons control the tick level because the sound routes through the standard media channel.
Start by placing the click on beats two and four of a bar to make it feel like a backbeat, which immediately exposes whether your phrases are rushing or dragging and transforms the steady pulse from a rigid taskmaster into a collaborative groove partner.
- adjusting metronome settings on devices — Metronome Device Settings in Software and Hardware
- types of metronomes and their uses — Metronome Uses, Types and DIY Builds
- practicing music with a metronome — Practicing with a Metronome for Any Instrument
- metronome basics and setup — Metronome Basics and Setup
- metronome settings in DAWs — Metronome Settings in DAWs
Connecting and fixing metronome and instrument hardware
When a physical timekeeper goes dark, a common culprit on a vintage unit like the Franz Electric Metronome Model LM-FB-4 is a burned-out pilot lamp, and you can replace light on Franz Electric Metronome Model LM-FB-4 by consulting a qualified repair technician. If you are curious about what came before, the oldest Seth Thomas metronome represents an early mechanical design that predates any electronic circuit and still surfaces in antique shops with its wooden case and tempo scale intact. Moving to the rest of your setup, connecting and fixing electronic drum kits often starts with a simple check that the module’s MIDI Out is feeding into your interface. A pad that triggers its own brain perfectly but fails to register in your DAW usually points to a mismatched MIDI channel, not a broken sensor. When a single note on your controller refuses to respond, you can often fix a synthesizer key by having a professional service perform key contact cleaning or keyboard bushing replacement.
Understanding MIDI fundamentals and connections
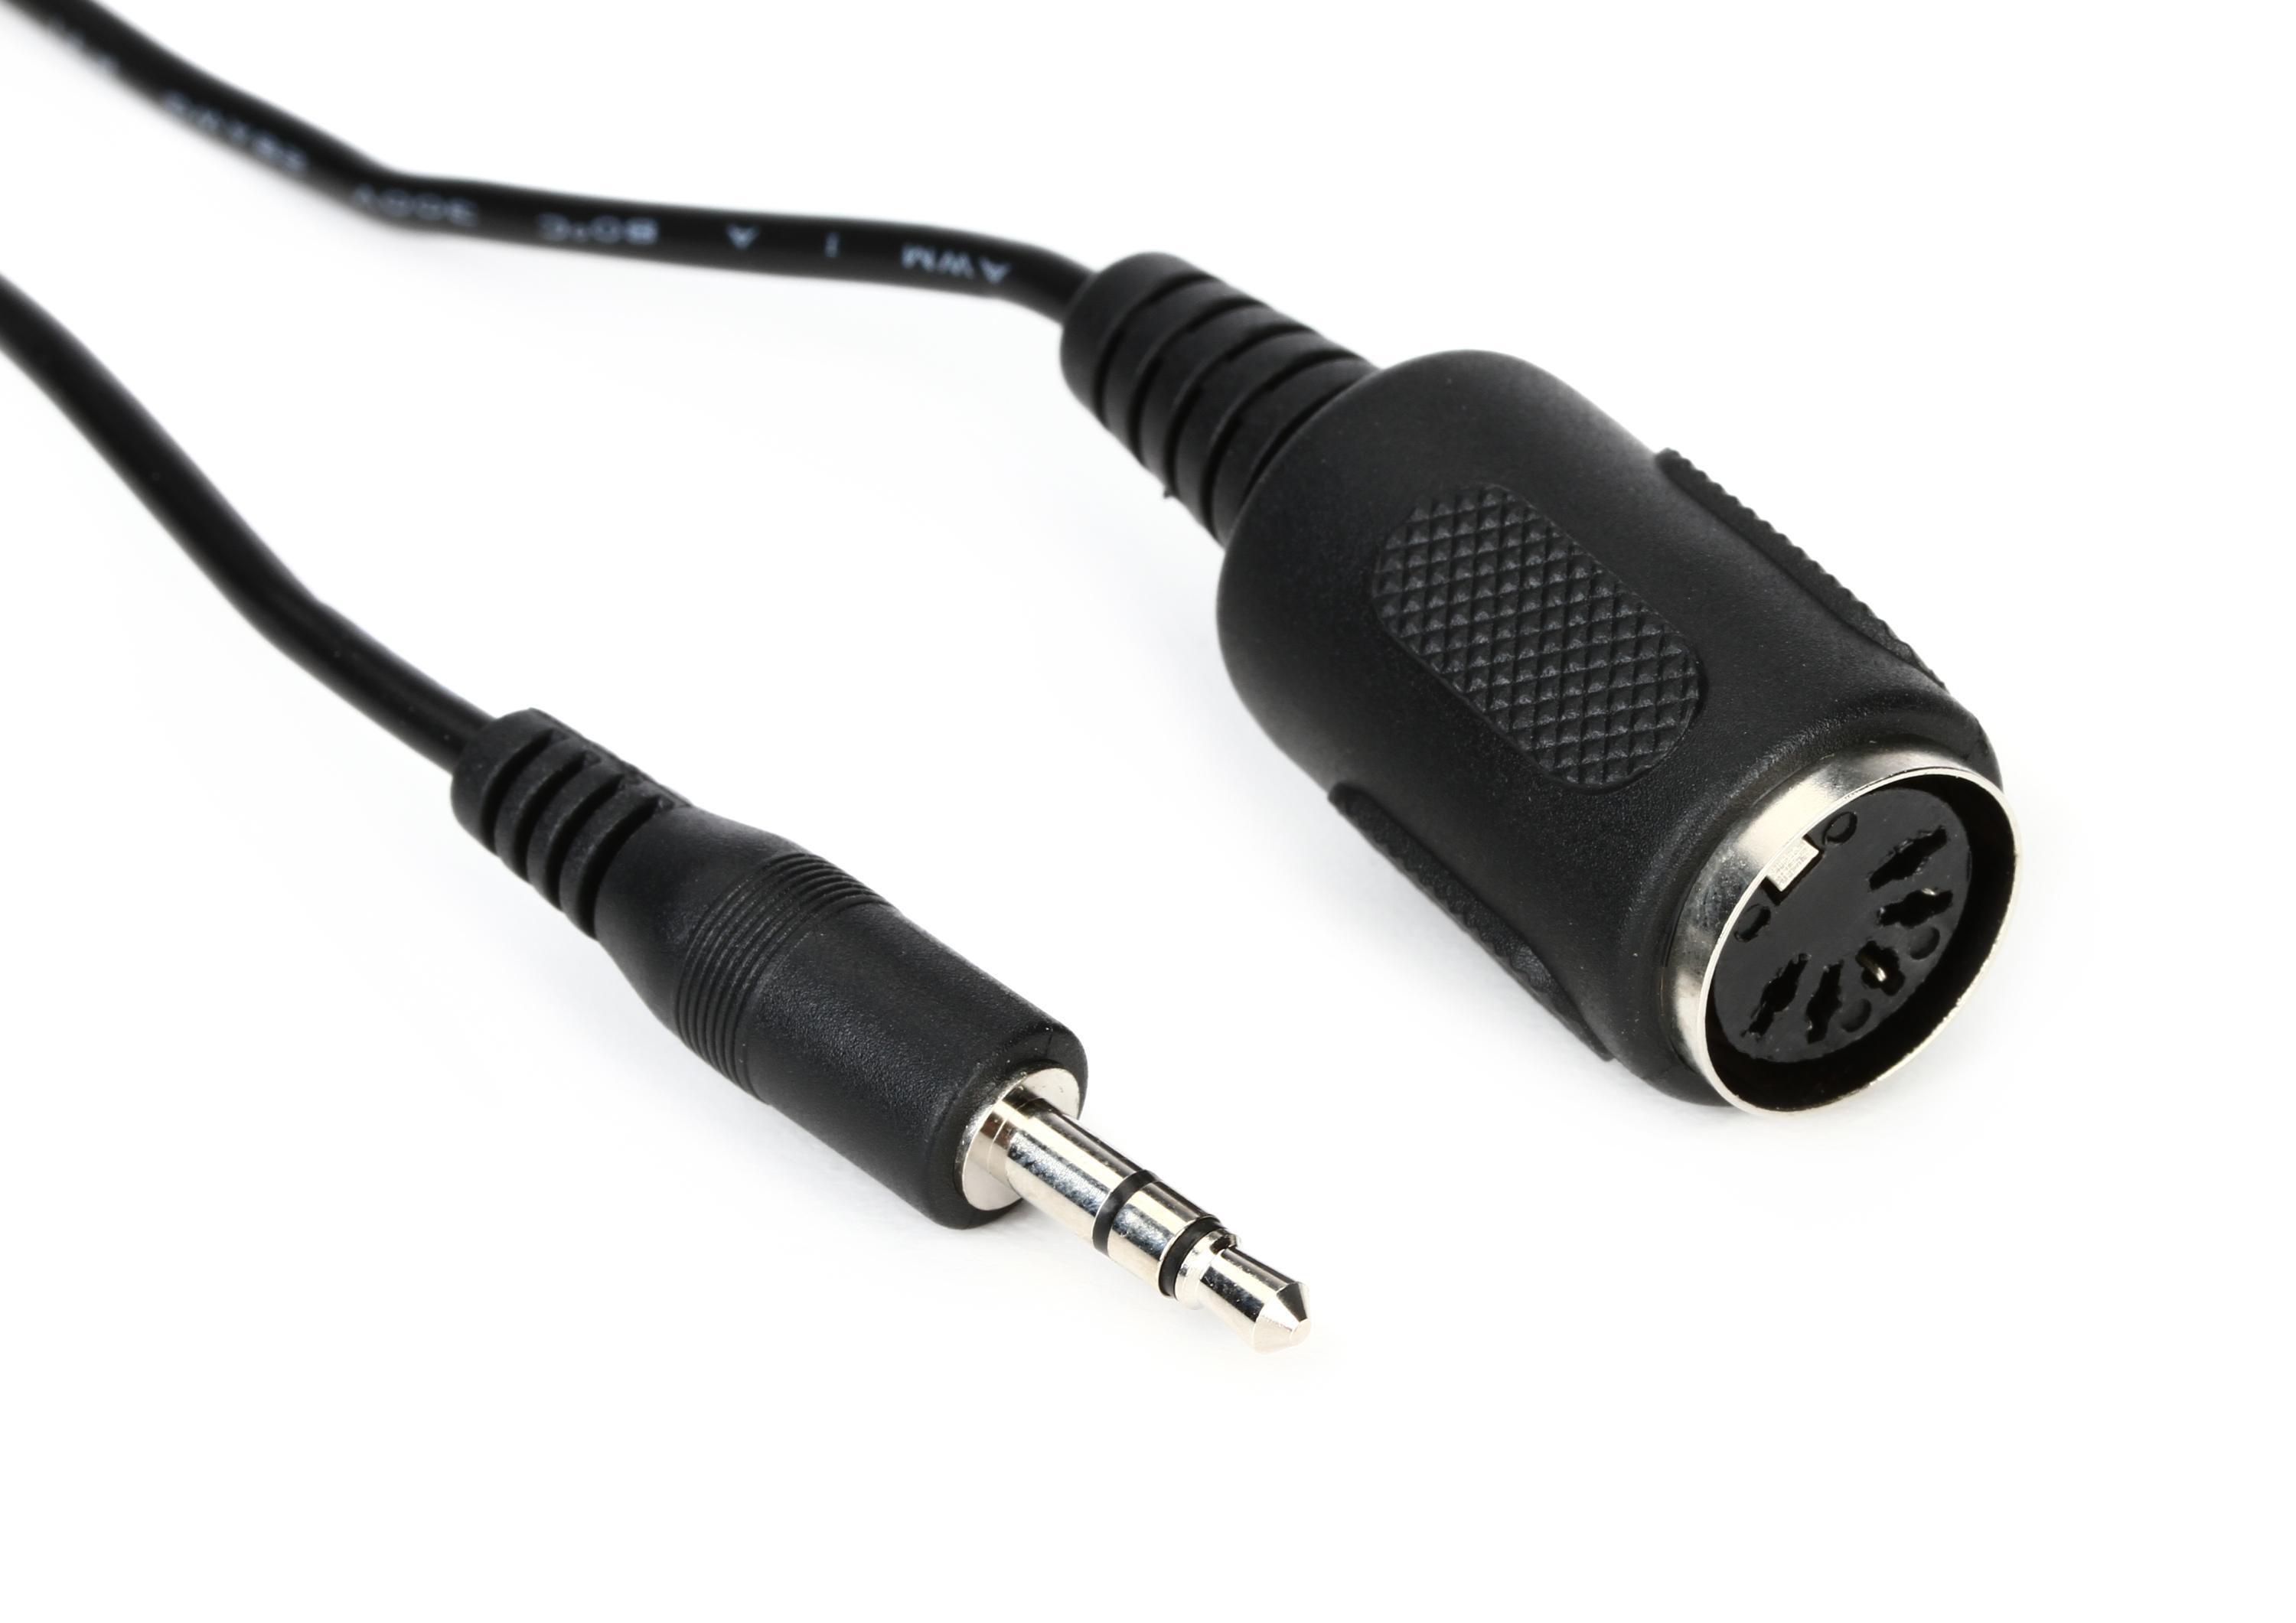
At its core, MIDI basics, cables and device connections come down to a simple truth: a five-pin DIN or USB cable carries no sound, only instructions like which note you pressed and how hard you struck it, so a synthesizer with a MIDI In port will not produce audio unless you also route its audio output to a speaker or interface. A controller with only a USB-MIDI port needs a host device or computer to complete the signal path.
When you expand into MIDI controllers and audio interface setup, the most common stumbling block on Android is ensuring the kernel includes `CONFIG_SND_RAWMIDI` and `CONFIG_SND_USB_MIDI` for USB host mode, or forgetting to pull down the notification shade and switch the USB mode to MIDI while connected. Once the hardware is recognized, connecting MIDI keyboards to music software on Android means your app must declare the `android.software.midi` feature, after which you can drive everything from a simple piano app to an external hardware synth over USB, Bluetooth LE, or the system’s virtual routing.
If your interest leans toward building and connecting synthesizers, Android’s MIDI 2.0 support over USB arrives with version 13 and extends to virtual transports in version 15, giving you higher-resolution control for expressive sound design once your modules are wired and addressed correctly.
Setting up and routing MIDI in your daw
Once your controller is recognized by your computer, the real work of telling it what to do begins with MIDI controllers and mapping, which in FL Studio is handled by right-clicking any knob or slider and choosing "Link controller," then moving the physical control you want to assign. For deeper integration, FL Studio supports any USB or MIDI keyboard, pad controller, or synth that sends standard MIDI, and many popular models appear preconfigured in the controller type menu where you can load a MIDI Script for automatic parameter linking. The full picture of MIDI setup and editing in FL Studio starts in the Options menu under MIDI settings, where you enable your device in the input list and, for some controllers, match the input and output port number values so two-way communication works correctly. When sending notes back out to external synthesizers or drum machines, the MIDI Out plugin lets you select the hardware in the output list and set a matching port number, then you connect a physical MIDI cable from your interface's MIDI OUT to the gear's MIDI IN and dial both to the same MIDI channel. Before recording, right-click the transport panel's record button and choose whether to capture audio, note, or automation data, a small filtering step that prevents you from accidentally printing knob turns over your performance. If you work with Ableton Live, you'll want to read about MIDI configuration and export in Ableton Live to ensure your controller's notes and automation are properly routed and rendered when bouncing your project. Similarly, those using Apple's DAW should consult MIDI routing and editing in Logic Pro to master its track-based MIDI workflow and region-editing tools. For Windows users who hear unexpected piano sounds when playing a controller with no instrument loaded, you can uninstall Microsoft software wavetable synthesizer through the system's device manager to prevent it from intercepting MIDI data that should be going to your DAW.
- uninstall Microsoft software wavetable synthesizer — How To Uninstall Microsoft Software Wavetable Synthesizer
- MIDI configuration and export in Ableton Live — MIDI in Ableton Live: Setup, Routing and Exporting
- MIDI routing and editing in Logic Pro — MIDI in Logic Pro: Routing, Editing and Drums
- MIDI setup and editing in FL Studio — MIDI in FL Studio: Setup, Recording and Editing
- MIDI controllers and mapping — MIDI Controllers and Mapping Setup
Working with MIDI files and notation
When you start creating and editing MIDI files, the process feels closer to writing a letter than recording a tape, because every note exists as a digital instruction you can drag, lengthen, or delete without ever touching an instrument. MIDI file playback and management then becomes a matter of pointing your software to the right file and making sure a virtual instrument or external synth is assigned to turn that data back into sound. The real power of the format emerges when converting MIDI to sheet music and back. In MuseScore, you can start playback from any place in musescore score by clicking a note, rest, or blank part of a measure and pressing the play button or Space; if nothing is selected, playback resumes where it last stopped. For quick tuning checks between sessions, you can use yamaha power tuner app by downloading it on an iOS or Android device and pairing it with your instrument.