
Home>Production & Technology>MIDI Controllers and Mapping Setup
Production & Technology
MIDI Controllers and Mapping Setup
Modified: 3 October 2026
Table of Contents
Getting started with MIDI controller setup
A proper MIDI controller setup gives you a direct, physical connection to those sounds before you explore the vast world of VST banks used for in digital music, which layer complex scripting and round-robins under a single plugin interface. A grid-based device like a MIDI fighter gives you velocity-sensitive arcade buttons that reward deliberate finger-drumming. A pad unit with squishy rubber squares responds differently to pressure and aftertouch. If you already own arcade hardware, you can convert a fight stick into a MIDI fighter and gain a rock-solid, joystick-equipped surface that sends note and CC messages from something built to take abuse. For a softer, more melodic approach, the MIDI pad used by NakeyJakey shows how a compact 4x4 drum-pad layout can drive everything from sampled chops to synth lines when you treat each hit as a performance gesture rather than a static trigger.
Once you have the hardware in hand, getting it talking to your DAW is the first real hurdle. To connect MIDI controllers to Pro Tools, open Setup > MIDI > MIDI Input Devices and confirm the relevant port is checked. For anything with motorized faders or transport buttons, you will also need to visit Setup > Peripherals and assign the device under the MIDI Controllers tab. If you want to use MIDI fighter 3D, downloads are linked from your original order email. Many modern surfaces also support MIDI devices full control, a mode where bidirectional feedback lights up pads and moves motorized faders to mirror your session state. This closes the gap between software and tactile hardware.
Connecting synths, pedals, and outboard gear
When you bring hardware synths, pedals, and rack units into a MIDI setup, the physical connections are straightforward. The musical payoff depends entirely on capturing expressive data. A typical MicroKorg MIDI setup starts with a standard five-pin cable from its MIDI OUT to the external device’s MIDI IN, which is why you would want to read how to do MIDI with MicroKorg. This path lets the keyboard, knob tweaks, and arpeggiator drive other gear. To play the MicroKorg itself from a sequencer or larger control surface, reverse the path into its MIDI IN. Then turn EDIT SELECT 2 to MIDI and use knob 1 to match both devices to the same MIDI channel. The same principle applies when you use MIDI with analog synth hardware that may lack its own keyboard, so an article on how to use MIDI with analog synth is exactly what you need. Wire MIDI OUT from your control surface to the synth’s MIDI IN and confirm the channels align. Remember that MIDI THRU lets you chain multiple units without a dedicated thru box.
If your rig includes a switcher, the Boss ES-8's MIDI command count is not specified in the official documentation, so you will benefit from an article explaining how many MIDI commands Boss ES-8 has to plan complex patch changes around its program changes, control changes, and MIDI Clock. It sends program changes, control changes, and MIDI Clock from its MIDI OUT/THRU jack to keep time-based effects in sync. For older floor controllers, you can tell the version of Digital Music Corp Ground Control by checking the button color and matching it against the Original Version 2 or Black Buttons manual on the Voodoo Lab site; an article on how to tell the version of digital music corp ground control will walk you through this. This matters because firmware differences affect how preset banks are organized.
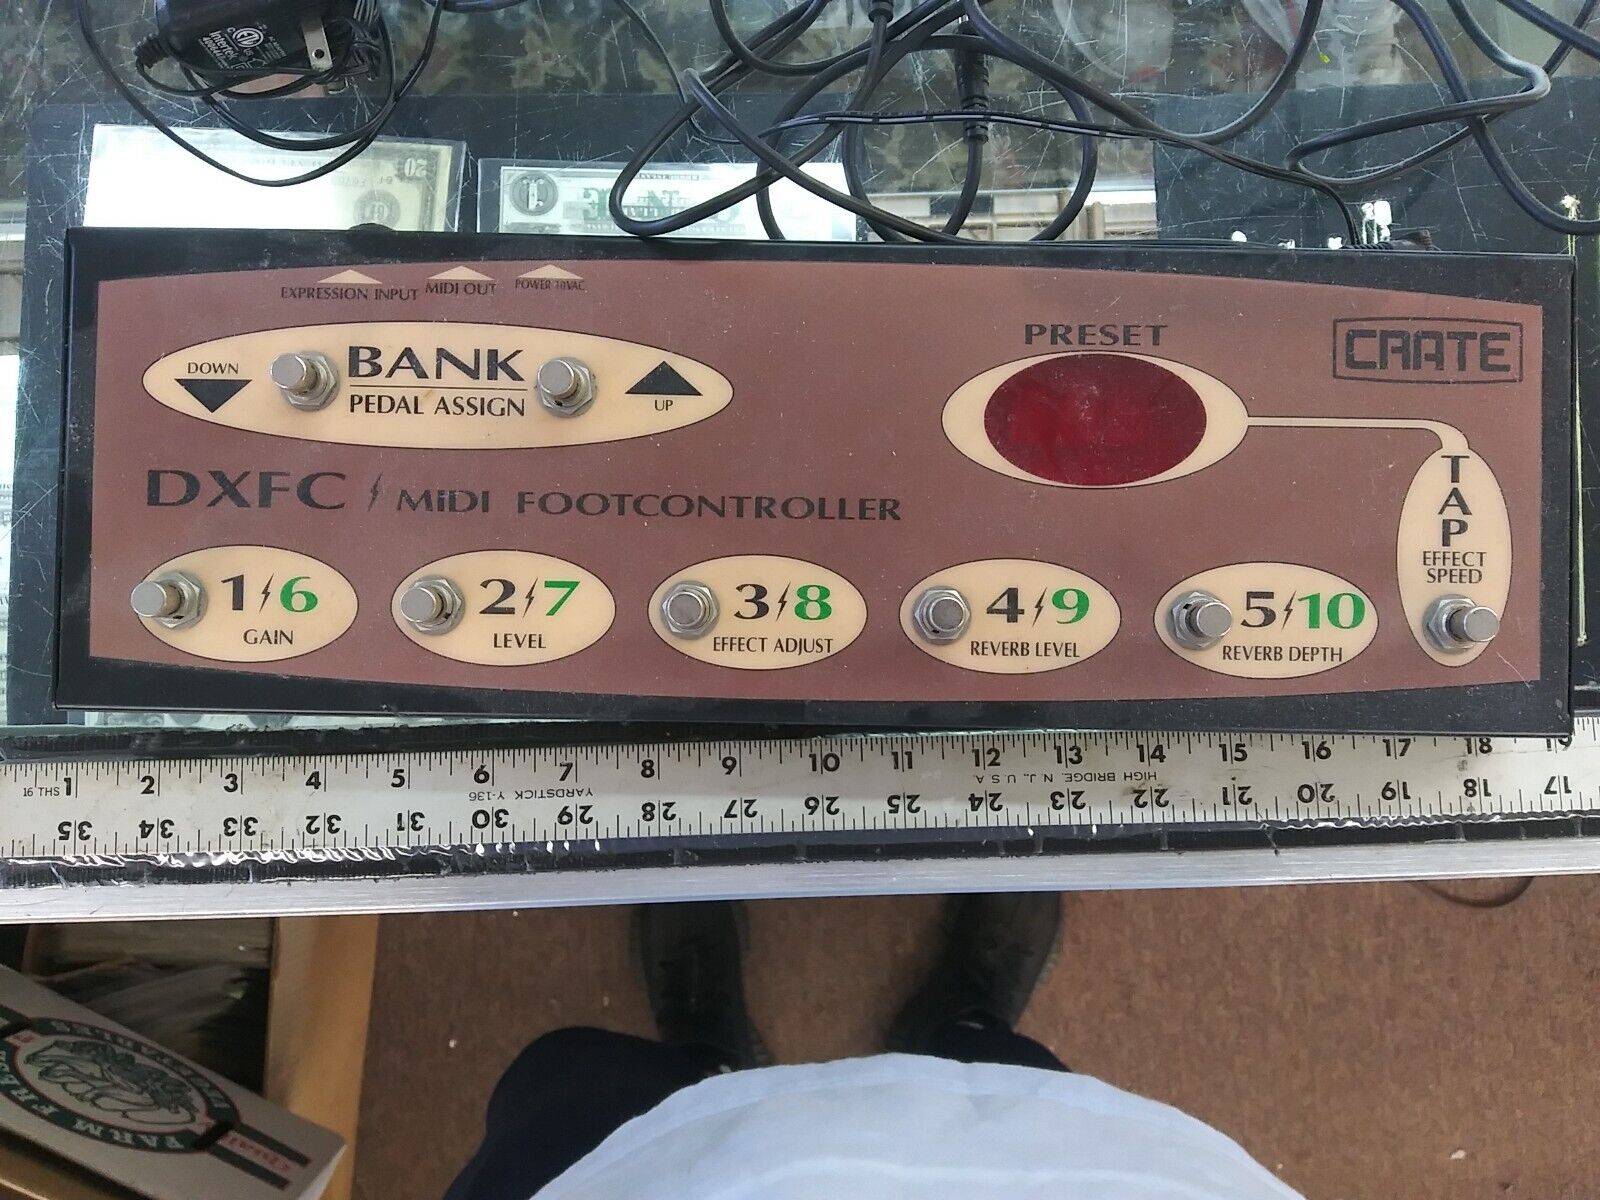
Guitarists integrating a footcontroller often ask about the expression input for with a crate amp, but no official support documentation was retrieved for this setup. Here the DXFC-MIDI pedal routes a standard expression pedal signal into MIDI continuous controller data. This enables real-time volume or parameter sweeps. Acoustic players face a different challenge when they connect Ground Ghost acoustic MIDI system components, which is why an article on how to connect ground ghost acoustic MIDI system is essential reading. No official support documentation was retrieved for this connection, but the system translates string vibration into polyphonic MIDI that responds to the subtlest picking dynamics. It treats every note as more than a uniform trigger.
- Boss ES-8's MIDI command count — How Many MIDI Commands Does Boss ES-8 Have?
- MicroKorg MIDI setup — How To Do MIDI With MicroKorg
Mapping controls in your daw
Before you assign a single knob, remember that the most meticulously mapped device still produces lifeless results if the underlying performance data is flat. The real task is capturing the swells, nudges, and velocity variations that make a virtual instrument breathe. Your DAW’s mapping tools are simply the bridge to get that expressive intent into the software.
When you map MIDI controls in Studio One, the External Devices window offers two distinct philosophies. A Global mode locks a physical knob to a specific parameter regardless of which plugin is open. A Focus mode intelligently reassigns the same hardware based on context.
For deeper surgical control, you can set ranges on MIDI mapping assignment in Bitwig by opening the Mapping Panel with the hand icon. Define a custom range for each individual assigned control. This prevents a fader from ever pushing a filter into harsh territory.
Drum programming demands a different tactile approach. The Score Editor’s dedicated drum mapping is exclusive to the Professional version of Studio One 6 and higher. Still, the instinct to link drums to MIDI pad across any platform should prioritize velocity-sensitive triggering over static, full-velocity one-shots.
If your session lives in Avid’s environment, you can quickly use MIDI in Pro Tools by opening the on-screen MIDI Keyboard from the Window menu. This lets you audition ideas with computer keys as long as your Instrument or MIDI track is record enabled.
Building custom instruments and drum maps
The real character comes from how those samples respond to velocity, as a snare hit at full force should crack differently than a ghost note. Without that variation, even a meticulously constructed rack will sound robotic. You must also map instrument to keyed MIDI track so that each key or pad triggers the correct articulation, paying close attention to the crossfade points where a soft strike transitions into a rimshot or an open hat, ensuring your custom instrument behaves like a real drum.
When you want to replace a live kit with samples, you can transfer regular drums to MIDI by using your DAW’s transient detection to convert audio hits into note triggers and dragging the resulting MIDI clip onto your custom instrument track, a technique that saves hours of manual programming. In every case, the goal is to preserve the human inconsistencies in timing and pressure that make a part feel performed rather than programmed.
- use a MIDI controller with famitracker — How To Use A MIDI Controller With Famitracker
- map instrument to keyed MIDI track — Kong 808 Drum Reason: How To Map Instrument To Keyed MIDI Track
- make your own instrument for MIDI — How To Make Your Own Instrument For MIDI
- transfer regular drums to MIDI — How To Transfer Regular Drums To MIDI
Making MIDI performances sound human
The physical surface you touch shapes every phrase, so choosing the right hardware and mapping it thoughtfully is the foundation of believable tracks.
Programmed acoustic instruments fall apart the moment every note hits with identical force, so the first step to make MIDI sound more realistic is drawing or recording velocity curves that mirror how a player naturally accents certain beats. Even a simple piano line transforms when you lower the velocity on upbeats and dig into downbeats. Timing matters just as much. Nudging notes slightly off the grid, using partial quantization instead of snapping everything to 100%, and adding small offsets between layered tracks all contribute to a living pulse. Expression-style automation is where the real breath comes in. Riding CC11 for orchestral dynamics or assigning CC1 to vibrato depth and swells gives sustained notes a shape that static samples lack.
When you need to make MIDI guitar sound real, stagger the starts of chord voicings so they ring like separate strings rather than a single block. Assign each string to its own MIDI channel so pitch bend can slide independently without warping the whole chord. To make MIDI horns sound real, lean heavily on dynamic swells and selective timing variation. A brass section never attacks in perfect unison, and those microscopic flams are what sell the illusion of a room full of players.
Working with soundfonts and virtual instruments
Expanding your sound palette often starts with the impulse to use MIDI soundfonts, those compact SF2 files packed with sampled instruments that can instantly give a project a distinct character without taxing your CPU. On an iPhone running iOS 14.0 or later, the SoundFonts app lets you tap the “+” button to pull an SF2 file straight from iCloud Drive. You then pick a patch from the right-hand list and start playing through a connected MIDI keyboard or over Bluetooth. The real challenge is not just loading a new timbre but making it respond to your touch. Even the richest sample set will sound flat if every note fires at the same velocity. Record a pass where you deliberately vary your finger pressure before exploring VST banks used for in digital music. Ride the mod wheel to capture the swells and decays that mimic a physical instrument. That performance data is what separates a lifeless playback from a take that breathes. When you need to make MIDI karaoke files for a backing track, the same principle applies: strip the melody line but preserve the dynamic expression in the remaining parts. The result then feels like a band, not a metronome.
Reference: MIDI messages and specifications
When a fader or knob feels unresponsive, the fix often starts with checking how MIDI control change numbers are assigned, since every physical control must transmit on a specific number between 0 and 127 for your software to recognise it. A modulation wheel typically uses CC1, volume rides on CC7, and pan position on CC10, and many hardware units let you reassign these freely, so consulting your device's editor or printed chart avoids the frustration of moving a slider and watching nothing happen. You will want to read the article about MIDI control change numbers titled "How Many CC MIDI" to understand the full range of available controllers and avoid conflicts when mapping multiple parameters.
In Ableton Live, absolute hardware assignments map the full 0-127 value range directly to parameters, with switches using 64 as the on/off threshold. The software also supports 14-bit absolute messages for finer resolution across a 0-16383 range. If you need that extra precision for a filter sweep or pitch bend, remember that for one common 14-bit implementation, the LSB is 32 higher than the MSB, and valid pairs include CC1/33, CC7/39, and CC10/42. The MIDI control change numbers form the first data byte after the status byte, and though some of those numbers are reserved for mode messages, a single digit mismatch between transmit and receive assignments will break the connection entirely.
- MIDI control change numbers — How Many CC MIDI











