Home>Production & Technology>Using MIDI Keyboards with Any DAW

Production & Technology
Using MIDI Keyboards with Any DAW
Modified: 3 October 2026
Table of Contents
- What a MIDI keyboard setup actually does
- Physical connections to your computer
- Connecting to mobile devices
- Using yamaha keyboards as MIDI controllers
- Setting up in daws and apps
- Setting up in more daws and apps
- Getting sound and playing
- Recording MIDI performances
- Configuring channels, controls, and sensitivity
- Using unconventional controllers
- Using specific controller models
- Troubleshooting and maintenance
What a MIDI keyboard setup actually does
A complete MIDI keyboard setup starts with understanding that at its core, a MIDI keyboard is a control surface that sends note and expressive data to other devices rather than generating any audio itself, staying completely silent until you point it at a virtual sound generator in your DAW or a hardware synthesizer. Understanding what a MIDI keyboard used for helps you see the full picture: you can play synthesizer apps and drive music programs on Android, or send messages to tone generators running in the background on an iPhone. When planning your setup, the number of keys on a MIDI keyboard depends entirely on your space and playing style, as no official standard dictates a minimum or ideal count. If you are trying to identify the best MIDI controller for your workflow, focus on the features you will actually touch every day rather than hunting for a single universally recommended model. For performers who mix tracks live, finding the best MIDI controller for DJing means looking beyond traditional keyboards to devices built for triggering clips, crossfading, and manipulating effects. The practical side of selecting a MIDI controller also involves checking how it connects: on Android you can plug in via USB and choose MIDI from the USB configuration dialog, while on iPhone an external unit can connect using a USB to MIDI adapter plus Camera Connection Kit, an Apple lightning to USB adapter, or another commercial MIDI adapter compatible with iOS CoreMIDI, and requires iOS 10.0 or later. Reading the article on selecting a MIDI controller will guide you through choosing the right device for your specific needs and budget.
Physical connections to your computer
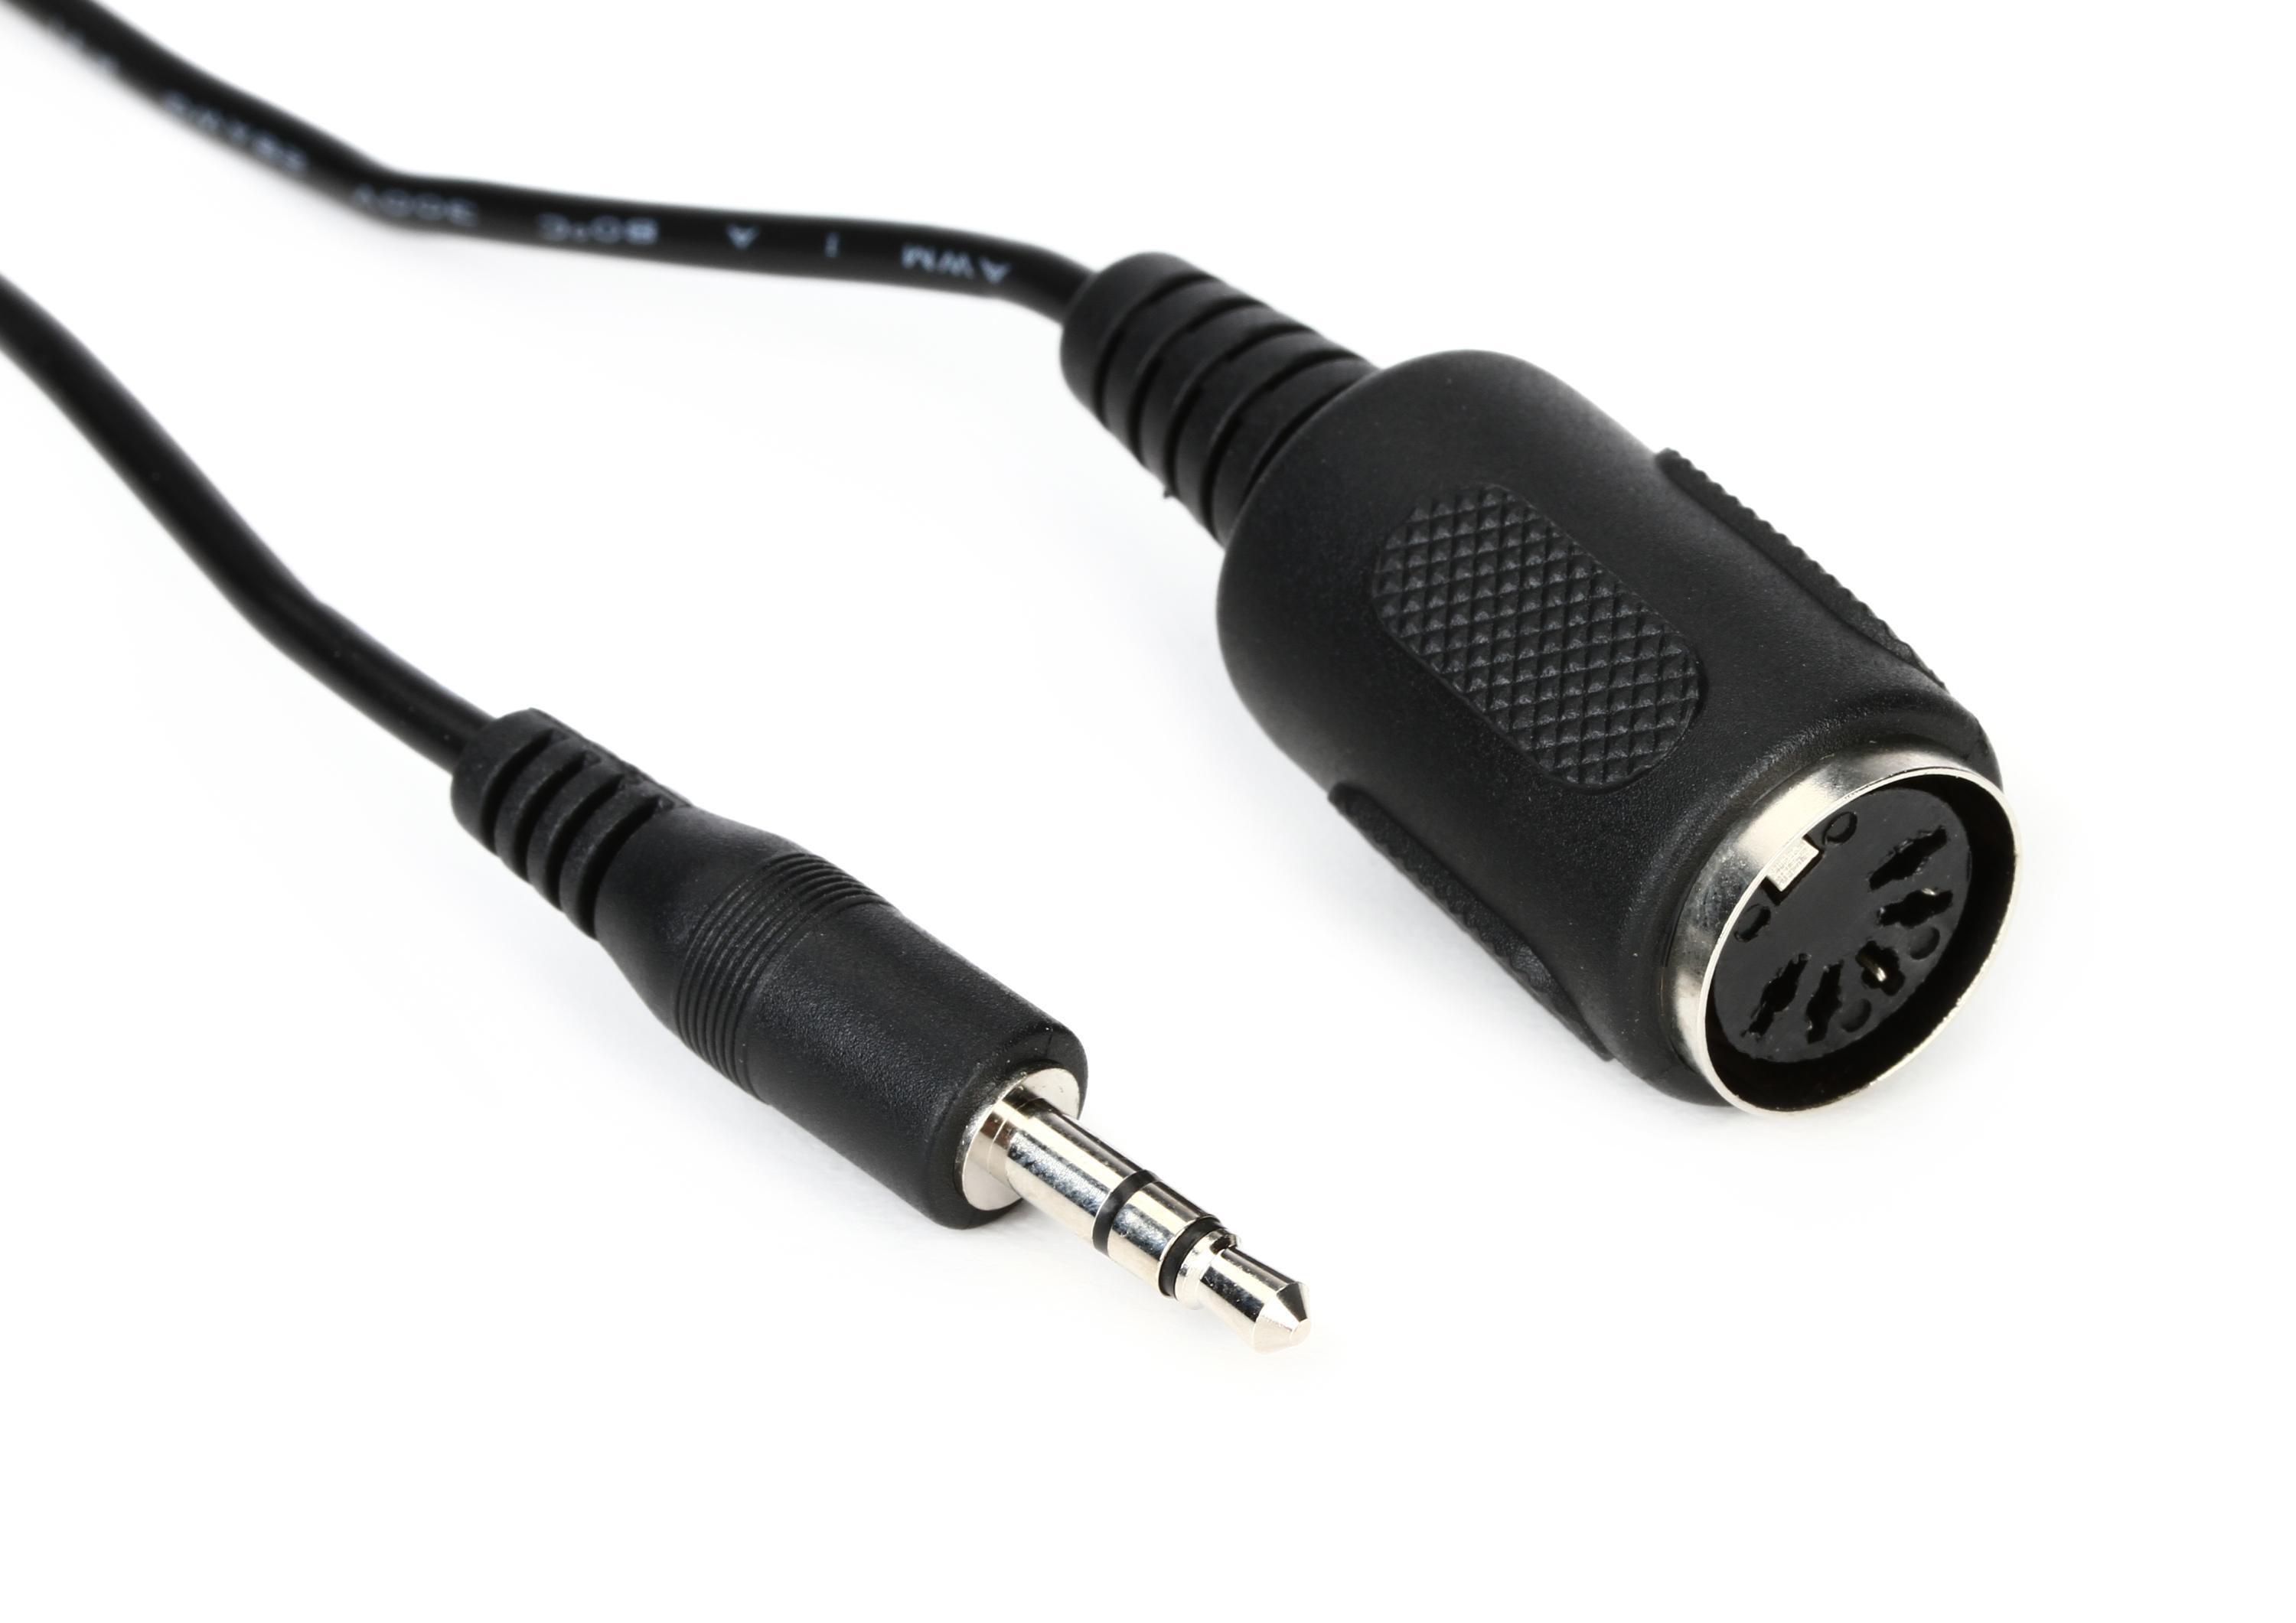
Most modern setups begin with a single USB cable. When you need to connect piano keyboard to PC, check whether your instrument has a USB port. If it does, a standard USB cable plugged directly into a computer port is often the only physical link required, and reading the linked article will show you exactly how to set this up for reliable performance. You should still follow the manufacturer's instructions about installing any necessary driver. For older gear that lacks USB, you can still connect keyboard to computer without MIDI ports by using a dedicated MIDI interface, which is the method you would want if your keyboard lacks modern connectivity options. Connect the keyboard's MIDI Out to the interface's MIDI In. Then attach the interface to your machine. You would need a separate MIDI interface or a keyboard with USB. Regardless of method, the goal is the same when you hook up MIDI keyboard to computer: establish a data path that carries note messages, velocity, and continuous controller data, which is exactly what the article on that topic helps you achieve. Without a virtual instrument or hardware synth at the other end you will get no sound at all.
- connect MIDI keyboard to focusrite scarlett 2i2 — How To Connect MIDI Keyboard To Focusrite Scarlett 2i2
- connect keyboard to computer without MIDI — How To Connect Keyboard To Computer Without MIDI
- connect MIDI keyboard to audio interface — How To Connect MIDI Keyboard To Audio Interface
- hook up MIDI keyboard to computer — How To Hook Up MIDI Keyboard To Computer
- connect piano keyboard to PC — How To Connect Piano Keyboard To PC
Connecting to mobile devices
Getting a traditional keyboard talking to an iPad or iPhone usually starts with a wired connection. You can also connect iPad to Yamaha keyboard wirelessly if the instrument supports Bluetooth MIDI, which is why you would want the article that walks through the exact pairing steps. The official path for that setup runs through Settings > Bluetooth on the iPad. After that, you open a compatible app and finish the pairing inside the app itself.
Yamaha documents two workarounds: use the MD-BT01 or UD-BT01 Wireless MIDI Adaptor. This gadget plugs directly into the music maker’s MIDI or USB TO HOST port and transmits performance data over Bluetooth. Another option is the i-UX1 USB MIDI interface cable, though Lightning-equipped iPhones may still need Apple’s Lightning to 30-pin adaptor to complete that chain.
Regardless of which path you take, the controller stays silent until you load a virtual instrument in your app. You can also route the outgoing MIDI to a hardware synth that can actually turn those note messages into sound. A basic understanding of MIDI routing helps demystify the entire process. The digital messages sent from your gear describe which notes you press, how hard you strike them, and when you release them. They carry no audio signal whatsoever. This distinction is the single most important concept for newcomers to grasp.
Your playing data flows into a computer, tablet, or phone and waits for a sound engine to interpret it. That engine might be a modeled grand piano, a vintage drum machine emulation, or a layered orchestral patch. The physical device you touch is merely a remote control for those hidden sonic resources. Once you internalize that separation, the whole ecosystem of modern music production becomes far less intimidating. You stop searching for a speaker on the unit itself and start exploring the vast palette of tones living inside your chosen program.
Wired connections remain the most reliable method for translating your finger movements into digital instructions. A simple USB cable often does the job, carrying both data and power to the peripheral. Older five-pin MIDI DIN ports require a dedicated interface box that converts the signal for your computing device. These breakout boxes have been a studio staple for decades and continue to offer rock-solid timing. Many audio interfaces now include a built-in MIDI section, merging two essential functions into one chassis.
Bluetooth MIDI has matured into a genuinely useful alternative for untethered playing. Latency can vary depending on the hardware and the surrounding wireless environment. For slow pad washes or ambient textures, the freedom of no cables often outweighs the slight delay. Fast, percussive passages with staccato notes will expose any timing inconsistencies immediately. In those moments, a physical wire remains your best friend.
Power management becomes a critical consideration when you cut the cord. Many wireless adaptors draw electricity directly from the music maker’s USB port. Battery-powered units offer total portability but introduce the risk of a mid-show shutdown. Always check the charge level before a live rendition or an important recording session. A spare set of batteries tucked into a gig bag has saved countless performances from sudden silence.
Smartphone and tablet apps have transformed these input devices into portable composition studios. The sheer variety of available sound generators is staggering. You can summon a convincing string section, a modular synthesizer, or a dusty sampler from a single pane of glass. Touchscreen controls handle parameters like filter cutoff and envelope decay while your external gear manages the notes. This hybrid workflow combines the tactility of physical keys with the flexibility of a digital environment.
Desktop digital audio workstations offer an even deeper level of integration. They can record, edit, and manipulate the MIDI stream with surgical precision. A single take can be quantized to tighten the rhythm or transposed to a different key without re-recording a note. Arpeggiators and chord generators built into the program can transform simple input into complex, evolving patterns. The external hardware becomes a conduit for ideas that the platform then expands into full arrangements.
Mapping physical knobs, faders, and pads to on-screen parameters unlocks a more expressive connection. Twisting a rotary encoder to sweep a resonant filter feels immediate and musical. Drawing the same automation curve with a mouse feels clinical by comparison. Assigning a drum pad to trigger a one-shot sample turns the peripheral into a percussive powerhouse. The goal is to minimize screen time and maximize physical interaction with the music.
Different form factors suit different creative roles. A compact, two-octave unit fits easily into a backpack and handles basslines, leads, and simple chord stabs. A full eighty-eight weighted keys replicate the feel of an acoustic grand and satisfy trained pianists. Desktop modules with no keys at all focus entirely on knob-per-function synthesis. Some producers chain multiple devices together, dedicating one to melody and another to drum programming.
Virtual instrument libraries have reached a stunning level of realism. Multi-gigabyte sample sets capture every hammer strike, damper resonance, and pedal noise of a concert grand. Modeled analog circuits recreate the unstable drift and warmth of forty-year-old synthesizers. Hybrid engines combine sampling and synthesis to generate entirely new timbres that defy categorization. Your external gear is the key that unlocks this entire world of sound.
Latency is the invisible enemy of any digital rig. The buffer size setting in your audio driver determines how much time the computer has to process incoming data. Smaller buffers reduce delay but increase the strain on your processor. Larger buffers provide stability at the cost of a sluggish response. Finding the sweet spot for your specific system is an essential tuning exercise before any serious creative work begins.
Expression extends far beyond which note you trigger. Velocity sensitivity translates your finger speed into volume or timbral brightness. Aftertouch responds to continued pressure on a held key, often introducing vibrato or opening a filter. A modulation wheel and pitch bend lever add vocal-like inflections and swooping glides. A sustain pedal latches notes so your hands can leap to a new chord while the previous one still rings out.
MIDI 2.0 represents the next evolutionary leap for this decades-old protocol. It promises higher resolution, bidirectional communication, and auto-configuration of connected gear. Instruments will be able to query each other’s capabilities and negotiate the best way to exchange information. The expressive potential expands dramatically with per-note pitch bend and more detailed articulation control. This new standard ensures that the simple act of pressing a key will continue to deepen in nuance for years to come.
Setting up a mobile rig requires a few essential utilities. A powered
- connect MIDI keyboard to iPhone without the lightning adapter — How To Connect MIDI Keyboard To iPhone Without The Lightning Adapter
- connect iPad to yamaha keyboard — How To Connect iPad To Yamaha Keyboard
Using yamaha keyboards as MIDI controllers
If you want to use yamaha keyboard as MIDI controller with a computer, the physical connection uses a standard USB cable plugged into the instrument’s USB TO HOST terminal. After that, you set UTILITY → Settings → MIDI I/O → MIDI IN/OUT to USB, and on many models you also need to choose a driver mode under UTILITY → Settings → Advanced → USB Driver Mode, selecting Vendor for the dedicated Yamaha Steinberg driver or Generic for the computer’s built-in driver. Once connected, using a Yamaha keyboard as MIDI source in your DAW still requires a virtual instrument loaded on the track, since the hardware itself sends only performance data. On the MONTAGE M, the fastest way to configure everything for recording is to press QUICK SETUP and choose MIDI Rec on DAW, then enable MIDI Thru in your application so notes pass back to the tone generator.
Before you connect yamaha keyboard to computer, set the USB Driver Mode to Vendor or Generic as described. When you need to transfer MIDI files from computer to yamaha keyboard, the official tool is Musicsoft Downloader; you will typically save a Song (.mid) or Style (.sty) file to disk, unzip it if needed, and drag it onto a USB storage device or whatever media your specific model accepts. If you want to record on a yamaha keyboard by capturing the playing as MIDI data, use any music production program on the computer, and check your instrument’s owner’s manual because the available transfer methods and supported file types vary considerably between models.
Setting up in daws and apps
Before you can hear anything, you must first set up a MIDI keyboard so your software recognizes it as a note source, which may include installing any required driver from the manufacturer’s website and then selecting the device inside your DAW’s audio or MIDI preferences. When you connect MIDI keyboard to BandLab, you still need to add a virtual instrument track and arm it for recording before the keys will trigger a sound, making it easy to lay down parts in your browser. If you want to use GarageBand with a MIDI keyboard on a Mac, connect the controller directly via USB, or connect MIDI Out on the keyboard to MIDI In on a MIDI interface and MIDI In on the keyboard to MIDI Out on the interface, then connect the interface to the computer and open GarageBand; the app should recognize the incoming note data for any software instrument track you select, giving you a quick way to record ideas. To set up MIDI keyboard in cubase, add your controller under the MIDI Port Setup section and confirm its status is active so that MIDI data flows into your project, which is essential for triggering virtual instruments. When you add MIDI keyboard to reason, you may need to open the Preferences window and manually enable the device in the Control Surfaces and Keyboards tab to unlock Reason’s powerful sound library. Finally, to use a MIDI keyboard with studio one, once configured, drag a virtual instrument into the track area and you are ready to play, streamlining your production workflow from the start.
- use GarageBand with a MIDI keyboard — How To Use Garageband With A MIDI Keyboard
- use a MIDI keyboard with studio one — How To Use A MIDI Keyboard With Studio One
- connect MIDI keyboard to BandLab — How To Connect MIDI Keyboard To Bandlab
- set up MIDI keyboard in cubase — How To Set Up MIDI Keyboard In Cubase
- add MIDI keyboard to reason — How To Add MIDI Keyboard To Reason
- set up a MIDI keyboard — How To Set Up A MIDI Keyboard
Setting up in more daws and apps
When you are ready to use MIDI keyboard in Reaper, open Preferences with Ctrl+P on Windows or Command+P on Mac. Then look under the Audio branch for the MIDI section and enable your controller in the MIDI inputs list. To use MIDI keyboard in Cakewalk, connect the keyboard by USB or MIDI interface and turn it on, then launch Cakewalk Sonar. Next, go to Edit > Preference or press P, then under MIDI > Devices check your keyboard under Input. Then create or select a MIDI track, and in the track view open the track’s Input dropdown and select the keyboard before arming the track and pressing Record rather than Play. If you want to use a MIDI keyboard in LMMS, you must load a virtual instrument to hear anything. You must load a virtual instrument to hear anything. When you connect a MIDI keyboard to Audacity, you will still need a software instrument to turn those incoming notes into audible sound. Finally, to input via MIDI keyboard in MuseScore, start the program after the keyboard is connected and switched on. Create a new score and click a rest in measure 1. Press N to enter note input mode and play a note. If no pitch appears, open Edit > Preferences on Windows or MuseScore > Preferences on Mac, go to the Note Input tab. Check “Enable MIDI Input” under the Note Input tab and restart.
Getting sound and playing
Because a MIDI keyboard transmits only performance data, the first real step to get sound from MIDI keyboard is loading a software instrument inside your recording software or launching a standalone synthesizer app. To run a MIDI keyboard through a synthesizer on an Android device, connect a class-compliant unit via an OTG adapter and let an app like PocketMIDI route the note and sustain events straight to its own audio engine. To add sounds to your MIDI keyboard on an iPhone or iPad, you can keep a sound source such as SampleTank running in the background while a controller app like MIDIKeys sends it the notes you play. When you want to use MIDI keyboard as piano without installing anything, open a browser-based platform in a supported browser such as Chrome and turn on MIDI input inside the Sound or Settings menu so the keys trigger the on-screen piano. To play MIDI keyboard on PC with a virtual instrument, enable the controller in your DAW’s preferences and insert an instrument on a track, or use software like VMPK to play virtual MIDI piano keyboard by connecting a hardware controller’s output port to the software’s input port for a lightweight way to test ideas without loading a full production environment.
Recording MIDI performances
Once your controller is connected, the core task is to capture a musical idea as MIDI data. In any DAW, you typically arm a virtual instrument track and press the main transport record button. Many workflows also let you record MIDI keyboard performances into a simpler capture tool first. For quick ideas on an iPhone, you can open MIDI Memo Recorder, which requires a compatible interface like a Line 6 Mobile Keys 25, Mobile Keys 49, MIDI Mobilizer II, or MIDI Mobilizer MIDI interface. This app records and plays back MIDI data when paired with a compatible interface like a Line 6 Mobile Keys 25 or MIDI Mobilizer II. You can later transfer the files to a computer using iTunes File Sharing on iOS 9.3 or higher. On Android, the app MIDI Recorder (BLE & USB) works with Bluetooth MIDI and USB MIDI devices running Android 12 or newer. It automatically saves your take as a standard MIDI (.mid) file. If you are working with a standalone digital piano that has its own memory, you can record on a Hamzer 61-key digital music piano keyboard by pressing the REC button, playing your piece, and then pressing PLAY to stop recording and hear it back through the built-in recorder. This captures your performance for onboard playback rather than sending MIDI out to your computer. For any setup, the file you keep is a compact set of performance instructions. You can edit this data note-by-note or drop it into a larger arrangement later.
Configuring channels, controls, and sensitivity
Once your software instrument is producing sound, the next layer of control comes from how your playing surface talks to it. Many hardware units let you configure MIDI channel output from keyboard hardware directly, though the exact method varies by device, so you can send different parts to different instruments on separate channels without touching your DAW. If your setup includes a sustain or expression unit, you can also map your MIDI as keyboard keys and MIDI pedal by assigning the pedal's CC number to a specific function inside your program's controller mapping window, turning a simple footswitch into a transport control or a modulation trigger.
Expression goes deeper with aftertouch in MIDI, which comes in two distinct forms: polyphonic key pressure lets you modulate a held note independently of others, while channel pressure applies the same change to every note currently sounding on that channel. Some mobile controller apps offer four aftertouch modes including Off, Mono AT, Poly AT, and XY MPE, which spreads each note across channels 2-16 and maps vertical movement to CC74 while horizontal movement sends Pitch Bend. If you find yourself triggering unwanted modulation during a live take, you may want to turn pressure sensitivity off of a MIDI keyboard entirely by simply selecting the Off mode in the aftertouch settings. For hardware that uses footswitches rather than keys, a common workflow is to set button to toggle or latch, which determines whether a connected pedal stays engaged after a single press or only while you hold it down, though the setting varies by manufacturer.
Using unconventional controllers
Not every device that sends usable data looks like a piano. There is no supported way to make an Xbox One controller into MIDI. There is no supported way to use Rock Band keyboard as MIDI controller on iPhone or Android. There is no supported way to use MIDI keyboard on osu. The setup lives entirely in third-party bridging tools rather than the game’s own settings. There is no supported way to use MIDI button in multiplayer piano. This works provided the site allows custom key bindings to be assigned from your device’s incoming note messages.
Using specific controller models
Before you try to play a single note, remember that a controller like the MPK mini sends only performance data, not audio. You must first load a virtual tone generator in your DAW or route the MIDI out to a hardware synth. If you want to use a MIDI keyboard on MPK mini hardware across different devices, the mk3 and MPK mini IV are both class-compliant over USB. This means they work with many smart devices without extra drivers. On the MPK mini IV, you can plug straight into a phone or tablet using the included USB-C to USB-C cable. The bundled desktop utility is incompatible with Android, iOS, and iPadOS. For the mk3, some setups require a powered USB hub because the unit lacks a low-power mode for iOS. Once connected, you can use a MIDI keyboard to control any app that recognizes class-compliant gear. The MPK mini IV sends keybed, pad, pitch wheel, and mod wheel data over its USB MIDI output. It also transmits sustain pedal and knob data. In a DAW, a common task is to use keyboard as MIDI controller for two different patches at once. On the MPK mini series, hold SHIFT and press LOOP to open the Global Menu. Then set the keys to MIDI channel 1 and the pads to channel 10. Save the change by holding SHIFT and pressing OCT+.
Troubleshooting and maintenance
Before diving into more complex fixes, it helps to check if your MIDI keyboard is working at the system level, which is why you would want the article on how to verify system-level connectivity. On a Mac, open Audio MIDI Setup and go to Window > Show MIDI Studio, click the Test Setup button, and press a key. The corresponding port icon should highlight, confirming the computer is receiving data. If the signal registers but you still hear nothing, double-check your audio output routing and ensure it is connected properly.
A single sticking note can derail an entire live take, and knowing how to fix MIDI keyboard keys often starts with simple physical maintenance, which is exactly why you would want the article dedicated to key repairs. For many unresponsive keys, debris is the culprit, and manufacturers like M-Audio recommend using compressed air to blow out dirt trapped around the edges and in the gaps of the affected key. Work the key gently while spraying to dislodge any particles, which often restores normal travel without needing to open the chassis.
The most effective step is switching to a wired connection instead of relying on Bluetooth, which inherently introduces a slight delay. Inside your music app, locate the audio buffer setting, lower it until you hear clicks or pops, then raise it one step. Closing other background apps also frees up processing power for a tighter musical experience.
- check if your MIDI keyboard is working — How To Check If Your MIDI Keyboard Is Working
- reduce latency in MIDI keyboard — How To Reduce Latency In MIDI Keyboard
- fix MIDI keyboard keys — How To Fix MIDI Keyboard Keys