
Home>Production & Technology>MIDI File Creation and Editing Guide
Production & Technology
MIDI File Creation and Editing Guide
Modified: 3 October 2026
Table of Contents
Creating MIDI files from scratch
MIDI file creation starts with a blank canvas where you place every note by hand, and the first decision is whether you are shaping a melodic idea or a rhythmic groove. An app like MIDI File Generator lets you define the raw material by setting a start note, end note, and interval in semitones, then pick the velocities you want before adjusting duration, decay, and the silence between individual notes. This approach is especially useful when you need to make samples for MIDI playback, and the resulting file can be imported into any DAW that supports Standard MIDI files and used to test synthesizer patches or drum kits.
If you need to make a MIDI file that captures a live rendition, you can sing or play a sound source into a tool such as Midify, which converts a recorded WAV riff into editable MIDI data that you can refine with its built-in editing tools. When you want to make MIDI basslines patterns, working directly in a piano roll editor gives you precise control over note length and groove, letting you draw in a repeating low-end sequence and immediately hear how it sits with your sound source. While you can make MIDI files on Chromebook using web-based sequencers, the core principle remains the same: you are writing execution instructions, not audio, and what you hear during playback will change completely depending on the patch you assign afterward.
Converting audio into MIDI
Because a MIDI file stores performance instructions rather than sound, the process of extracting notes from a recording starts with a clear signal. Most tools that turn audio to MIDI work best when you feed them a clean, monophonic source, which is why you would read the article on how to turn audio to MIDI to learn the best techniques for isolating a solo vocal line, a bass riff, or a single-note melody. If you are starting with a mixed stereo file, isolating the part you want ahead of time will give you far more usable results. This also applies if you want to splice to MIDI for free by dragging an audio clip directly onto a synth track in a DAW that includes the feature, and the guide on how to splice to MIDI for free shows you exactly how to do that without spending money. The underlying detection works the same way.
The specific tools you choose determine how much control you have over the outcome. You can then drag the corrected material to a MIDI track. Keep in mind that Melodyne essential and assistant will reduce any polyphonic material to a single monophonic line. For chords you need the full editor version.
Importing and setting up MIDI in a daw
Before you arrange a single note, it helps to remember what you are actually hearing. The file you dragged in is not a recording. It is a set of instructions. Your current software instrument is interpreting them right now. If the piano part suddenly sounds like a marimba, you are probably hearing the default patch. The fix is as simple as swapping the sound source on the track.
The moment you need to import a MIDI file into GarageBand on an iPhone or iPad, you tap the Tracks button. Open the Loop Browser and switch to the Files tab. Pull the file straight from iCloud Drive or the Files app. A multi-track file automatically fans out into separate Keyboard tracks. You can then assign a different voice to each line.
When your goal is to connect a guitar to GarageBand on a Mac, in a lesson window you click Setup in the upper-right corner. Pick your input from the My Input Device menu. Choose Line-In for a direct connection or your interface by name. Switch the Monitor pop-up to On only if you are wearing headphones. This avoids a feedback loop.
If you build MIDI track in Reaper, you are working inside a routing system where tracks support up to 128 channels each. This gives you enormous flexibility. It also means a misplaced assignment can leave you staring at a silent meter. Reaper's single MIDI track issue may trace back to a channel mismatch. The file transmits on one channel while your plug-in listens for another. Checking the track’s MIDI output routing is a sensible first move.
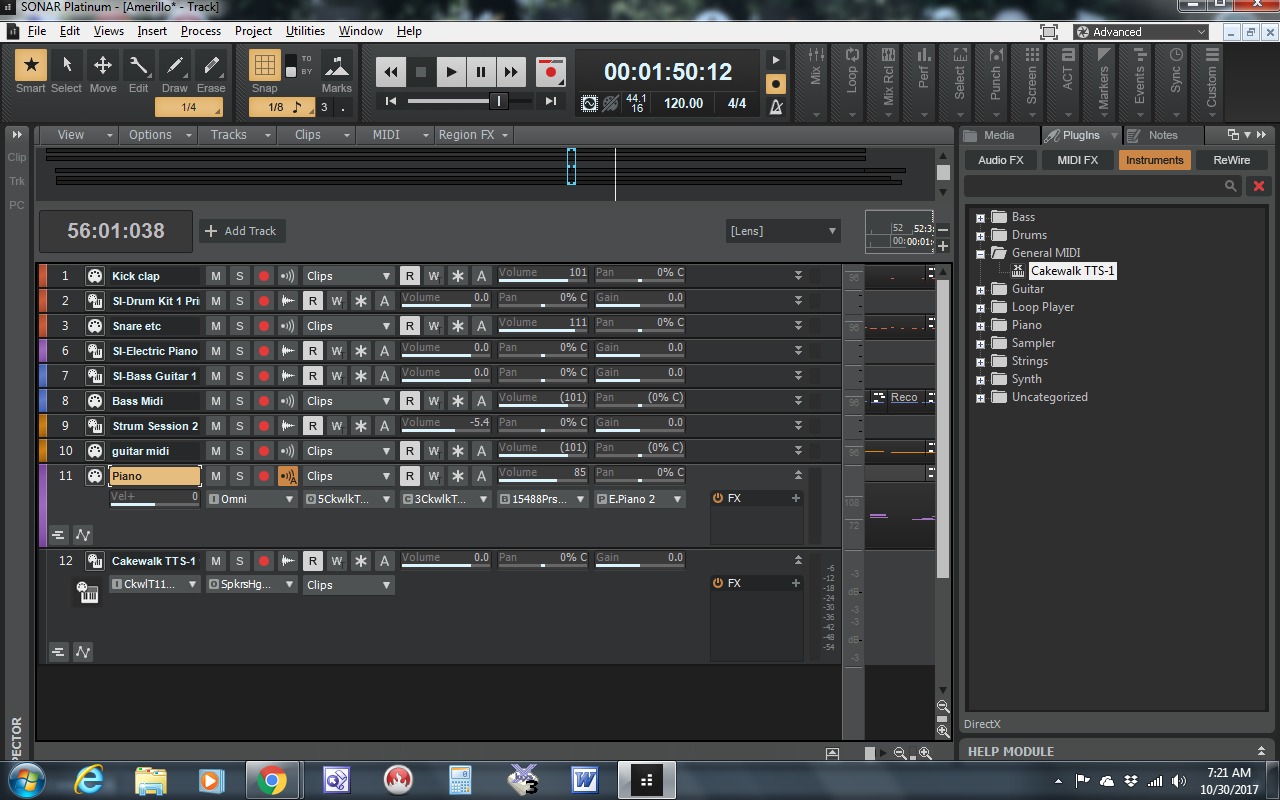
Older projects may also require you to extract MIDI channels from a single track in Sonar, though no official procedure was retrieved here. This lets a multi-part arrangement land on its own mixer strip for independent processing.
Editing notes and performances
Before you start changing notes, pause and decide whether the problem is really the playing or simply the patch assigned to the track. Swapping a piano for a synth takes seconds. Editing individual velocities can take an hour. Once you know you need to alter what was played, many common MIDI editing techniques revolve around the Piano Roll. Dragging a note up or down changes its pitch. Sliding it left or right adjusts timing.
In GarageBand on Mac, you can shift a MIDI track an octave by selecting the notes in the Piano Roll Editor and using the Option-Shift-Down Arrow shortcut. That slider moves the entire region at once. To nudge only a handful of notes, open the Piano Roll Editor and drag them up or down. If you need to move a MIDI up an octave in another environment, look for a transpose command that operates on your current selection rather than the whole clip.
When a passage sounds cluttered, you may want to clean up a MIDI in Anvil Studio. The exact workflow depends on the version you are running. For renditions that feel static, you can add to MIDI region when recording by layering new notes onto the same clip instead of replacing it. This is useful for layering a hi-hat pattern on top of an existing kick and snare.
One operation that surprises people is attempting to reverse a MIDI track in GarageBand. The Reverse Playback checkbox in the Audio Editor inspector only works on audio regions, not MIDI. To get a reversed-note effect with MIDI data, you would need to bounce the region to audio first. You could also use a dedicated MIDI reversal tool.
Changing sounds and playback
Before you change anything, remember that MIDI files contain no audio. They hold only performance instructions. What you hear is always your current sound source interpreting the data. If a track suddenly plays as a marimba instead of a piano, you can change instrument in MIDI file by reassigning the program number on that channel. Apps like MIDI Opener let you do this by swapping through all 128 General MIDI sounds. The note assignments in General MIDI follow a standardized map. Simply sending a different program change message transforms the entire track without touching a single note. When the built-in sound set feels thin, you can change default MIDI soundfont by loading a custom .sf2 bank. On Korg KRONOS, you can load SoundFont 2.0 samples. For live keyboard players who need a completely dry starting point, you may want to set sequence to turn off effects with MIDI file on kronos. The exact menu path for this depends on your OS version.
Working with tempo and the grid
When a performance feels rushed or sluggish in places, you can shape the energy of a piece by drawing tempo changes directly on the master track envelope. MIDI tempo automation in Reaper can let you gradually accelerate into a chorus or ritard at the end of a phrase, rather than applying a single fixed number. The MIDI notes will follow that curve because they lock to the project timeline, not to absolute seconds, so a note placed on beat three stays on beat three even as the pace shifts. That behavior is essential when you are sculpting a natural-sounding arrangement from quantized data. To make those subtle timing adjustments visible and editable, you can set MIDI view grid value in reaper so the piano roll background reflects a rhythmic division that matches your material. A grid set to 1/16 is useful for tightening a hi-hat pattern, while a 1/2 grid helps when you are moving whole chord stabs and want them to snap cleanly to the downbeat. Because the grid is purely a visual and snapping aid, changing it never alters the underlying execution data, only how the editor displays and constrains your mouse movements.
Rendering and routing to audio
Once your performance data is exactly how you want it, the final step is turning those instructions into a tangible audio file. You can then share, archive, or mix it like any other recorded track. The most direct route is to render MIDI to audio in Cubase. Select the relevant instrument tracks in the Project window and use the Render in Place command. This bounces them to a new audio clip on the timeline. All insert effects are printed into the waveform. This process is essential when you need to commit a software instrument to a permanent file. It prevents problems when moving the project to a different system where that specific virtual synth might not be available.
In a Pro Tools environment, the routing works differently because MIDI and audio travel on separate paths. In Pro Tools 8 LE, you can send the output of a MIDI track to a virtual instrument plug-in inserted on an Auxiliary Input track. This plug-in must be inserted on an Auxiliary Input track. The Aux track then monitors the sound in real time. Meanwhile, you capture only the MIDI data onto the record-enabled track. This setup keeps your note data editable while the Aux track processes the audio stream for monitoring. It gives you the flexibility to tweak the part later without re-recording the sound of that specific voice.
- record MIDI tracks into aux tracks in pro tools 8le — How To Record MIDI Tracks Into Aux Tracks In Pro Tools 8LE











