Home>Production & Technology>MP3>How To Download Music Onto Sandisk MP3 Player

MP3
How To Download Music Onto Sandisk MP3 Player
Modified: January 22, 2024
Learn how to easily download music onto your Sandisk MP3 player and enjoy your favorite tunes on the go. Follow our step-by-step guide for hassle-free MP3 downloads.
(Many of the links in this article redirect to a specific reviewed product. Your purchase of these products through affiliate links helps to generate commission for AudioLover.com, at no extra cost. Learn more)
Table of Contents
- Introduction
- Step 1: Connect your Sandisk MP3 Player to your computer
- Step 2: Open the music downloading software
- Step 3: Find and select the music you want to download
- Step 4: Choose the destination folder on your Sandisk MP3 Player
- Step 5: Start the music downloading process
- Step 6: Safely disconnect your Sandisk MP3 Player
- Conclusion
Introduction
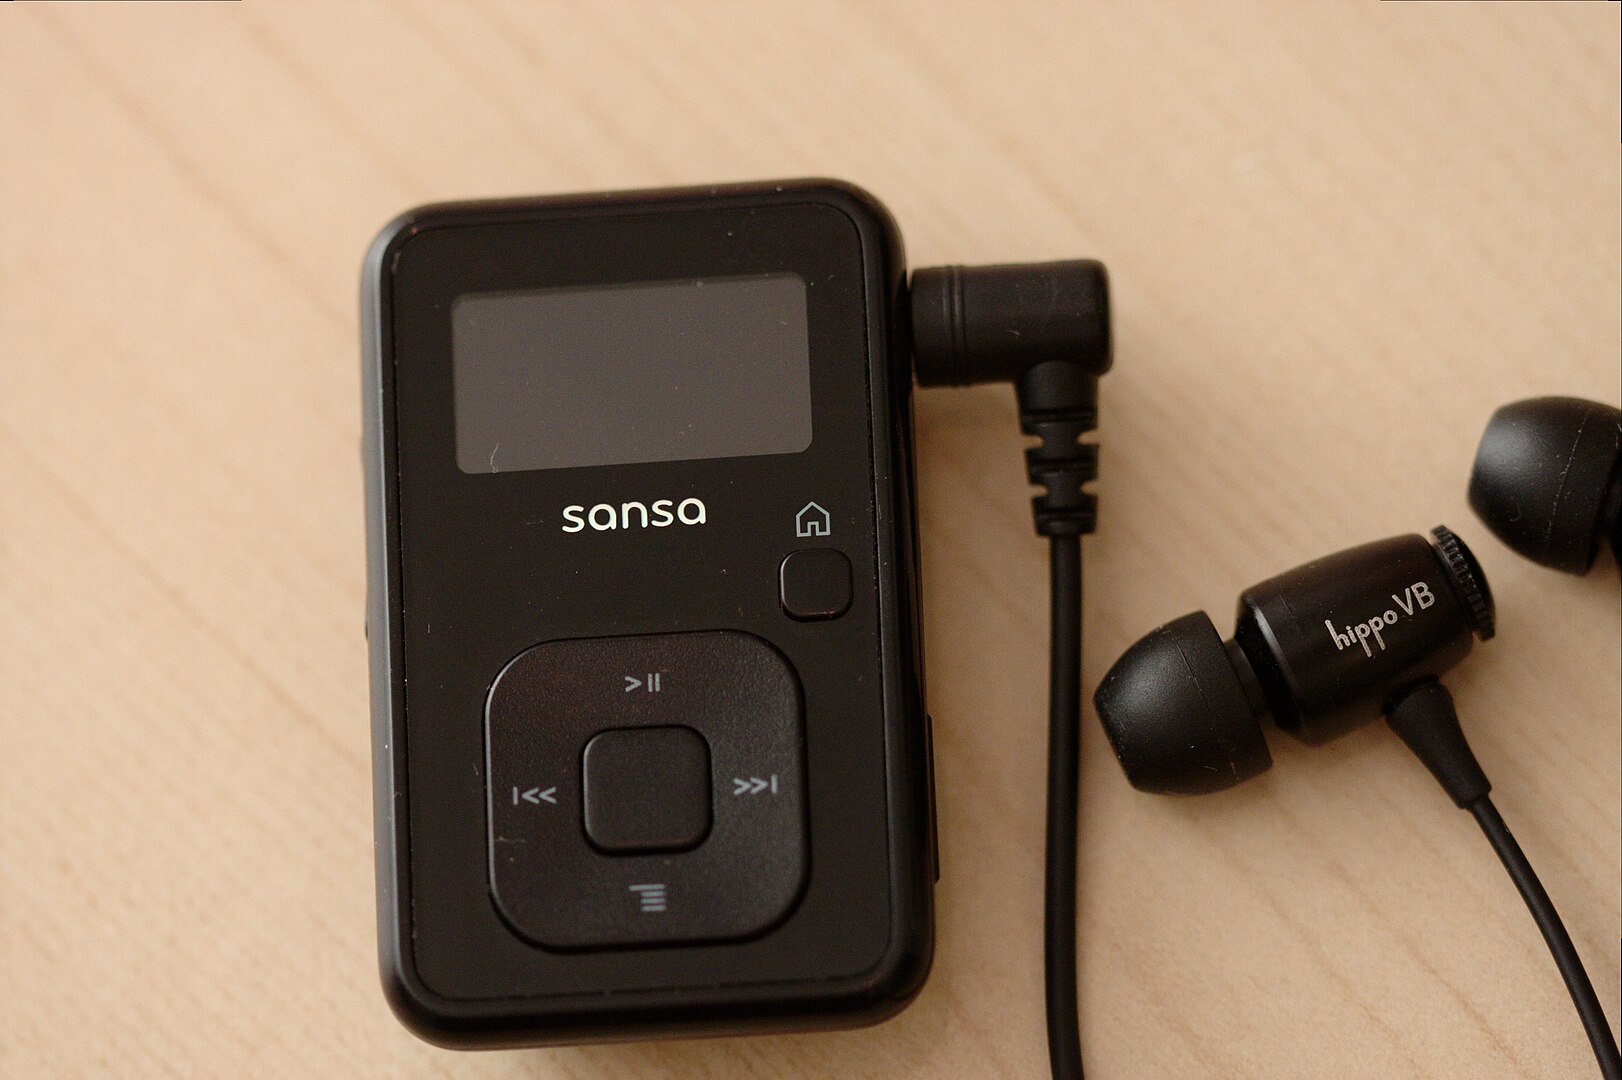
Welcome to this comprehensive guide on how to download music onto your Sandisk MP3 player. The Sandisk MP3 player is a popular device that allows you to enjoy your favorite music on the go. Whether you’re a music enthusiast, a workout enthusiast, or simply looking to pass the time with some great tunes, having a reliable and easy-to-use MP3 player is essential.
In this article, we will walk you through the step-by-step process of downloading music onto your Sandisk MP3 player. We will provide you with all the information you need to get started, from connecting your device to your computer to selecting and downloading your favorite songs.
Downloading music onto your Sandisk MP3 player not only allows you to have a portable music library at your fingertips but also gives you the freedom to listen to your preferred tracks whenever and wherever you want, without relying on an internet connection.
Before we dive into the steps, it’s important to ensure that you have the necessary equipment. You will need your Sandisk MP3 player, a computer (PC or Mac), a USB cable, and internet access. Additionally, make sure that your Sandisk MP3 player is charged and has enough storage space to accommodate the songs you wish to download.
Now that we have everything we need, let’s get started on the process of downloading music onto your Sandisk MP3 player. Follow the upcoming steps, and you’ll be enjoying your favorite tunes in no time!
Step 1: Connect your Sandisk MP3 Player to your computer
The first step in downloading music onto your Sandisk MP3 player is to connect it to your computer. To do this, locate the USB port on your Sandisk MP3 player and the corresponding USB port on your computer. Take the USB cable that came with your MP3 player and insert one end into the MP3 player and the other end into the USB port on your computer.
Once the connection is established, your computer will recognize your Sandisk MP3 player as an external device. You may see a notification or a pop-up window confirming the connection. If prompted, select the option to allow your computer to access and manage the files on the MP3 player.
It is important to ensure a secure connection between your Sandisk MP3 player and your computer. Make sure the USB cable is securely plugged in on both ends. If you experience any issues with the connection, try using a different USB cable or a different USB port on your computer.
Once your Sandisk MP3 player is successfully connected to your computer, you are ready to proceed to the next step of the music downloading process.
Step 2: Open the music downloading software
Now that your Sandisk MP3 player is connected to your computer, it’s time to open the music downloading software. The software allows you to manage and transfer music files from your computer to your MP3 player.
There are several music downloading software options available, such as Windows Media Player, iTunes, or specific software provided by Sandisk for their MP3 players. If you haven’t already done so, download and install the appropriate software for your Sandisk MP3 player.
Once the software is installed, launch it on your computer. It may automatically detect your Sandisk MP3 player and display it as a connected device. If not, look for an option within the software to search for connected devices. Click on the option to search for devices, and your Sandisk MP3 player should appear in the list.
Click on your Sandisk MP3 player to select it as the target device for downloading music. This will set the software to transfer the files directly to your device rather than to your computer’s internal storage.
The music downloading software interface may vary depending on the software you are using. Familiarize yourself with the layout and options available in order to navigate through the software and select the desired music files for download.
Now that the music downloading software is open and your Sandisk MP3 player is recognized, you are ready to move on to the next step and start selecting the music you want to download.
Step 3: Find and select the music you want to download
With the music downloading software open and your Sandisk MP3 player selected as the target device, it’s time to find and select the music you want to download. There are a few different ways you can do this depending on the software you are using.
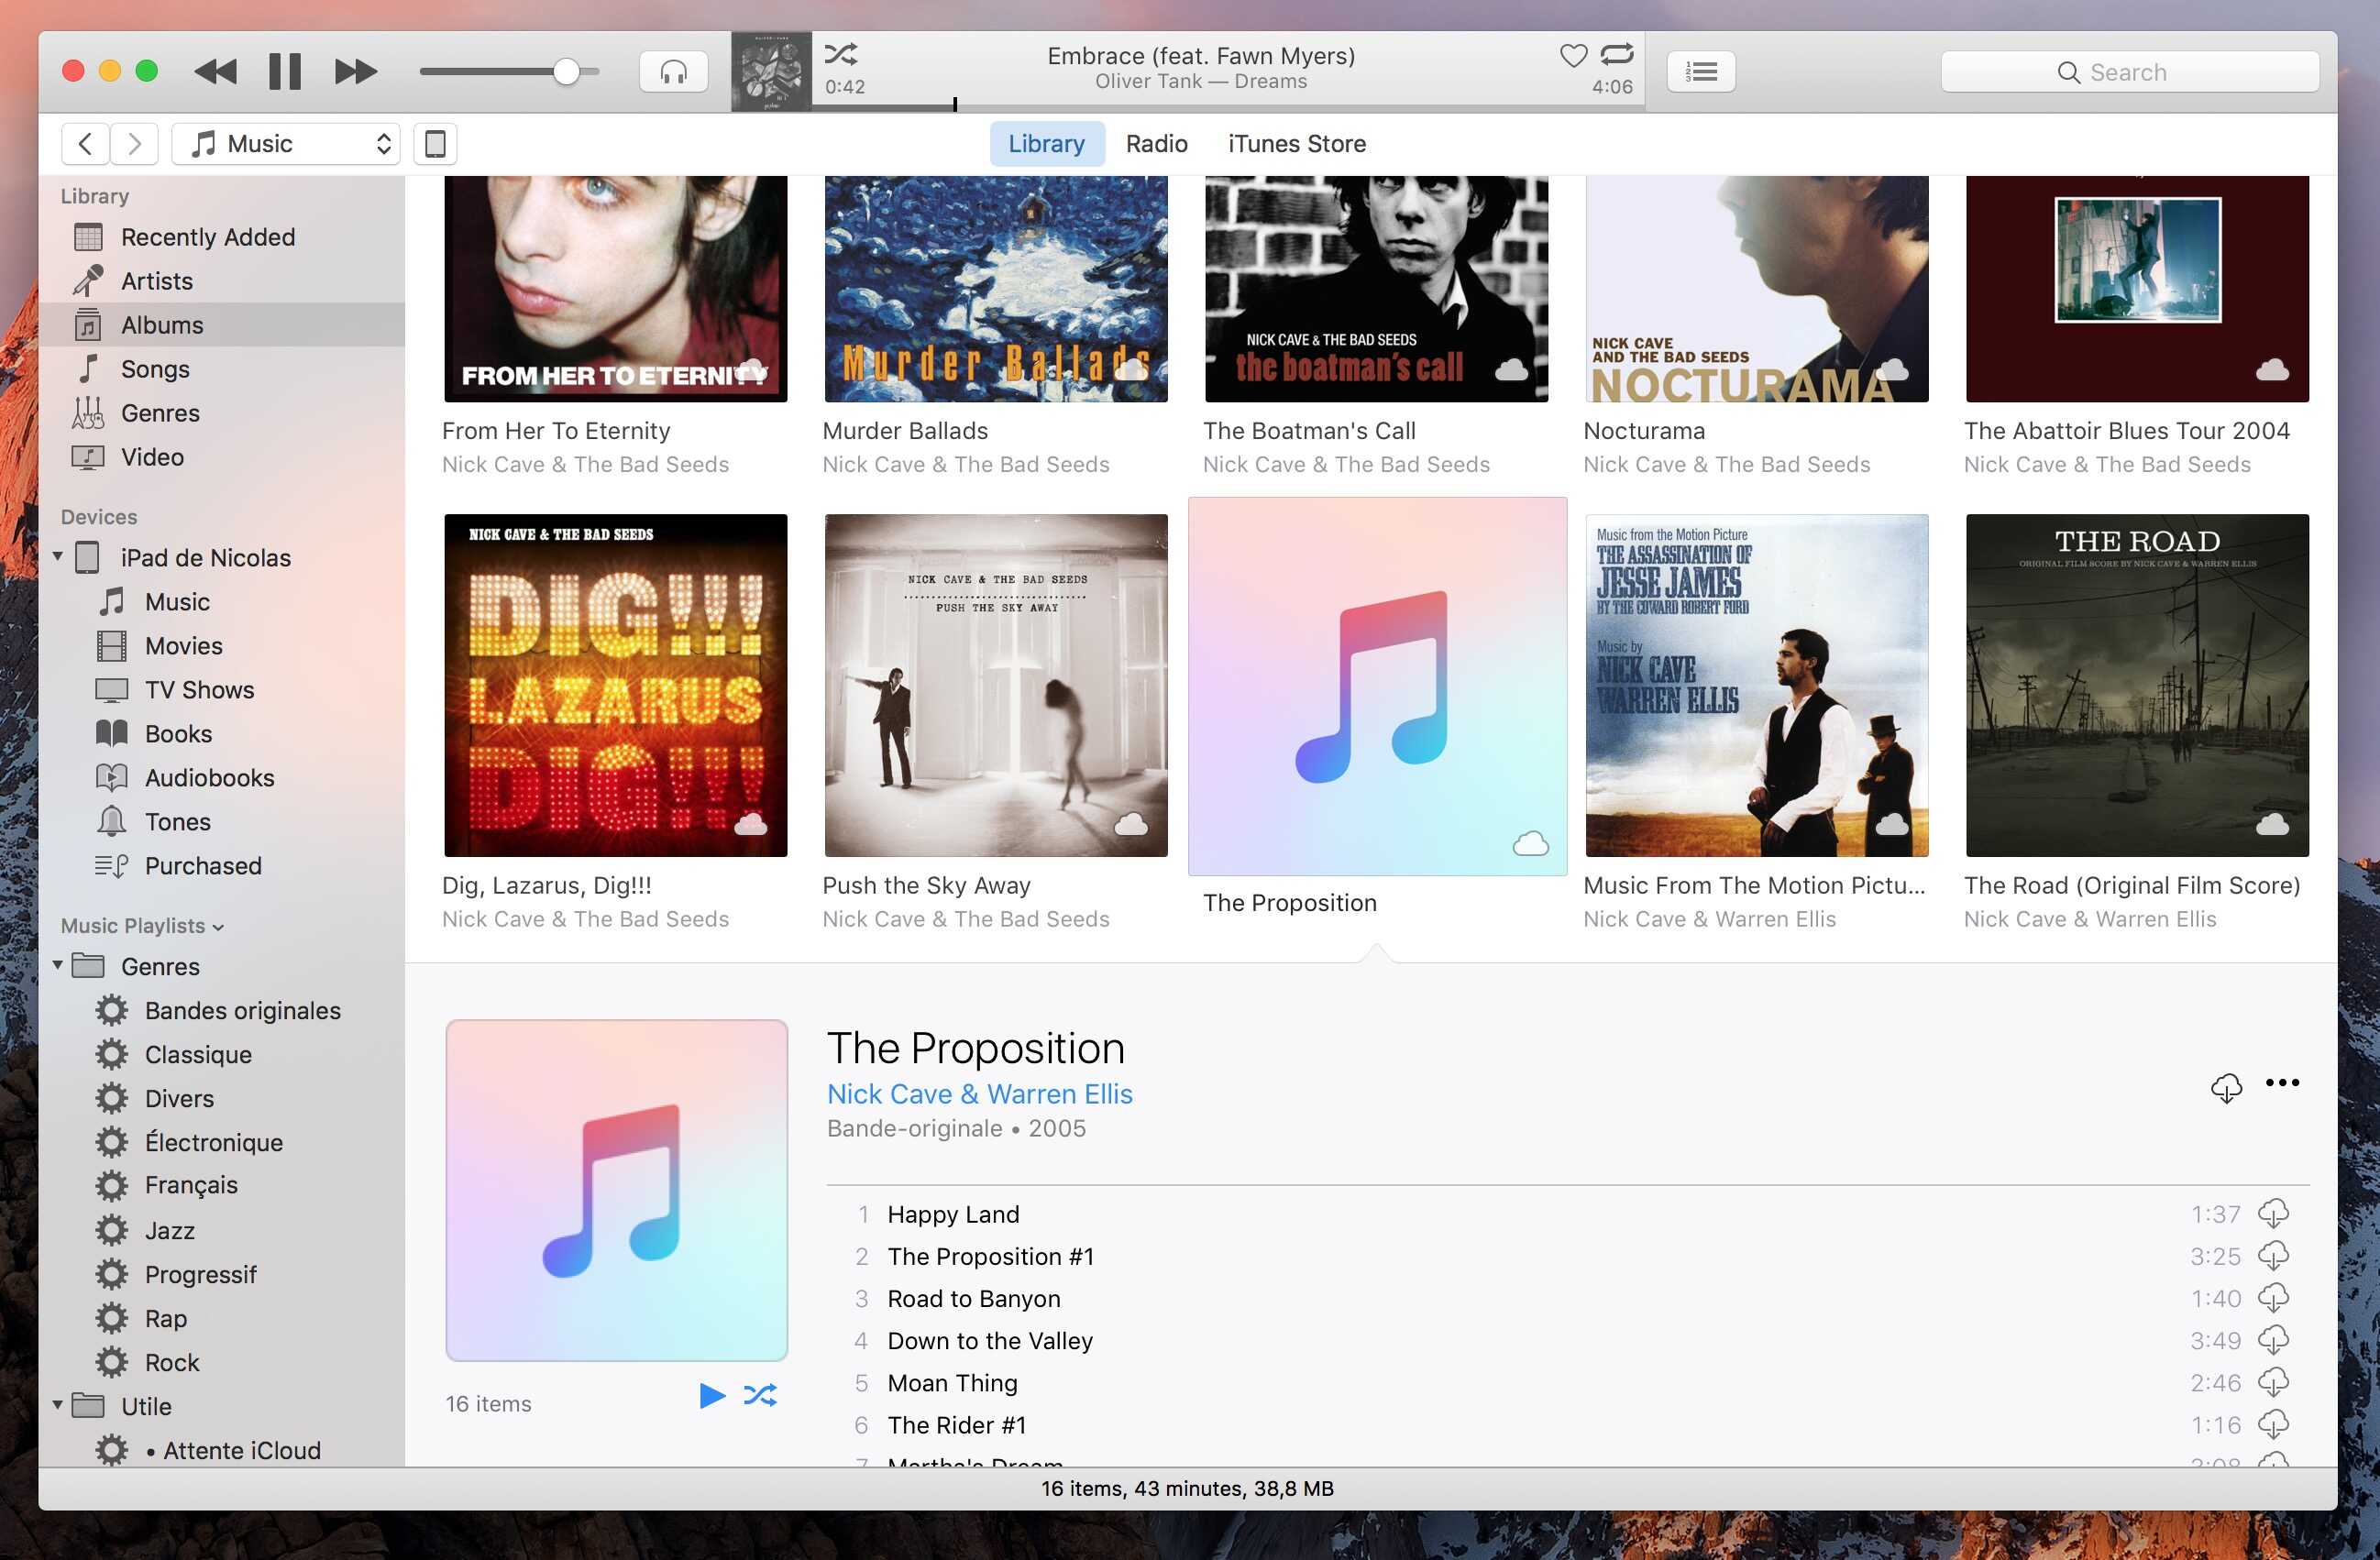
If you are using a media player software like Windows Media Player or iTunes, you can browse your computer’s music library or connect to an online music store to purchase and download songs. In these software, you can create playlists, browse by genre, search by artist or album, and explore recommended music.
If you have already downloaded music files onto your computer, you can simply drag and drop the files from your computer’s library onto your Sandisk MP3 player within the software. This method allows you to manually select specific songs or albums to transfer to your device.
If you are using specific software provided by Sandisk for their MP3 players, you may have a designated music store or library within the software. Search for the option to browse and download music from within the software interface. You may be able to search by genre, artist, or song title, and then select and download the desired music files.
When selecting the music you want to download, keep in mind the storage capacity of your Sandisk MP3 player. Check how much space is available on your device to ensure that you do not exceed its capacity. If needed, you can prioritize your favorite songs or albums and add more later if there is still sufficient space.
Take your time to explore the options available and choose the music that you love and want to listen to on your Sandisk MP3 player. Once you have found and selected the music you want to download, you are ready to move on to the next step and choose the destination folder on your device.
Step 4: Choose the destination folder on your Sandisk MP3 Player
After selecting the music you want to download, the next step is to choose the destination folder on your Sandisk MP3 player. This is the location on your device where the downloaded music files will be stored.
In most cases, your Sandisk MP3 player will have a designated folder for music or a “Music” folder where the files should be saved. However, depending on the software you are using or the specific model of your MP3 player, the folder name or location may vary.
To choose the destination folder, navigate through the music downloading software interface and locate the option or settings that allow you to specify the folder where the music will be saved. This is typically found in the software’s settings or preferences section.
Once you have located the destination folder settings, click on it to open a window where you can browse through the folders on your Sandisk MP3 player. Look for the appropriate folder for music, or if there is no specific folder designated for music, choose a folder that you prefer. You can select an existing folder or create a new one specifically for your downloaded music.
When choosing a destination folder, it’s important to ensure that there is enough available storage space to accommodate the music you want to download. Consider the size of the selected songs or albums and compare it to the remaining storage capacity on your Sandisk MP3 player.
Take your time to choose the appropriate destination folder and ensure that your Sandisk MP3 player has enough space to store the downloaded music. Once you have selected the destination folder, you are ready to move on to the next step and start the music downloading process.
Step 5: Start the music downloading process
Now that you have chosen the destination folder for your downloaded music, it’s time to start the actual music downloading process. This step will vary depending on the music downloading software you are using, but the general process remains the same.
In your music downloading software, locate the option or button that initiates the download or transfer of the selected music files to your Sandisk MP3 player. This is typically labeled as “Sync,” “Transfer,” or “Download.”
Click on the designated option to start the music downloading process. The software will automatically begin transferring the selected music files from your computer to your Sandisk MP3 player. Depending on the size and number of files, the process may take some time, so be patient and allow the software to complete the transfer.
While the music is being downloaded, you will typically see a progress bar or indicator that shows the status of the transfer. The software may also provide additional information such as the number of files being transferred, the remaining time, or the amount of storage space used on your Sandisk MP3 player.
It’s important to note that during the music downloading process, it’s best to avoid disconnecting your Sandisk MP3 player or closing the music downloading software. Doing so may interrupt the transfer and result in incomplete or corrupted files on your device.
Once the music downloading process is complete, you will receive a notification or see a confirmation message in the music downloading software. This indicates that the selected music files have been successfully transferred to your Sandisk MP3 player and are ready to be enjoyed.
With the music successfully downloaded onto your Sandisk MP3 player, you are one step away from enjoying your favorite tunes on the go. The next step is to safely disconnect your Sandisk MP3 player from your computer.
Step 6: Safely disconnect your Sandisk MP3 Player
After the music has been successfully downloaded and transferred to your Sandisk MP3 player, it’s important to safely disconnect the device from your computer. This ensures that all the files are safely written to the device and prevents any potential data corruption or loss.
To safely disconnect your Sandisk MP3 player, first, close the music downloading software on your computer. This ensures that there are no active file transfers or processes between your computer and the MP3 player.
Once the software is closed, locate the small icon or symbol representing external devices or USB connections in the system tray or menu bar of your computer. This is usually located at the bottom-right corner of a Windows computer or the top-right corner of a Mac computer.
Click on the icon to open a list of connected devices. Locate and click on your Sandisk MP3 player to select it. This will prompt a menu or a list of options specific to your device.
Within the menu or options list, look for the option to safely eject or disconnect your Sandisk MP3 player. The option may be labeled as “Eject,” “Safely Remove,” or something similar. Click on this option to begin the ejection process.
Once you have initiated the ejection process, your computer will inform you when it is safe to disconnect your Sandisk MP3 player. This notification ensures that all pending read/write operations have been completed and that it is safe to physically remove the device from the USB port.
After receiving the confirmation, gently remove the USB cable from your Sandisk MP3 player and disconnect it from the USB port on your computer. Take care not to forcefully pull or twist the cable, as this can damage the MP3 player or the USB port.
Now that you have safely disconnected your Sandisk MP3 player from your computer, you can enjoy listening to the downloaded music on your device anytime, anywhere.
Congratulations! You have successfully completed the process of downloading music onto your Sandisk MP3 player. Enjoy your favorite tunes and have a great listening experience!
Conclusion
Downloading music onto your Sandisk MP3 player is a simple and rewarding process that allows you to have your favorite tunes at your fingertips wherever you go. By following the step-by-step guide in this article, you can easily connect your MP3 player to your computer, open the music downloading software, select the songs you want, choose the destination folder, start the music downloading process, and safely disconnect your device.
Having a dedicated MP3 player like the Sandisk MP3 player gives you the freedom to create personalized music libraries, enjoy high-quality audio, and have a portable music experience without relying on an internet connection. Whether you’re a music lover, a fitness enthusiast, or just looking for a way to pass the time, having a reliable and easy-to-use MP3 player can greatly enhance your audio experience.
Remember to always choose the appropriate destination folder on your Sandisk MP3 player and monitor the available storage space to ensure that you can download and enjoy all the music you love. Take advantage of the options provided by the music downloading software to explore new music, create playlists, and organize your music library to suit your preferences.
Lastly, don’t forget to safely disconnect your Sandisk MP3 player from your computer after the music downloading process is complete. This ensures the integrity of the transferred files and prevents any potential data loss or corruption.
With these steps and tips in mind, you can confidently download music onto your Sandisk MP3 player and enjoy your favorite songs wherever you go. So, go ahead and get started on building your personal music library and immerse yourself in the joy of music with your Sandisk MP3 player!

