Home>Production & Technology>MP3>How To Put MP3 Files On Android

MP3
How To Put MP3 Files On Android
Published: December 7, 2023
Learn how to easily put MP3 files on your Android device and enjoy your favorite music on the go. Follow our step-by-step guide and transfer MP3 files hassle-free.
(Many of the links in this article redirect to a specific reviewed product. Your purchase of these products through affiliate links helps to generate commission for AudioLover.com, at no extra cost. Learn more)
Table of Contents
Introduction
Welcome to the digital age, where listening to music has become easier and more convenient than ever before. Gone are the days of carrying around bulky CD cases or downloading songs from questionable websites. Thanks to advancements in technology, we can now enjoy our favorite MP3 files on our Android devices with just a few simple steps.
Whether you’re a music aficionado or just someone who enjoys an occasional song or two, this article will guide you on how to put MP3 files on your Android device. We will explore various methods that are easy to follow, regardless of your technical expertise.
MP3 files are a popular audio format known for their small file size and high-quality sound. They can be easily downloaded or transferred from your computer to your Android device, allowing you to carry your favorite tunes with you wherever you go.
So, if you’re ready to embark on the journey of enhancing your music library on your Android device, let’s dive into the different methods available for putting MP3 files on your device. Whether you prefer using a USB cable, a file transfer app, cloud storage services, or a dedicated music management app, we’ve got you covered.
Before we begin, make sure you have your MP3 files saved on your computer or another device. Once you have them ready, let’s get started!
Method 1: Using a USB Cable
If you prefer a direct and straightforward approach, using a USB cable to transfer MP3 files to your Android device is the way to go. This method allows for a quick and reliable transfer of files, without the need for an internet connection.
Here’s how you can put MP3 files on your Android device using a USB cable:
- Connect your Android device to your computer using a compatible USB cable.
- On your Android device, swipe down from the top of the screen to access the notification panel.
- Tap on the “USB” or “Charging this device via USB” notification.
- Select the “File Transfer” or “Transfer files” option.
- On your computer, navigate to the folder where your MP3 files are stored.
- Select the MP3 files you want to transfer and copy them using Ctrl+C (Windows) or Command+C (Mac).
- Go to the connected Android device folder on your computer and open it.
- Paste the copied MP3 files into the desired location on your Android device using Ctrl+V (Windows) or Command+V (Mac).
- Wait for the transfer process to complete.
Once the transfer is complete, you can disconnect your Android device from the USB cable. The MP3 files will now be available on your Android device’s internal storage or SD card, depending on your device’s settings and storage configuration.
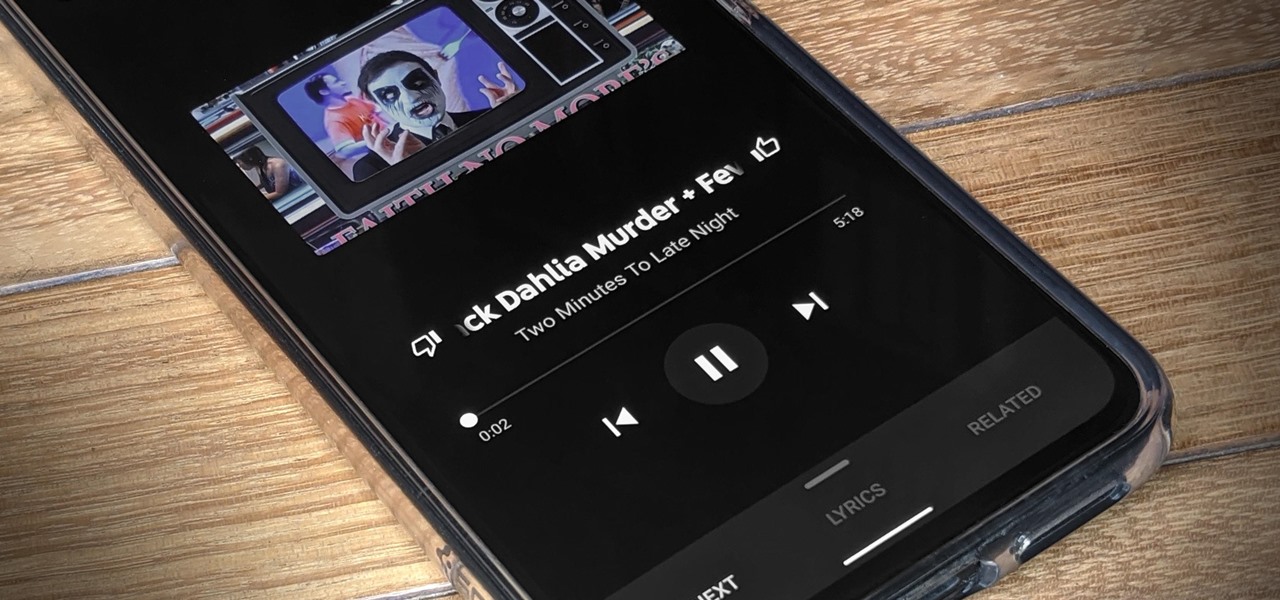
Now, you can open your preferred music player app on your Android device and enjoy listening to the transferred MP3 files at your convenience.
Using a USB cable to transfer MP3 files provides a fast and reliable method without relying on an internet connection. It is especially useful when you have a large collection of MP3 files that you want to transfer to your Android device.
However, do note that some Android devices may require additional drivers or software to be installed on your computer for the USB file transfer to work. Make sure to check the manufacturer’s website or user manual for any specific instructions related to your device.
Method 2: Using a File Transfer App
If you don’t have a USB cable or prefer a wireless method, using a file transfer app is a convenient way to put MP3 files on your Android device. These apps allow you to transfer files between your computer and Android device over a Wi-Fi network.
Here’s how you can use a file transfer app to transfer MP3 files:
- Download and install a file transfer app on your Android device. There are several options available in the Google Play Store, such as AirDroid, WiFi File Transfer, or Send Anywhere.
- On your computer, open a web browser and enter the provided URL or IP address from the file transfer app.
- Follow the instructions in the file transfer app to establish a connection between your computer and Android device. This usually involves scanning a QR code or entering a password.
- Once the connection is established, you will see an interface on your computer screen, similar to a file explorer.
- Navigate to the folder where your MP3 files are stored on your computer.
- Select the MP3 files you want to transfer and click on the “Upload” or “Transfer” button in the file transfer app interface.
- Wait for the transfer process to complete.
After the transfer is complete, you can open your preferred music player app on your Android device to access and listen to the transferred MP3 files.
Using a file transfer app eliminates the need for a physical connection between your computer and Android device. It offers the flexibility of transferring files wirelessly, which can be particularly useful when a USB cable is not available or when you want to transfer files from a remote location.
However, keep in mind that both your computer and Android device must be connected to the same Wi-Fi network for this method to work. Additionally, some file transfer apps may have file size limitations or require a premium version for unlimited transfers. Make sure to check the app’s features and limitations before proceeding.
Method 3: Using Cloud Storage Services
If you want the convenience of accessing your MP3 files from anywhere, using cloud storage services is an excellent option. Cloud storage services allow you to upload your MP3 files to a remote server and then access and download them on your Android device using a cloud storage app.
Here’s how you can use cloud storage services to transfer MP3 files:
- Create an account or sign in to a cloud storage service, such as Google Drive, Dropbox, or OneDrive.
- On your computer, upload your MP3 files to your cloud storage account by either dragging and dropping them into the web interface or using the cloud storage app installed on your computer.
- Once the upload is complete, install the corresponding cloud storage app on your Android device from the Google Play Store.
- Open the cloud storage app on your Android device and sign in to your account using the same credentials as on your computer.
- Navigate to the folder where your MP3 files are stored in the cloud storage app.
- Select the MP3 files you want to download and tap on the “Download” or “Save” button in the app interface.
- Wait for the download process to complete.
After the download is finished, you can open your preferred music player app on your Android device and enjoy listening to the downloaded MP3 files.
Using cloud storage services provides the advantage of having your MP3 files stored securely in the cloud. This means you can access and download them on any device with the cloud storage app installed, making it a convenient option for those who switch between multiple devices.
However, keep in mind that the availability of cloud storage services may depend on your internet connection speed, and downloading large files may consume your data if you are not connected to a Wi-Fi network. Additionally, some cloud storage services may have storage limits, so ensure that you have enough available space before uploading your MP3 files.
Method 4: Using a Music Management App
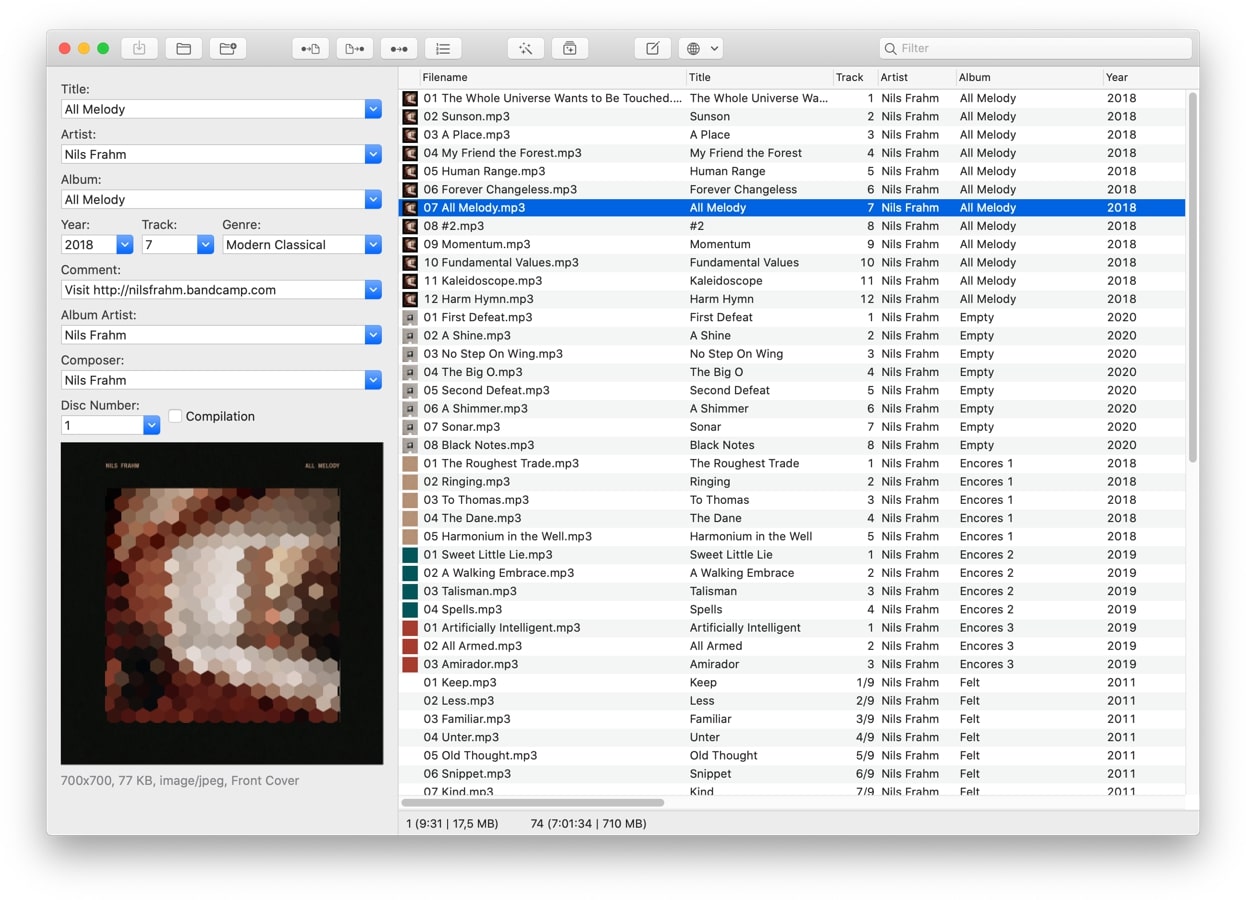
If you’re someone who loves organizing your music library and wants a dedicated app for managing your MP3 files, using a music management app on your Android device is the perfect option. These apps not only allow you to transfer MP3 files but also provide advanced features like automatic organization, album artwork retrieval, and customizable playlists.
Here’s how you can use a music management app to transfer MP3 files:
- Download and install a music management app on your Android device. Some popular options include Poweramp, JetAudio HD Music Player, and Phonograph.
- Connect your Android device to your computer using a USB cable or wirelessly (if supported by the music management app).
- On your computer, open the music management app’s interface or companion software.
- Follow the instructions provided by the app to establish a connection between your computer and Android device.
- In the music management app interface, navigate to the section for transferring or importing music files.
- Select the MP3 files you want to transfer from your computer’s music library.
- Click on the “Transfer” or “Import” button to initiate the transfer process.
- Wait for the transfer to complete, and the MP3 files will be added to your music library in the music management app.
Once the transfer is finished, you can open the music management app on your Android device to explore and enjoy your newly added MP3 files. These apps often provide enhanced features like EQ settings, music recommendations, and lyrics display, offering a personalized and immersive music experience.
Using a music management app gives you greater control and customization over your MP3 files. You can organize them into folders, create playlists, and easily search for specific tracks, making it a preferred option for music enthusiasts and those who want a seamless music listening experience.
However, keep in mind that some music management apps may have a learning curve, as they offer a wide range of features and customization options. It’s worth exploring the app’s settings and features to make the most out of your MP3 files.
Conclusion
With the availability of various methods, putting MP3 files on your Android device has never been easier. Whether you prefer a USB cable for a direct transfer, a file transfer app for wireless convenience, cloud storage services for accessibility, or a music management app for advanced features, there is a method to suit your needs.
Using a USB cable allows for a quick and reliable transfer, while a file transfer app offers the convenience of wireless connectivity. Cloud storage services provide the flexibility of accessing your MP3 files from anywhere, and music management apps offer enhanced customization options for organizing your music library.
Regardless of the method you choose, it’s important to ensure that your MP3 files are organized and easily accessible on your Android device. This way, you can enjoy your favorite songs anytime, anywhere, without any hassle.
Remember to follow the instructions specific to each method to ensure a successful transfer. Whether it’s connecting a USB cable, establishing a connection with a file transfer app, signing in to a cloud storage service, or exploring the features of a music management app, each approach has its own steps to follow.
Now that you have the knowledge and understanding of different methods to put MP3 files on your Android device, you can take full advantage of your music collection. So, start transferring your favorite songs and enjoy a personalized and immersive music experience on your Android device.
Music is a language that transcends boundaries, and having access to your cherished MP3 files on your Android device allows you to enjoy and appreciate the power of music wherever you go.

