Home>Production & Technology>Sound Bar>How To Connect A Polk Sound Bar
Sound Bar
How To Connect A Polk Sound Bar
Modified: January 22, 2024
Learn how to connect a Polk sound bar to your TV and enjoy immersive sound. Discover step-by-step instructions and troubleshooting tips for a seamless setup.
(Many of the links in this article redirect to a specific reviewed product. Your purchase of these products through affiliate links helps to generate commission for AudioLover.com, at no extra cost. Learn more)
Table of Contents
Introduction
Welcome to the world of high-quality audio! Sound bars have become increasingly popular in recent years, offering an immersive sound experience without the need for a complicated home theater setup. If you have recently purchased a Polk sound bar or are considering getting one, you’re in for a treat.
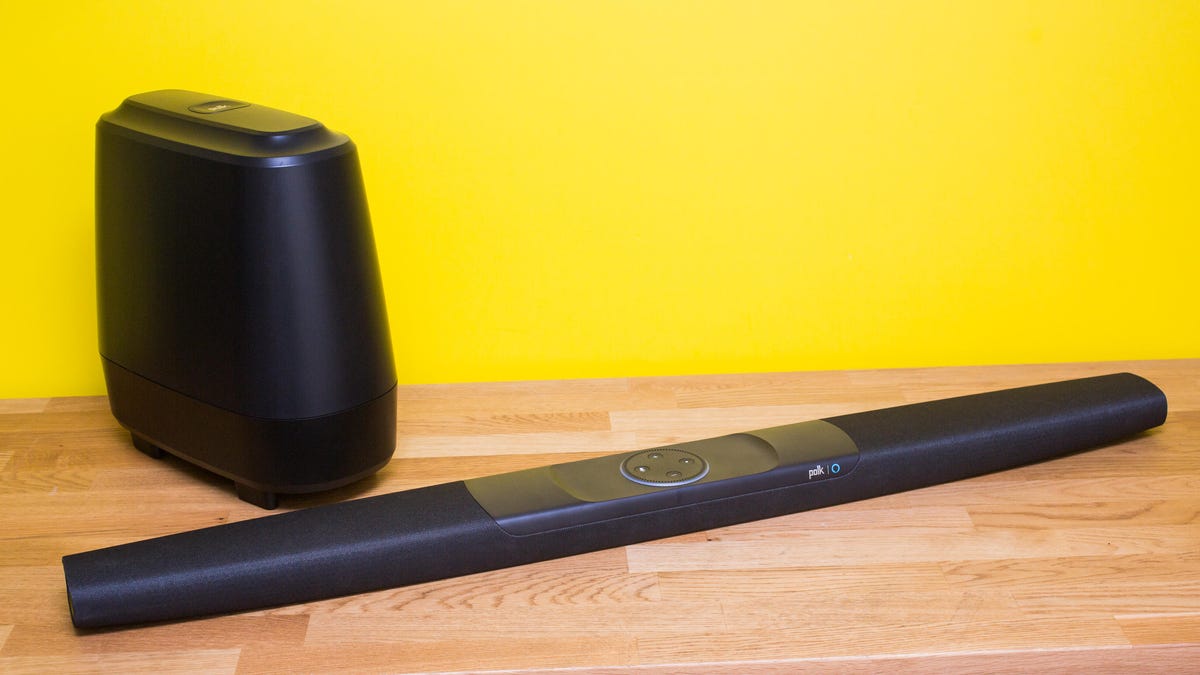
Polk Audio is renowned for its exceptional sound reproduction and cutting-edge technology. Their sound bars are designed to deliver crystal-clear audio, bringing your favorite movies, TV shows, and music to life. In this article, we will guide you through the process of connecting your Polk sound bar to your TV and other devices, ensuring that you get the most out of your audio experience.
Whether you’re a tech-savvy individual or a beginner, fear not! We will break down the steps in a user-friendly and straightforward manner, so you can have your sound bar up and running in no time. So, let’s dive in and unleash the full potential of your Polk sound bar!
Step 1: Unboxing the Polk Sound Bar
Congratulations on your new Polk sound bar! Before we dive into the exciting process of setting it up, let’s start by unboxing the package and familiarizing ourselves with the contents.
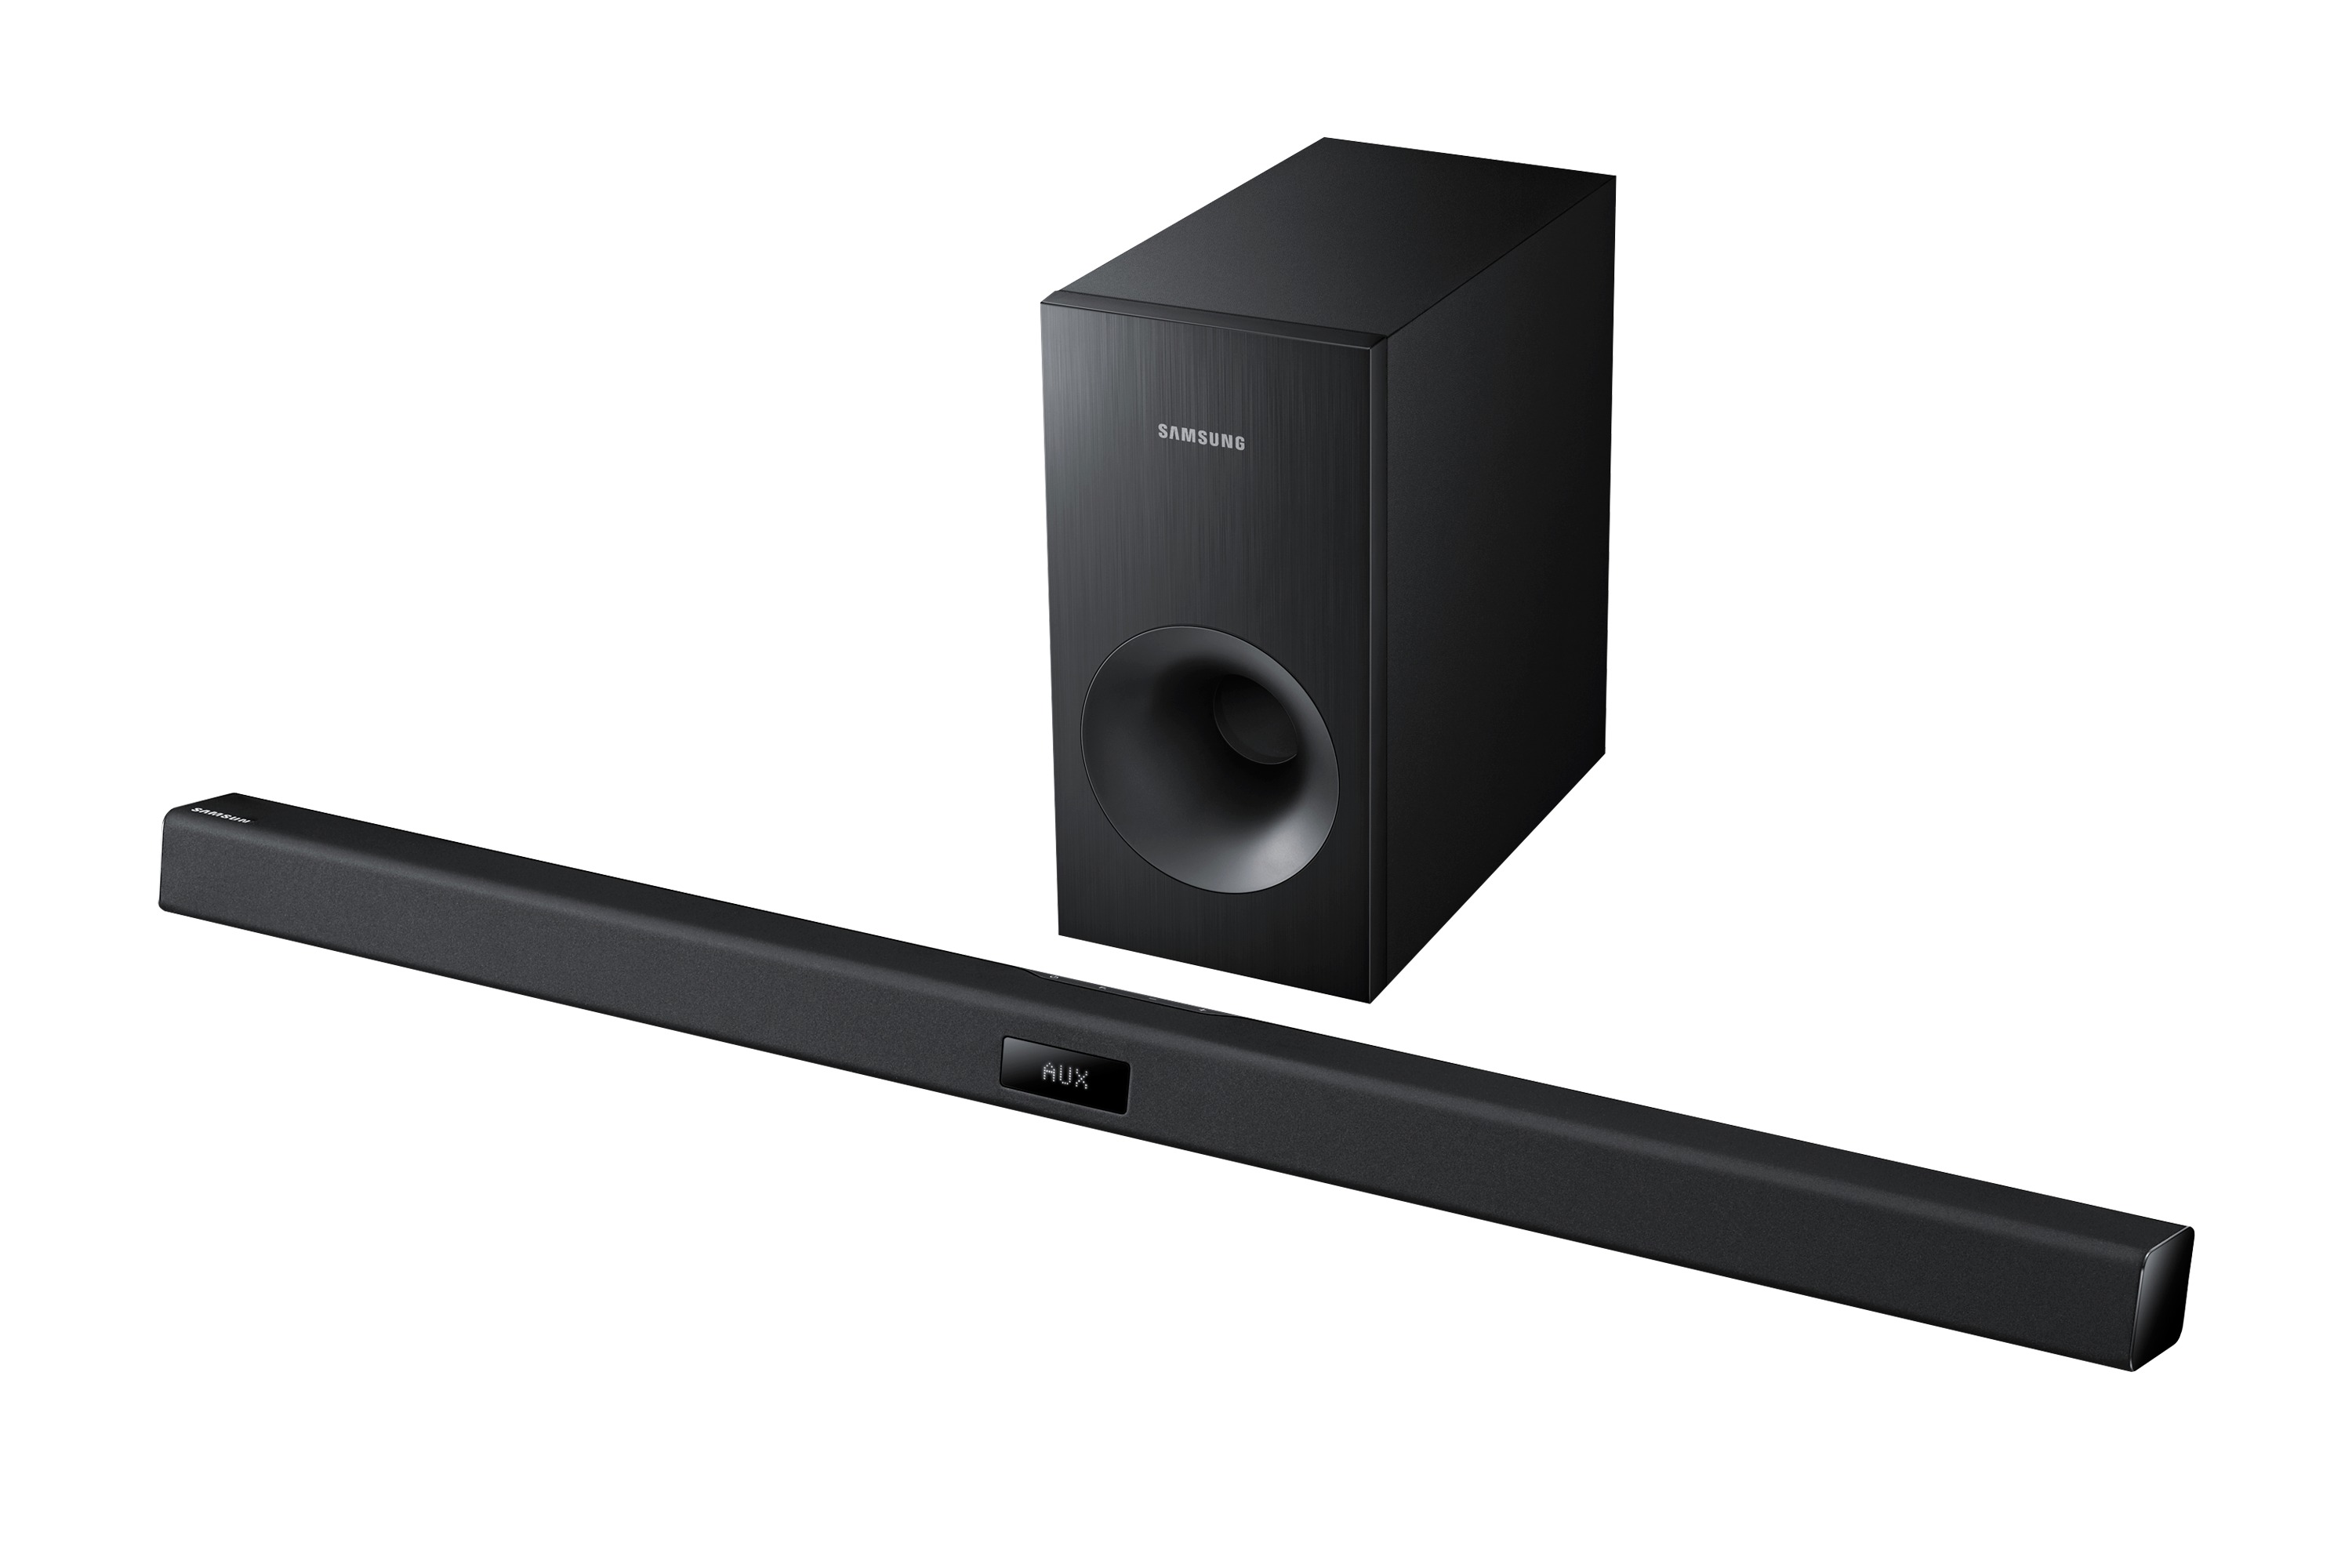
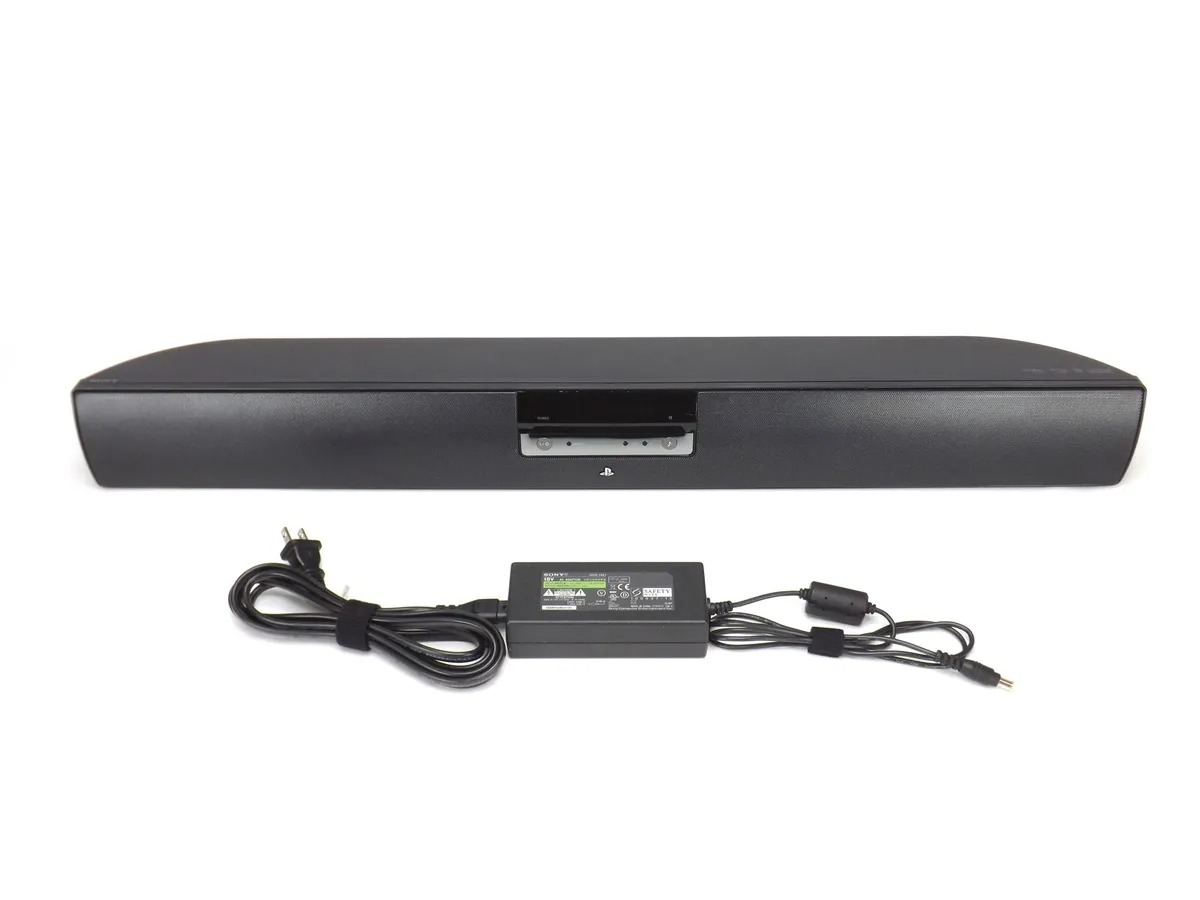
When you open the box, you will find the Polk sound bar itself, along with a few accompanying accessories. These may include a power cable, an HDMI cable, an optical cable, a remote control, and any necessary mounting brackets or screws.
Take a moment to inspect the sound bar for any visible damage during shipping. It’s always a good idea to ensure that everything is in perfect condition before proceeding with the setup.
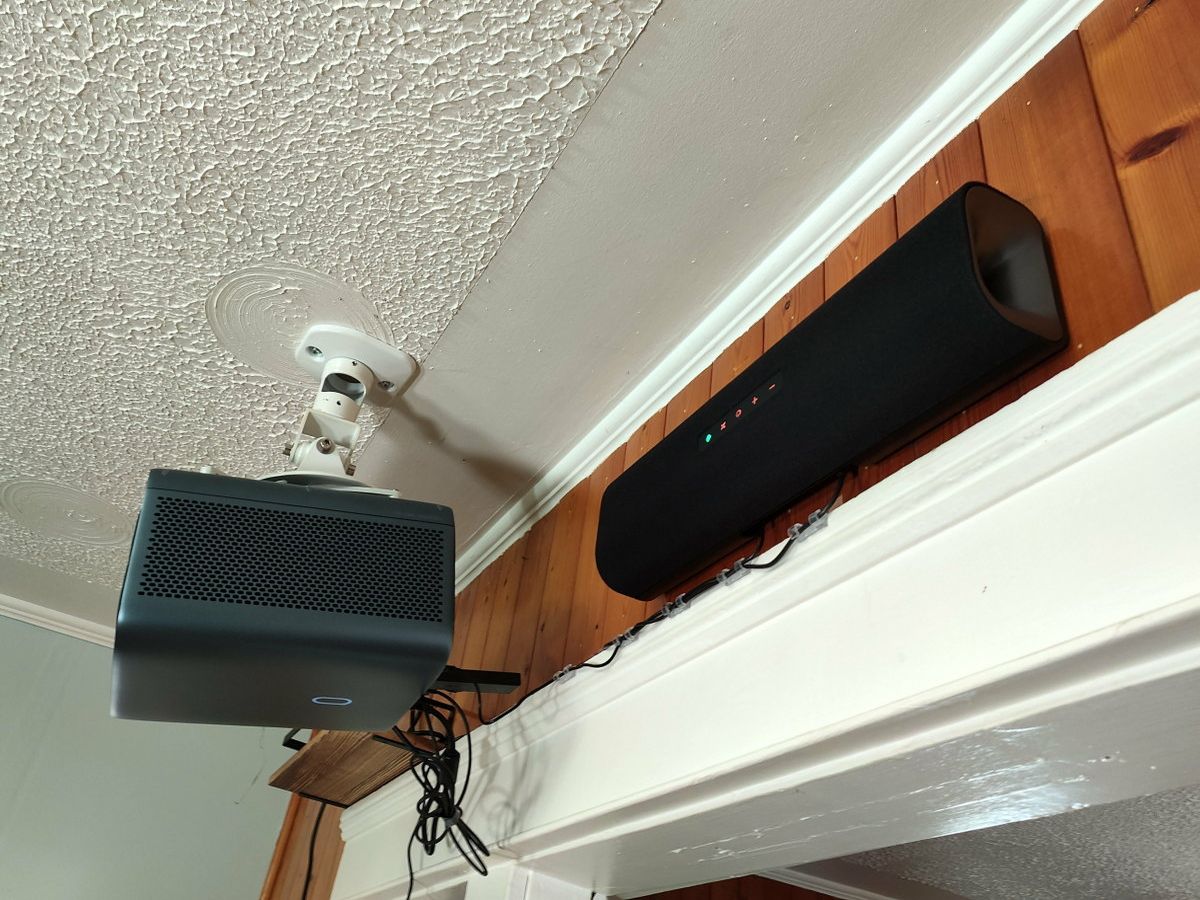
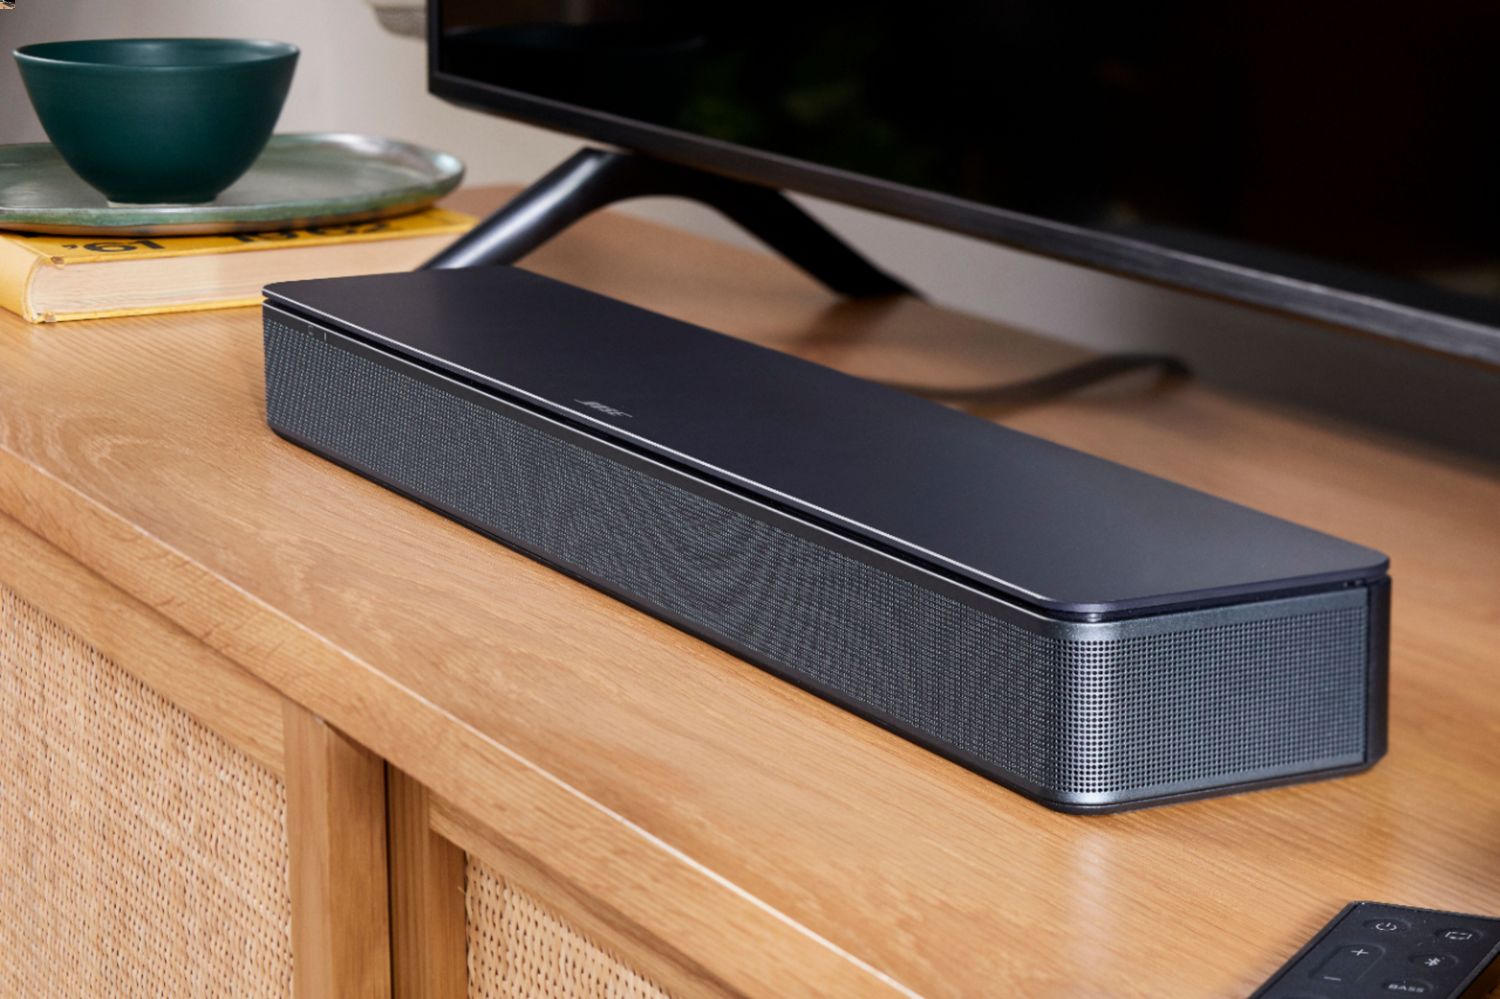
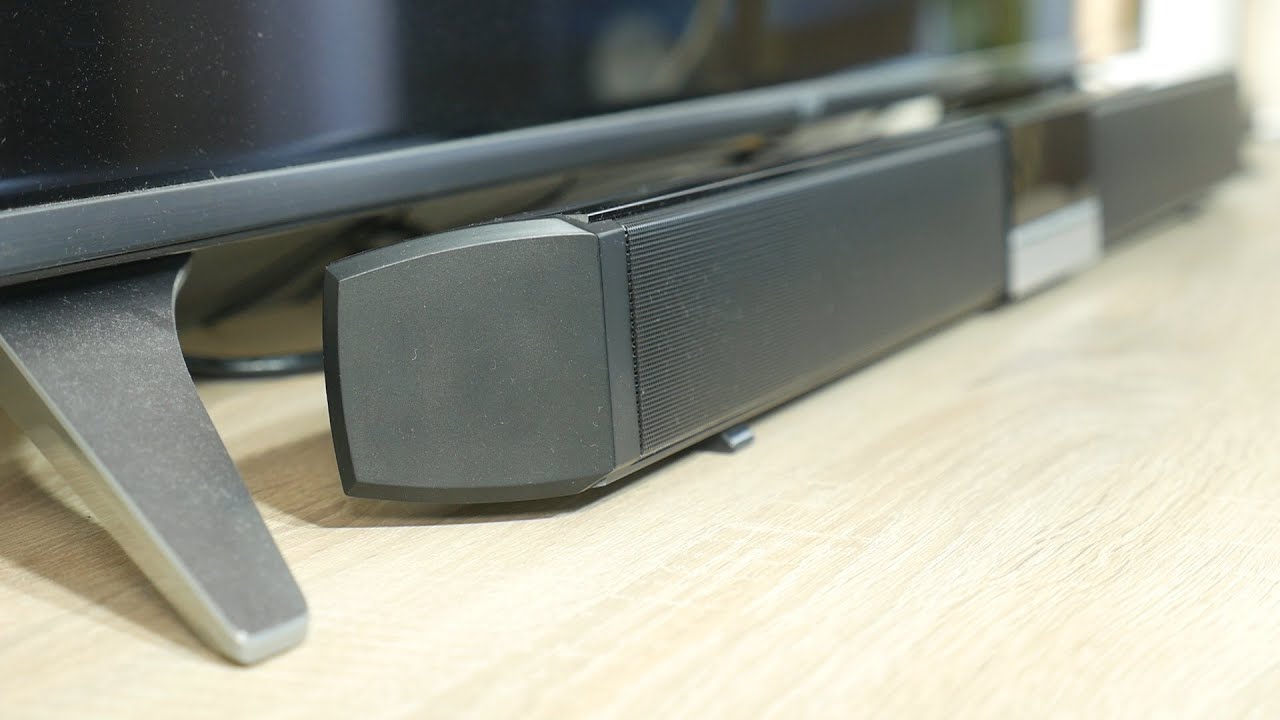
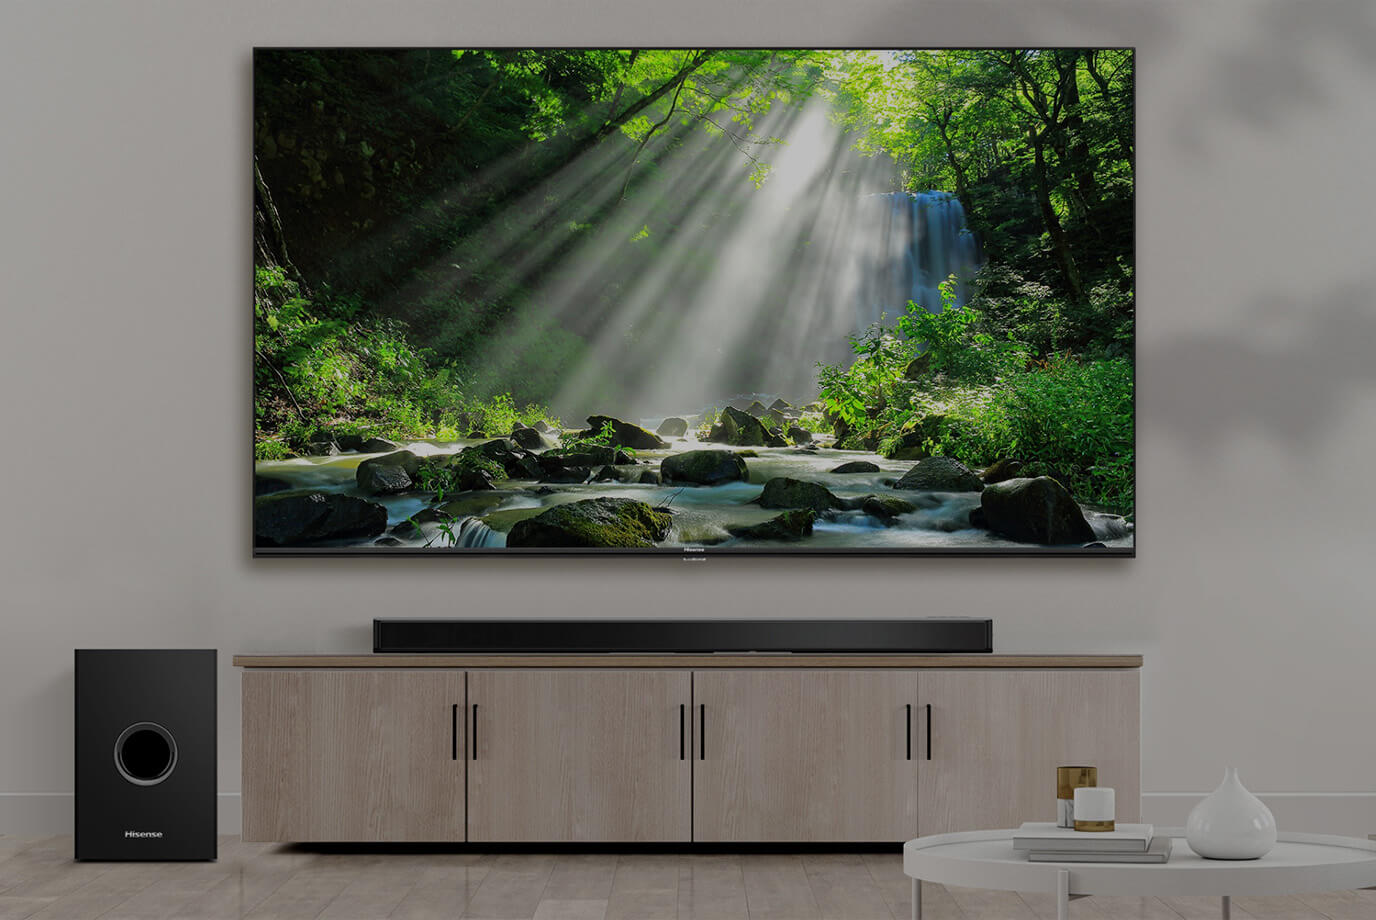
Once you’ve confirmed that everything looks good, find a suitable location for your sound bar. Consider the layout of your room, the placement of your TV, and any available wall space for mounting. Polk sound bars can be placed on a media console, mounted on a wall, or even attached to the TV itself.
If you choose to mount the sound bar on a wall, refer to the manufacturer’s instructions for the correct mounting procedure. Make sure you have the necessary tools and hardware to securely attach the sound bar to the wall.
Now that you’ve unboxed your Polk sound bar and identified the ideal location for it, you’re ready to move on to the next step: connecting it to your TV.
Step 2: Connecting the Sound Bar to the TV
Connecting your Polk sound bar to your TV is a crucial step in bringing your audio experience to the next level. Fortunately, it’s a relatively simple process that can be done in a few minutes.
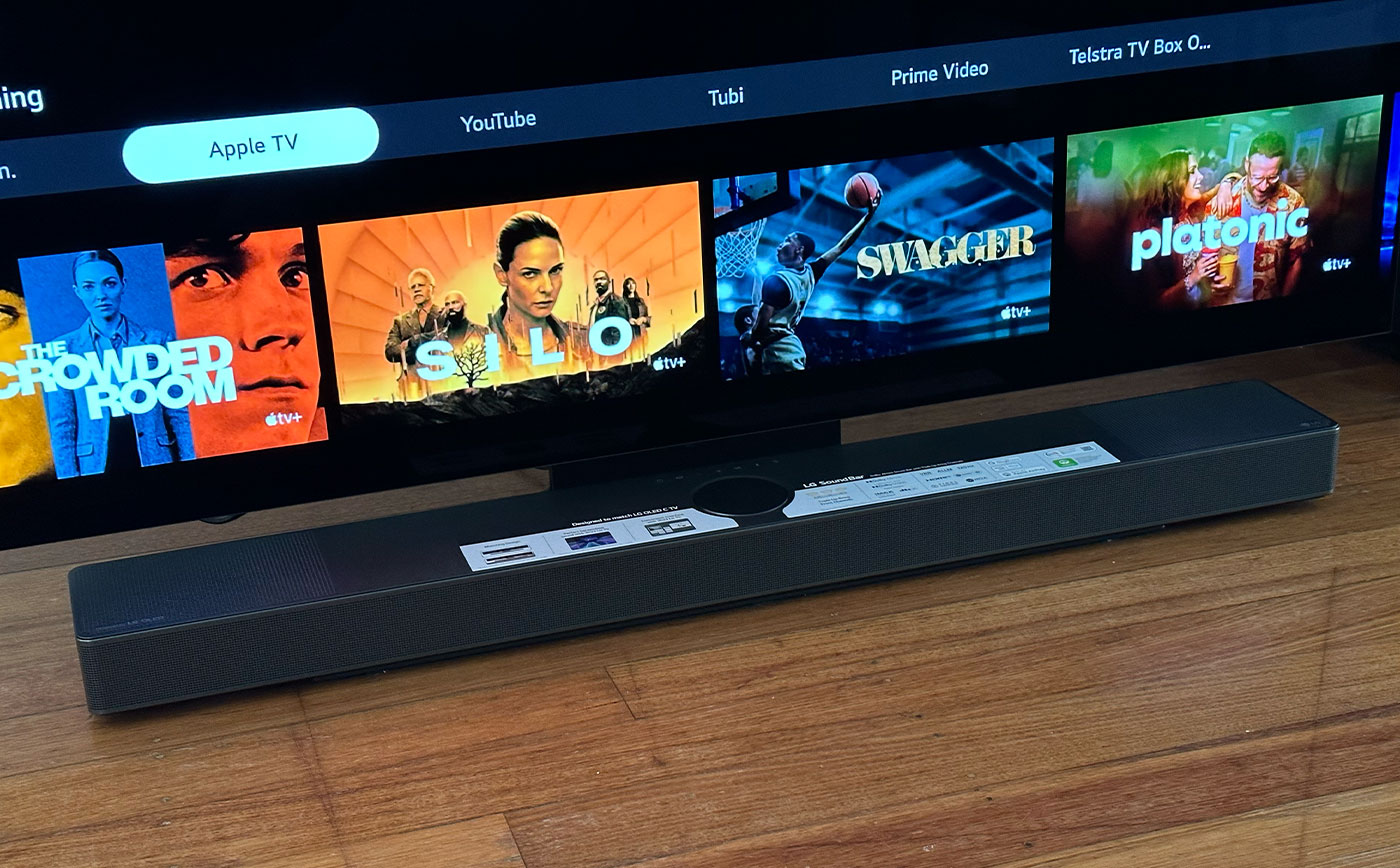
Start by identifying the type of audio output ports available on your TV. The most common options are HDMI ARC, optical audio, and 3.5mm headphone jack. Polk sound bars typically support multiple connectivity options, so you can choose the one that suits your TV’s capabilities best.
If your TV has an HDMI ARC port, this is the recommended connection method. Simply connect one end of the HDMI cable to the HDMI ARC port on your TV and the other end to the corresponding HDMI ARC input on the sound bar. This single cable connection allows for both audio playback from your TV and control of the sound bar through your TV’s remote.
If your TV does not have an HDMI ARC port, you can use the optical audio connection instead. Connect one end of the optical cable to the optical audio output on your TV and the other end to the optical audio input on the sound bar. Remember to remove any protective caps from the connectors before inserting the cables.
For TVs without HDMI ARC or optical audio outputs, you can use the 3.5mm headphone jack (if available). Connect one end of a 3.5mm audio cable to the headphone jack on your TV and the other end to the corresponding input on the sound bar. Keep in mind that this connection is analog and may not provide the same audio quality as digital connections.
Once you have made the necessary connections, power on your TV and sound bar. Switch your TV’s audio output settings to the appropriate source (HDMI ARC or optical), if required. You should now be able to hear audio through your Polk sound bar.
Don’t forget to test the sound bar with different audio sources, such as streaming services, Blu-ray players, or game consoles, to ensure that the audio is working correctly.
Congratulations! You have successfully connected your Polk sound bar to your TV. Now, let’s move on to the next step and explore how to connect the sound bar to other devices.
Step 3: Connecting the Sound Bar to Other Devices
Now that you have your Polk sound bar connected to your TV, let’s explore how to expand its functionality by connecting it to other devices. This will allow you to enjoy enhanced audio from various sources, such as gaming consoles, streaming devices, and music players.
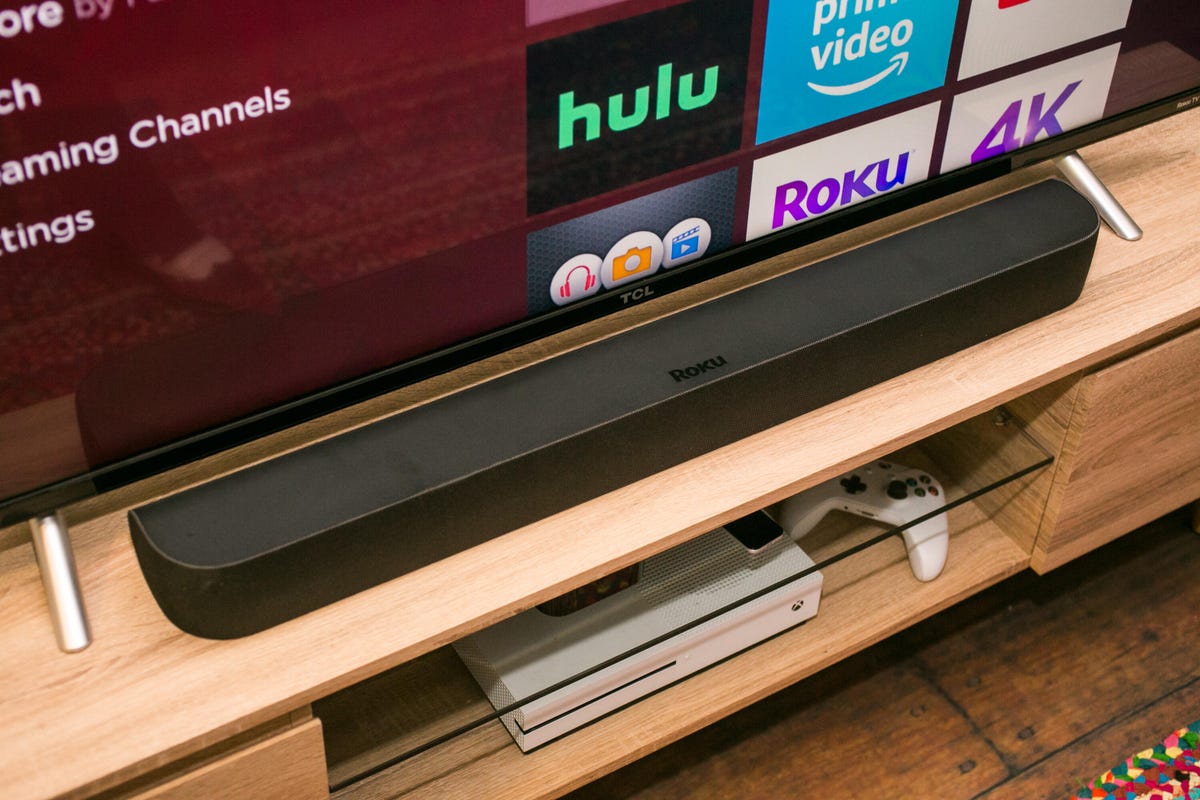
If you have a gaming console, such as an Xbox or PlayStation, you can connect it to your sound bar to experience immersive gaming audio. Most modern gaming consoles have an HDMI output. Simply connect one end of an HDMI cable to the console’s HDMI output and the other end to an available HDMI input on your sound bar. Make sure to select the corresponding input on the sound bar to ensure audio playback.
In addition to gaming consoles, you may have streaming devices, like Roku, Apple TV, or Amazon Fire TV. These devices also offer the option to connect via HDMI. Connect your streaming device to an HDMI input on the sound bar using an HDMI cable. Again, choose the correct input on the sound bar to enjoy audio from your streaming device.
If you have a music player or smartphone that supports Bluetooth connectivity, you can pair it with your Polk sound bar wirelessly. Enable Bluetooth on your device and put the sound bar in pairing mode. Once paired, you can stream music directly to your sound bar without any physical connections.
Some Polk sound bars also offer additional connectivity options, such as USB or auxiliary inputs. These can be used to connect devices like USB flash drives or MP3 players. Simply plug in the USB drive or audio cable into the corresponding port on the sound bar to enjoy your favorite music.
Remember to adjust the input source on your sound bar to match the connected device. This will ensure that the audio is correctly routed to the sound bar for optimal listening experience.
By connecting your Polk sound bar to other devices, you unlock a world of possibilities for enjoying enhanced audio across your entertainment ecosystem. Whether it’s gaming, streaming, or playing music, your sound bar will elevate the sound quality and immerse you in a captivating audio experience.
In the next step, we will explore how to fine-tune the sound bar settings to customize your audio preferences. Let’s dive in!
Step 4: Adjusting Sound Bar Settings
Now that your Polk sound bar is connected to your TV and other devices, it’s time to fine-tune the settings to optimize your audio experience. Polk sound bars often come with various built-in features and customization options to suit your preferences.
Start by familiarizing yourself with the sound bar’s remote control. This will allow you to navigate through the different settings and adjust them according to your liking. Common settings you may find include volume control, bass and treble adjustments, sound modes, and equalizer settings.
One of the first settings to adjust is the volume. Find a comfortable level that suits your listening environment and preferences. Remember to adjust the volume independently on both the sound bar and your TV for balanced audio output.
Next, explore the bass and treble controls. These settings allow you to fine-tune the low and high-frequency levels to your liking. Increase the bass if you prefer a more booming sound, or adjust the treble for clearer and crisper high tones. Play around with these controls to find your perfect audio balance.
Some Polk sound bars come with preset sound modes, such as Movie, Music, or Night Mode. These modes are designed to optimize the sound output based on the content you are watching or listening to. Experiment with these modes to see which one enhances your audio experience the most.
If your sound bar has an equalizer, take advantage of it to further customize the sound output. An equalizer allows you to adjust the individual frequency bands to create a tailored audio profile. You can boost certain frequency ranges to emphasize specific elements in the audio, such as vocals or instruments.
Lastly, if your sound bar supports wireless connectivity, check for any firmware updates. These updates often include performance improvements and bug fixes that can further enhance your audio experience. Check the manufacturer’s website or refer to the user manual for instructions on updating the firmware.
Remember that audio preferences are subjective, and what sounds great to one person may not be ideal for another. Take your time and experiment with different settings to find the audio profile that suits your listening preferences and the content you enjoy.
With your sound bar settings optimized, you are now ready to enjoy a personalized and immersive audio experience. In the next step, we will address common troubleshooting issues that you may encounter. Let’s continue!
Step 5: Troubleshooting Common Issues
While setting up and using your Polk sound bar is generally a seamless experience, you may encounter some common issues along the way. Here are a few troubleshooting tips to help you resolve them:
1. No audio: If you’re not getting any sound from your sound bar, first check the connections. Ensure that the cables are securely plugged in and that the correct input source is selected on both the sound bar and TV. If using HDMI ARC, make sure your TV’s audio settings are properly configured.
2. Low volume or distorted sound: If the volume is too low or the sound is distorted, check the volume levels on both the TV and sound bar. Make sure they are set to an appropriate level. Additionally, adjust the bass and treble settings to ensure a balanced sound output.
3. Remote control issues: If the remote control is not working, check the battery and ensure it is properly inserted. If the issue persists, try resetting the remote control and re-pairing it with the sound bar. Refer to the user manual for specific instructions.
4. Audio delay: If there is a delay between the audio and video, it can be quite distracting. Use the audio delay settings on your TV or sound bar to sync the audio with the video. Adjust the delay until you achieve lip-sync perfection.
5. Bluetooth connectivity problems: If you’re having difficulty pairing your Bluetooth device with the sound bar, make sure the sound bar is in pairing mode and is within range of the device. Check that Bluetooth is enabled on the device and try restarting both the sound bar and the device before attempting to pair them again.
6. Unexpected shut down or power issues: If the sound bar unexpectedly shuts down or exhibits power-related issues, check the power cable and ensure it is securely connected. Try plugging the sound bar into a different power outlet or using a different power cable if available. If the problem persists, contact Polk Audio customer support for assistance.
If the above troubleshooting tips do not resolve your issue, try consulting the user manual or contacting Polk Audio customer support for further assistance. They have a dedicated team of experts who can help diagnose and resolve any specific problems you may encounter.
Congratulations! By following these troubleshooting steps, you can overcome common issues and enjoy uninterrupted audio bliss with your Polk sound bar.
Now that you’re equipped with the knowledge to set up, connect, and troubleshoot your Polk sound bar, you’re ready to embark on a journey of immersive audio enjoyment.
Remember, the ultimate goal is to sit back, relax, and revel in the captivating sound experience that your Polk sound bar delivers.
Conclusion
Congratulations! You’ve successfully set up and connected your Polk sound bar, expanding your audio horizons and transforming your entertainment experience. By following the steps outlined in this guide, you’ve unlocked the full potential of your sound bar and are now able to enjoy immersive, high-quality audio.
We started by unboxing the sound bar and finding the perfect location for it. Then, we walked through the process of connecting the sound bar to your TV using HDMI ARC, optical audio, or the headphone jack. We also explored how to connect the sound bar to other devices, such as gaming consoles and streaming devices.
After making the necessary connections, we delved into adjusting the sound bar settings to fine-tune the audio to your preferences. With features like volume control, bass and treble adjustments, sound modes, and equalizer settings, you can customize the audio profile to suit your listening environment and content.
If you encounter any issues, we provided troubleshooting tips to help you overcome common problems such as no audio, low volume, remote control issues, and Bluetooth connectivity problems. Remember, if all else fails, don’t hesitate to reach out to Polk Audio customer support for assistance.
Now, it’s time to sit back, relax, and immerse yourself in the rich, detailed sound that your Polk sound bar delivers. Whether you’re watching movies, playing games, or listening to music, your audio experience will be elevated to new heights.
Thank you for choosing Polk Audio and for taking the time to read this comprehensive guide. We hope it has been helpful in setting up and optimizing your sound bar. Enjoy your new audio powerhouse and embrace the joy of superior sound!