Home>Production & Technology>Sound Bar>How To Connect Sound Bar To Projector

Sound Bar
How To Connect Sound Bar To Projector
Modified: January 22, 2024
Learn how to connect a sound bar to your projector and enhance your audio experience. Follow these simple steps to achieve seamless audio integration.
(Many of the links in this article redirect to a specific reviewed product. Your purchase of these products through affiliate links helps to generate commission for AudioLover.com, at no extra cost. Learn more)
Table of Contents
Introduction
Welcome to the world of immersive audio! Sound bars have revolutionized the way we experience sound while watching movies, playing games, or simply enjoying our favorite music. These sleek, compact devices have become increasingly popular for their ability to deliver rich and powerful audio without the need for bulky speaker setups.
One of the common scenarios where you might want to connect a sound bar is when using a projector. Projectors allow us to enjoy a bigger screen experience, but they often lack in-built speakers or have underwhelming sound quality. By connecting a sound bar to your projector, you can take your cinematic experience to the next level, amplifying the audio and immersing yourself in a world of lifelike sound.
However, you may be wondering how to go about connecting a sound bar to a projector. Fear not, as we have you covered! In this article, we will guide you through the step-by-step process of connecting a sound bar to your projector, helping you achieve that perfect combination of stunning visuals and exceptional sound.
Before we dive into the details, it’s important to note that the exact steps may vary slightly depending on the specific models of your sound bar and projector. However, the general principles we’ll outline should apply to most setups.
Step 1: Check Compatibility
The first step in connecting a sound bar to your projector is to ensure that they are compatible with each other. Compatibility includes both the physical connection options and the audio formats supported by your devices.
1. Physical Connection: Check the available ports on both your sound bar and projector. The most common audio ports found on sound bars are HDMI, optical (TOSLINK), and RCA. Projectors generally have HDMI, audio-out, or 3.5mm headphone jack outputs. Ensure that both devices have compatible audio ports.
2. Audio Formats: Determine the audio formats supported by your sound bar and projector. Common audio formats include Dolby Digital, DTS, and PCM. It’s essential to have a sound bar that can decode the audio format outputted by your projector. Consult the user manuals or specifications of both devices to confirm the supported audio formats.
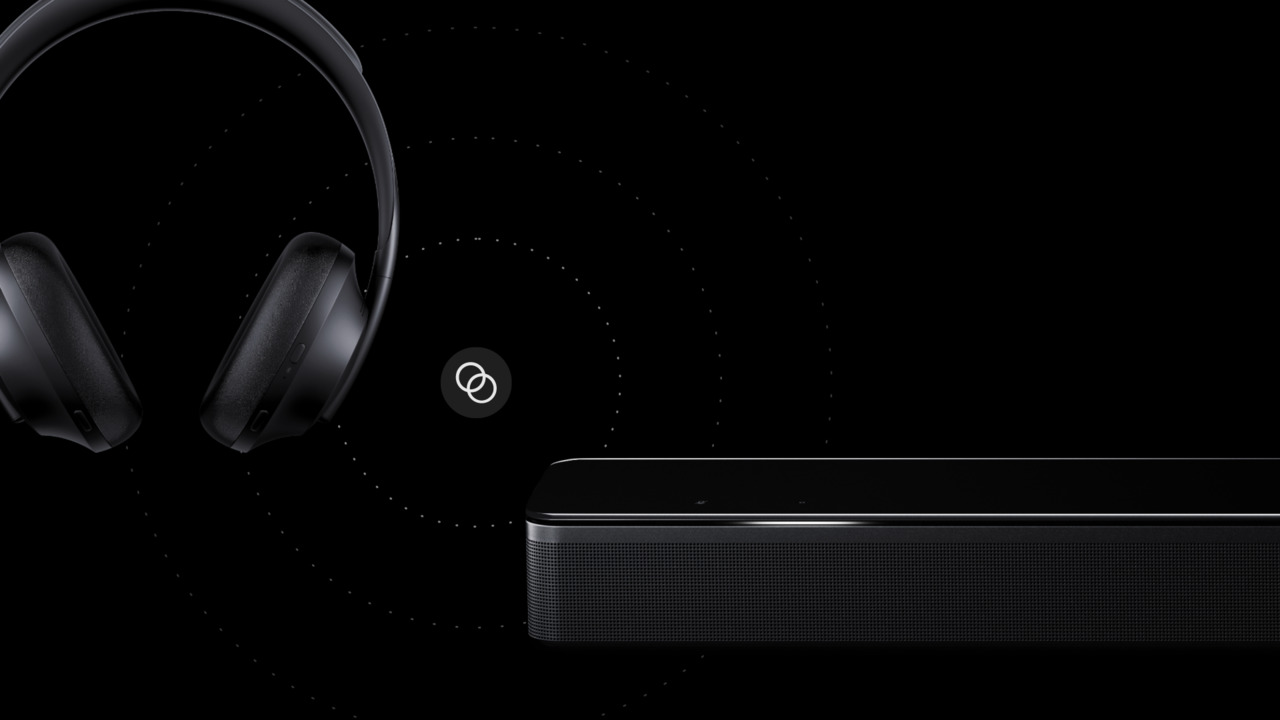
3. Technology Compatibility: Take note of any special features or technologies supported by your sound bar and projector. For example, if your sound bar supports Bluetooth connectivity, you may be able to wirelessly connect your projector to the sound bar, eliminating the need for physical cables. Ensure that both devices support the same wireless technology if you plan on going wireless.
By checking the compatibility between your sound bar and projector, you will ensure a smooth and successful connection without encountering any frustrating issues along the way. Once you’ve confirmed compatibility, you can move on to the next step of gathering the necessary equipment.
Step 2: Gather Necessary Equipment
Now that you’ve verified the compatibility between your sound bar and projector, it’s time to gather the necessary equipment to make the connection. Here’s a list of the items you’ll need:
- HDMI cable: If both your sound bar and projector have HDMI ports, an HDMI cable will provide the best audio quality and ease of setup. Make sure to choose an HDMI cable of sufficient length to connect the two devices.
- Optical cable: If your sound bar and projector have optical (TOSLINK) ports, an optical cable can be used for the audio connection. Similar to the HDMI cable, ensure that the cable has enough length to reach both devices.
- RCA cable: If your sound bar and projector have RCA ports, you can use an RCA cable for the audio connection. This is the least common option, as most modern sound bars and projectors prefer HDMI or optical connections.
- Bluetooth: If your sound bar and projector support Bluetooth connectivity, you can connect them wirelessly without the need for any cables. Check the user manuals of both devices to confirm and enable Bluetooth pairing.
- Power cables: Ensure that both your sound bar and projector have suitable power adapters and cables for proper functioning.
- Additional adapters: Depending on the specific ports and connections of your sound bar and projector, you may require additional adapters or converters. For example, if your sound bar has only HDMI ARC (Audio Return Channel) and your projector lacks an HDMI ARC port, you may need an HDMI ARC to optical converter.
Once you have gathered all the necessary equipment, you are ready to proceed to the next step of connecting the sound bar to your projector. Make sure that all the cables and adapters are readily available and in good condition for a hassle-free setup process.
Step 3: Connect the Sound Bar to the Projector
Now that you have the necessary equipment, it’s time to connect your sound bar to the projector. Follow these steps:
- If using an HDMI cable:
- Connect one end of the HDMI cable to the HDMI output port on the back of your projector.
- Connect the other end of the HDMI cable to the HDMI input port on your sound bar.
- If using an optical cable:
- Identify the optical (TOSLINK) port on the back of your projector.
- Connect one end of the optical cable to the optical port on the projector.
- Connect the other end of the optical cable to the optical port on your sound bar.
- If using an RCA cable:
- Find the RCA audio (red and white) ports on the back of your projector.
- Connect the red and white ends of the RCA cable to the respective audio output ports on the projector.
- Connect the other end of the RCA cable to the RCA input ports on your sound bar.
- If using Bluetooth:
- Enable the Bluetooth feature on both your sound bar and projector.
- On the sound bar, ensure it is in pairing mode.
- From the projector’s settings menu, search for available Bluetooth devices and select your sound bar.
Once the physical connections are in place, ensure that both your sound bar and projector are powered on. Depending on your specific models, you may need to adjust some settings on either device to activate the external audio connection. Refer to the user manuals of your sound bar and projector for guidance on selecting the correct audio input source.
With the sound bar successfully connected to the projector, you’re one step away from enjoying a truly immersive audiovisual experience!
Step 4: Adjust Audio Settings
After connecting the sound bar to your projector, it’s important to adjust the audio settings to ensure optimal sound performance. Follow these steps to fine-tune the audio settings:
- Access the audio settings menu on your projector. This can usually be done through the projector’s remote control or on-screen display.
- Select the appropriate audio output option. Depending on your projector model, you may need to choose “external speakers,” “audio out,” or a similar option to activate the sound bar as the audio output device.
- Adjust the volume settings on both the projector and the sound bar. It’s recommended to set the projector’s volume to the maximum level and control the audio output using the sound bar’s volume controls. This ensures that the sound bar handles the amplification and provides better audio quality.
- Explore additional audio settings if available. Some projectors offer EQ (equalizer) settings or sound enhancement options such as virtual surround sound. Experiment with these settings to find the audio profile that suits your preferences.
It’s essential to test the audio settings after adjustment to ensure that the sound output is balanced, clear, and pleasing to your ears. It’s also worth noting that some sound bars have their own sound modes or audio presets, such as movie mode or music mode. Take the time to explore these options and select the one that best complements your content and personal preferences.
Remember, the goal is to achieve a harmonious synergy between the visuals from your projector and the immersive audio from your sound bar. By fine-tuning the audio settings, you can enhance your overall viewing experience and fully immerse yourself in the content you’re enjoying.
Step 5: Test the Connection
Once you have completed the previous steps, it’s time to test the connection between your sound bar and projector to ensure everything is working properly. Follow these steps to test the connection:
- Select a video or audio source on your projector, such as a movie or music video.
- Play the content and listen for audio coming from the sound bar. If you don’t hear any sound or encounter issues, double-check the connections and audio settings on both the projector and sound bar.
- Verify that the sound bar is producing clear, balanced sound with no distortion or interruptions. Adjust the volume settings as needed to achieve the desired audio level.
- Test the audio by playing content with different sound effects or audio formats. This will help you determine if the sound bar is capable of delivering the desired audio experience, such as surround sound or immersive audio.
- Check for synchronization between the audio and video. Ensure that there is no noticeable delay between the sound and the corresponding visuals on the projector screen. Adjust any audio delay settings on the sound bar if needed.
Throughout the testing process, pay attention to any potential issues or flaws in the audio connection. If you encounter any problems, refer to the user manuals or online resources for troubleshooting steps specific to your sound bar and projector models.
By thoroughly testing the connection, you can confirm that the sound bar and projector are working together seamlessly, providing you with an enhanced audio experience that complements the visuals on the big screen.
Conclusion
Connecting a sound bar to your projector can significantly enhance your audiovisual experience, transforming ordinary movie nights into immersive cinematic adventures. By following the steps outlined in this guide, you can easily establish a solid audio connection between your sound bar and projector, allowing you to enjoy high-quality sound that complements the stunning visuals on the big screen.
Remember to check the compatibility between your devices, gather the necessary equipment, and make the appropriate connections using HDMI, optical, RCA, or Bluetooth options. Adjust the audio settings on both the projector and sound bar to optimize the audio output, and thoroughly test the connection to ensure everything is working as expected.
The combination of a projector and sound bar opens up a world of entertainment possibilities, whether you’re enjoying movies, gaming, or streaming music. Immerse yourself in the action, feel the rumble of explosions, or lose yourself in the nuances of your favorite songs.
By taking the time to set up and connect your sound bar to your projector correctly, you’ll create a captivating audiovisual experience that will transport you to another dimension. Get ready to elevate your home entertainment setup and enjoy the best of both worlds – remarkable visuals and incredible sound.
So, go ahead and start connecting your sound bar to your projector. Get ready to be blown away by the immersive audio experience that awaits you!

