Home>Production & Technology>Sound Bar>How To Connect Sony Sound Bar To TV
Sound Bar
How To Connect Sony Sound Bar To TV
Modified: January 22, 2024
Learn how to easily connect your Sony sound bar to your TV and enhance your audio experience. Follow our step-by-step guide to connect your sound bar and start enjoying immersive sound.
(Many of the links in this article redirect to a specific reviewed product. Your purchase of these products through affiliate links helps to generate commission for AudioLover.com, at no extra cost. Learn more)
Table of Contents
- Introduction
- Step 1: Gather the necessary equipment
- Step 2: Locate the audio output on the TV
- Step 3: Connect the sound bar to the TV using HDMI ARC
- Step 4: Connect the sound bar to the TV using an optical cable
- Step 5: Connect the sound bar to the TV using Bluetooth
- Step 6: Adjust the audio settings on the TV
- Step 7: Test the sound bar connection
- Conclusion
Introduction
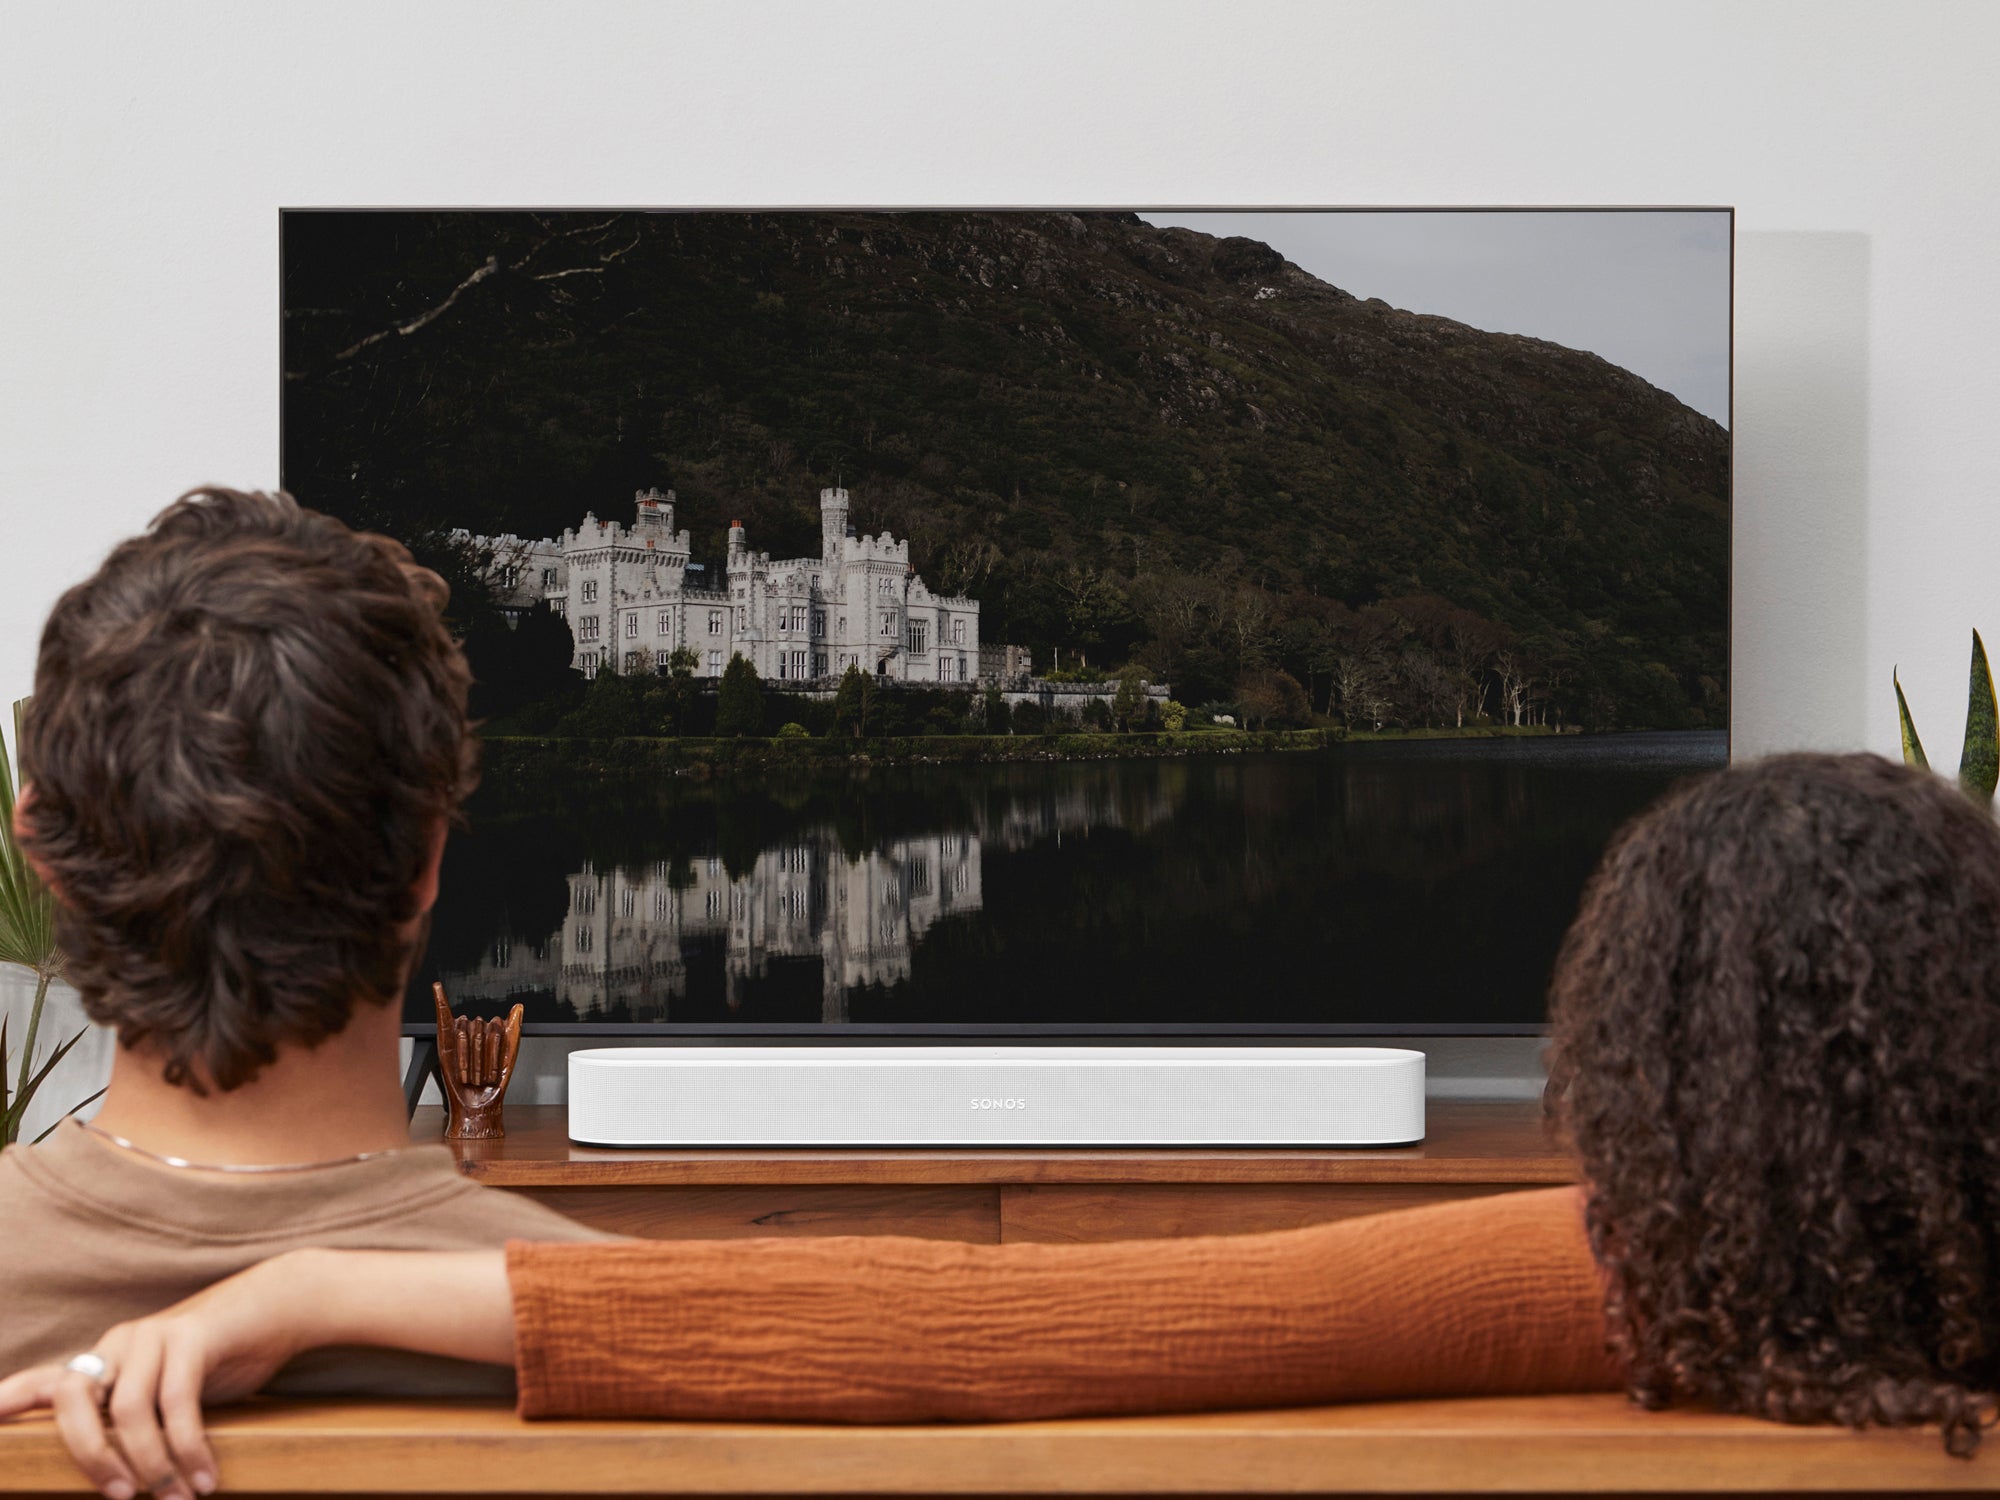
Welcome to our guide on how to connect a Sony sound bar to your TV. Sound bars have become increasingly popular as a way to enhance the audio quality of your TV viewing experience. Whether you’re watching your favorite movies, playing video games, or enjoying your favorite TV shows, a sound bar can provide a more immersive and enjoyable sound experience.
Sony is well-known for producing high-quality sound bars that offer crisp and clear audio, making them a popular choice for many consumers. The process of connecting a Sony sound bar to your TV may seem daunting at first, but rest assured, it is a straightforward process that can be completed with just a few simple steps.
In this guide, we will walk you through the different methods of connecting your Sony sound bar to your TV, including using HDMI ARC, an optical cable, or Bluetooth. We will also provide tips on adjusting the audio settings on your TV to optimize the sound bar’s performance. So, let’s get started and bring your TV audio to life with a Sony sound bar!
Step 1: Gather the necessary equipment
Before you begin the process of connecting your Sony sound bar to your TV, it’s important to gather all the necessary equipment. Here’s what you’ll need:
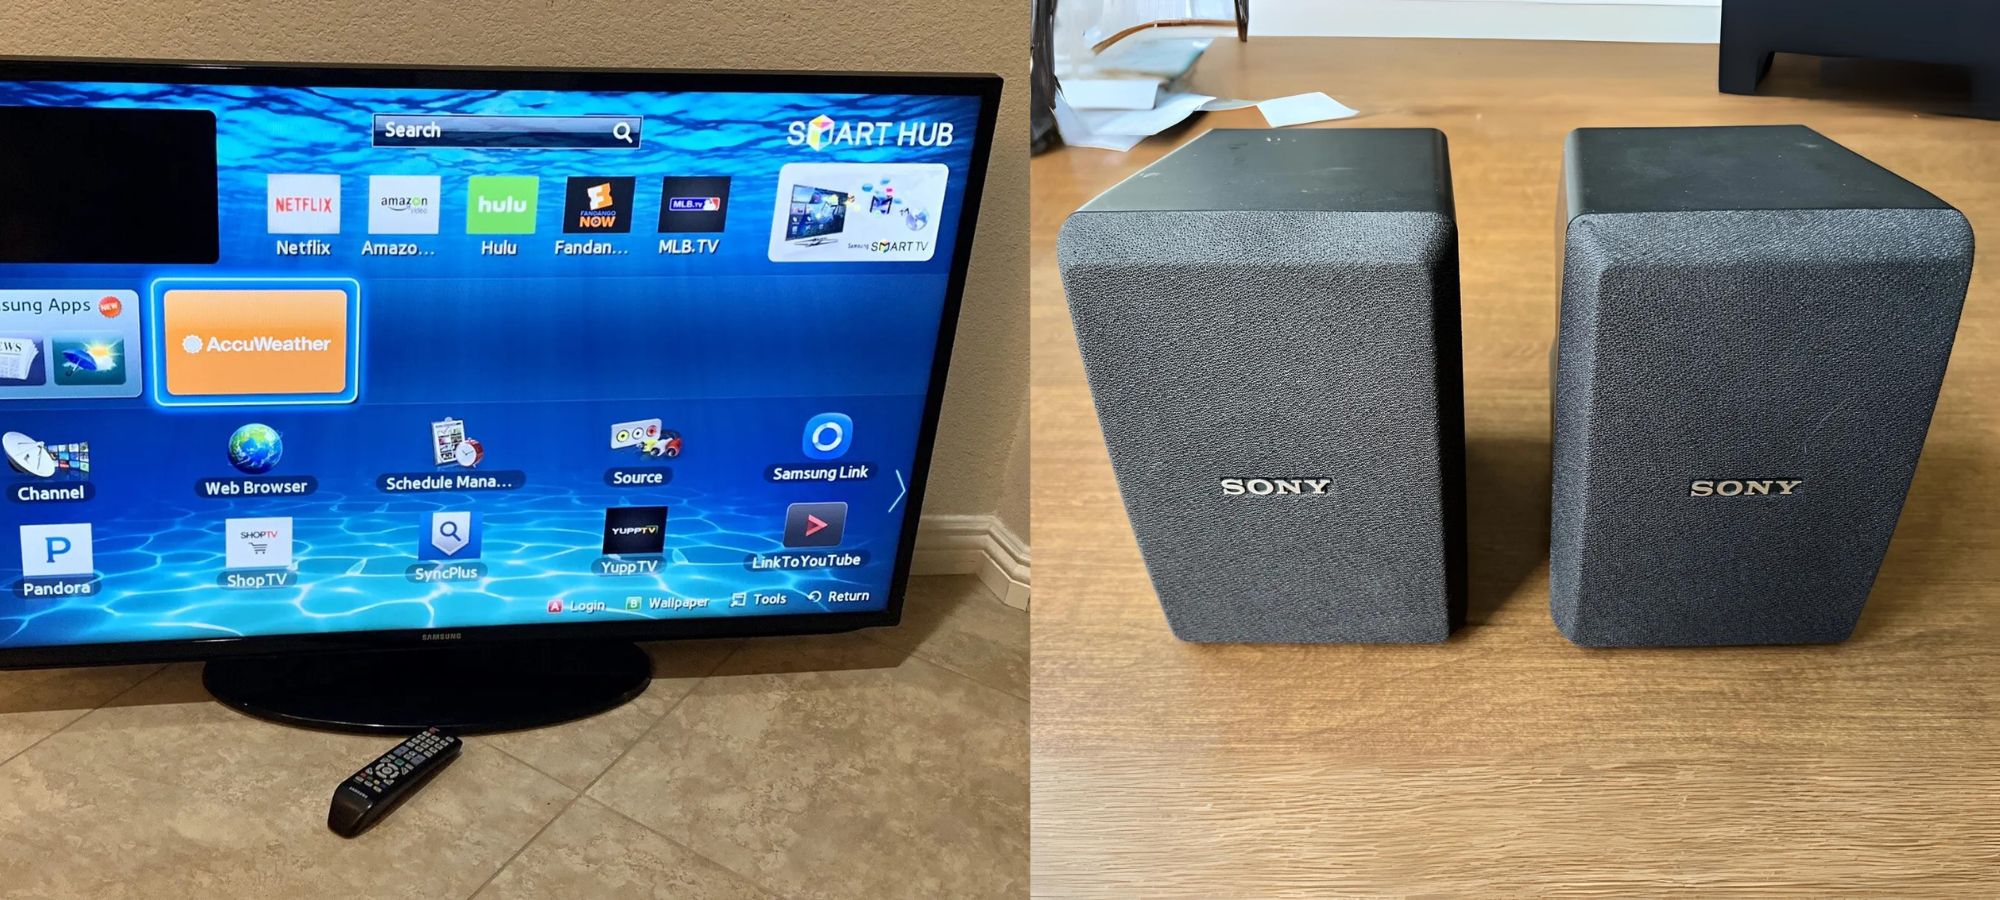
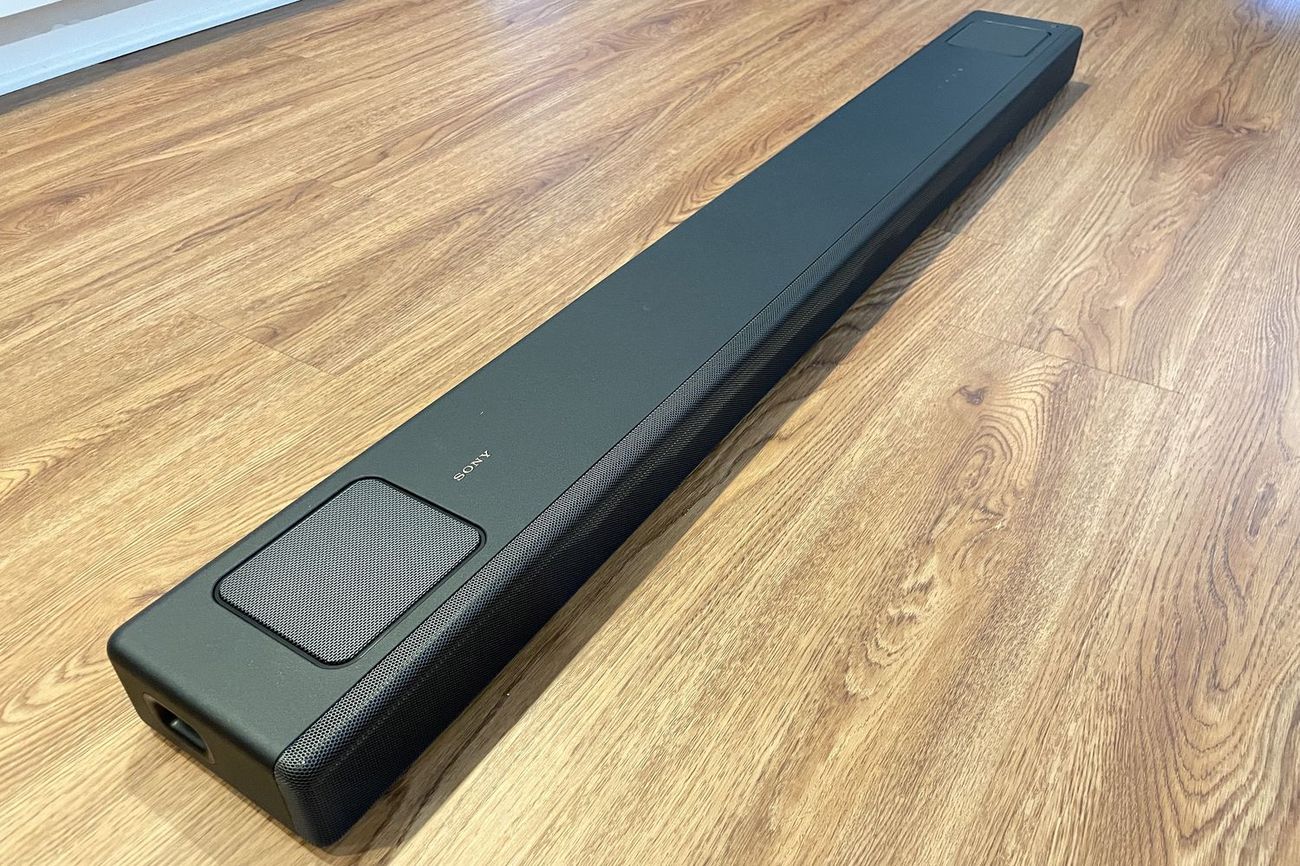
- A Sony sound bar: Make sure you have a compatible Sony sound bar. Check the model number and ensure it is compatible with your TV.
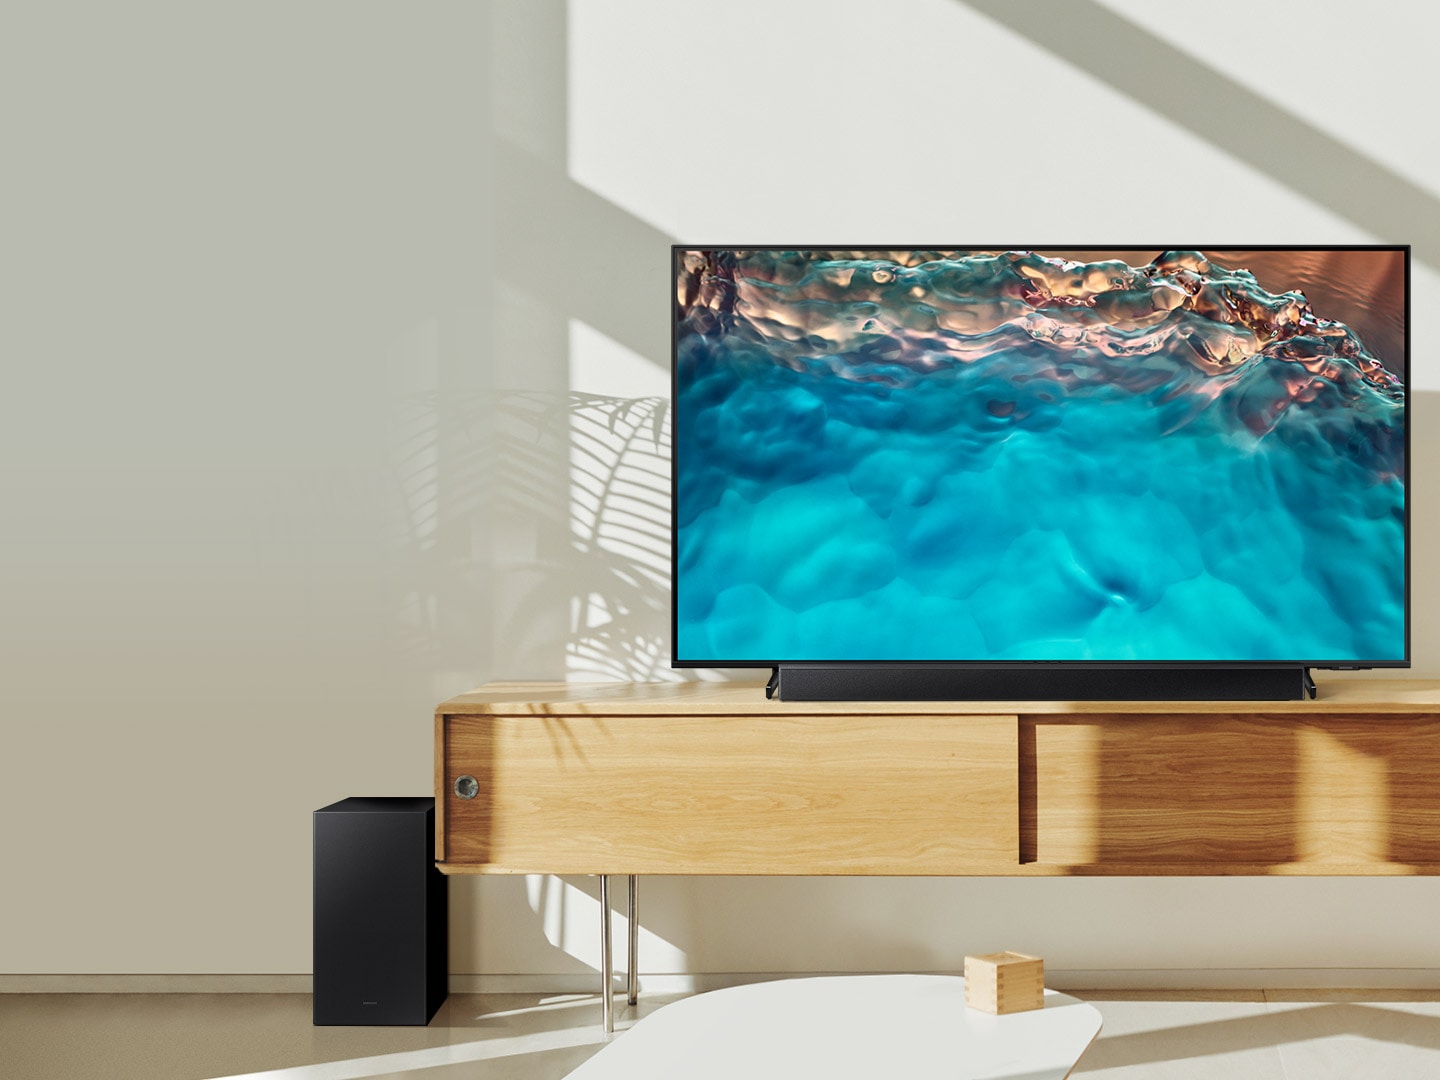
- A television: You will obviously need a TV to connect the sound bar to. Ensure that your TV has the necessary audio output options, such as HDMI ARC, optical, or Bluetooth.
- An HDMI cable or optical cable: Depending on the connection method you choose, you will need either an HDMI cable or an optical cable. Make sure you have the appropriate cable on hand.
- Batteries: Many Sony sound bars come with a remote control, so make sure you have the required batteries for the remote.
- A power source: Ensure that you have access to a power source near your TV and sound bar to plug in the necessary cables.
Gathering all the necessary equipment beforehand will ensure a smooth and hassle-free setup process. Once you have checked off all the items on the list, you are ready to move on to the next step of connecting your Sony sound bar to your TV.
Step 2: Locate the audio output on the TV
Before you can connect your Sony sound bar to your TV, you need to locate the audio output on your TV. The location of the audio output may vary depending on the make and model of your television. Here are some common audio output options to look for:
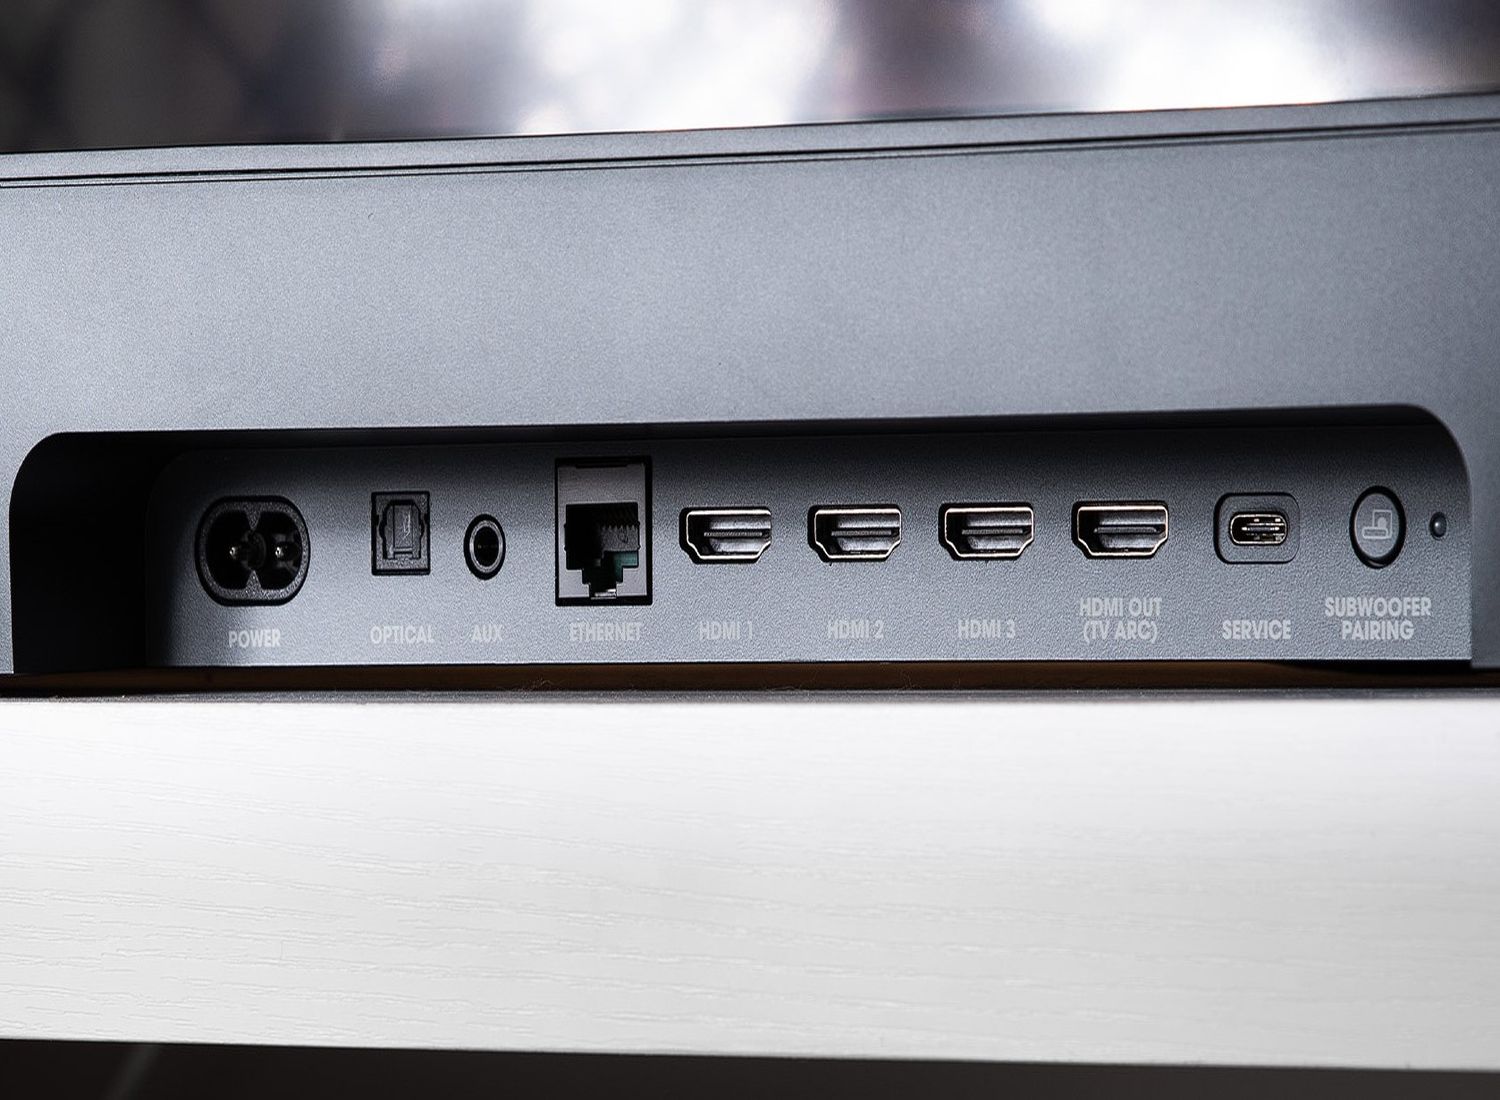
- HDMI ARC (Audio Return Channel): Some TVs have an HDMI ARC port, which allows for two-way communication between your TV and sound bar. This is the preferred method of connection, as it provides high-quality audio and simplifies the setup process.
- Optical output: Another common audio output option is an optical output, also known as a Toslink or SPDIF port. This port uses a square-shaped connector with a small plastic cover to protect the opening.
- 3.5mm headphone jack: Older TVs may have a 3.5mm headphone jack that can be used as an audio output. However, the sound quality may not be as good as HDMI ARC or optical connections.
Once you have identified the audio output on your TV, you are one step closer to connecting your Sony sound bar. Remember to consult your TV’s user manual if you are having trouble locating the audio output or if you are unsure of which option to use.
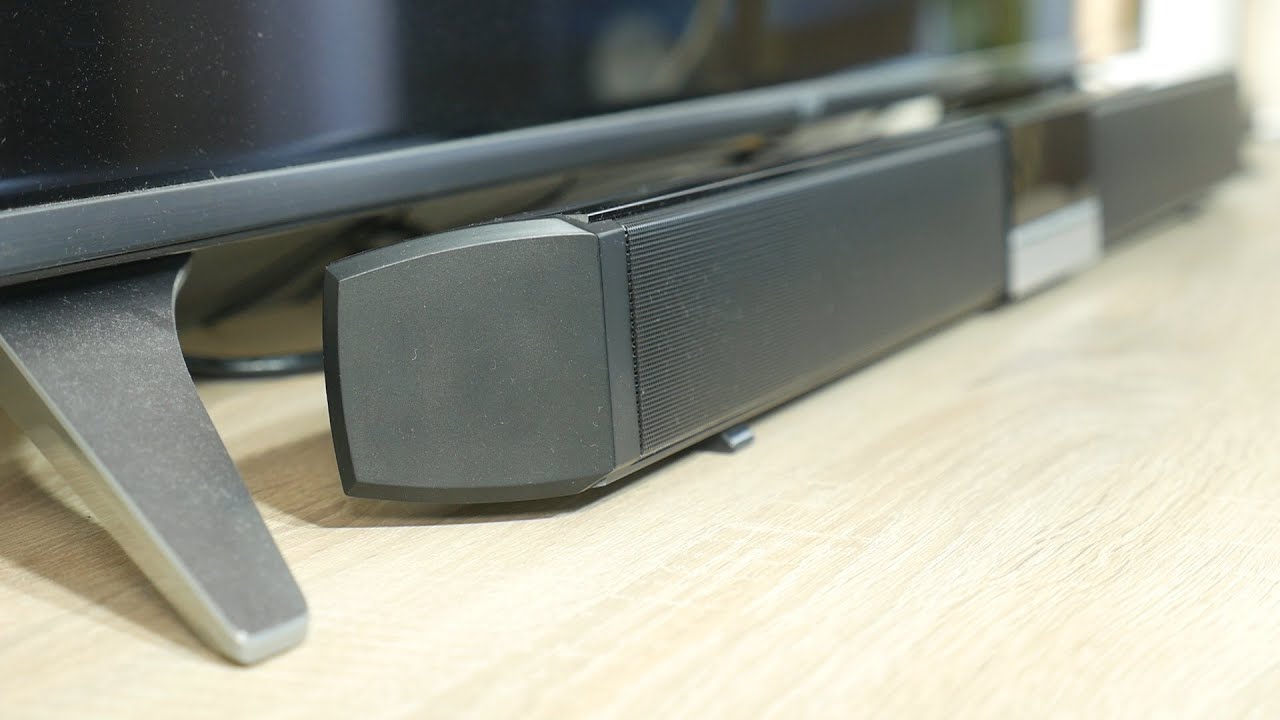
Step 3: Connect the sound bar to the TV using HDMI ARC
If your TV has an HDMI ARC (Audio Return Channel) port, this is the recommended method for connecting your Sony sound bar. The HDMI ARC feature allows for both audio and video to be transferred through a single HDMI cable, making the setup process more streamlined. Here’s how to do it:
- Ensure that both your TV and sound bar are turned off.
- Locate the HDMI ARC port on your TV. It is usually marked with “ARC” or “Audio Return Channel”.
- Connect one end of the HDMI cable to the HDMI ARC port on your TV.
- Connect the other end of the HDMI cable to the HDMI ARC input on your sound bar.
- Turn on your TV and sound bar.
- Select the HDMI ARC input on your sound bar using the remote control. This may be labeled as “ARC” or “HDMI ARC”.
- On your TV, go to the audio settings and select the option to output audio through the HDMI ARC connection.
Once you have completed these steps, your Sony sound bar should be successfully connected to your TV using HDMI ARC. Enjoy the enhanced audio experience while watching your favorite movies and TV shows.
Step 4: Connect the sound bar to the TV using an optical cable
If your TV does not have an HDMI ARC port, you can still connect your Sony sound bar using an optical cable. An optical cable, also known as a Toslink or SPDIF cable, is a digital audio cable that provides high-quality audio transmission. Here’s how to do it:
- Power off your TV and sound bar.
- Locate the optical output on your TV. It is usually a square-shaped port with a small plastic cover to protect the opening.
- Connect one end of the optical cable to the optical output on your TV.
- Connect the other end of the optical cable to the optical input on your sound bar.
- Power on your TV and sound bar.
- Using your sound bar’s remote control, select the optical input as the audio source.
After following these steps, your Sony sound bar should be successfully connected to your TV using an optical cable. If your sound bar has multiple optical inputs, make sure you select the correct one. Adjust the audio settings on your TV to ensure that audio is being outputted through the optical connection.
Note that optical cables cannot transmit control signals, so you will need to use the sound bar’s remote control to adjust the volume and other settings.
Step 5: Connect the sound bar to the TV using Bluetooth
If your Sony sound bar and TV support Bluetooth connectivity, you can connect them wirelessly for a hassle-free setup. Here’s how to do it:
- Make sure that both your sound bar and TV have Bluetooth capabilities.
- Put your sound bar in pairing mode. Refer to the user manual to learn how to do this, as the process may vary depending on the model.
- On your TV, go to the settings menu and enable Bluetooth. Consult your TV’s user manual if you are unsure of how to do this.
- Scan for available Bluetooth devices on your TV. When you see your sound bar listed, select it to initiate the pairing process.
- Once the devices are paired, your TV should automatically route the audio through the connected sound bar.
It’s important to note that not all TVs support Bluetooth connectivity, so make sure to check your TV’s specifications or user manual to confirm this feature. Additionally, keep in mind that the range between the sound bar and TV may vary, so ensure they are within a reasonable proximity.
Connecting your Sony sound bar to your TV using Bluetooth provides the convenience of wireless connectivity without the need for any additional cables. However, do note that some older sound bar models might not support Bluetooth connectivity.
Once the pairing process is complete, you can enjoy the enhanced audio experience without the hassle of cables.
Step 6: Adjust the audio settings on the TV
After connecting your Sony sound bar to your TV, it’s essential to adjust the audio settings on your TV to optimize the sound quality. Here are a few key settings to consider:
- Sound output settings: Access the sound settings menu on your TV and select the audio output as the sound bar. This ensures that the audio is correctly routed to the connected sound bar.
- Audio mode: Depending on your TV’s settings, you may have various audio modes to choose from. Experiment with different modes, such as Movie, Music, or Game, to find the one that provides the best audio experience for your content.
- Equalizer settings: Many TVs offer equalizer settings that allow you to adjust specific sound frequencies. Take some time to fine-tune the equalizer settings to match your personal preferences and the sound characteristics of your Sony sound bar.
- Volume leveling: Some TVs have a volume leveling feature that helps to balance the sound levels between different audio sources or channels. Enable this feature if available to ensure a consistent audio experience.
Exploring and adjusting these audio settings will help you achieve the best sound quality and tailor the audio output to your liking. Experiment with different settings to find the perfect audio setup for your specific needs.
Remember to consult your TV’s user manual for detailed instructions on accessing and adjusting the audio settings, as the process may vary depending on the model and manufacturer.
Step 7: Test the sound bar connection
Once you have completed the previous steps to connect your Sony sound bar to your TV, it’s important to test the connection to ensure everything is working properly. Here’s how you can test the sound bar connection:
- Play audio from your TV: Select a TV show, movie, or any other content that has audio. Make sure the volume is at an audible level.
- Listen for sound: Pay attention to the audio output. If the sound is coming from your TV’s built-in speakers instead of the sound bar, check the audio settings on your TV to verify that the sound output is correctly set to the sound bar.
- Adjust the sound settings: Experiment with the volume controls on your TV and sound bar remote control to ensure that the sound is produced by the sound bar at the desired level. This way, you can fine-tune the audio experience to your preference.
- Try different audio sources: Test the sound bar connection with various audio sources, such as streaming services, Blu-ray players, or gaming consoles. This will help you ensure that the sound bar functions properly and delivers exceptional audio across different content types.
If you encounter any issues during the testing process, double-check the connections and make sure they are secure. Also, refer to the user manuals for both your TV and sound bar for troubleshooting guidance.
By thoroughly testing the sound bar connection, you can confirm that the audio is being delivered through the sound bar and enjoy the immersive sound experience that your Sony sound bar provides.
Conclusion
Connecting your Sony sound bar to your TV can significantly enhance your audio experience while watching movies, playing games, or enjoying your favorite TV shows. With the right equipment and the proper connection method, you can enjoy high-quality sound and immerse yourself in the content.
In this guide, we covered various methods to connect your Sony sound bar to your TV, including HDMI ARC, optical cable, and Bluetooth. Each method offers its own advantages, so choose the one that best suits your needs and the capabilities of your TV.
Remember to gather all the necessary equipment, locate the audio output on your TV, and follow the step-by-step instructions to establish a solid connection between your TV and sound bar. Adjusting the audio settings on your TV and testing the connection will ensure optimal sound quality and a satisfying audio experience.
Whether you’re a movie enthusiast, a gamer, or simply someone who appreciates excellent sound quality, connecting a Sony sound bar to your TV will transform your viewing experience. Immerse yourself in rich, powerful sound and elevate your entertainment to new heights.
Now go ahead and enjoy your Sony sound bar and all the incredible audio it has to offer!