Home>Production & Technology>Sound Bar>How To Connect Sound Bar To PS3
Sound Bar
How To Connect Sound Bar To PS3
Published: December 26, 2023
Learn how to easily connect your sound bar to your PS3 console for an immersive audio experience. Enhance your gaming sessions with the powerful sound output of your sound bar.
(Many of the links in this article redirect to a specific reviewed product. Your purchase of these products through affiliate links helps to generate commission for AudioLover.com, at no extra cost. Learn more)
Table of Contents
Introduction
Welcome to our comprehensive guide on how to connect a sound bar to a PS3. If you’re looking for an immersive and high-quality audio experience while gaming or watching movies on your PlayStation 3, adding a sound bar can significantly enhance your audio output.
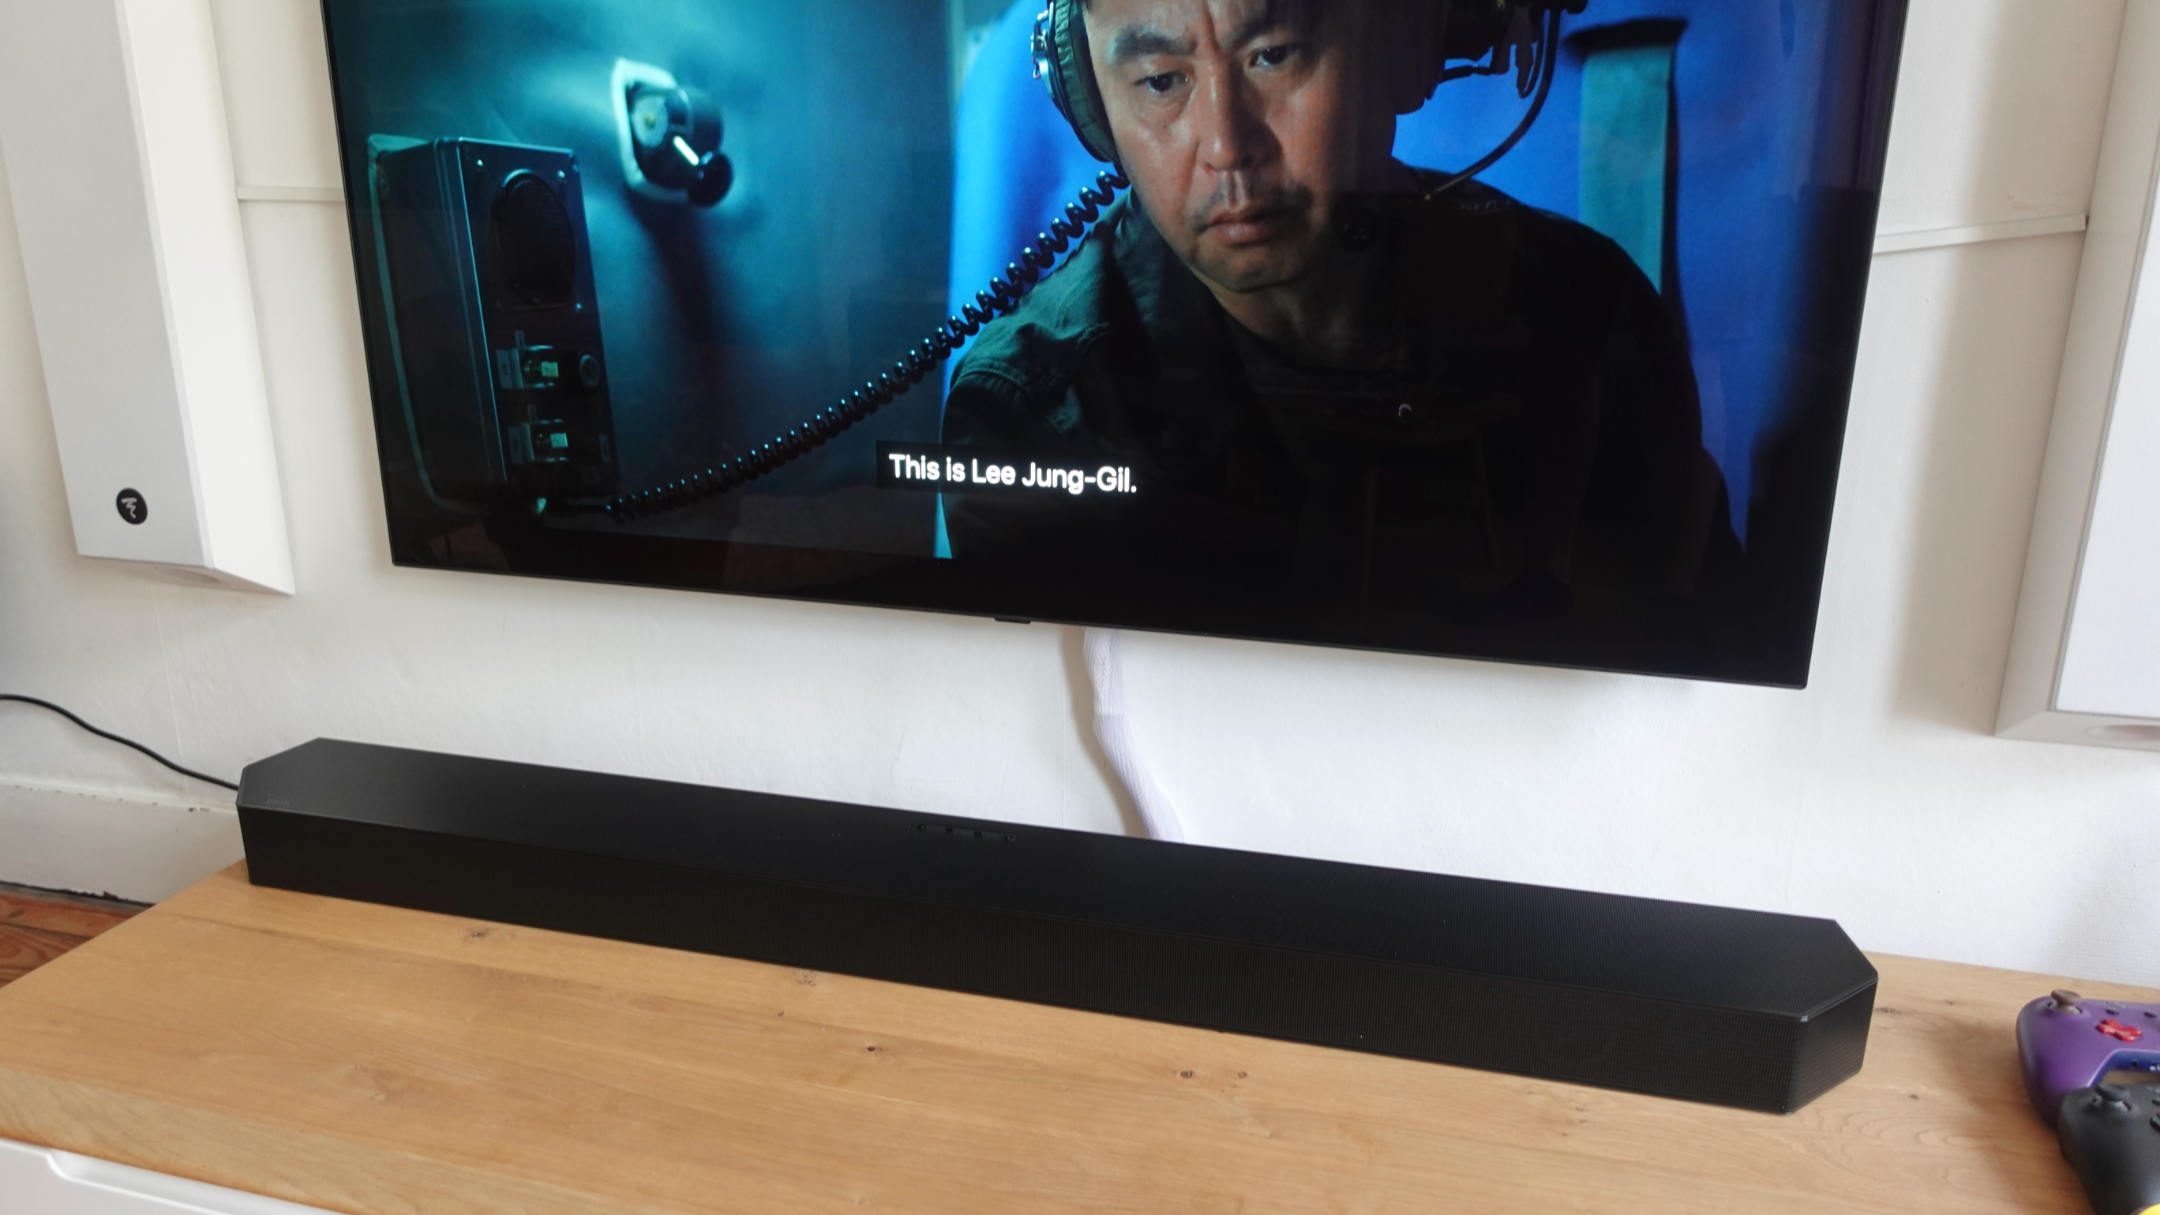
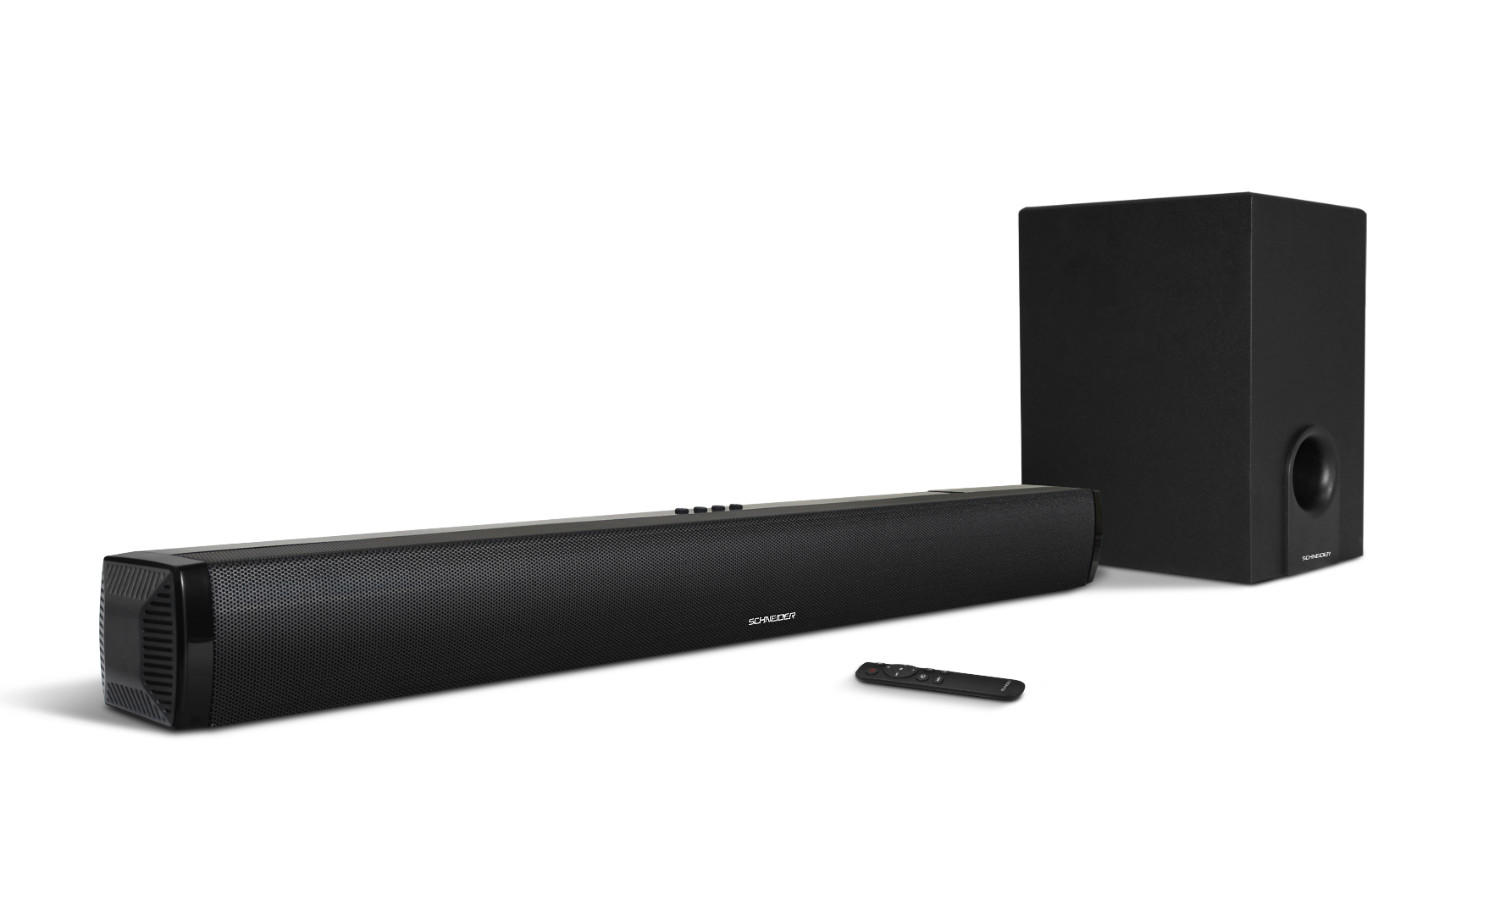
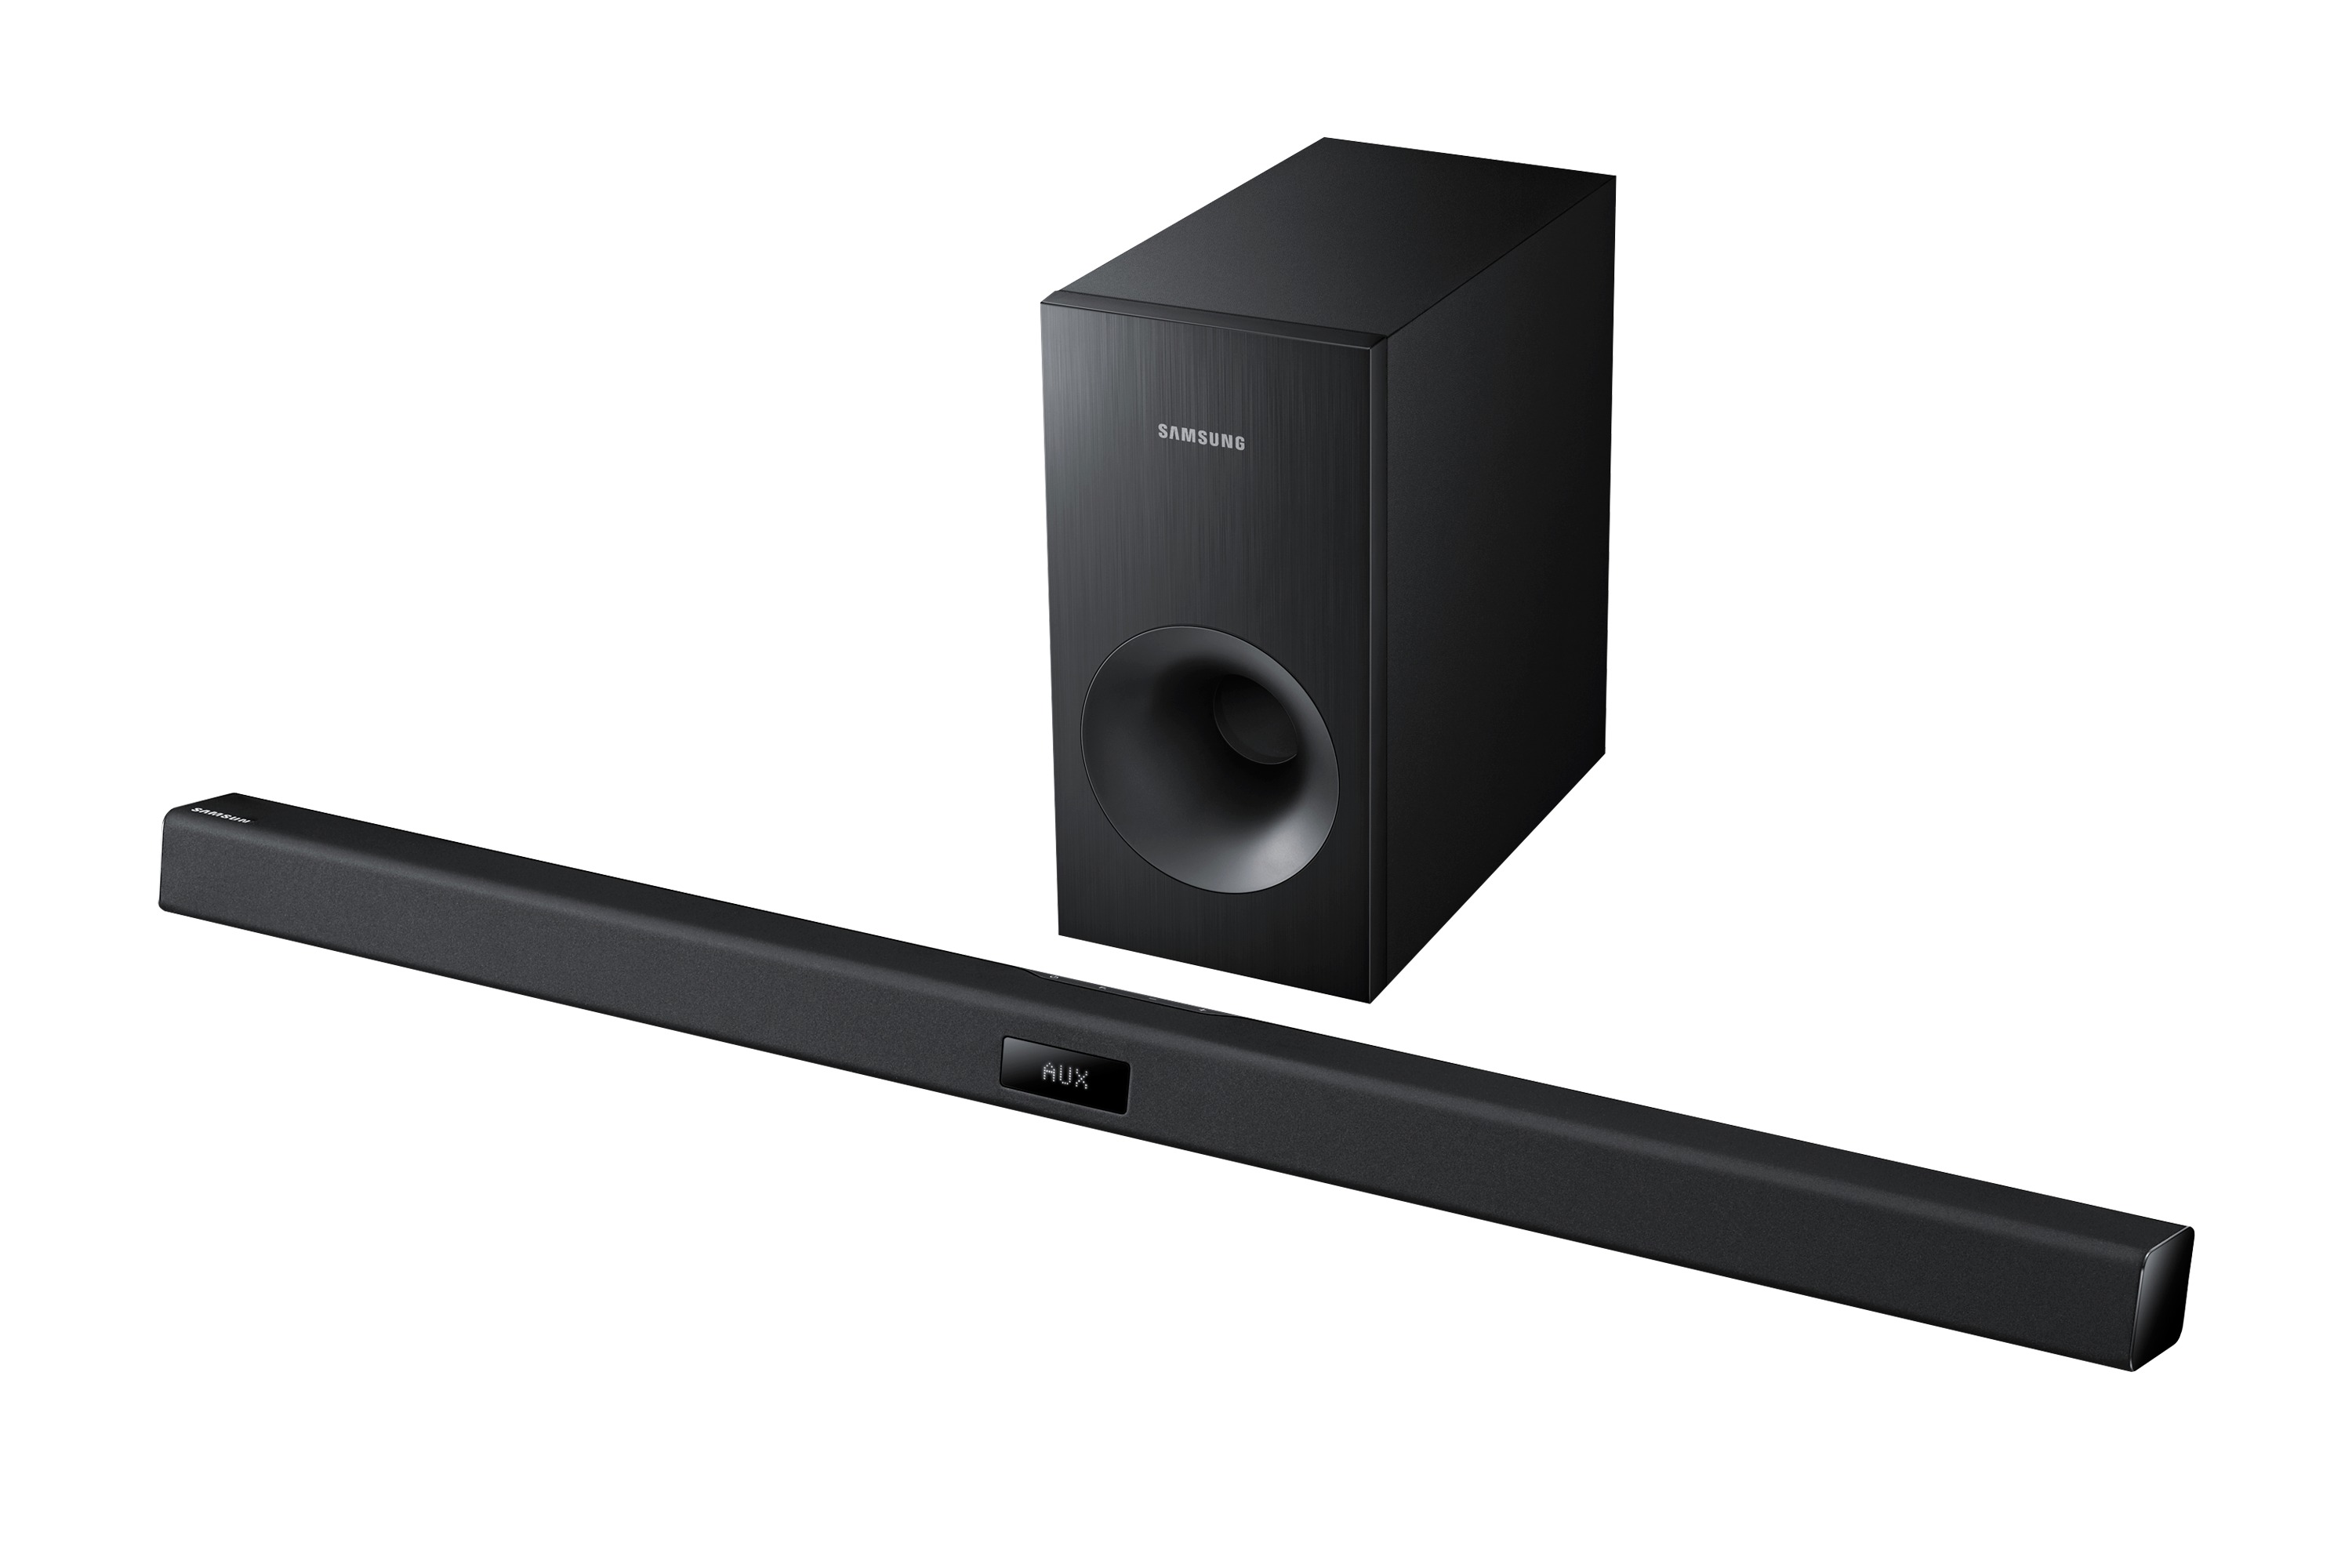
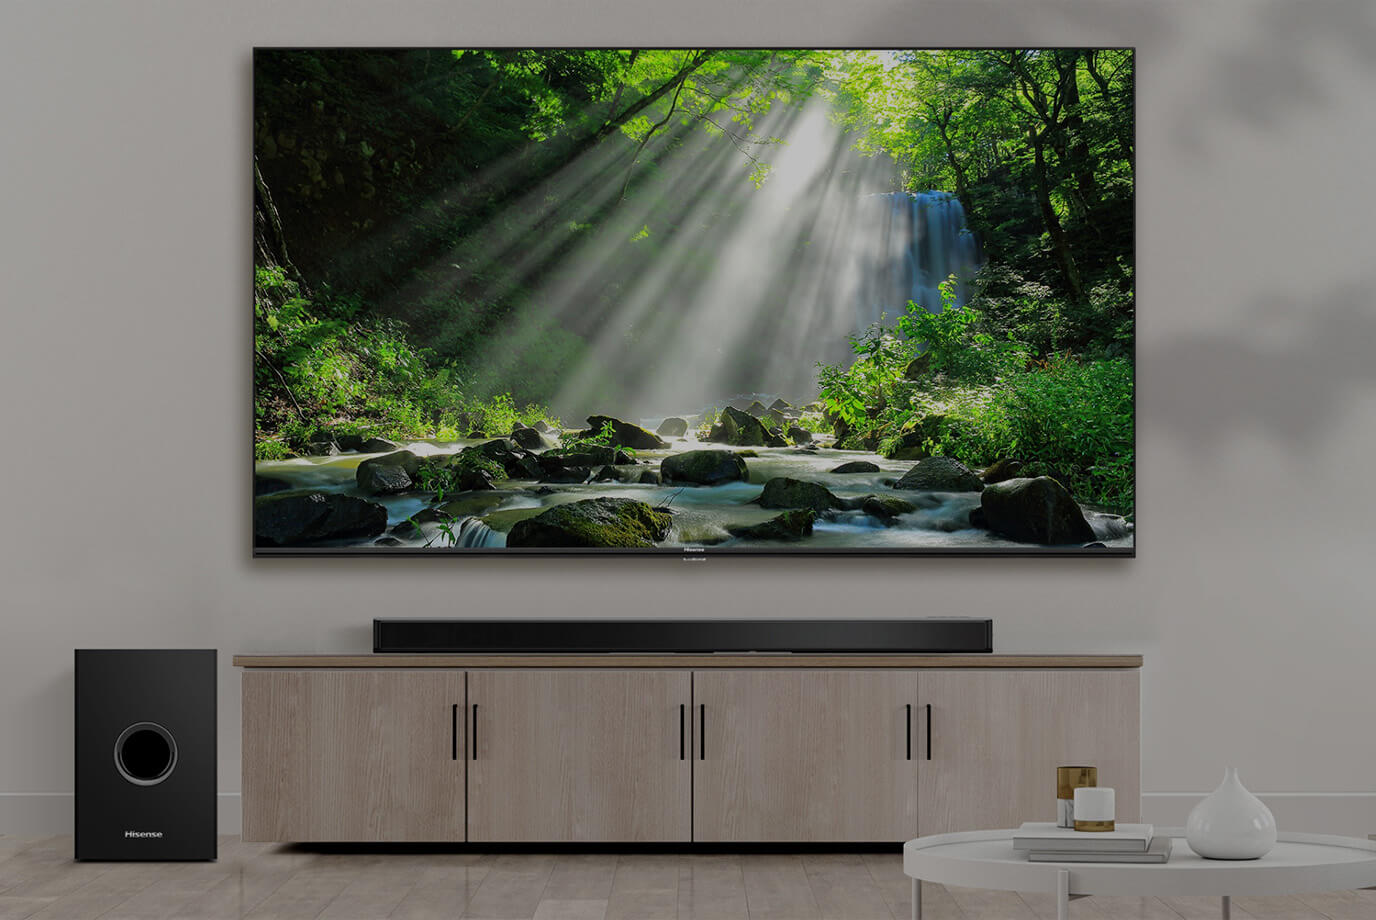
A sound bar is a compact and versatile audio device that can greatly improve the sound quality of your PS3 without the need for a full surround sound system. With its sleek design and easy setup, a sound bar is an ideal solution for those looking to enhance their gaming or home entertainment experience.
In this guide, we will walk you through the step-by-step process of connecting a sound bar to your PS3. We will cover the various connection options available, such as HDMI and optical audio cables, and provide troubleshooting tips for common issues you may encounter along the way.
Whether you’re a gaming enthusiast or a movie lover, we’ll help you get the most out of your PS3 by ensuring you have the best audio setup possible. So let’s dive into the world of sound bars and get your PS3 ready to deliver impressive audio performance!
Step 1: Check the sound bar and PS3 compatibility
Before you start connecting your sound bar to your PS3, it’s important to ensure that both the sound bar and the console are compatible with each other. Compatibility issues can arise if the sound bar requires a specific input type that the PS3 does not support, or if the PS3 requires a specific audio format that the sound bar cannot decode.
Here are a few key compatibility factors to consider:
- Input and output options: Check the input and output options available on both the sound bar and the PS3. The sound bar should have inputs that match the outputs on the PS3 to establish a connection. The most common connection options are HDMI and optical audio cables.
- Audio formats: Make sure that the sound bar supports the audio formats used by the PS3. The PS3 typically supports formats like Dolby Digital, DTS, and PCM. Check the sound bar’s specifications or user manual to ensure compatibility. It’s also worth noting that some sound bars offer virtual surround sound capabilities, which can enhance the gaming or movie-watching experience.
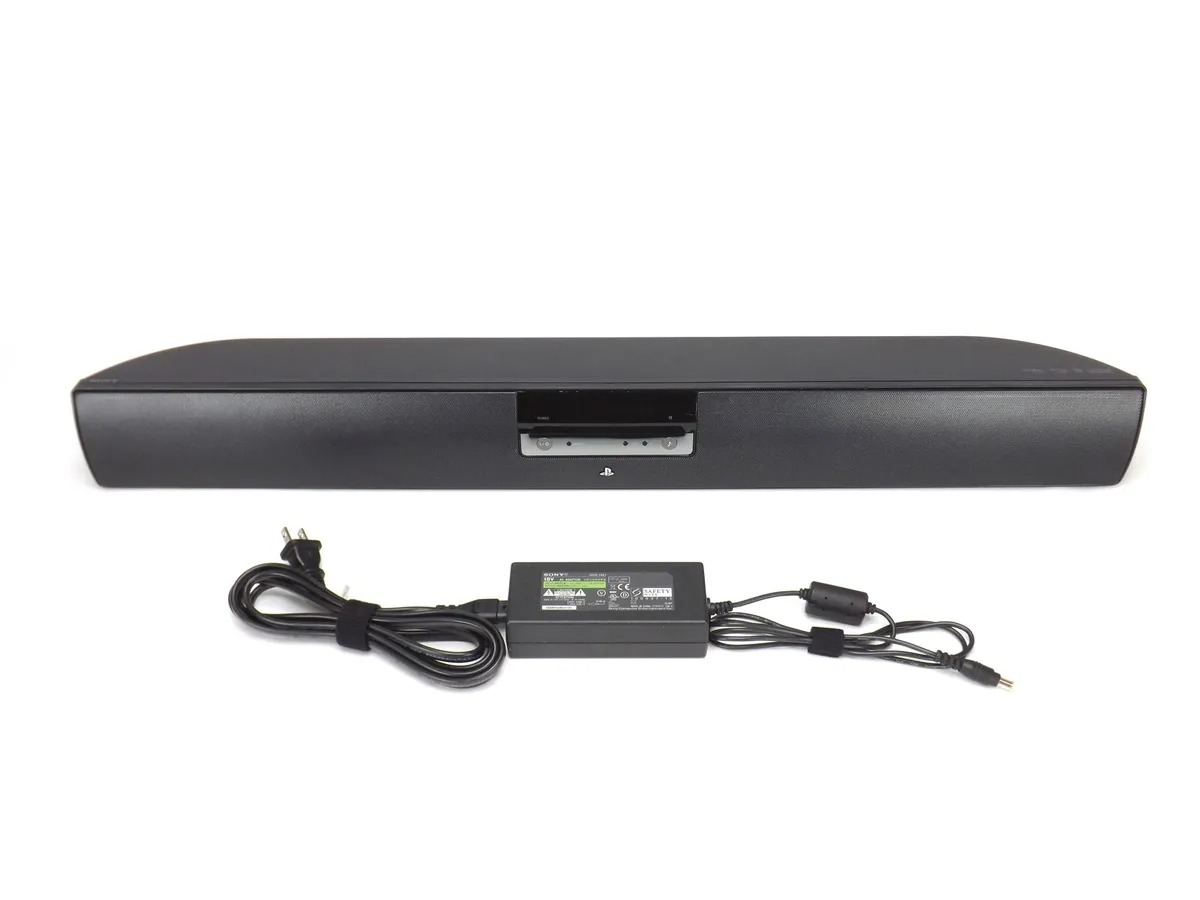
- Power requirements: Check the power requirements of the sound bar to ensure that it can be powered adequately. Some sound bars may require an external power source, while others can be powered directly through the PS3 or a USB port.
By confirming the compatibility of your sound bar and PS3, you can avoid any connectivity or functionality issues and ensure a smooth setup process. Once you’ve verified compatibility, you can proceed to the next step of connecting your sound bar to the PS3.
Step 2: Connect the sound bar to the PS3 using HDMI
If both your sound bar and PS3 have HDMI ports, connecting them using an HDMI cable is a simple and effective method to enjoy high-quality audio from your PS3. Here’s how you can do it:
- Power off your PS3: Before you begin, make sure your PS3 is turned off and disconnected from power.
- Locate the HDMI port: Identify the HDMI output port on your PS3. It is usually located on the rear or side panel of the console.
- Connect one end of the HDMI cable: Take one end of the HDMI cable and plug it into the HDMI output port on the PS3.
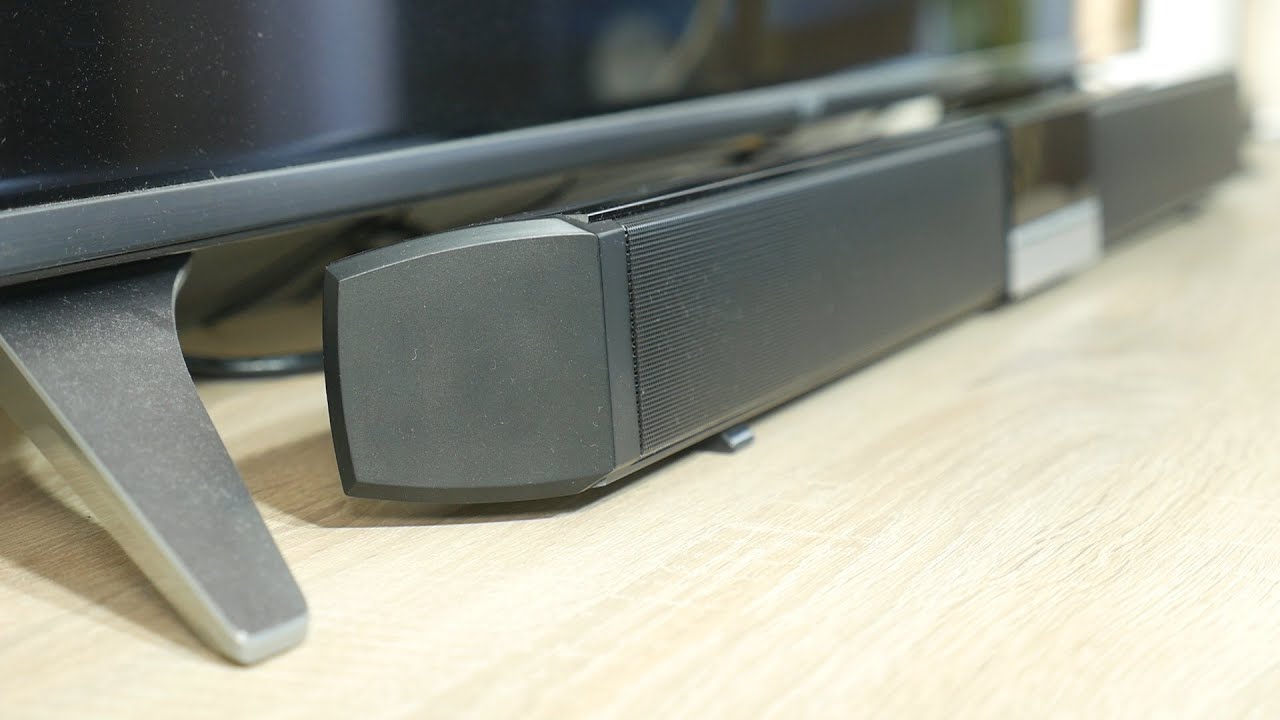
- Locate the HDMI input port on the sound bar: Check the sound bar for an HDMI input port. It is typically labeled “HDMI In” or something similar.
- Connect the other end of the HDMI cable: Take the remaining end of the HDMI cable and insert it into the HDMI input port on the sound bar.
- Power on your devices: Once the HDMI cable is securely connected, power on your sound bar and PS3.
- Select the appropriate input source: On your sound bar, select the HDMI input channel that corresponds to the port you connected the PS3 to. This may involve pressing a button or using the remote control.
- Configure audio settings: On the PS3, navigate to the audio settings and ensure that the audio output is set to HDMI. You may also need to adjust other audio settings, such as audio format or speaker configuration, based on your sound bar’s capabilities.
- Test the audio: Play a game or a movie on your PS3 and verify that the sound is coming through the sound bar. You can also adjust the volume using the sound bar’s controls.
With the HDMI connection established between your sound bar and PS3, you can enjoy immersive and high-quality audio while gaming or watching movies on your console. If HDMI is not available on either device, you can try using an optical audio cable, which we will cover in the next step.
Step 3: Connect the sound bar to the PS3 using an optical audio cable
If your sound bar or PS3 does not have an HDMI port, or if you prefer to use an optical audio connection, you can still achieve excellent audio quality by using an optical audio cable. Follow these steps to connect your sound bar to your PS3 using an optical audio cable:
- Power off your PS3: Make sure your PS3 is turned off and disconnected from power.
- Locate the optical audio output port: Identify the optical audio output port on your PS3. It is usually labeled as “Optical Audio” or “Digital Out (Optical)”.
- Connect one end of the optical audio cable: Take one end of the optical audio cable and insert it into the optical audio output port on the PS3.
- Locate the optical audio input port on the sound bar: Check the sound bar for an optical audio input port. It is typically labeled as “Optical In” or “Digital In (Optical)”.
- Connect the other end of the optical audio cable: Take the remaining end of the optical audio cable and plug it into the optical audio input port on the sound bar.
- Power on your devices: Once the optical audio cable is securely connected, power on your sound bar and PS3.
- Select the appropriate input source: On your sound bar, choose the optical input source that matches the port the PS3 is connected to. This can usually be done by pressing a button on the sound bar or using its remote control.
- Configure audio settings: On the PS3, go to the audio settings and make sure the audio output is set to optical. You may need to adjust other audio settings, such as audio format or speaker configuration, based on your sound bar’s specifications.
- Test the audio: Play a game or a movie on your PS3 and ensure that the sound is coming through the sound bar. You can also adjust the volume using the sound bar’s controls.
By connecting your sound bar to your PS3 using an optical audio cable, you can enjoy a high-quality audio experience even without an HDMI connection. Optical audio cables are capable of transmitting digital audio signals, ensuring excellent sound reproduction for your gaming or movie-watching sessions.
Step 4: Adjust the audio settings on the PS3
Once you have connected your sound bar to your PS3, it’s important to adjust the audio settings on the console to ensure optimal sound performance. Here are the steps to adjust the audio settings on the PS3:
- Access the settings menu: Power on your PS3 and navigate to the main menu. From there, go to the “Settings” option.
- Select sound settings: In the settings menu, select the “Sound Settings” option. Here, you will have access to various audio configuration options.
- Select audio output: In the sound settings menu, choose the “Audio Output Settings” option. This will allow you to configure the audio output options for your PS3.
- Choose the correct audio output: On the Audio Output Settings screen, you will see a list of available audio output options. Select the one that corresponds to the connection type you used to connect your sound bar (HDMI or optical).
- Set audio format: After selecting the correct audio output, you will be prompted to set the audio format. Choose the format that is supported by both your sound bar and the PS3. Common options include Dolby Digital, DTS, and PCM.
- Configure speaker settings: Depending on your sound bar setup, you may need to configure the speaker settings on the PS3. You can choose whether you have a stereo or surround sound setup and adjust the speaker levels accordingly.
- Test audio output: Once you have configured the audio settings, it’s a good idea to test the audio output to ensure that sound is coming through your sound bar correctly. You can use the system test option in the audio settings menu to do this.
By adjusting the audio settings on your PS3, you can customize the sound output to suit your preferences and take full advantage of your connected sound bar. Fine-tuning the settings will enhance your gaming and entertainment experience, ensuring immersive and high-quality audio.
Troubleshooting common issues
While connecting a sound bar to your PS3 is usually a straightforward process, you may encounter some common issues along the way. Here are a few troubleshooting tips to help you resolve these issues:
- No audio: If you’re not hearing any audio from your sound bar, first check the volume level on both the PS3 and the sound bar. Ensure that they are turned up and not muted. You should also verify that the audio output settings on the PS3 are correctly configured.
- Poor audio quality: If the audio quality from your sound bar is not satisfactory, check if there are any audio enhancement or equalizer settings on both the PS3 and the sound bar. Experiment with different settings to find the one that suits your preferences and enhances the audio quality.
- No sound from specific sources: If you’re experiencing audio issues with specific sources (such as games, movies, or apps), check the audio settings within those sources. Some games or apps may have separate audio settings that need to be adjusted.
- Interference or distortion: If you notice any interference or distortion in the audio, try moving any electronic devices or wireless routers away from the sound bar and the PS3. Such devices can cause interference and impact the sound quality. Additionally, make sure that the cables are securely connected and not damaged.
- Compatibility issues: If you’re experiencing prolonged issues with compatibility between the sound bar and the PS3, ensure that you have checked the compatibility factors mentioned in step 1. If necessary, consult the user manuals or contact customer support for both the sound bar and the PS3 for further assistance.
- Update firmware: It’s always a good idea to ensure that your PS3 is running on the latest firmware version. Check for any available system updates and install them to address any potential software-related issues that may be affecting the audio output.
If you continue to experience issues despite troubleshooting, it’s advisable to consult the user manuals of both the sound bar and the PS3 or seek technical support from the manufacturer. They can provide further guidance and help you resolve any specific issues you may be facing.
Remember, troubleshooting audio issues requires patience and a systematic approach. With the right troubleshooting steps, you can overcome most common issues and enjoy an exceptional audio experience on your PS3 with your connected sound bar.
Conclusion
Connecting a sound bar to your PS3 can greatly enhance your gaming and entertainment experience by providing superior audio quality. Whether you choose to use an HDMI or optical audio connection, the process is relatively straightforward and can be completed in a few simple steps.
In this guide, we covered the compatibility considerations between the sound bar and the PS3, the steps to connect the devices using HDMI or an optical audio cable, adjusting the audio settings on the PS3, and troubleshooting common issues that may arise.
By following these steps, you can ensure a seamless and immersive audio experience while gaming, watching movies, or enjoying other multimedia content on your PS3. The sound bar will enhance the soundstage, providing more depth and clarity to the audio, making your gaming sessions more exhilarating and movie nights more captivating.
Remember to check the compatibility of your sound bar and PS3, select the appropriate audio settings, and troubleshoot any issues that may arise along the way. This will help you maximize the potential of your sound bar and unleash the full audio capabilities of your PS3.
Now that you have all the necessary knowledge and steps, it’s time to take your gaming and entertainment experience to the next level with a sound bar connected to your PS3. Enjoy the immersive audio and immerse yourself in the world of gaming and movies like never before!