Home>Production & Technology>Sound Bar>How To Program A Sound Bar Into Direct TV Remote
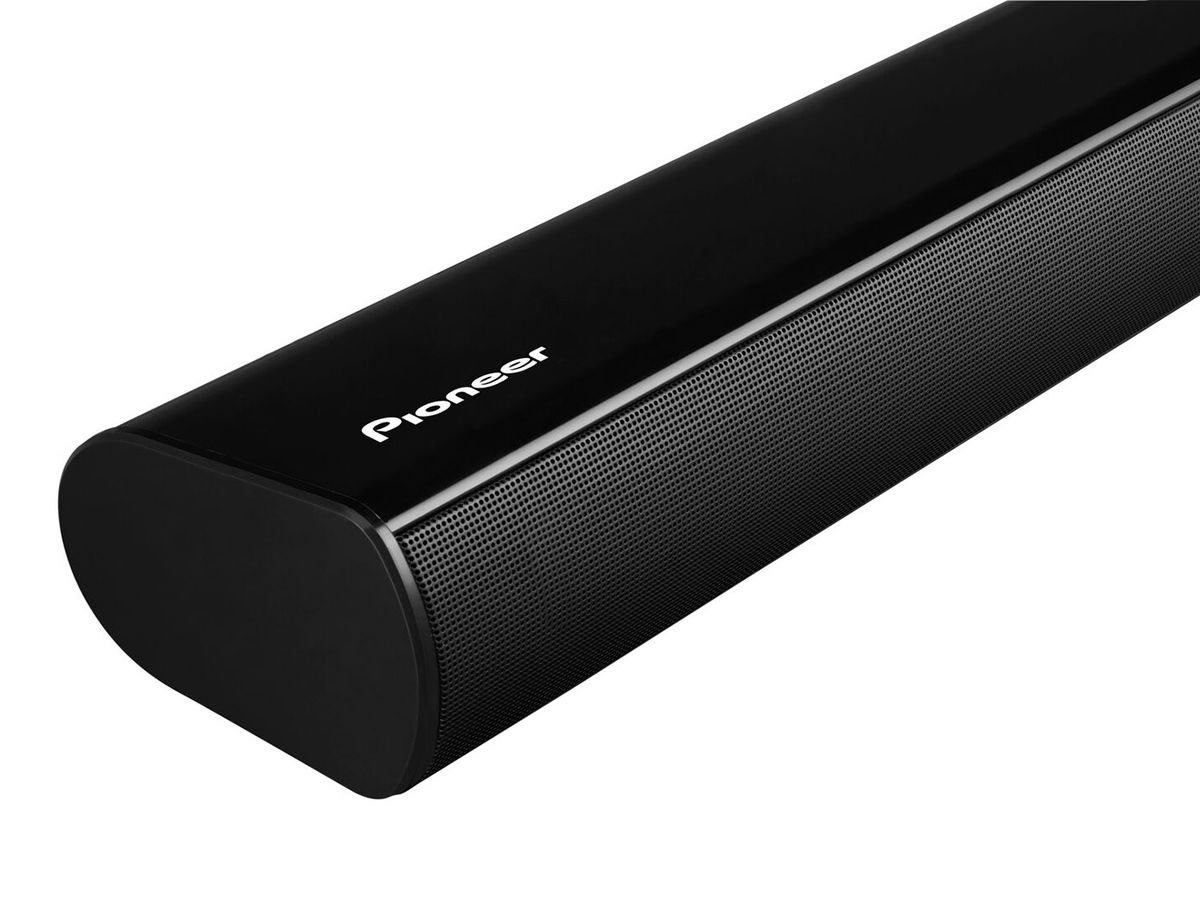
Sound Bar
How To Program A Sound Bar Into Direct TV Remote
Published: December 26, 2023
Learn how to program a sound bar into your Direct TV remote with our easy-to-follow guide. Enhance your audio experience in just a few simple steps.
(Many of the links in this article redirect to a specific reviewed product. Your purchase of these products through affiliate links helps to generate commission for AudioLover.com, at no extra cost. Learn more)
Table of Contents
Introduction
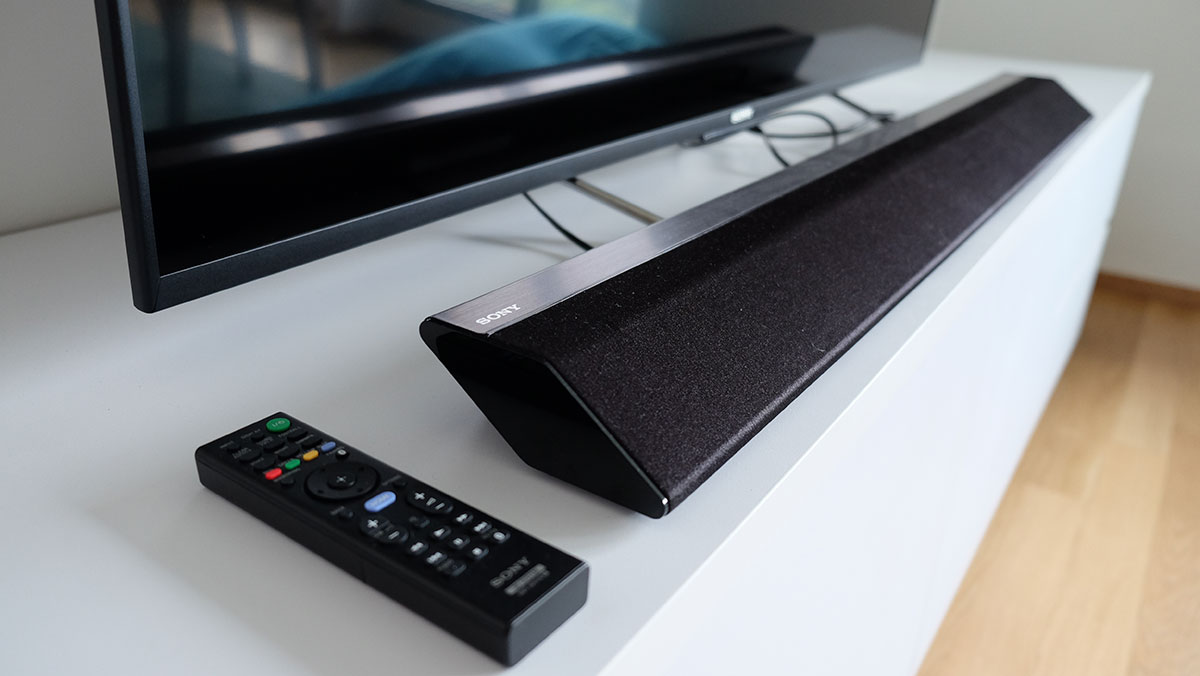
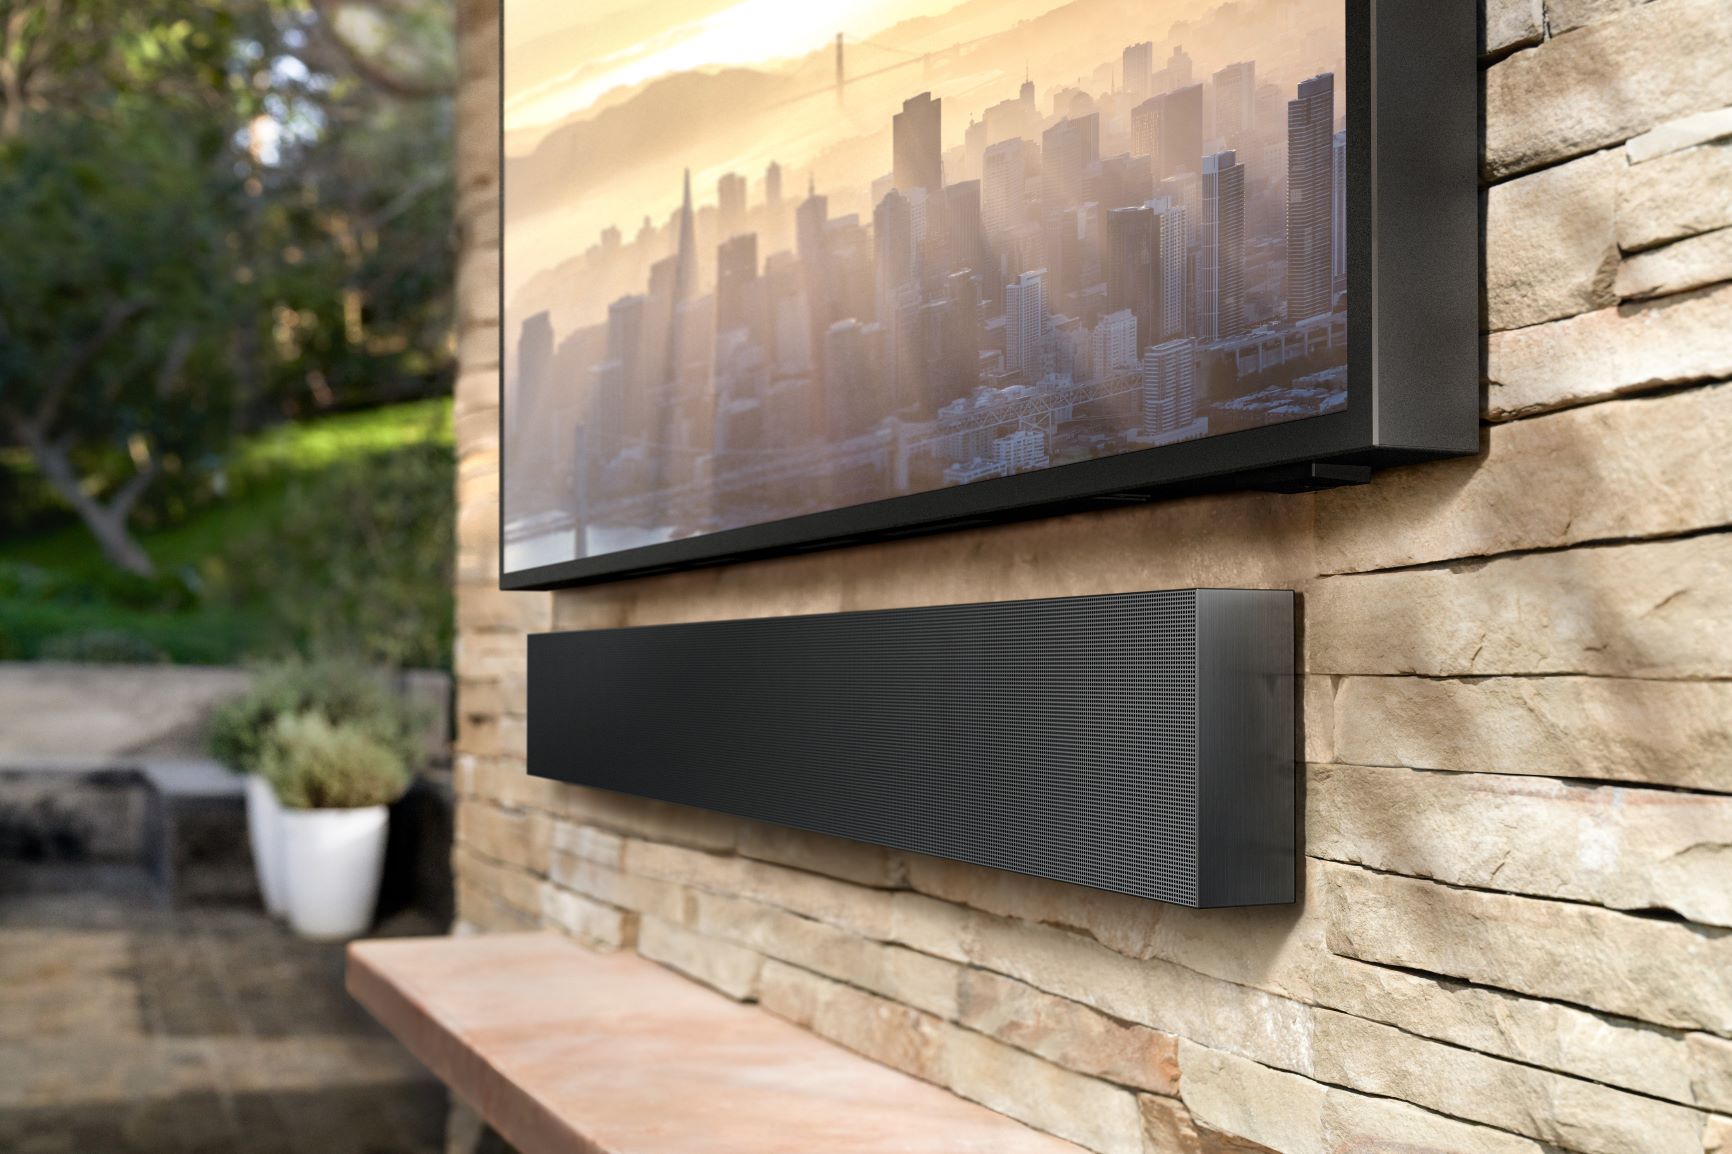
Welcome to the world of exceptional audio experiences with sound bars! As televisions continue to become slimmer, the built-in speakers often struggle to deliver the high-quality sound that immerses viewers in their favorite movies, TV shows, or music. This is where sound bars come in, providing a simple and effective solution to enhance your audio without the need for multiple speakers and complicated wiring.
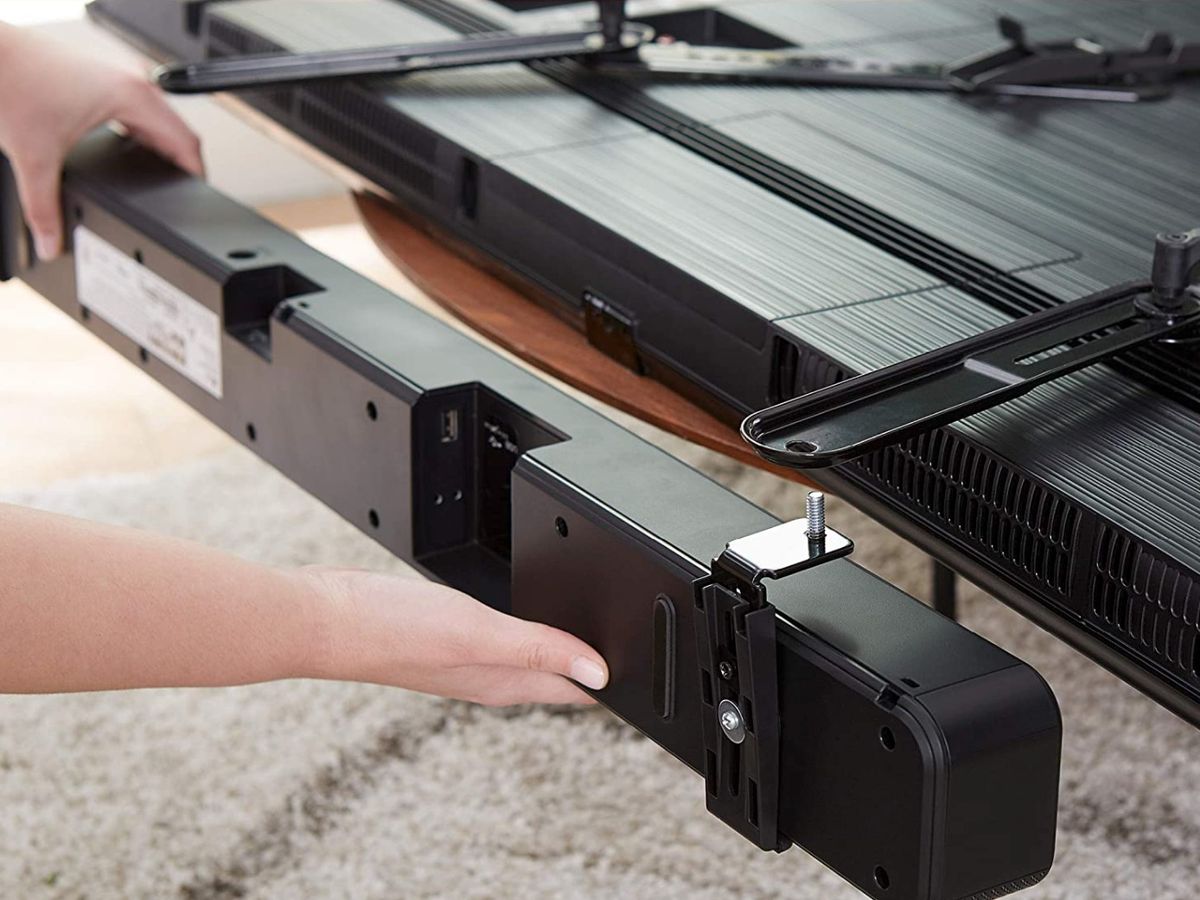
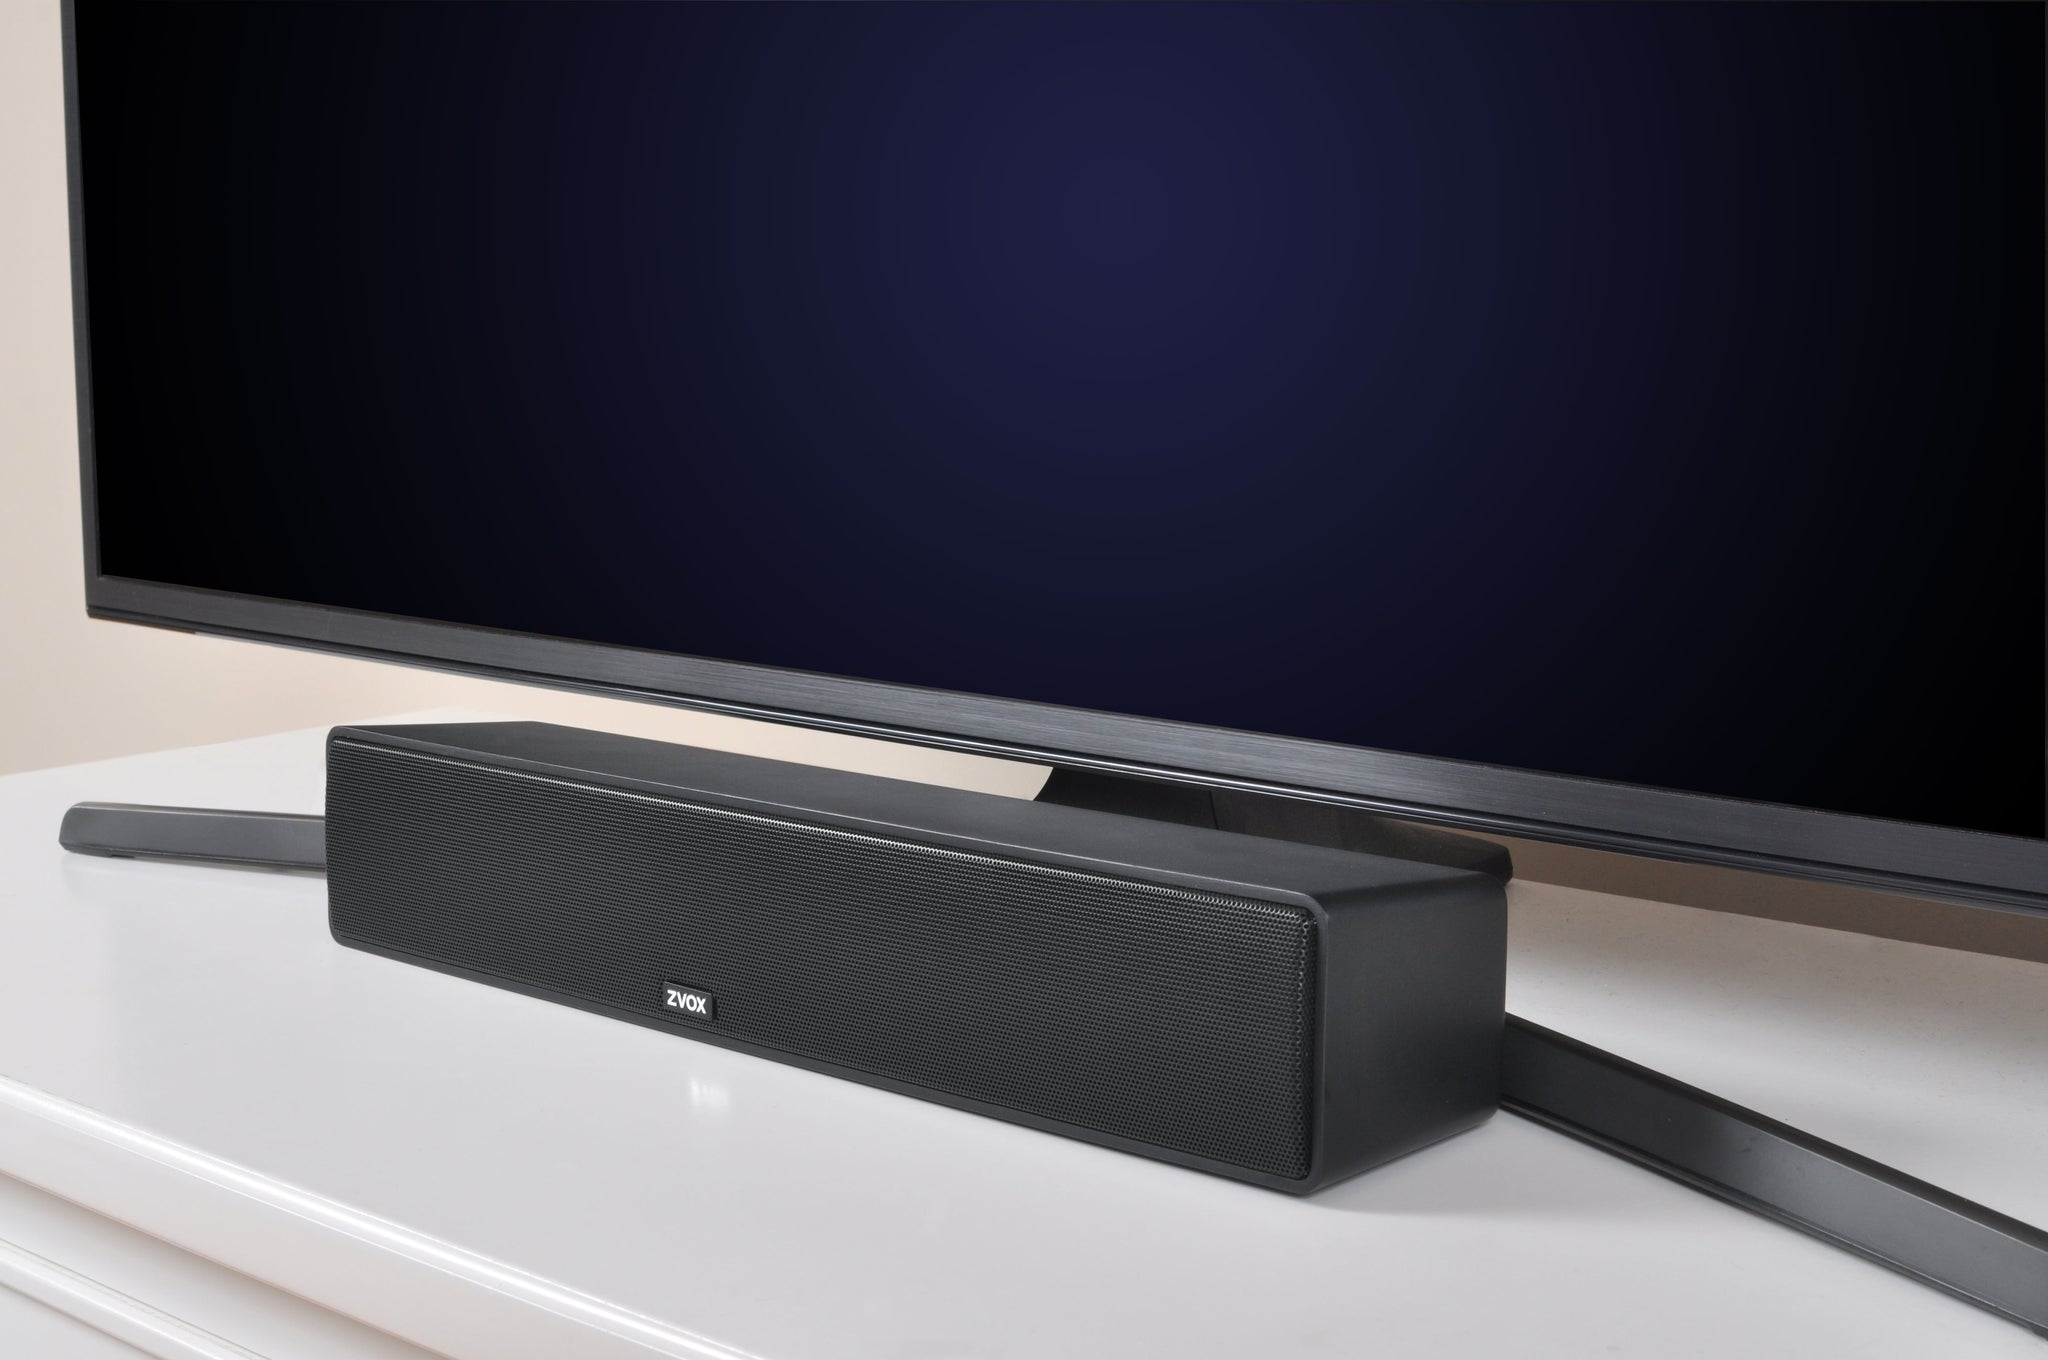
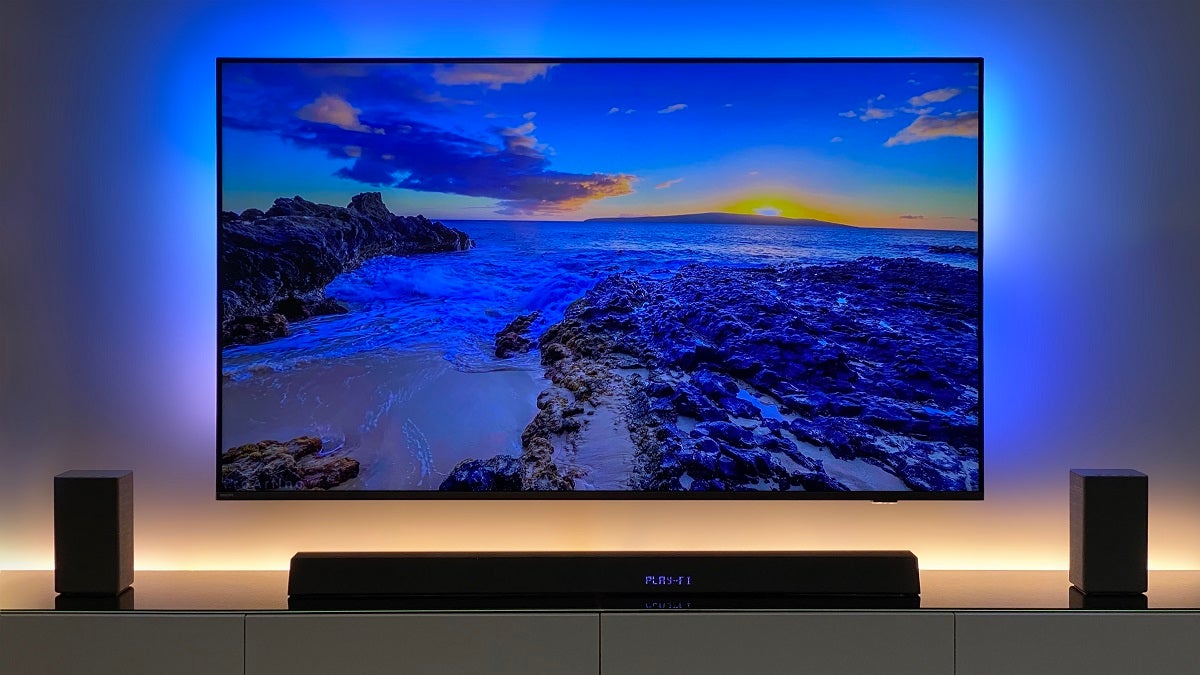
Whether you’re a home theater enthusiast or simply looking to upgrade your TV’s audio capabilities, the sound bar is a versatile and convenient option. With its sleek and compact design, a sound bar can fit seamlessly under your TV or be mounted on the wall to save space.
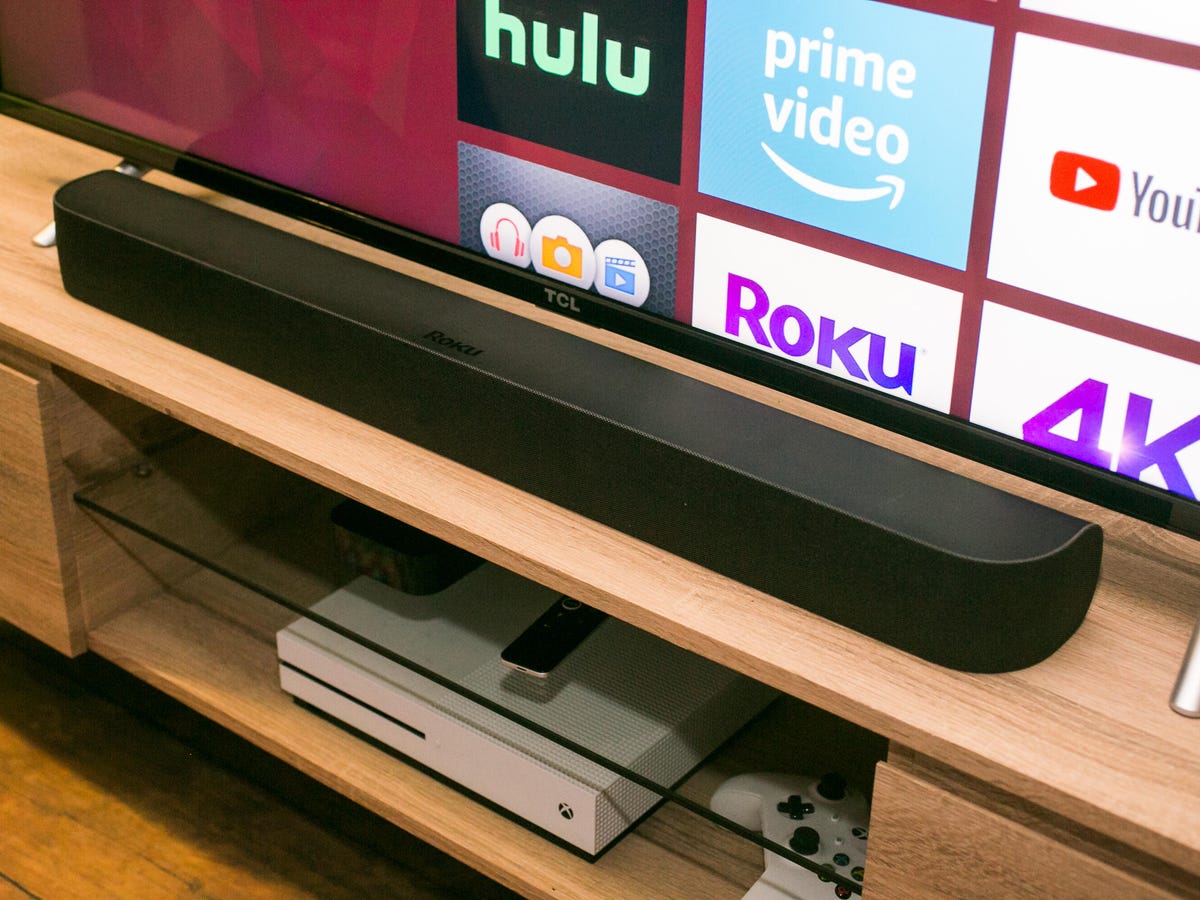
While sound bars come with their own dedicated remotes, it can be cumbersome to manage multiple remotes for different devices. Fortunately, many sound bars can be programmed into a single remote, such as the one that comes with your Direct TV service. This means you can control your sound bar’s volume and other functions using the Direct TV remote, streamlining your entertainment experience.
In this guide, we’ll walk you through the step-by-step process of programming a sound bar into your Direct TV remote. So, let’s get started and bring amazing audio right to your fingertips!
Step 1: Check Compatibility
Before attempting to program your sound bar into your Direct TV remote, it’s crucial to determine if they are compatible. Not all sound bars can be programmed into universal remotes, so it’s essential to check the specifications and documentation of both your sound bar and your Direct TV remote.
Start by examining the user manual or online resources for your sound bar. Look for information about remote compatibility or programming options. The manufacturer should provide a list of compatible remotes, which will help determine if your Direct TV remote can be used.
Next, check the user manual or online resources for your Direct TV remote. Look for instructions on programming external devices, specifically sound bars. If the user manual doesn’t mention sound bar programming, it doesn’t necessarily mean that your remote is incompatible; you may need to dig a little deeper.
If you’re unable to find the information you need, it’s worth contacting the customer support of both the sound bar and Direct TV. They will have the most accurate and up-to-date information regarding compatibility and programming options.
Remember, compatibility is key. Attempting to program an incompatible sound bar into your Direct TV remote may result in frustration and wasted time. Ensuring compatibility from the start will save you from unnecessary hassle and disappointment.
Step 2: Gather Necessary Information
Once you’ve confirmed that your sound bar and Direct TV remote are compatible, it’s time to gather some necessary information before proceeding with the programming process. This information will ensure a smooth and successful programming experience.
First and foremost, you’ll need to know the exact make and model of your sound bar. This information is usually located on the back or bottom of the sound bar itself. It may also be found in the user manual or on the manufacturer’s website. Make sure to write down or remember this information as it will be needed during the programming process.
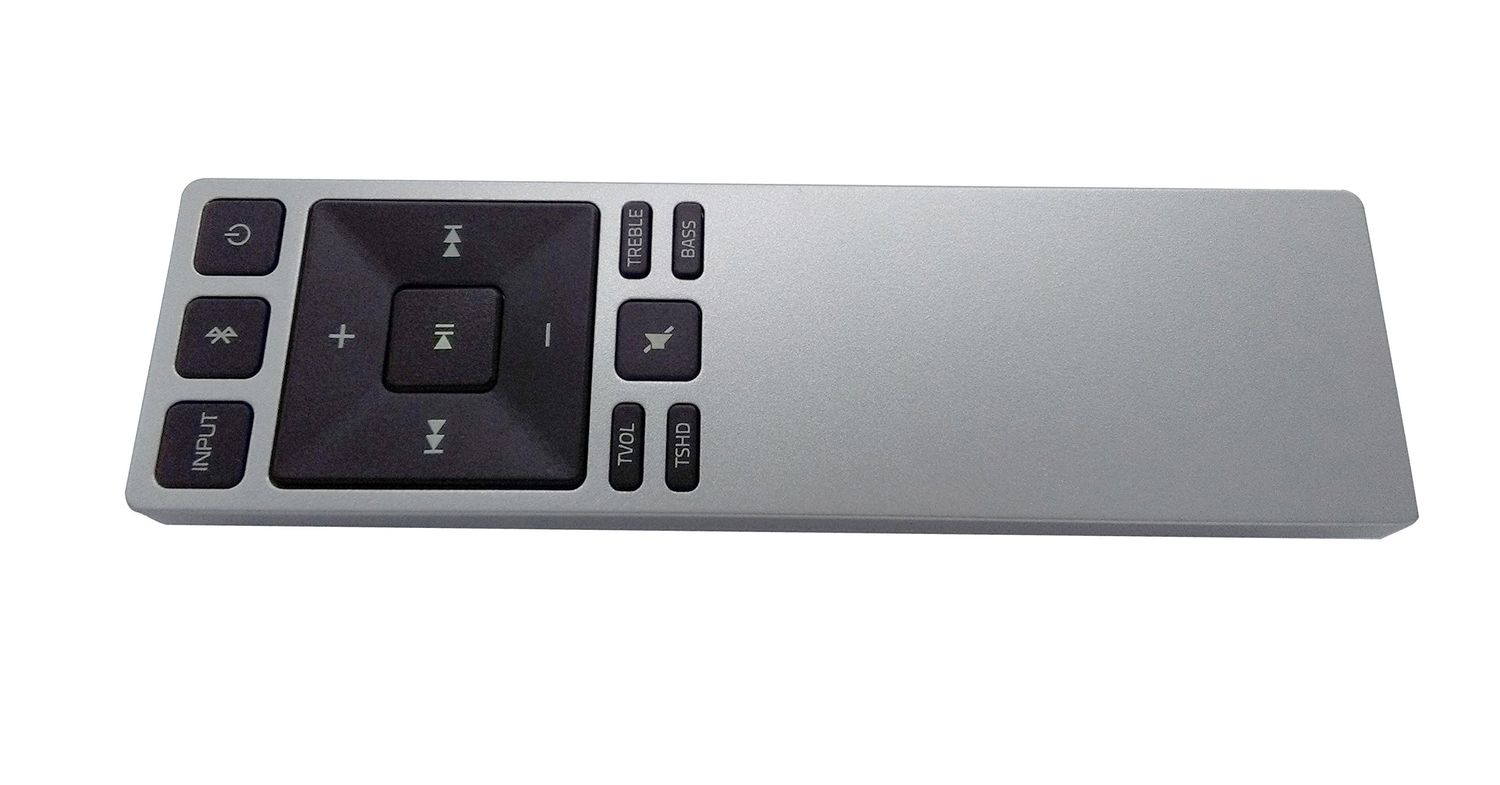
Next, identify the device button on your Direct TV remote that corresponds to the sound bar. This button could be labeled as “AUDIO,” “SOUND,” or “AUX,” depending on the specific model of your remote. Take note of the device button’s location and label.
Additionally, locate the manufacturer’s code either in the sound bar’s user manual or on the manufacturer’s website. The manufacturer’s code is a unique series of numbers that corresponds to your sound bar’s brand. This code will be used to program the remote to control your sound bar.
Lastly, ensure that you have fresh batteries in your Direct TV remote. Weak or depleted batteries may interfere with the programming process and cause difficulties in syncing the remote with your sound bar. It’s always a good idea to use new batteries to guarantee optimal performance.
By gathering and organizing this necessary information beforehand, you’ll be well-prepared to proceed to the next steps of programming your sound bar into your Direct TV remote.
Step 3: Turn on the Direct TV Remote
Before you can begin programming your Direct TV remote to control your sound bar, you need to ensure that the remote is powered on and ready for programming.
Start by pointing the remote towards your Direct TV receiver or TV set. Press the “Power” button, typically located at the top left or right corner of the remote. Verify that the receiver or TV turns on or off in response to the remote commands.
If the remote does not power on the receiver or TV, try replacing the batteries with fresh ones. Weak or depleted batteries can prevent the remote from operating effectively. Ensure that the batteries are properly inserted and that the contacts are clean.
Once the remote is successfully powering on the receiver or TV, you’re ready to proceed to the next steps of programming your sound bar into the Direct TV remote.
Remember, the Direct TV remote needs to be functional and able to operate the receiver or TV before you can proceed with programming your sound bar. Double-check the remote’s functionality to avoid any issues or interruptions during the programming process.
Step 4: Press and Hold the Appropriate Device Button
Now that your Direct TV remote is powered on and functional, it’s time to start programming the remote to control your sound bar. Begin by identifying the device button on the remote that corresponds to the sound bar. This button is typically labeled as “AUDIO,” “SOUND,” or “AUX.”
Once you have located the correct device button, press and hold it for a few seconds until the remote’s indicator light turns on. This indicates that the remote is now in programming mode and ready to receive the necessary instructions to control your sound bar.
While holding the device button, be sure to keep the remote pointed towards the sound bar to ensure a strong and consistent signal. Maintaining this connection will ensure that the programming process proceeds smoothly.
Keep in mind that the specific instructions for entering programming mode may vary depending on the model of your Direct TV remote. Refer to the user manual or online resources provided by Direct TV for any additional instructions or specific button combinations.
By pressing and holding the appropriate device button, you are activating the programming mode on your Direct TV remote and preparing it to receive the necessary commands to sync with your sound bar.
Let’s move on to the next step and complete the programming process for your Direct TV remote and sound bar.
Step 5: Enter the Sound Bar’s Manufacturer Code
With your Direct TV remote in programming mode, it’s time to enter the manufacturer code for your sound bar. The manufacturer code is a unique series of numbers that corresponds to your specific sound bar brand and model.
Refer to the user manual or the manufacturer’s website of your sound bar to find the appropriate manufacturer code. If multiple codes are provided, start with the first one and proceed accordingly. Keep in mind that each sound bar may have a different manufacturer code, so be sure to use the correct one for your specific device.
Once you have the correct manufacturer code, enter it using the number pad on your Direct TV remote. The indicator light on the remote may blink or flash to indicate that the code has been successfully entered.
After entering the code, release the device button on the remote and wait for a moment. The remote will attempt to sync with your sound bar using the manufacturer code you entered. If the code is correct and compatible, the remote’s indicator light should turn off or stop blinking.
If the indicator light continues to blink or if your sound bar doesn’t respond to the remote’s commands, it is possible that you have entered an incorrect manufacturer code. In this case, repeat the process and try a different code from the provided list until you find the correct one.
Entering the correct manufacturer code is crucial to ensuring that your Direct TV remote can successfully control your sound bar. Be patient and persistent until you find the appropriate code that establishes a seamless connection between your remote and sound bar.
Now that you’ve entered the manufacturer code, let’s move on to the next step and test the functionality of your Direct TV remote and sound bar.
Step 6: Test the Remote
Now that you have entered the manufacturer code for your sound bar, it’s time to test the functionality of your Direct TV remote. Testing the remote will ensure that it properly controls your sound bar and performs the desired functions.
Start by pressing the device button on your remote that corresponds to the sound bar. This will activate the remote’s commands specifically for the sound bar. Pay attention to the remote’s indicator light, which should turn on or blink to indicate that it is sending signals to the sound bar.
Next, test the basic functions such as adjusting the volume. Press the volume up and down buttons on the Direct TV remote, and observe if the volume on your sound bar increases or decreases accordingly. You can also test other commonly used functions, such as muting the sound or changing the input source, depending on your sound bar’s capabilities.
If the remote successfully controls the sound bar’s basic functions, proceed to test additional features specific to your sound bar. This may include switching sound modes, adjusting bass and treble levels, or accessing specific EQ settings. Consult the sound bar’s user manual for a comprehensive list of available functions that can be controlled using the remote.
If the remote does not control the sound bar as expected, there are a few troubleshooting steps you can take. First, ensure that the sound bar is properly connected to your TV or receiver and powered on. Check the connections and power source to eliminate any potential issues. Additionally, double-check the manufacturer code and repeat the programming process to ensure accuracy.
Testing the functionality of your Direct TV remote is crucial to ensure that it effectively controls your sound bar. Take your time to explore the different functions and settings, and make any necessary adjustments to optimize your audio experience.
Once you’re satisfied with the remote’s performance, you’re ready to enjoy the convenience and simplicity of controlling your sound bar using your Direct TV remote.
Step 7: Program Additional Functions (Optional)
Congratulations! You have successfully programmed your sound bar into your Direct TV remote and tested its basic functions. However, there may be additional functions or features that you’d like to program into your remote for an enhanced audio experience.
Most sound bars come with a variety of advanced functions and settings beyond basic volume control. These may include adjusting sound modes, equalizer settings, or even activating special effects. While not necessary for every user, programming these additional functions into your remote can provide more convenience and control over your sound bar.
To program additional functions, refer to your sound bar’s user manual or online resources to identify the specific commands or button combinations needed to access the desired features. Once you have this information, follow these steps:
- Put your Direct TV remote back into programming mode by pressing and holding the corresponding device button.
- Enter the programming code or button sequence necessary to activate the desired function on your sound bar. Refer to the user manual or online resources for the correct codes or sequences.
- Release the device button and test the newly programmed function by using the appropriate buttons on your Direct TV remote.
Remember, not all sound bar functions may be programmable into your Direct TV remote. It will depend on the capabilities of your sound bar and the programming options available on your remote. It’s always a good idea to review the user manual or contact customer support for both your sound bar and Direct TV to ensure compatibility and programming options.
By programming additional functions into your Direct TV remote, you can easily access and control various features of your sound bar without the need for its dedicated remote. This simplifies your entertainment setup and enhances your overall audio experience.
Now that you have the option to program additional functions, take some time to explore and customize your sound bar’s settings using your Direct TV remote.
Conclusion
Congratulations! You have now successfully programmed your sound bar into your Direct TV remote, allowing you to control your sound bar’s functions with ease. This simple process enhances your entertainment experience by consolidating control into a single remote.
Throughout the steps we’ve outlined, you’ve learned how to check compatibility, gather necessary information, turn on the Direct TV remote, press and hold the appropriate device button, enter the sound bar’s manufacturer code, test the remote’s functionality, and optionally program additional functions.
Remember, always ensure compatibility between your sound bar and your Direct TV remote before attempting to program them together. It’s important to have the correct manufacturer code and follow the specific instructions for your sound bar’s programming process.
By completing these steps, you’ve gained the ability to adjust the volume, switch sound modes, change input sources, and perform other functions supported by your sound bar through your Direct TV remote. This streamlines your experience and eliminates the need to juggle multiple remotes.
Should you ever need to reprogram your remote or troubleshoot any issues, refer back to this guide or reach out to the customer support of your sound bar or Direct TV service for assistance.
With your sound bar now seamlessly integrated into your entertainment system, sit back, relax, and enjoy the immersive audio experience it provides. Whether you’re watching your favorite movies, binging on TV shows, or listening to music, the convenience and control offered by programming your sound bar into your Direct TV remote will elevate your enjoyment.
Thank you for following this guide, and we hope you find it helpful in enhancing your home audio setup!