Home>Production & Technology>Stereo>How To Hook Up A Pioneer Car Stereo
Stereo
How To Hook Up A Pioneer Car Stereo
Modified: January 22, 2024
Learn how to hook up a Pioneer car stereo and enjoy high-quality sound on the go. Upgrade your car audio system with ease and maximize your stereo experience.
(Many of the links in this article redirect to a specific reviewed product. Your purchase of these products through affiliate links helps to generate commission for AudioLover.com, at no extra cost. Learn more)
Table of Contents
Introduction
Welcome to our comprehensive guide on how to hook up a Pioneer car stereo. Upgrading your car’s audio system can greatly enhance your driving experience, allowing you to enjoy high-quality sound while on the road. Pioneer is a renowned brand known for their innovative and reliable car stereos, making them a popular choice among car enthusiasts.
Whether you’re a seasoned car audio enthusiast or a beginner looking to install a car stereo for the first time, this step-by-step guide will walk you through the process. We will cover everything from gathering the required materials to reconnecting the battery, ensuring a smooth and successful installation of your new Pioneer car stereo.
Before we dive into the nitty-gritty details, it’s important to note that the specific steps may vary slightly depending on your car model and the Pioneer car stereo you have chosen. However, the general principles and guidelines provided in this guide will apply to most car stereo installations.
So, if you’re ready to take your car audio experience to the next level, let’s get started on how to hook up a Pioneer car stereo!
Step 1: Gather the Required Materials
Before you begin the installation process, it’s crucial to collect all the necessary materials and tools. Having everything on hand will make the installation smoother and minimize any potential delays. Here’s a list of the essential items you’ll need:
- Pioneer Car Stereo: Choose a Pioneer car stereo that fits your car model and meets your audio requirements. Make sure it comes with a wiring harness and mounting brackets.
- Vehicle-specific Installation Kit: This kit includes wiring adapters, trim pieces, and other components specifically designed to facilitate the installation of an aftermarket car stereo in your specific car model.
- Wire Connectors: These are used to connect the wires from the car stereo to the wiring harness adapter.
- Electrical Tape: To secure and insulate the wire connections.
- Wire Strippers: These are necessary to strip the insulation from the wires for proper connections.
- Panel Removal Tools: These tools will help you safely remove the panels and trim pieces from your car’s dashboard.
- Socket Set: Depending on your car model, you may need a socket set to remove the existing car stereo.
- Screwdrivers: Phillips and flathead screwdrivers will be needed for various steps during the installation process.
It’s essential to gather all the necessary materials before you start the installation to avoid any potential frustration or delays. Take some time to ensure you have everything listed above, and if needed, make a trip to your local automotive electronics store or order the items online.
Once you have all the required materials at hand, you’re ready to proceed to the next step of preparing the car stereo for installation.
Step 2: Prepare the Car Stereo
Before you can install the Pioneer car stereo, it’s crucial to prepare it for the installation process. This step involves unpacking the car stereo and familiarizing yourself with its components. Here’s what you need to do:
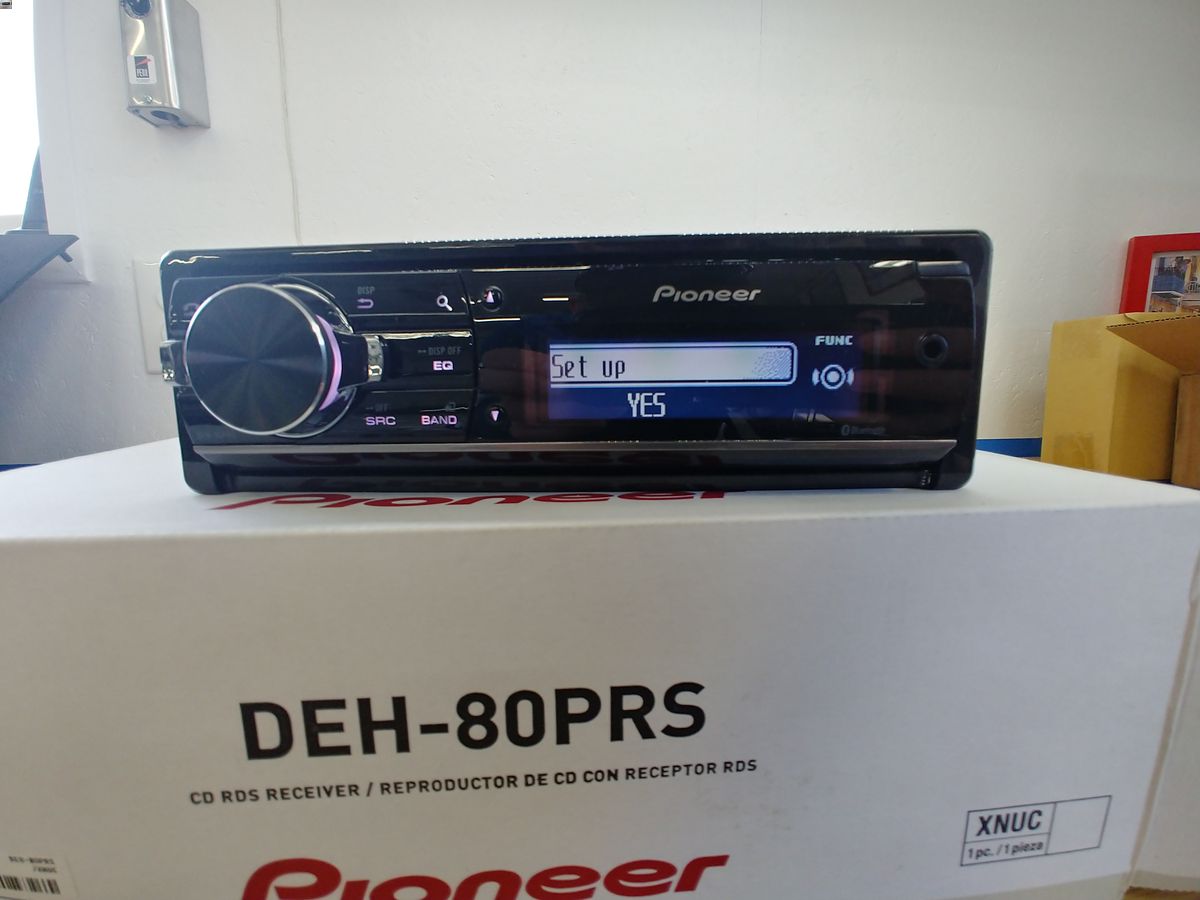
- Unbox the Car Stereo: Carefully open the packaging and remove the Pioneer car stereo and its accessories from the box. Be mindful not to damage any of the components.
- Read the Manual: Take some time to read through the user manual provided with the car stereo. This will give you an understanding of its features, functions, and any specific installation instructions that may be necessary.
- Verify the Wiring Harness: Ensure that the wiring harness provided with the car stereo matches the wiring harness adapter for your specific car model. If they don’t match, you may need to purchase the correct adapter separately.
- Review the Mounting Brackets: Check the mounting brackets supplied with the car stereo to ensure they are compatible with your car’s mounting location. In some cases, additional adapters or modification may be required for a proper fit.
- Inspect the Connections: Take a close look at the connections on the back of the car stereo. These will include the wiring harness connection, antenna connection, and any additional inputs or outputs. Make sure there are no loose or damaged connections.
By preparing the car stereo beforehand, you will familiarize yourself with its components and ensure compatibility with your car model. This step will also help you identify any potential issues or additional parts you may need for a successful installation.
Once you have inspected and verified all the necessary aspects of the car stereo, you’re now ready to move on to the next step: disconnecting the old car stereo.
Step 3: Disconnect the Old Car Stereo
Before installing the new Pioneer car stereo, you’ll need to disconnect the old one from your vehicle. Here’s a step-by-step guide on how to do it:
- Turn Off the Car: Start by turning off the car’s engine and removing the keys from the ignition. This will ensure safety and prevent any electrical mishaps while working on the stereo.
- Remove the Trim Pieces: Carefully remove any trim pieces, panels, or bezels around the car stereo. You may need to use panel removal tools or screwdrivers to gently pry them off. Be cautious not to damage the surrounding areas.
- Disconnect the Wiring Harness: Locate the wiring harness that is connected to the old car stereo. Unplug the wiring harness by pressing the release tab and gently pulling it away from the stereo unit. Take note of any additional connectors, such as the antenna or USB cables, and disconnect them as well if necessary.
- Remove the Mounting Brackets: In some cases, the car stereo may be secured in place by mounting brackets. If so, remove the screws or bolts that hold the brackets in place. Carefully detach the brackets from the stereo unit.
- Detach the Old Car Stereo: Once the wiring harness and mounting brackets are disconnected, you can carefully slide out the old car stereo from its mounting location in the dashboard. Take care not to force it or damage any surrounding components.
Now that you have successfully disconnected the old car stereo, you’re one step closer to installing your new Pioneer car stereo. Keep the removed components in a safe place, as you may need them later if you decide to revert to the original stereo or upgrade to a different one in the future.
With the old car stereo out of the way, you’re ready to move on to the exciting step of connecting the new Pioneer car stereo. Stay tuned for the next section in our guide.
Step 4: Connect the Pioneer Car Stereo
Now that you have removed the old car stereo, it’s time to connect your brand new Pioneer car stereo. Follow these steps to ensure a proper and secure connection:
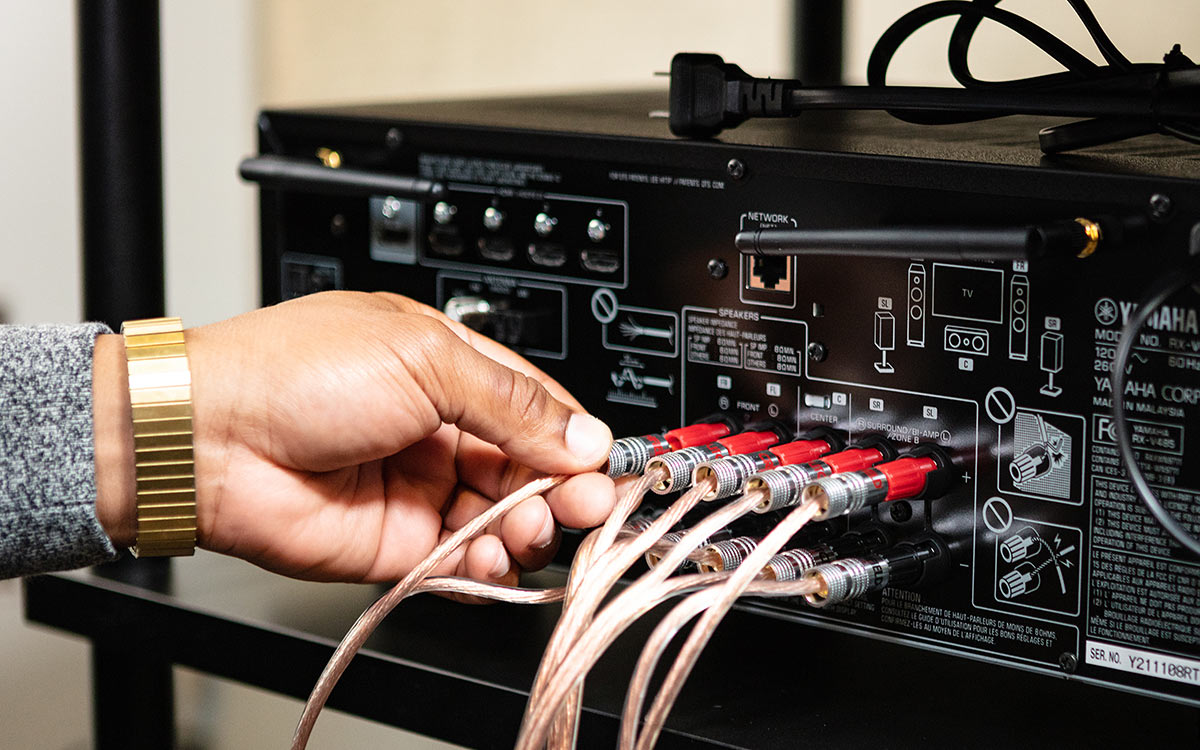
- Match the Wiring Harnesses: Take the wiring harness that came with your Pioneer car stereo and the wiring harness adapter specific to your car model. Match the color-coded wires on both harnesses to their corresponding colors, ensuring a correct connection between the car’s wiring system and the car stereo. Securely connect the wires using wire connectors, twisting them together, or soldering if necessary. Wrap the connections with electrical tape to insulate them.
- Connect the Antenna: Attach the antenna cable from your car to the antenna input on the Pioneer car stereo. Ensure a secure connection by gently pushing the connector into place.
- Attach Additional Connections (if applicable): Depending on your car stereo model and your preferences, you may have additional connectors for USB, Bluetooth, steering wheel controls, or other features. Connect these additional cables to their respective ports on the car stereo.
- Test the Connections: Before finalizing the installation, it’s a good idea to test the connections and ensure that all features of the car stereo are working correctly. Reconnect the car’s battery momentarily to power on the car stereo and verify that the sound, display, and controls are functioning as expected.
It’s essential to double-check all the connections to ensure everything is securely connected. Loose or faulty connections can result in poor audio quality, lack of functionality, or even damage to the car stereo or vehicle’s electrical system.
Once you have confirmed that all the connections are correct and working fine, you’re ready to proceed to the next step: testing the new car stereo.
Step 5: Test the New Car Stereo
After connecting the new Pioneer car stereo, it’s important to test it to ensure that everything is functioning properly. Here’s how you can test your new car stereo:
- Reconnect the Car Battery: If you disconnected the car’s battery during the installation process, reconnect it now. Ensure that all the connections are secure, and there are no loose cables.
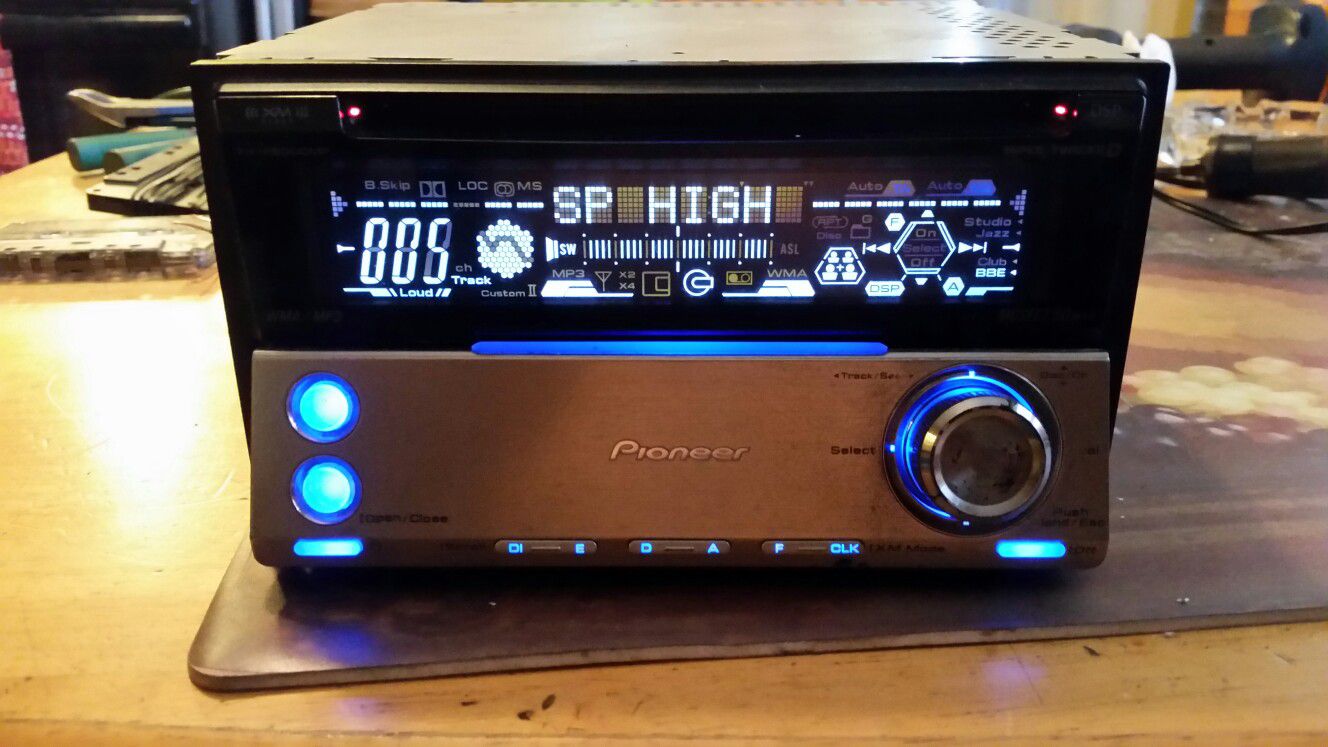
- Power On the Car Stereo: Turn on the car’s ignition and power on the Pioneer car stereo. Pay attention to the display and check whether it lights up and functions correctly.
- Test the Sound: Play audio from different sources, such as AM/FM radio, CD player, or Bluetooth connectivity. Adjust the volume and verify that the sound is clear and coming through all the car’s speakers properly.
- Check Additional Features: Test any additional features of your car stereo, such as EQ settings, built-in navigation, or connectivity options. Ensure that all the buttons, knobs, and touchscreen functionalities are working as intended.
- Test Steering Wheel Controls (if applicable): If your car stereo supports steering wheel controls, test them to ensure they are correctly integrated and responsive. Adjust the volume, change tracks, or switch radio stations using the steering wheel buttons.
If you encounter any issues during the testing phase, double-check the connections and consult the user manual for troubleshooting steps. It’s not uncommon to encounter small issues during the initial setup, but most can be resolved through careful inspection and adjustment.
If everything is functioning correctly, congratulations! You have successfully installed and tested your new Pioneer car stereo. However, before completing the installation, there’s one more important step: securing the car stereo in place.
Step 6: Secure the Car Stereo in Place
With the new Pioneer car stereo tested and working, it’s time to secure it in its proper place within your vehicle’s dashboard. Follow these steps to ensure a stable and secure installation:
- Align the Mounting Brackets: Position the mounting brackets that came with your Pioneer car stereo onto the stereo unit. Align them with the mounting location in your car’s dashboard. Ensure that the brackets are facing the correct direction and that any screw holes line up.
- Insert the Car Stereo: Gently slide the Pioneer car stereo into the mounting location, being careful not to scrape or damage any wires or components. Make sure it is snugly fit into place.
- Secure the Mounting Brackets: Using the screws or bolts provided with the mounting brackets, secure the car stereo in place. Tighten the screws evenly but not excessively to avoid damaging the dashboard or the car stereo unit itself.
- Reattach the Trim Pieces: Once the car stereo is securely mounted, carefully reattach any trim pieces, panels, or bezels that were removed earlier. Ensure that all the clips and screws are properly aligned and fastened.
It’s important to ensure that the Pioneer car stereo is securely fastened and held in place. This will prevent any potential shifting or vibrations while driving, which can lead to audio distortion or damage to the stereo unit.
Once you have completed these steps and the car stereo is securely mounted, you’re ready for the final step: reconnecting the car battery.
Step 7: Reconnect the Battery
The final step in installing your new Pioneer car stereo is to reconnect the car battery. Here’s what you need to do:
- Ensure the Car is Off: Double-check that the car’s ignition and all electronic devices are turned off. This will prevent any electrical mishaps during the battery reconnection process.
- Reconnect the Battery Terminals: Locate the car’s battery and identify the positive (+) and negative (-) terminals. Connect the positive terminal first, followed by the negative terminal. Tighten the terminal clamps securely, ensuring a good connection.
- Test the Car Stereo: Once the battery is reconnected, turn on the car’s ignition and power on the Pioneer car stereo. Verify that the stereo powers on and functions properly without any issues.
- Set Up and Customize: Take some time to set up and customize your new Pioneer car stereo according to your preferences. Adjust the audio settings, set radio stations, and personalize any other features to enhance your driving experience.
By reconnecting the car battery, you provide the necessary power for the car stereo to function correctly. It’s essential to observe the proper order of reconnecting the positive and negative terminals to ensure safe and efficient operation.
If everything is working correctly and you’re satisfied with the installation, congratulations! You have successfully installed your new Pioneer car stereo and can now enjoy a superior audio experience while driving.
Remember to take some time to familiarize yourself with the car stereo’s features and functions, as well as the user manual provided by Pioneer. This will help you maximize the potential of your new car stereo and make any necessary adjustments in the future.
Thank you for following our comprehensive guide on how to hook up a Pioneer car stereo. We hope this information has been helpful, and we wish you many enjoyable journeys with your newly installed car audio system!
Conclusion
Congratulations on successfully installing your new Pioneer car stereo! You’ve taken the necessary steps to enhance your driving experience with high-quality audio and advanced features. By following our comprehensive guide, you have learned how to hook up a Pioneer car stereo from start to finish.
Throughout the installation process, you gathered the required materials, prepared the car stereo, disconnected the old car stereo, connected the Pioneer car stereo, tested its functionality, secured it in place, and finally, reconnected the car battery. Each step was crucial in ensuring a seamless and successful installation.
Remember that every car model and stereo may have slight variations in the installation process, so always refer to the specific instructions provided by Pioneer and your vehicle manufacturer. Taking your time, being patient, and paying attention to detail are key to a professional and reliable installation.
Now that you have a brand new Pioneer car stereo installed, take the time to fully enjoy and explore its features. Fine-tune the audio settings, experiment with different music sources, and customize it to suit your preferences. Make sure to consult the user manual for detailed instructions on all the functions and settings available with your specific Pioneer car stereo model.
We hope this guide has been informative and helpful in your car stereo installation journey. Should you encounter any issues or have further questions, don’t hesitate to seek assistance from professional installers or consult Pioneer’s customer support. They are well-equipped to address any concerns and provide guidance.
Thank you for choosing Pioneer and investing in an upgraded car audio system. Enjoy your drives with the crisp and immersive sound that Pioneer is renowned for!