Home>Production & Technology>Stereo>How To Remove Stereo From 2004 Mazda 6
Stereo
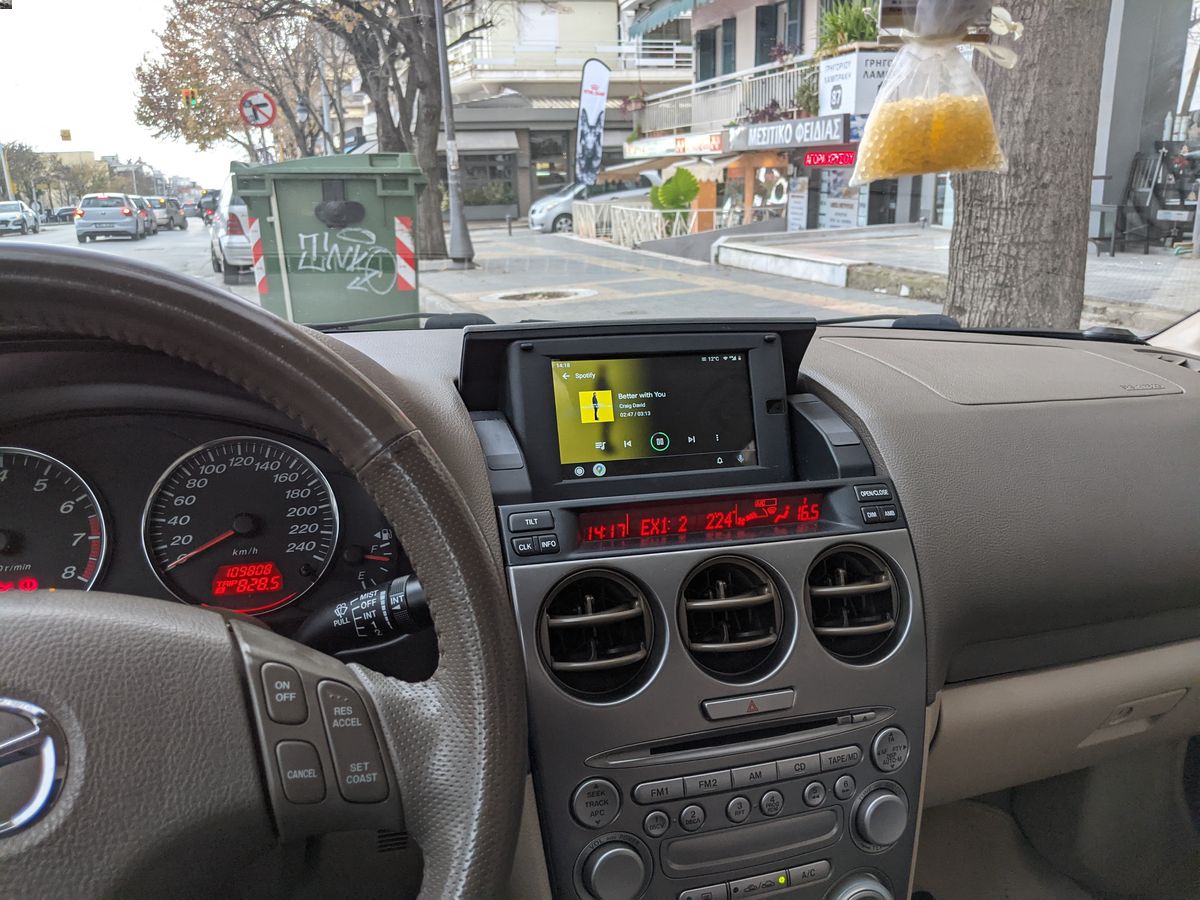
How To Remove Stereo From 2004 Mazda 6
Published: November 25, 2023
Learn how to remove the stereo from your 2004 Mazda 6 with our step-by-step guide. Upgrade your audio system with ease and improve your driving experience.
(Many of the links in this article redirect to a specific reviewed product. Your purchase of these products through affiliate links helps to generate commission for AudioLover.com, at no extra cost. Learn more)
Table of Contents
- Introduction:
- Tools and Materials Needed:
- Step 1: Preparing for Removal
- Step 2: Removing the Trim Panels
- Step 3: Disconnecting the Electrical Connections
- Step 4: Removing the Mounting Brackets
- Step 5: Taking Out the Stereo Unit
- Step 6: Disconnecting the Wiring Harness
- Step 7: Installation of the New Stereo Unit (Optional)
- Conclusion
Introduction:
Welcome to our guide on how to remove the stereo from a 2004 Mazda 6. Upgrading or replacing your car’s stereo system can greatly enhance your driving experience. Whether you’re looking to install a new aftermarket stereo or troubleshoot an issue with your current one, this step-by-step tutorial will provide you with all the information you need to successfully remove the stereo unit from your Mazda 6.
Before we dive into the process, it’s important to note that removing the stereo requires some basic knowledge of car electronics and careful handling to avoid damaging any components. If you’re not confident in your abilities, it’s always best to consult a professional or seek assistance.
In this guide, we’ll walk you through each step of the removal process, from preparing the necessary tools to disconnecting the wiring harness. We’ll also provide tips and precautions to ensure a smooth operation. So, without further ado, let’s get started!
Disclaimer: This guide is purely for informational purposes. We are not responsible for any damage or injuries that may occur while attempting to remove the stereo unit. If you’re unsure about any step, consult a professional.
Tools and Materials Needed:
Before you begin removing the stereo from your 2004 Mazda 6, gather the following tools and materials:
- Trim panel removal tool or flathead screwdriver: This will be used to pry off the trim panels around the stereo unit without causing any damage.
- Socket set: You’ll need a socket set with various size sockets to remove the mounting brackets of the stereo.
- Wire connector tools: These tools will help you disconnect the wiring harness without damaging the wires or connectors.
- Electrical tape: It’s always a good idea to have electrical tape on hand to secure any loose wires after disconnecting them.
- Soft cloth or microfiber towel: This will be used to protect the interior surfaces from scratches or damage while working on the stereo.
- Optional: New stereo unit and wiring harness adapter (if you plan on installing a new stereo unit).
It’s important to have all the necessary tools and materials ready before starting the removal process. This will ensure a smoother experience and help you avoid any unnecessary delays or frustrations.
Remember to always exercise caution when using tools and handling electrical components. If you’re unsure about using any specific tool, refer to the manufacturer’s instructions or consult a professional.
Step 1: Preparing for Removal
Before you begin removing the stereo from your 2004 Mazda 6, it is essential to prepare yourself and the car for the task. Follow these steps to ensure a smooth and hassle-free removal process:
- Turn off the car’s ignition: It is crucial to turn off the car’s ignition to avoid any electrical mishaps while working on the stereo system.
- Disconnect the car battery: To prevent any electrical shock or damage, disconnect the negative terminal of the car battery. Ensure that the battery is not connected throughout the removal process.
- Gather your tools and materials: Make sure you have all the necessary tools and materials mentioned in the previous section.
- Prepare the workspace: Find a well-lit and spacious area to work in. It is advisable to protect the interior surfaces with a soft cloth or microfiber towel to prevent any scratches or damage.
- Review the car’s manual: Familiarize yourself with the car’s manual to understand the specific steps and precautions related to your Mazda 6 model.
By following these initial preparatory steps, you will set a solid foundation for the stereo removal process. Always prioritize safety and consult the car’s manual for any specific instructions related to your particular Mazda 6 model.
Step 2: Removing the Trim Panels
Once you have prepared yourself and the car, it’s time to start removing the trim panels around the stereo unit. Follow the steps below:
- Use a trim panel removal tool or a flathead screwdriver to carefully pry off the trim panel surrounding the stereo. Start from one side and gradually work your way around. Be cautious not to force or pry too hard to avoid damaging the panels or clips.
- Continue removing any additional trim panels surrounding the stereo. Depending on your car’s make and model, there may be multiple panels to remove.
- Inspect for screws or bolts: In some cases, there may be screws or bolts securing the trim panels. If you notice any, use the appropriate size socket or screwdriver to remove them.
- Once all the screws and panels are removed, gently pull out the trim panels to expose the stereo unit. Take care not to apply excessive force or tug on any wires connected to the panels.
Remember to keep all screws and bolts in a safe place to ensure they don’t get lost. It is also a good practice to label or take pictures of the trim panels and their respective locations for easy reassembly later.
Removing the trim panels is an important step in gaining access to the stereo unit. Take your time and exercise caution to avoid any damage to the car’s interior or the panels themselves.
Step 3: Disconnecting the Electrical Connections
With the trim panels removed, you can now proceed to disconnect the electrical connections from the stereo unit. Follow these steps:
- Locate the wiring harness connected to the back of the stereo unit. It usually consists of a bundle of wires and a plastic connector plug.
- Using your fingers or a wire connector tool, gently press down on the connector’s release tab and pull it apart to disconnect the wiring harness from the stereo unit. Take care not to pull on the wires themselves, as this can damage them.
- If there are any other electrical connections or cables, such as an antenna cable or auxiliary input cable, carefully disconnect them as well. They might have different types of connectors, so consult the car’s manual for guidance if needed.
- Once all the electrical connections are disconnected, set them aside or secure them with tape to prevent them from getting tangled or accidentally reconnecting.
It’s essential to handle the electrical connections with care to avoid any damage to the wires or connectors. Take note of the specific connectors and their orientation to ensure a proper reconnection when installing a new stereo unit, if applicable.
Disconnecting the electrical connections is a crucial step in the stereo removal process. Pay attention to the details and be gentle to avoid any unnecessary complications.
Step 4: Removing the Mounting Brackets
After disconnecting the electrical connections, the next step is to remove the mounting brackets that secure the stereo unit in place. Follow these steps to remove the brackets:
- Locate the mounting brackets on the sides or top and bottom of the stereo unit. These brackets are typically held in place by screws or bolts.
- Using a socket set or appropriate screwdriver, remove the screws or bolts that are securing the mounting brackets. Keep track of the removed hardware, as you will need it for reassembly or if you plan on installing a new stereo unit.
- Once the mounting brackets are detached, carefully slide or pull the stereo unit out of its housing. Be mindful of any wires or cables that may still be connected to the back of the unit.
- If there are any clips or connectors holding the stereo unit in place, gently release or detach them to completely remove the unit from the car’s dashboard.
It is important to handle the screws, bolts, and any other hardware with care to prevent them from getting lost or damaged. Keep them in a safe place for reinstallation or when installing a new stereo unit.
Removing the mounting brackets will grant you full access to the stereo unit and facilitate its removal from the car’s dashboard.
Step 5: Taking Out the Stereo Unit
With the mounting brackets removed, you can now proceed to take out the stereo unit from the car’s dashboard. Follow these steps:
- Gently pull the stereo unit away from the dashboard, using both hands. Apply even and steady pressure to avoid damaging any components or connectors.
- If the stereo unit feels stuck, double-check for any screws, bolts, or clips that may still be holding it in place. Ensure that all connections and fasteners are properly disengaged before proceeding.
- Continue pulling the unit out until it is completely free from the dashboard. Take care not to pull on any wires or cables that may still be connected.
- Set the stereo unit aside in a safe location to prevent any damage or scratches while you proceed with the next steps.
Removing the stereo unit from the dashboard requires a delicate touch to avoid any inadvertent damage. If you encounter any difficulty or resistance, double-check the connections and fasteners to ensure a smooth removal.
With the stereo unit successfully taken out, you have reached a key milestone in the removal process and are one step closer to your goal.
Step 6: Disconnecting the Wiring Harness
Once the stereo unit is removed from the car’s dashboard, the next step is to disconnect the wiring harness. This step is crucial for a complete removal and to ensure a safe and smooth transition to either replace or troubleshoot the stereo unit. Follow these steps:
- Locate the wiring harness connected to the back of the stereo unit. It will consist of a bundle of wires and a plastic connector plug.
- Carefully disconnect the plastic connector plug by pressing down on the release tab with either your fingers or a wire connector tool. Gently pull the connector apart to disconnect the harness from the stereo unit.
- Take care not to pull on the wires themselves, as this can damage them. Hold the connector by the plastic housing and use a firm yet gentle pull to disconnect it completely.
- Inspect for any additional wiring connections, such as an antenna cable or auxiliary input cable. Disconnect them carefully if present, taking note of any specific connectors or release mechanisms they may require.
It is important to handle the wiring harness and connectors with care to avoid any damage to the wires or connectors. If you plan on installing a new stereo unit, keep the wiring harness intact and set it aside for later use.
By disconnecting the wiring harness, you have successfully prepared the stereo unit for removal and have disconnected it from the car’s electrical system. Proceeding with caution and attention to detail will ensure a seamless removal process.
Step 7: Installation of the New Stereo Unit (Optional)
If you plan on installing a new stereo unit, this step will guide you through the installation process. Follow these steps to successfully install the new stereo unit:
- Ensure that the car’s ignition is turned off and the battery is disconnected to prevent any electrical mishaps.
- Take the new stereo unit and carefully connect the wiring harness to the corresponding connector on the back of the unit. Ensure a secure and proper connection by aligning the pins and pressing the connector firmly into place.
- If there are any additional wiring connections, such as an antenna cable or auxiliary input cable, connect them to the respective ports on the new stereo unit.
- Slide the new stereo unit back into the dashboard, aligning it with the mounting brackets. Apply even pressure on both sides to ensure a snug fit.
- If necessary, reattach any clips or connectors that secure the stereo unit in place.
- Reinstall the mounting brackets by aligning them with the designated slots or holes and securing them with the appropriate screws or bolts.
- Refer to the manufacturer’s instructions for any additional installation steps specific to your new stereo unit.
Once the new stereo unit is properly installed, you can reconnect the car battery and test the functionality of the new unit. Ensure all wiring connections are secure and the stereo functions as expected.
Remember to consult the car’s manual and the installation instructions provided by the manufacturer of the new stereo unit for any specific details or requirements.
Note: If you are not comfortable with installing the new stereo unit yourself, it is always recommended to seek assistance from a professional to ensure a proper and safe installation.
Conclusion
Removing the stereo from your 2004 Mazda 6 may seem like a daunting task, but with the right tools, knowledge, and careful execution, it can be a straightforward process. Whether you’re upgrading to a new stereo unit or troubleshooting an issue with your current one, this step-by-step guide has provided you with the necessary instructions to remove the stereo unit from your car’s dashboard.
Remember to always prioritize safety throughout the process. Turn off the car’s ignition and disconnect the battery to prevent any electrical mishaps. Take your time when removing the trim panels, disconnecting the electrical connections, removing the mounting brackets, and finally, taking out the stereo unit. Handle the components with care to avoid any damage.
If you plan on installing a new stereo unit, follow the additional steps provided in the guide to ensure a successful installation. Consult the car’s manual and the instructions provided by the manufacturer of the new unit for any specific details or requirements.
Lastly, if you’re unsure about any step or lack confidence in your skills, it’s always wise to consult a professional. They have the expertise and experience to handle the removal and installation process with precision.
By following this guide and being patient and meticulous, you’ll be able to remove the stereo unit from your 2004 Mazda 6 and either replace it or carry out the necessary maintenance or repairs. Enjoy the enhanced audio experience and make the most out of your car’s stereo system!